Introduction
Welcome to the world of portable and secure data backup! If you’re a Mac user concerned about the safety of your important files and documents, performing a system backup is a crucial task. With a reliable external storage device like the SanDisk Portable SSD, you can protect your data and enjoy the peace of mind that comes with knowing your files are safe and easily accessible.
In this step-by-step guide, we will walk you through the process of performing a Mac system backup to the SanDisk Portable SSD. With its lightning-fast transfer speeds and ample storage capacity, this portable SSD is an excellent choice for safeguarding your valuable data. Whether you’re a student, professional, or someone who simply cherishes their digital memories, a system backup is essential to prevent the loss of irreplaceable files due to hardware failure or other unforeseen circumstances.
By following the instructions outlined in this guide, you’ll be able to create a complete backup of your Mac’s operating system, applications, settings, and personal files. This will not only ensure that your data is protected but will also allow for easy restoration in the event of a system crash or the need to switch to a new Mac device.
Before we delve into the steps, it’s important to note that the SanDisk Portable SSD is compatible with a wide range of Mac devices, including MacBook Air, MacBook Pro, iMac, and Mac Mini. So, without further ado, let’s get started on safeguarding your valuable data!
Step 1: Connect SanDisk Portable SSD to Mac
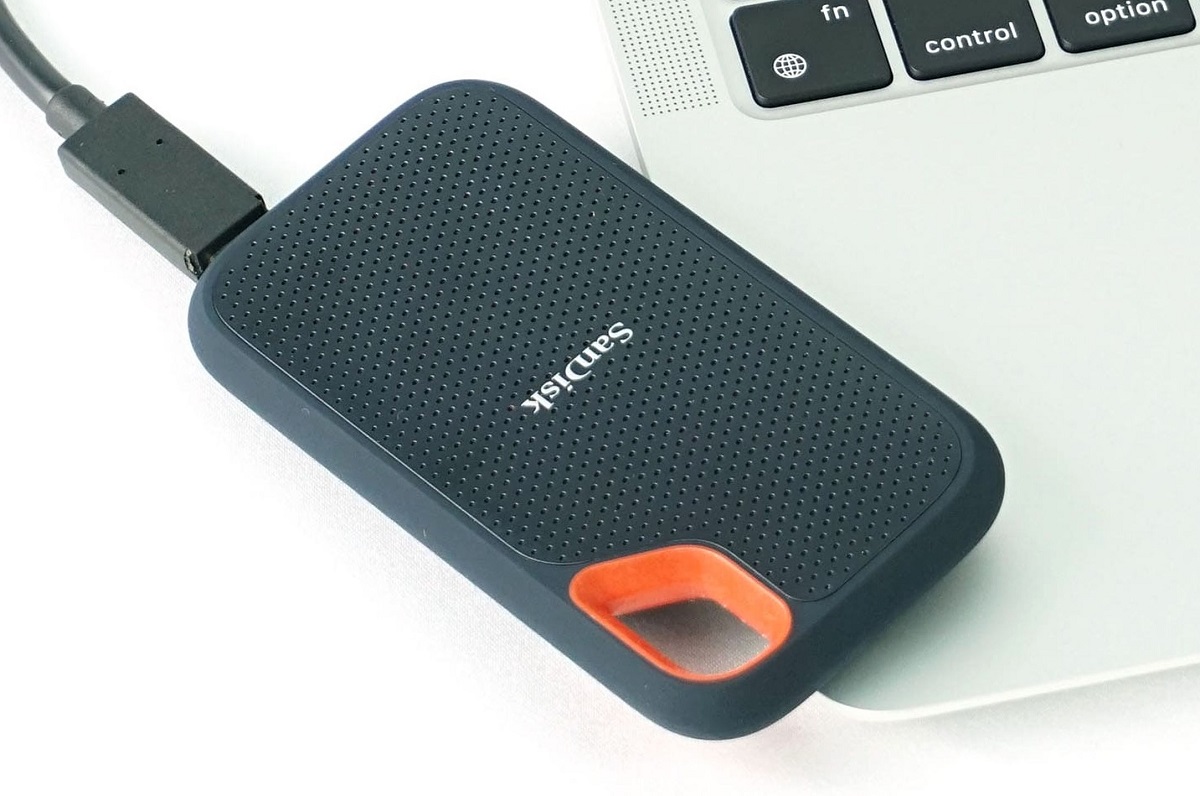
The first step in performing a Mac system backup to the SanDisk Portable SSD is to connect the device to your Mac. Start by locating an available USB or Thunderbolt port on your Mac.
Once you have identified the appropriate port, take the USB or Thunderbolt cable that came with your SanDisk Portable SSD and connect one end to the device itself. Ensure that the connection is secure, as a loose connection could lead to data transfer errors.
Next, take the other end of the cable and insert it into the USB or Thunderbolt port on your Mac. You may need to exert gentle pressure to ensure a proper connection. Once connected, your Mac should recognize the SanDisk Portable SSD and display it as a connected external storage device.
You can verify the successful connection by opening Finder on your Mac. Look for the SanDisk Portable SSD listed under the “Devices” section. If you see it there, it means that the device is successfully connected to your Mac.
Now that you have successfully connected the SanDisk Portable SSD to your Mac, you are ready to move on to the next step: formatting the device to make it compatible with your Mac’s file system. This step is crucial to ensure optimal performance and compatibility between the SanDisk Portable SSD and your Mac.
Please note that if you have already formatted the SanDisk Portable SSD for Mac in the past, you can skip this step and proceed to Step 3. However, if this is your first time using the device or if you have previously formatted it for another system, it is important to format it specifically for your Mac before proceeding with the system backup.
Step 2: Format SanDisk Portable SSD for Mac
Before you can start the system backup process, you need to format the SanDisk Portable SSD to make it compatible with your Mac’s file system. Formatting the SSD will ensure optimal performance and seamless integration with your Mac.
To format the SanDisk Portable SSD, follow these steps:
- Open the Disk Utility application on your Mac. You can find it by navigating to “Applications” > “Utilities” > “Disk Utility”.
- In the Disk Utility window, you will see a list of connected drives and volumes. Locate the SanDisk Portable SSD in the left sidebar and select it.
- Click on the “Erase” tab at the top of the Disk Utility window.
- You will be prompted to choose a format for the SSD. Select “Mac OS Extended (Journaled)” from the drop-down menu. This format is compatible with both macOS and Mac OS X systems.
- Enter a name for the SSD in the “Name” field. You can choose any name you prefer.
- Finally, click on the “Erase” button to begin the formatting process. Please note that formatting will erase all existing data on the SanDisk Portable SSD, so make sure you have backed up any important files before proceeding.
- Wait for the formatting process to complete. Once finished, the SanDisk Portable SSD will be ready for use with your Mac.
Formatting the SanDisk Portable SSD ensures that it is optimized for your Mac’s file system, allowing for efficient data transfer and storage. Now that you have successfully formatted the SSD, you can proceed to the next step: opening Time Machine Preferences to configure the backup settings.
Step 3: Open Time Machine Preferences
Once you have successfully formatted the SanDisk Portable SSD, the next step in performing a Mac system backup is to open Time Machine Preferences. Time Machine is a built-in backup feature in macOS that allows you to create automatic backups of your entire system.
To open Time Machine Preferences and configure the backup settings, follow these steps:
- Click on the Apple menu icon in the top left corner of your Mac’s screen.
- Select “System Preferences” from the drop-down menu.
- In the System Preferences window, locate and click on the “Time Machine” icon.
- The Time Machine Preferences window will open, displaying various options and settings related to backups.
- If you haven’t already connected your SanDisk Portable SSD to the Mac, now is the time to do so. Ensure that the SSD is properly connected to a USB or Thunderbolt port on your Mac.
- In the Time Machine Preferences window, click on the “Select Backup Disk” button.
- A list of available backup disks will be displayed. Find and select the SanDisk Portable SSD from the list.
- Click on the “Use Disk” button to confirm your selection.
By selecting the SanDisk Portable SSD as the backup disk in Time Machine Preferences, you are indicating that you want to use this external SSD to store your system backups.
Once you have successfully chosen the SanDisk Portable SSD as the backup disk, you are now ready to customize the backup options according to your preferences. This will be covered in the next step.
Step 4: Select SanDisk Portable SSD as Backup Disk
Now that you have opened Time Machine Preferences and connected the SanDisk Portable SSD to your Mac, it’s time to select the SSD as the designated backup disk for your system backups.
Follow these steps to select the SanDisk Portable SSD as the backup disk:
- In the Time Machine Preferences window, click on the “Select Backup Disk” button.
- A list of available backup disks will appear.
- Locate and select the SanDisk Portable SSD from the list. The SSD will be displayed with its name and capacity.
- Click on the “Use Disk” button to confirm your selection.
By selecting the SanDisk Portable SSD as the backup disk, you are telling Time Machine to use this external storage device to store your system backups. It’s important to note that once the SanDisk Portable SSD is selected as the backup disk, Time Machine will automatically start backing up your files following the default settings.
If you want to exclude specific files or folders from the backup, you can click on the “Options” button in Time Machine Preferences. This will allow you to customize which items get backed up and which ones are excluded from the backup process.
Once you have confirmed the selection of the SanDisk Portable SSD as the backup disk and made any desired customization to the backup options, you are ready to proceed to the next step: customizing the backup options to suit your specific needs and preferences.
Step 5: Customize Backup Options
After selecting the SanDisk Portable SSD as the backup disk in Time Machine Preferences, you have the opportunity to customize the backup options to suit your specific needs and preferences. This step allows you to fine-tune how Time Machine handles your system backups.
Follow these steps to customize the backup options:
- In the Time Machine Preferences window, click on the “Options” button.
- A new window will appear, showing a list of items that are currently excluded from the backup process.
- To add items to the exclusion list, click on the “+” button and navigate to the desired file or folder.
- Select the file or folder and click on the “Exclude” button.
- The selected item will now be excluded from future backups.
- To remove items from the exclusion list, select the item and click on the “-” button.
- Once you have finished customizing the exclusion list, click on the “Save” button.
Customizing the backup options allows you to include or exclude specific files, folders, or even entire volumes from the backup process. This can be useful if you have large files or folders that you don’t need to back up regularly or if you want to prioritize certain data for backup.
Additionally, you can adjust the frequency of backups, the retention of older backups, and other advanced options by exploring the Time Machine Preferences. However, it’s advisable to keep the default settings unless you have specific requirements or preferences.
Once you have customized the backup options to your liking, you are ready to initiate the system backup process. This will automatically create a complete backup of your Mac’s operating system, applications, settings, and personal files on the SanDisk Portable SSD.
Step 6: Initiate System Backup
Now that you have customized the backup options to suit your needs, it’s time to initiate the system backup process. Time Machine will automatically create a complete backup of your Mac’s operating system, applications, settings, and personal files on the SanDisk Portable SSD.
Follow these steps to initiate the system backup:
- In the Time Machine Preferences window, ensure that the “Back Up Automatically” option is enabled. This option allows Time Machine to create regular backups of your system.
- Ensure that the SanDisk Portable SSD is connected to your Mac and recognized as the designated backup disk.
- Click on the “Backup Now” button to start the system backup process.
- Time Machine will begin the backup process, and you can monitor the progress in the Time Machine Preferences window.
- Please note that the initial backup may take some time, depending on the size of your data and the transfer speed of the SanDisk Portable SSD. Subsequent backups will be faster, as Time Machine will only back up the changes made since the previous backup.
- It’s recommended to keep your Mac connected to a power source during the backup process to ensure uninterrupted backup and prevent any potential data corruption.
Once the system backup is in progress, you can continue using your Mac as usual. Time Machine will work silently in the background, creating incremental backups and keeping your data protected.
During the backup process, it is advisable not to disconnect the SanDisk Portable SSD or make any major changes to your system to avoid interruptions or potential data loss.
Once the initial backup is complete, Time Machine will automatically perform subsequent backups at regular intervals. This will ensure that your data is continuously backed up and protected against any unforeseen system failures or data loss incidents.
Now that you have initiated the system backup process, it’s time to monitor the progress and ensure the backup completion. This will be covered in the next step.
Step 7: Monitor Backup Progress
After initiating the system backup process with Time Machine, it’s important to monitor the progress to ensure that the backup is proceeding smoothly. Monitoring the backup progress allows you to stay informed about the status of the backup and any potential issues that may arise.
Here are the steps to monitor the backup progress:
- In the Time Machine Preferences window, you will see a progress bar indicating the current status of the backup. This progress bar represents the overall progress of the backup process.
- If you want more detailed information about the backup, click on the Time Machine icon in the menu bar at the top of your screen. This will display a drop-down menu with the status of the backup.
- In the drop-down menu, you can view the estimated time remaining for the backup, the size of the data being transferred, and the date and time of the last backup.
- If you encounter any issues during the backup process, such as a failed backup or a message indicating that the backup disk is full, it’s important to address them promptly.
- If the backup fails, you may need to troubleshoot the issue by disconnecting and reconnecting the SanDisk Portable SSD, restarting your Mac, or checking the available storage space on the SSD.
It’s recommended to keep an eye on the backup progress regularly, especially during the initial backup, as it may take some time depending on the size of your data and the transfer speed of the SanDisk Portable SSD.
By monitoring the backup progress, you can ensure that your important files and data are being safely backed up and stored on the SanDisk Portable SSD. This will provide you with the peace of mind that comes with knowing your data is protected and readily available for restoration, if needed.
Once the backup is complete and you have verified that all your important data is securely stored on the SanDisk Portable SSD, you can proceed to the next step: verifying the backup completion.
Step 8: Verify Backup Completion
Verifying the completion of your system backup is an essential step to ensure that your important files and data are successfully stored on the SanDisk Portable SSD. It confirms that the backup process has finished without any errors or issues, providing you with peace of mind knowing that your data is securely backed up.
Follow these steps to verify the backup completion:
- In the Time Machine Preferences window, check the status message displayed below the progress bar. It should indicate that the backup was completed successfully.
- You can also verify the backup completion by clicking on the Time Machine icon in the menu bar at the top of your screen. The drop-down menu will display the date and time of the last successful backup.
- To further verify the backup, you can navigate to the SanDisk Portable SSD in Finder and browse through its contents. Ensure that the backed-up files and folders are present and organized properly.
- It’s also a good practice to occasionally restore a file or folder from the backup to test the restoration process and verify the integrity of the backup data.
By verifying the backup completion, you can have confidence in the safety and accessibility of your data. It ensures that your important files, applications, and settings are backed up and ready for restoration in the event of a system crash, hardware failure, or the need to switch to a new Mac device.
Additionally, it’s essential to regularly perform subsequent backups to keep your data up-to-date and in sync with any changes you make on your Mac. Time Machine will automatically create incremental backups, capturing only the changes made since the last backup.
Now that you have verified the completion of your system backup, you can rest assured knowing that your data is securely stored on the SanDisk Portable SSD. Remember to keep the SSD in a safe place and continue to perform regular backups to ensure the ongoing protection of your valuable files and data.
Conclusion
Congratulations! You have successfully performed a Mac system backup to the SanDisk Portable SSD. By following the step-by-step instructions in this guide, you have taken a crucial step in safeguarding your important files and data.
The SanDisk Portable SSD provides a reliable and secure storage solution for your backups, ensuring that your valuable data remains accessible and protected. With its fast transfer speeds and ample storage capacity, it is an excellent choice for Mac users looking to back up their entire system.
Remember to regularly monitor the backup progress and verify the completion of your backups to ensure that your data is securely stored. Additionally, it’s good practice to periodically test the restoration process by recovering a file or folder from the backup to ensure the integrity of the backup data.
By consistently performing system backups, you can mitigate the risk of data loss and ensure that you can easily restore your files and settings in the event of a system failure or the need to switch to a new Mac device.
We hope this guide has provided you with the necessary information and guidance to perform a successful Mac system backup to the SanDisk Portable SSD. Remember to follow these steps whenever you need to create a new backup or update your existing backup.
Thank you for choosing the SanDisk Portable SSD and taking the initiative to protect your valuable data. With this reliable backup solution, you can have peace of mind knowing that your files are safe, secure, and easily recoverable whenever needed.
Happy backing up!