Introduction
Mounting a Dell PowerEdge 2900 on a server rack is a crucial step in setting up a robust and efficient data center. Properly mounting the server ensures stability, accessibility, and optimum performance, allowing for seamless management and maintenance of your IT infrastructure.
In this comprehensive guide, we will walk you through the step-by-step process of mounting your Dell PowerEdge 2900 on a server rack. Whether you’re setting up a new data center or rearranging your existing server environment, this guide will provide you with the necessary knowledge and instructions to complete the task successfully.
Before we dive into the steps, it’s important to note that each server rack may have slight variations in design and layout. Therefore, it’s always recommended to consult the manufacturer’s documentation for your specific server rack model. With that said, the instructions provided here are general guidelines that should apply in most cases.
Mounting a server on a rack involves a combination of hardware and careful maneuvering. You will need to gather the necessary tools, prepare the server rack, remove the server bezel, slide the server rails onto the rack, secure the rails, mount the Dell PowerEdge 2900, and finally, connect the necessary cables and power on the system.
By following this guide, you can ensure that your Dell PowerEdge 2900 is securely and properly mounted on the server rack, providing a stable and organized infrastructure for your business operations. So, let’s get started with a list of tools and equipment you’ll need for this process.
Step 1: Gather the necessary tools and equipment
Before you begin mounting your Dell PowerEdge 2900 on a server rack, you’ll need to gather a few essential tools and equipment. Having these items ready will ensure a smooth and efficient installation process. Here’s what you’ll need:
- Screwdriver set – Choose a set that includes both Phillips and flathead screwdrivers. These will be used to secure the server rails and possibly remove the server bezel.
- Rack mounting kit – This kit typically includes the rails, screws, and other hardware required to attach the server to the rack. Make sure you have the appropriate kit for your Dell PowerEdge 2900 model.
- Level – A level will help you ensure that the server rack is properly aligned and mounted horizontally, preventing any imbalance or instability.
- Wire management accessories – Cable ties, cable management bars, and other wire management accessories will help you organize and route the cables neatly, reducing clutter and allowing for better airflow.
- Power cables and network cables – Depending on your setup, you’ll need power cables to connect the server to a power source, as well as network cables for network connectivity. Ensure that you have the appropriate cables in sufficient quantity.
Once you have gathered all the necessary tools and equipment, you’re ready to move on to the next steps. Keep these tools nearby throughout the installation process, as they will be essential in completing the server mounting successfully. With everything prepared, let’s proceed to the next step: preparing the server rack.
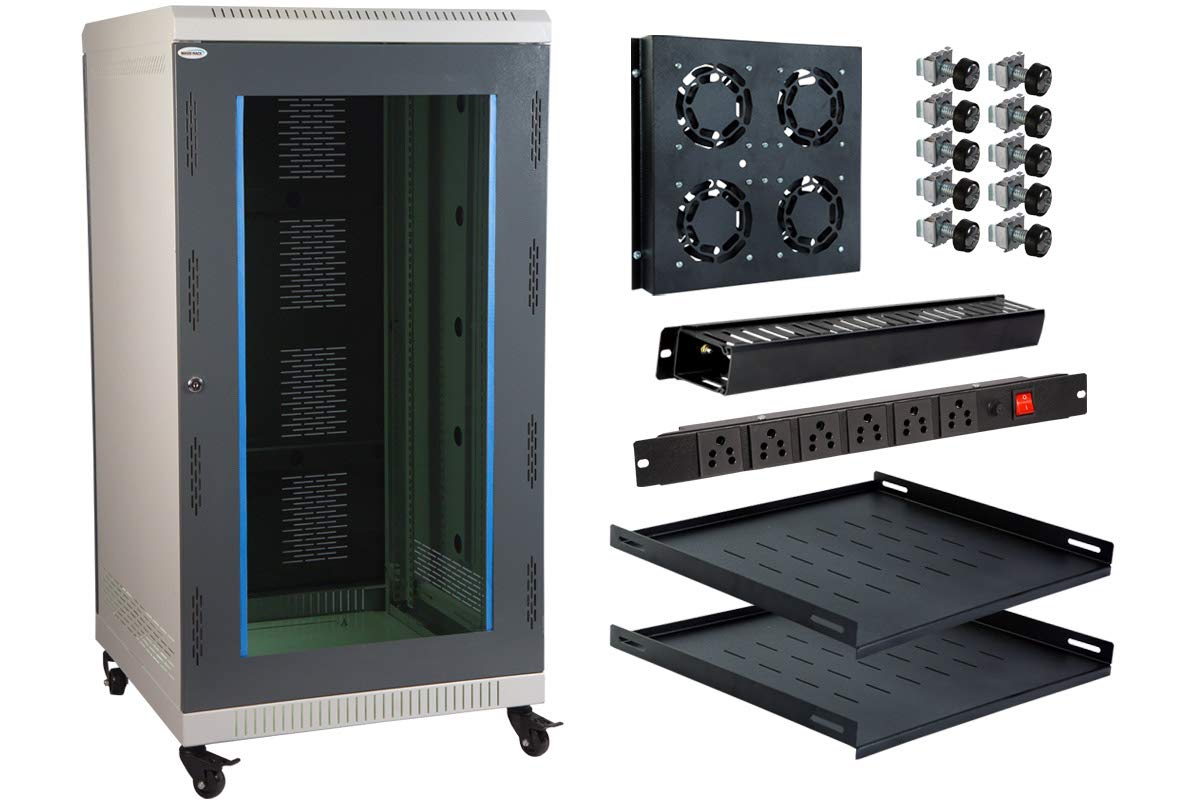
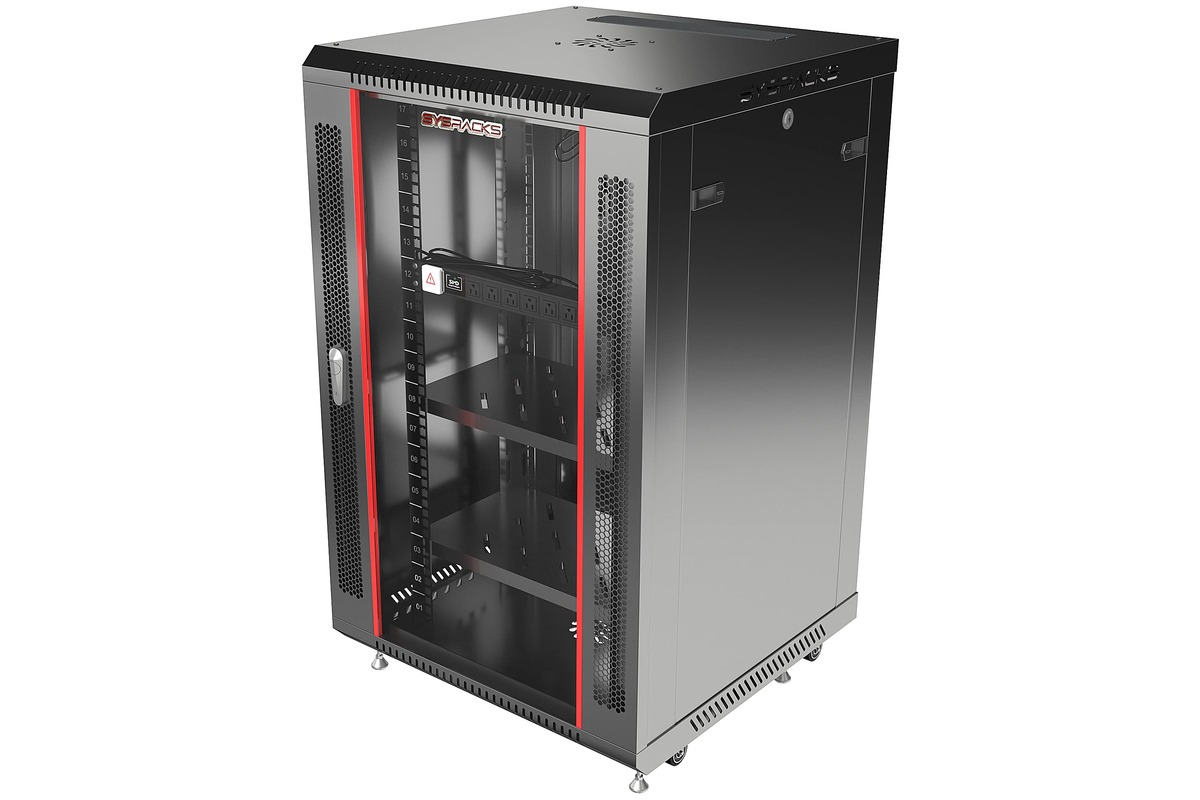
Step 2: Prepare the server rack
Preparing the server rack is an important step to ensure a secure and stable mounting for your Dell PowerEdge 2900. Follow these steps to properly prepare the server rack before proceeding with the installation:
- Choose the right location – Select a suitable location for your server rack. Ensure that there is enough space for the rack to be accessed from all sides and that it is placed in a well-ventilated area to prevent overheating.
- Check the rack’s structure – Look for any physical damage or signs of wear and tear on the server rack. Make sure the rack is sturdy and capable of supporting the weight of the Dell PowerEdge 2900 and any additional equipment you plan to mount.
- Adjust the rack height – Most server racks have adjustable mounting rails. Adjust the height of the rails to match the dimensions of the Dell PowerEdge 2900, ensuring a proper fit.
- Secure the rack – Use floor anchors or other appropriate methods to secure the server rack to the floor. This will prevent any wobbling or instability, especially in environments where there may be vibrations or movement.
Taking the time to properly prepare the server rack will provide a solid foundation for mounting the Dell PowerEdge 2900. It will ensure the stability and safety of your server, minimizing the risk of any damage or accidents during the installation process. Once you have completed these steps, you can move on to the next step: removing the server bezel.
Step 3: Remove the server bezel
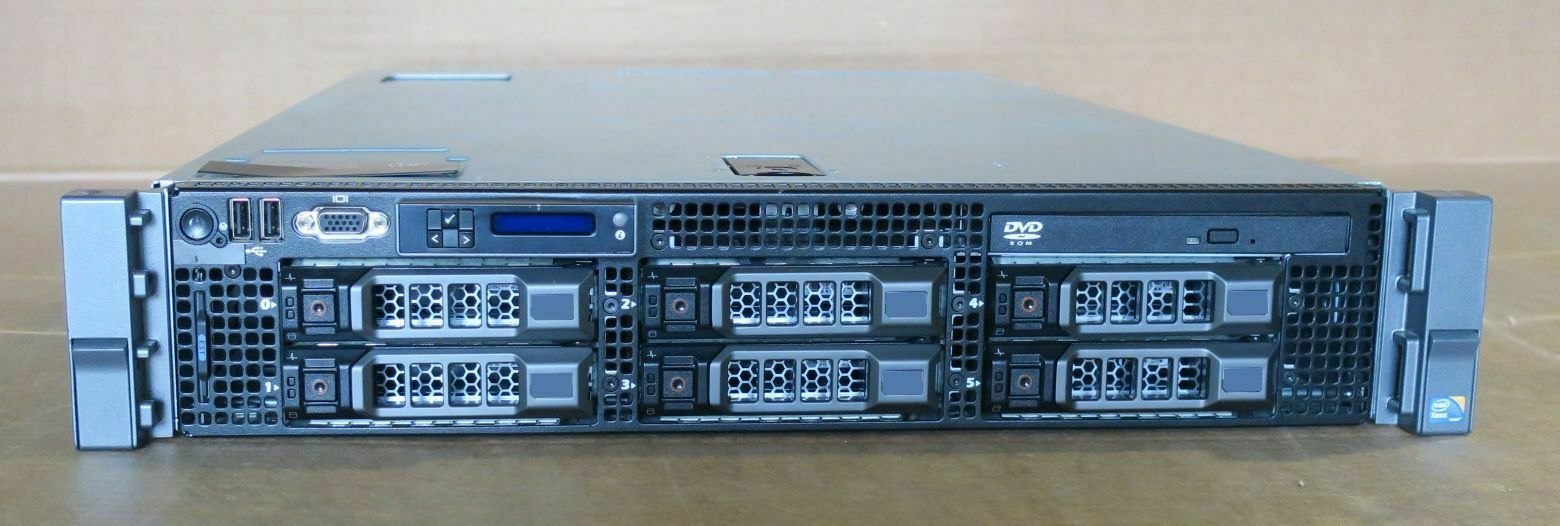
Before mounting the Dell PowerEdge 2900 on the server rack, you’ll need to remove the server bezel. The bezel is the front cover of the server that protects the internal components and provides a clean and professional appearance. Follow these steps to properly remove the server bezel:
- Power down the server – Ensure that the Dell PowerEdge 2900 is powered off and disconnected from the power source.
- Locate the release latch – Look for the release latch or button on the top or bottom of the server bezel. This latch is typically located near the edges and may be marked with a lock or unlock symbol.
- Unlock the bezel – Press or slide the release latch to unlock the server bezel. You may need to apply a gentle amount of force to release it.
- Remove the bezel – Once the latch is released, carefully slide the server bezel off the front of the Dell PowerEdge 2900. Start from one side and move towards the other, ensuring that you don’t damage any cables or connectors attached to the front panel.
By removing the server bezel, you will have better access to the front of the Dell PowerEdge 2900, making it easier to install the server rails and mount the server on the rack. Remember to handle the bezel with care and place it in a safe location to avoid any damage. With the bezel removed, you’re ready to move on to the next step: sliding the server rails onto the server rack.
Step 4: Slide the server rails onto the server rack
Now that you have removed the server bezel, it’s time to slide the server rails onto the server rack. The server rails are crucial components that provide a sturdy platform for mounting the Dell PowerEdge 2900. Follow these steps to properly slide the server rails onto the server rack:
- Position the server rails – Place one server rail on each side of the server rack, aligning them with the mounting holes on both the server rack and the Dell PowerEdge 2900.
- Extend the rails – Locate the release mechanism on each server rail, usually a lock or latch. Activate the mechanism to extend the server rails, ensuring that they are fully extended and securely locked in position. This will allow the rails to support the weight of the server during installation.
- Align the rails – With the server rails fully extended, align them with the mounting holes on the server rack. Ensure that the rails are level and parallel to each other for a proper fit.
- Insert and secure the rails – Carefully insert the server rails into the corresponding mounting holes on the server rack. Apply gentle pressure to fully seat the rails, making sure they are securely attached. Use the provided screws or other hardware to secure the rails in place.
Sliding the server rails onto the server rack is a critical step in the mounting process. It provides the foundation for securely installing the Dell PowerEdge 2900 onto the rack, ensuring stability and easy access for future management. Once the server rails are properly installed, you’re ready to move on to the next step: securing the server rails to the rack.
Step 5: Secure the server rails to the rack
After sliding the server rails onto the server rack, the next step is to securely attach and lock them in place. This ensures that the Dell PowerEdge 2900 is properly supported and prevents any accidental movement or dislodging. Follow these steps to secure the server rails to the rack:
- Tighten the rail screws – Using the appropriate screwdriver, tighten the screws that secure the server rails to the rack. Make sure to tighten them evenly on both sides to ensure stability.
- Verify the alignment – Check the alignment of the server rails once again to ensure they are level and parallel to each other. Adjust if necessary before proceeding.
- Ensure proper locking – Some server racks have additional locking mechanisms to secure the rails. Verify that these mechanisms are engaged and locked properly, providing an extra layer of security and stability.
Securing the server rails is crucial to ensure the stability and safety of the Dell PowerEdge 2900 on the rack. Double-check that the screws are tightened securely and that the rails are properly aligned and locked. Once you have completed this step, you are ready to move on to the next step: mounting the Dell PowerEdge 2900 onto the server rack.
Step 6: Mount the Dell PowerEdge 2900 onto the server rack
With the server rails securely attached to the rack, it’s time to mount the Dell PowerEdge 2900 onto the server rack. This step involves carefully positioning and attaching the server onto the rails to ensure a stable and secure fit. Follow these steps to mount the Dell PowerEdge 2900 onto the server rack:
- Position the server – Carefully lift the Dell PowerEdge 2900 and position it between the server rails. Make sure to align the server with the rails and ensure a proper fit.
- Slide the server onto the rails – Gently slide the server along the rails, ensuring that it moves smoothly and without any resistance. Continue sliding until the server is fully seated and aligned with the front of the server rack.
- Engage the server locking mechanism – Depending on the server rack and model, there may be a locking mechanism or latch to secure the server in place. Engage this mechanism to lock the Dell PowerEdge 2900 onto the rails, ensuring it remains securely attached.
Mounting the Dell PowerEdge 2900 onto the server rack is a crucial step to ensure the stability and proper functioning of the server. Take your time to carefully position and slide the server onto the rails, double-checking its alignment and engagement with the locking mechanism. Once the server is securely mounted, you’re ready to move on to the next step: connecting the server cables and powering on the system.
Step 7: Connect the server cables and power on the system
After successfully mounting the Dell PowerEdge 2900 on the server rack, you need to connect the necessary cables and power on the system. Proper cable connections will ensure that the server functions correctly and is ready to serve your IT needs. Follow these steps to connect the server cables and power on the system:
- Organize the cables – Arrange the power cables and network cables neatly to avoid any tangles or obstructions. Use cable ties and management accessories to keep the cables organized and allow for effective airflow.
- Connect the power cable – Plug the power cable into the PowerEdge 2900’s power supply unit. Ensure a secure connection and verify that the power source is stable and within the server’s voltage requirements.
- Connect the network cables – Attach the appropriate network cables to the server’s network ports, ensuring a secure and stable connection. This will enable network connectivity for data transfer and remote management.
- Double-check the connections – Once all cables are connected, double-check each connection to ensure they are properly seated and secure. Loose or improper connections can lead to performance issues or data transmission problems.
- Power on the system – After confirming the cable connections, proceed to power on the Dell PowerEdge 2900 by pressing the power button on the server’s front panel. Monitor the system as it boots up to ensure a successful startup.
By connecting the necessary cables and powering on the Dell PowerEdge 2900, you are now ready to utilize its full capabilities within your server rack setup. Ensure that all cables are properly connected and secure to maintain the stability and integrity of the system. With the server powered on, you can begin configuring the server settings and installing any required operating systems or applications.
Conclusion
Mounting a Dell PowerEdge 2900 on a server rack is a critical step in setting up a reliable and efficient data center. By following the step-by-step guide outlined in this article, you can ensure a secure and proper installation of the server onto the rack, allowing for optimal performance and ease of maintenance.
Throughout the process, we covered the necessary steps, including gathering the tools and equipment, preparing the server rack, removing the server bezel, sliding the server rails onto the rack, securing the rails, mounting the Dell PowerEdge 2900 onto the rack, and connecting server cables while powering on the system.
Properly mounting the Dell PowerEdge 2900 on the server rack ensures stability, accessibility, and optimized airflow for efficient cooling. It also allows for easier management and maintenance of the server, reducing downtime and increasing productivity.
Remember, always consult the manufacturer’s documentation for specific instructions tailored to your server rack and model. Each rack may have slight variations in design and setup requirements, so it’s important to double-check before proceeding with the installation.
By following this guide and exercising caution throughout the process, you can successfully mount your Dell PowerEdge 2900 on a server rack and create a sturdy and reliable infrastructure for your business’s IT needs.