Introduction
Welcome to this comprehensive guide on how to assemble an Antec Power Supply Unit (PSU). If you are building your own computer or upgrading your current system, understanding how to properly install a PSU is essential. The power supply unit is responsible for supplying the necessary electrical power to all the components in your computer, ensuring its smooth operation.
This step-by-step guide will walk you through the process of assembling an Antec PSU with detailed instructions and helpful tips. Whether you are a beginner or an experienced computer enthusiast, this guide will provide you with the knowledge and skills needed to successfully install an Antec PSU and power up your system.
Before we get started, it’s important to note that every computer build is unique, and the process may vary slightly depending on your specific components and computer case. However, the general steps provided in this guide should apply to most setups.
Now, let’s dive into the exciting world of assembling an Antec Power Supply Unit!
Step 1: Gather the necessary tools and materials
Before you begin assembling your Antec Power Supply Unit, make sure you have all the necessary tools and materials at hand. This will ensure a smooth and efficient installation process. Here are the tools and materials you will need:
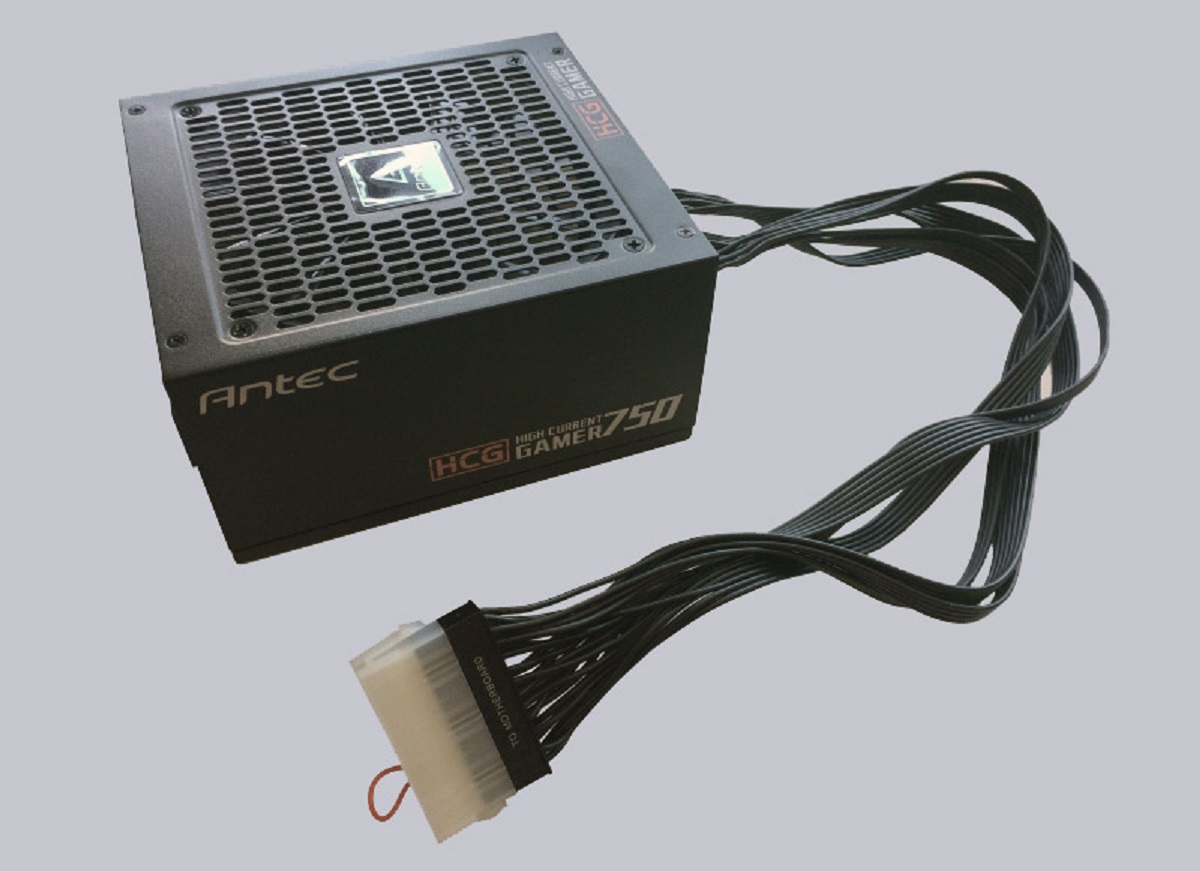
- Antec Power Supply Unit (PSU) – Make sure you have the correct model and wattage that is compatible with your computer’s power requirements. Check the specifications of your computer components to determine the appropriate PSU.
- Computer case – Your computer case should have a dedicated space or bracket to mount the PSU. Ensure that the case is large enough to accommodate the chosen PSU model.
- Screwdriver – Most computer cases use standard screws to secure the PSU. A Phillips-head screwdriver is typically used, but check your case’s specifications to confirm the type of screws required.
- Cable ties – These are used to secure and organize the cables coming from the PSU. It is essential to keep the cables neat and tidy to maintain good airflow and prevent cable clutter.
- Antistatic wrist strap (optional) – To protect sensitive computer components from electrostatic discharge, it is recommended to use an antistatic wrist strap during the installation process. This helps prevent accidental damage to your hardware.
- User manual – Although this guide provides detailed instructions, it is always a good idea to have the user manual for your specific Antec PSU on hand. It may contain additional information or specific requirements for your particular model.
Take a moment to gather all these tools and materials before proceeding to the next step. Having everything ready will save you time and make the installation process much more efficient.
Step 2: Prepare your workspace
Before you start assembling your Antec Power Supply Unit (PSU), it’s important to prepare your workspace to ensure a safe and organized installation process. Here are some steps to follow:
- Choose a clean and well-ventilated area – Find a spacious and well-lit area to work in. Ensure that there is ample room for your computer case and that the area is free from dust and static electricity.
- Ground yourself – Before handling any computer components, including the PSU, it is crucial to ground yourself to prevent static electricity from damaging sensitive hardware. You can do this by wearing an antistatic wrist strap or by touching a grounded metal object before touching any components.
- Clean your workstation – Remove any clutter or debris from your workspace. Having a clean area will help prevent accidental damage to your components and make it easier to locate and organize the tools and materials you’ll need during the installation process.
- Ensure proper lighting – Adequate lighting is essential for a successful installation process. Ensure that your workspace is well-lit so that you can clearly see the components and connectors as you assemble the PSU.
- Position your computer case – Place your computer case on a stable and level surface. Ensure that the case is accessible from all sides to make it easier to install the PSU and connect the cables.
- Consider using a static-free mat – If you have access to a static-free mat, place it under your computer case. This will provide an additional layer of protection against static electricity and help prevent accidental damage to your components.
- Organize your tools and materials – Lay out all the tools and materials you gathered in Step 1 in a systematic manner. Having everything organized and within reach will save you time and make the installation process more efficient.
By following these steps, you will create a safe and conducive workspace for assembling your Antec PSU. Taking the time to prepare your workspace will contribute to a smooth and stress-free installation process.
Step 3: Unpack the Antec Power Supply Unit (PSU)
Now that you have prepared your workspace, it’s time to unpack your Antec Power Supply Unit (PSU). Follow these steps to ensure a safe and proper unboxing process:
- Locate the packaging – The Antec PSU typically comes in a box or packaging material. Look for any seals or tape securing the packaging.
- Inspect the package – Before opening the package, carefully inspect it for any visible signs of damage during shipping. If you notice any dents, punctures, or other damages, contact the seller or Antec customer support for assistance.
- Open the package – Gently remove any adhesive tape or seals from the package. Open it carefully to avoid any possible damage to the PSU or its accessories.
- Take out the PSU – Once the package is open, locate the Antec PSU and carefully lift it out of the packaging. Handle it with care to avoid dropping or mishandling.
- Inspect the PSU – Before proceeding with the installation, take a moment to inspect the PSU for any visible damages or loose components. Check for any loose cables, bent connectors, or loose screws. If you notice any issues, contact Antec support for guidance.
- Remove protective covers – Some PSUs come with protective covers on the connectors or other parts. If your PSU has any protective covers, make sure to remove them before installing it in your computer case.
- Set aside the accessories – Depending on the model, your Antec PSU may come with additional accessories such as mounting screws, cable ties, or user manuals. Keep these accessories in a safe place for later use.
By following these steps, you will safely unpack your Antec PSU and ensure that it is free from any visible damages. Once you have inspected the PSU and removed any protective covers, you’re ready to move on to the next step of the installation process.
Step 4: Locate the connectors and cables
After unpacking your Antec Power Supply Unit (PSU), it’s time to familiarize yourself with the various connectors and cables that it comes with. Understanding the different connectors and their functions will help you properly connect the PSU to your computer components. Here’s what you need to do:
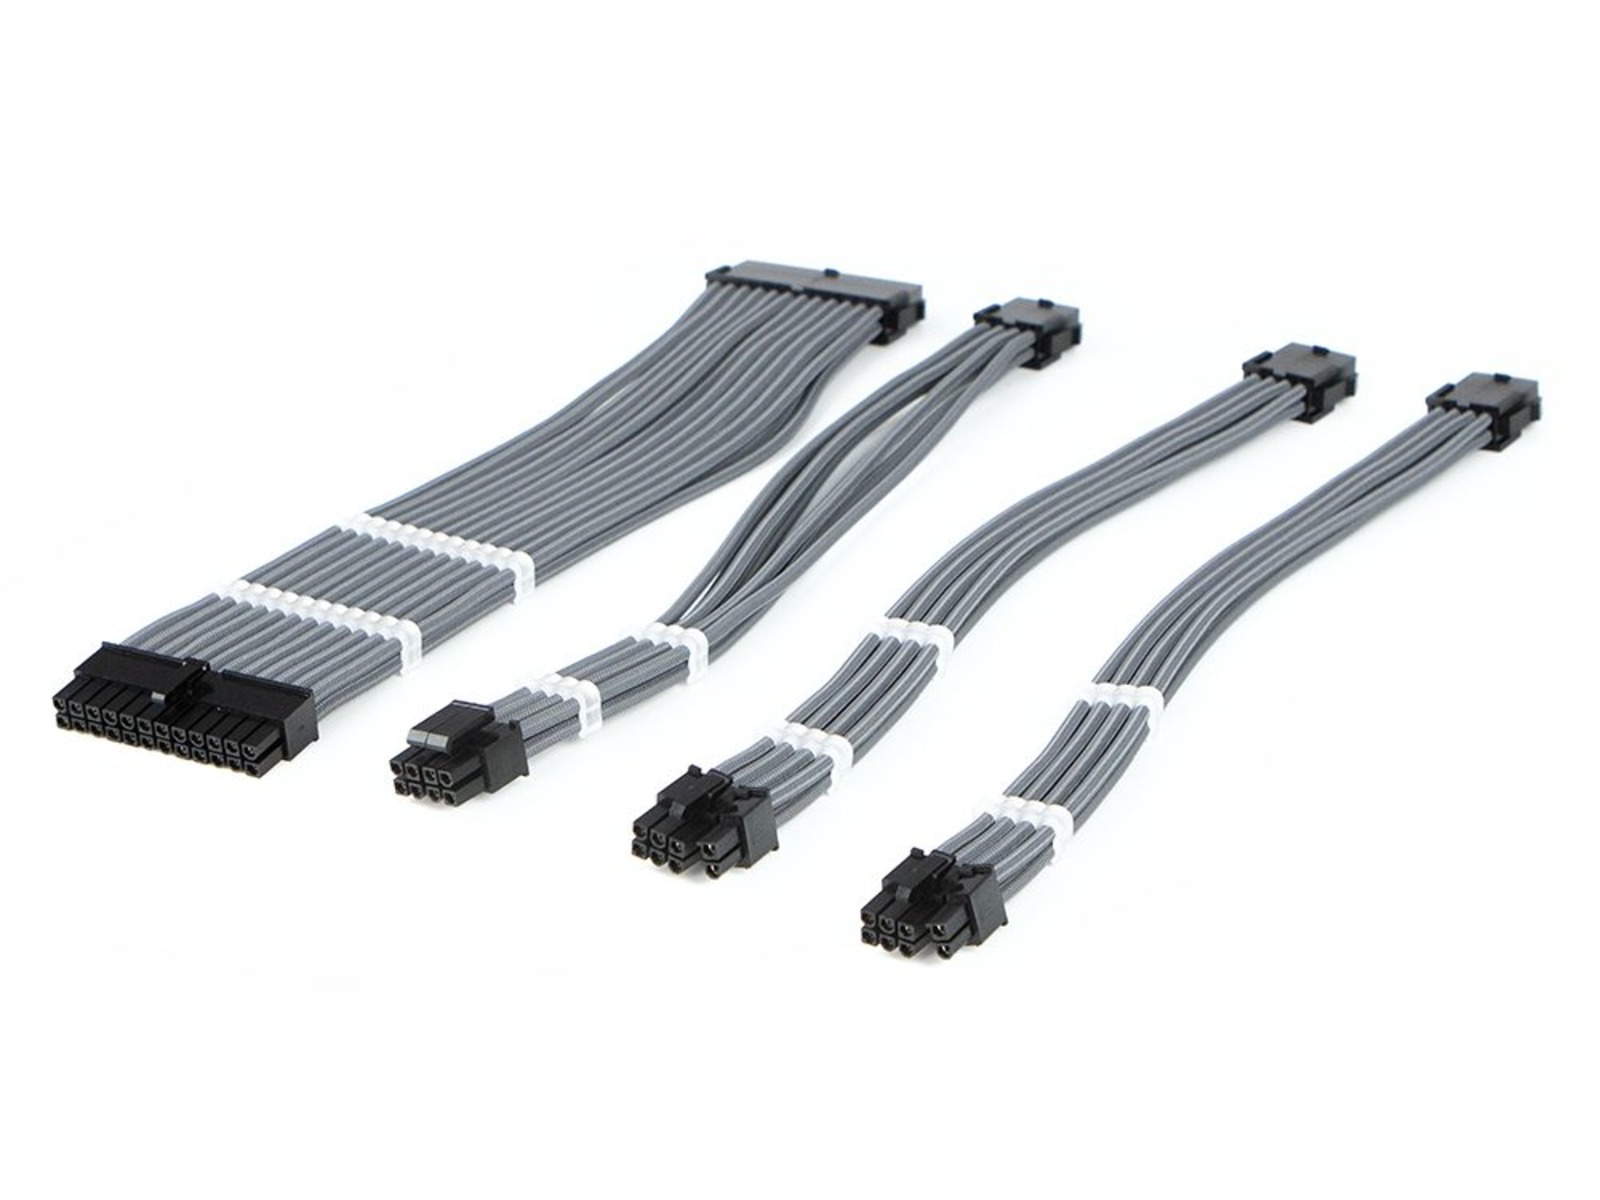
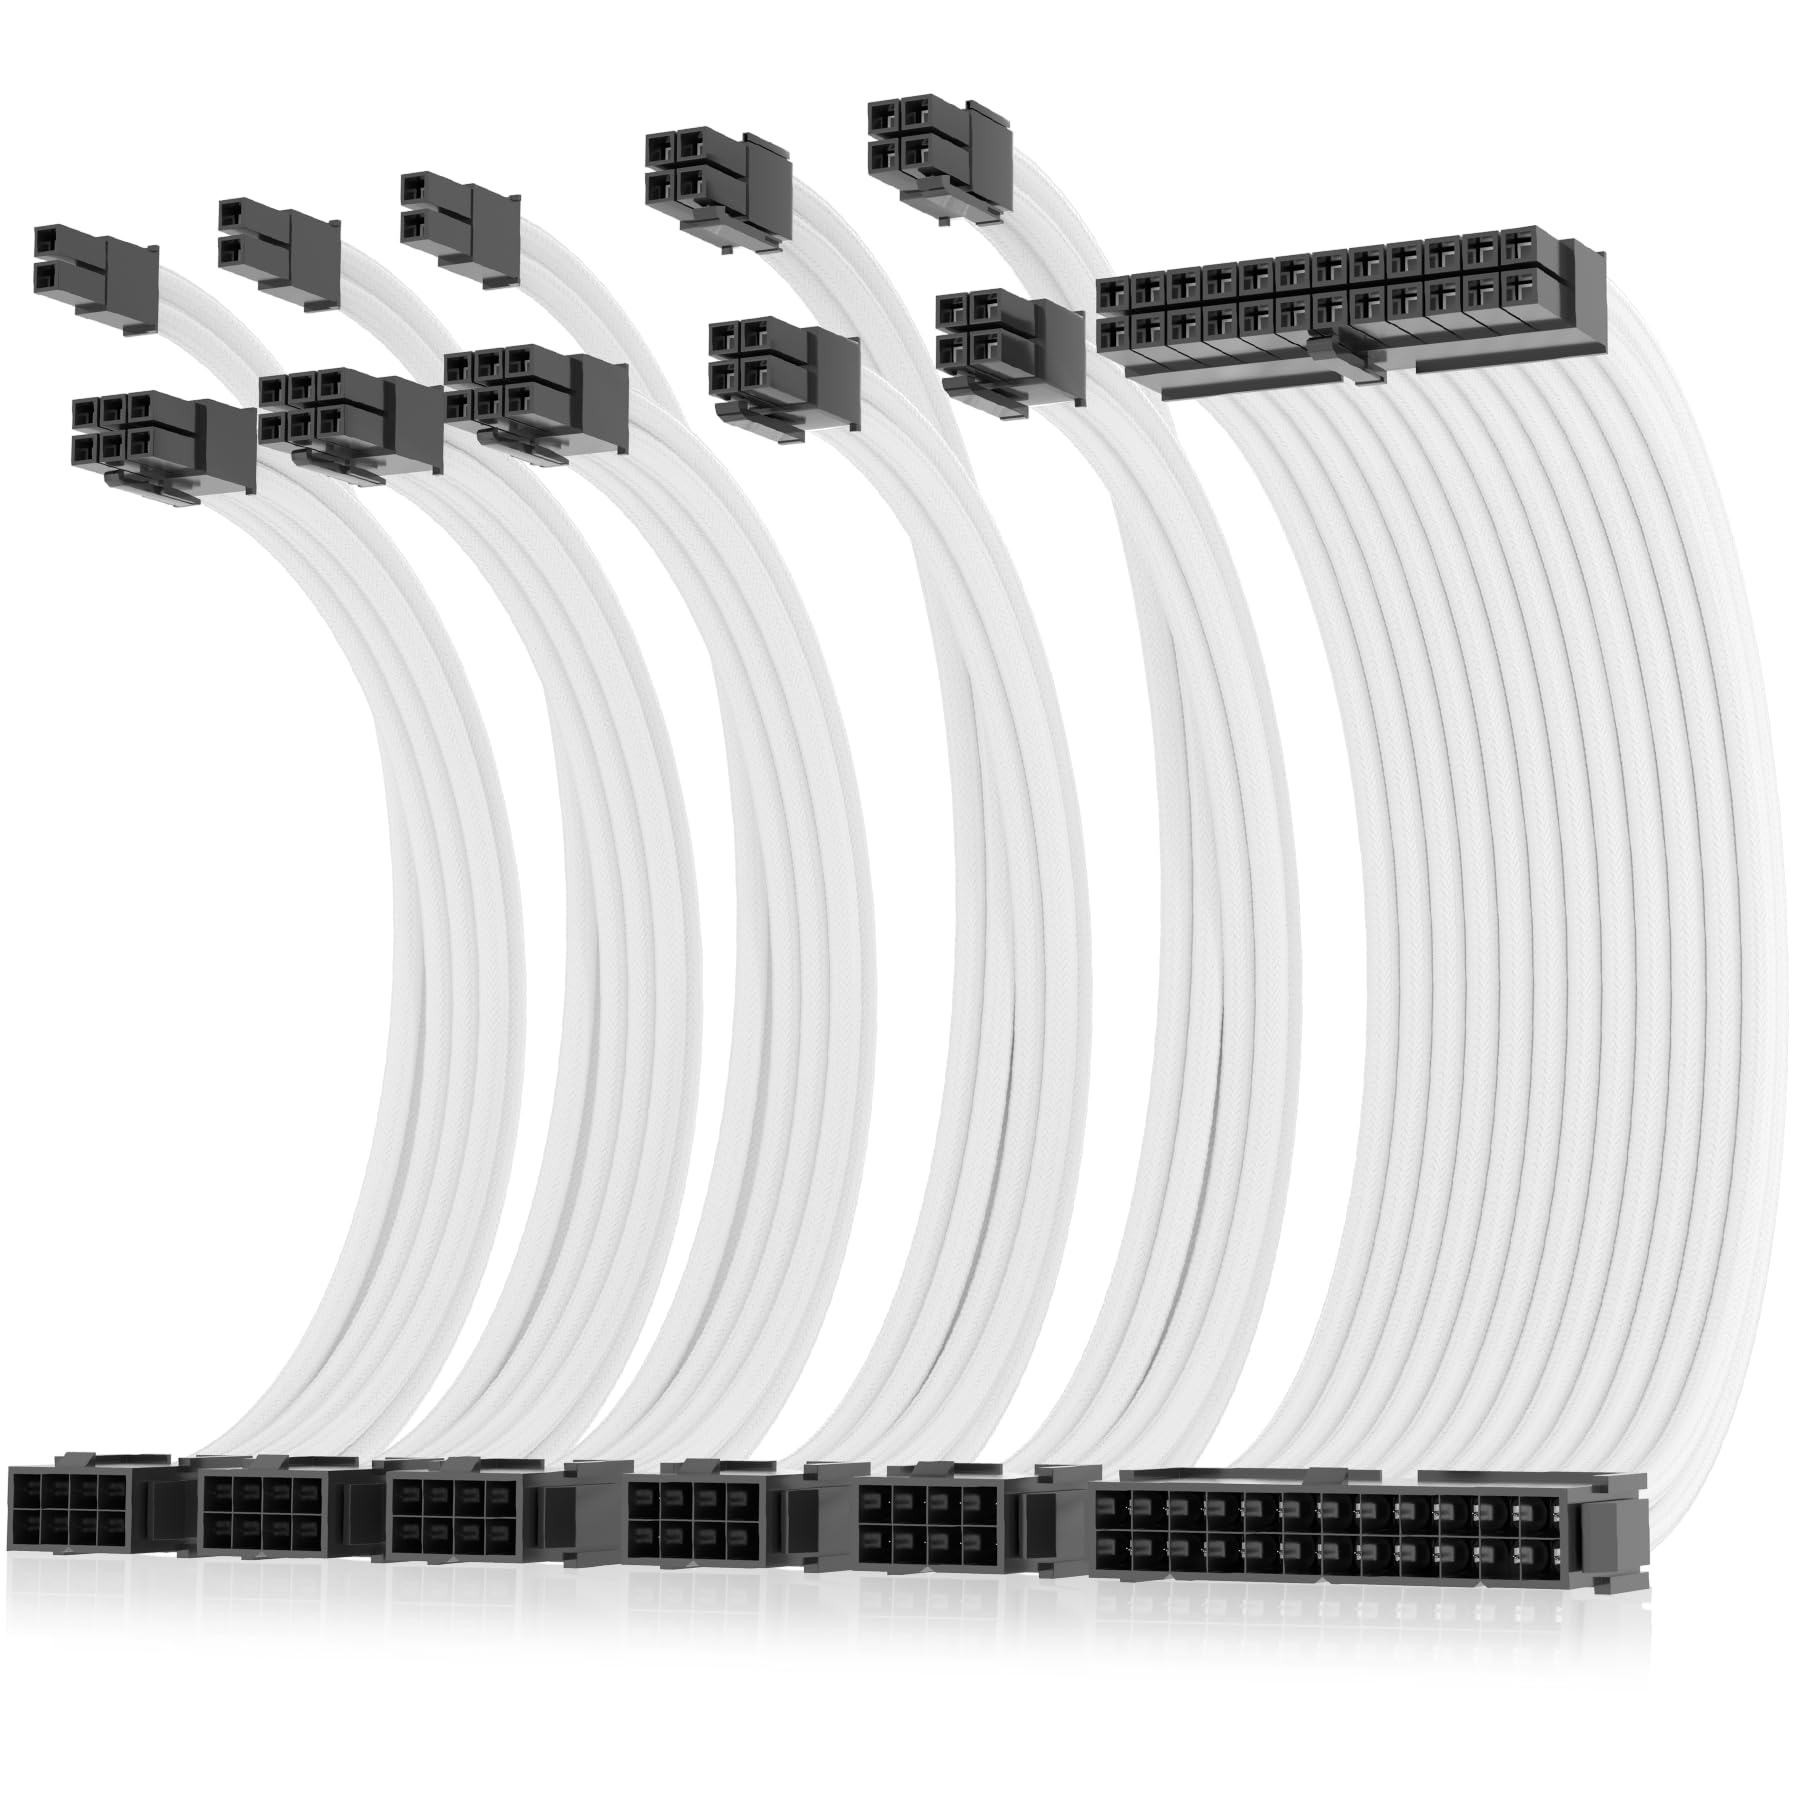
- Examine the PSU connectors – Take a close look at the PSU and locate the various connectors. These connectors will provide power to different components of your computer, such as the motherboard, graphics card, hard drives, and other peripherals. Familiarize yourself with the different types of connectors, including the 24-pin ATX connector, 8-pin EPS connector, PCIe connectors, SATA connectors, and peripheral connectors.
- Identify the cables – The PSU typically comes with a set of pre-attached cables. Identify the cables and determine which ones you will need for your specific computer setup. Each cable will have different connectors at the end, corresponding to the different components they will power.
- Check the cable lengths – Take note of the length of each cable. Consider the distance between the PSU and the components you will be connecting. Ensure that the cables are long enough to reach the appropriate connectors without causing strain or tension.
- Inspect cable labels – Many PSU cables come with labels indicating their purpose. These labels can help you identify which cable to use for each specific component. Pay attention to the labels to ensure proper cable management and organization.
- Review the user manual – If you are unsure about the function or placement of any connectors or cables, refer to the user manual provided with your Antec PSU. The user manual will provide specific instructions and diagrams to guide you through the installation process.
By taking the time to familiarize yourself with the connectors and cables of your Antec PSU, you will be better prepared to make the correct connections during the installation process. Understanding the purpose of each connector and cable will help ensure a successful and properly powered computer system.
Step 5: Mount the PSU onto the computer case
Now that you have identified the connectors and cables of your Antec Power Supply Unit (PSU), it’s time to mount the PSU onto your computer case. Follow these steps to securely and properly install the PSU:
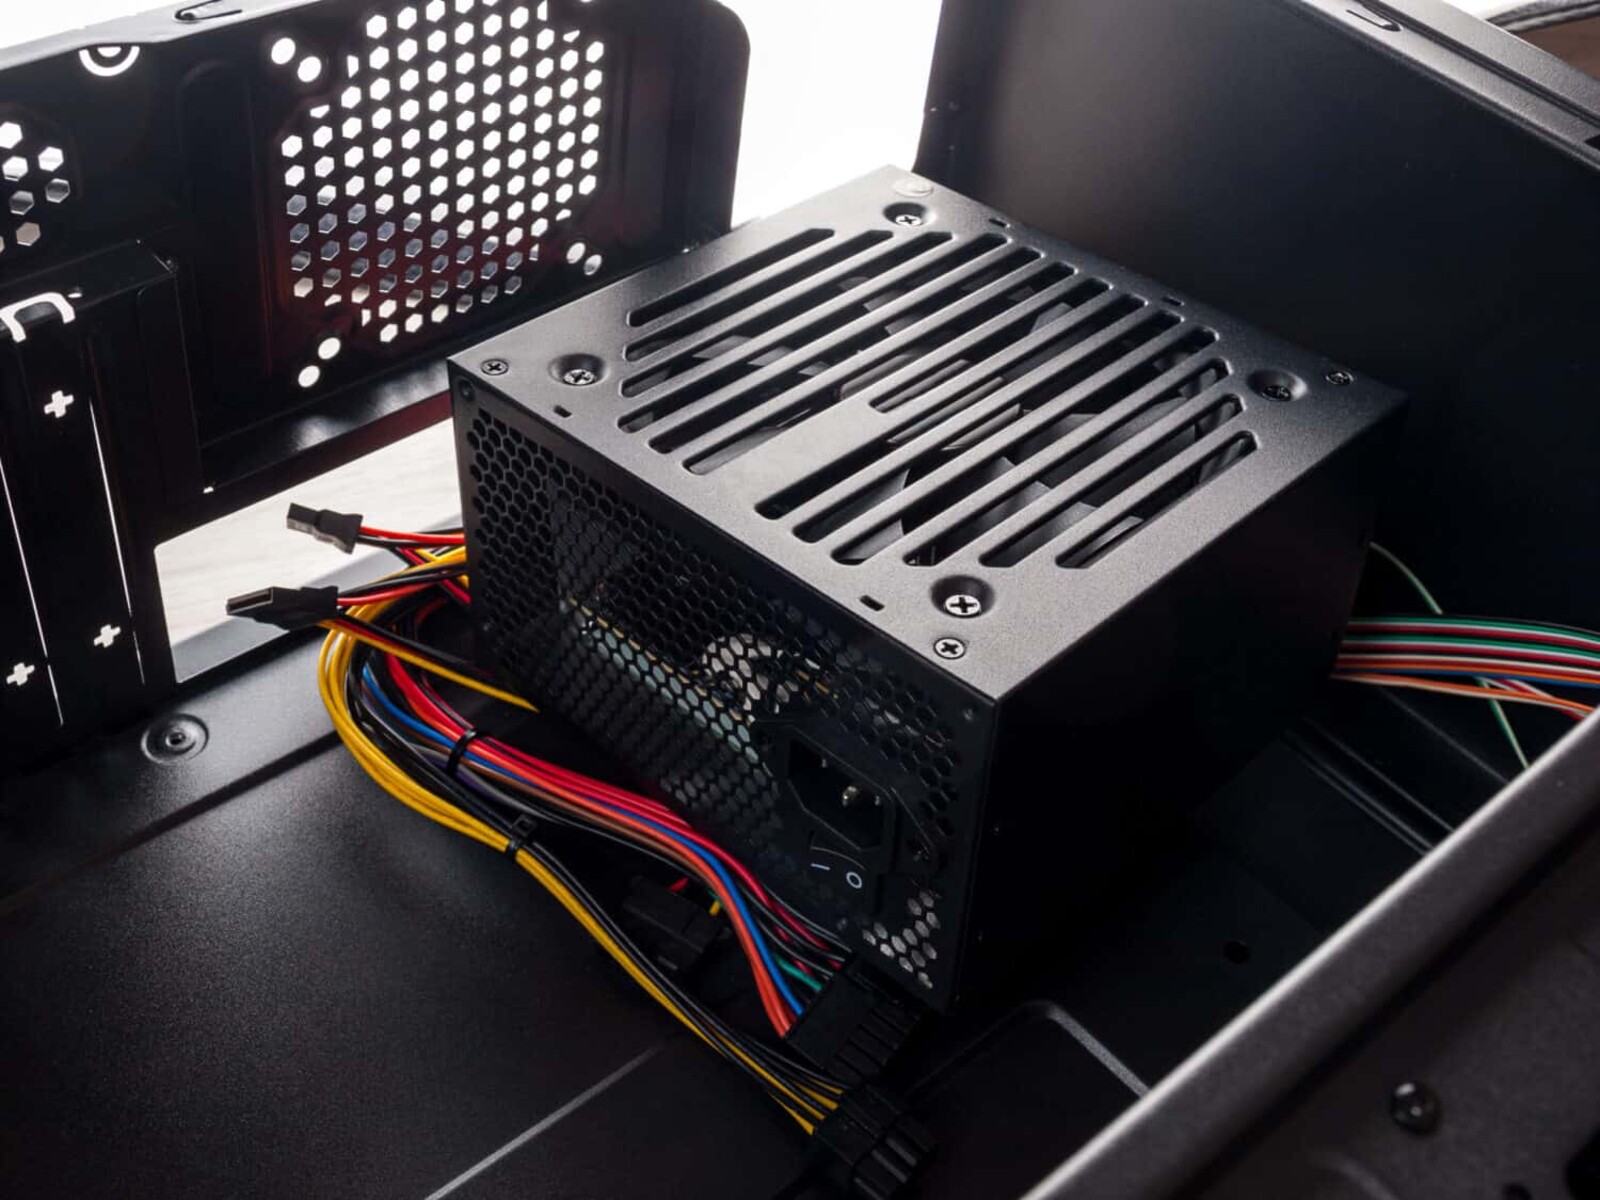
- Locate the PSU mounting area – Identify the dedicated space or bracket in your computer case where the PSU will be installed. This area is typically located at the back of the case, near the top or bottom.
- Position the PSU correctly – Align the PSU correctly with the mounting area. The fan side of the PSU should face downwards or towards the computer case’s ventilation system to ensure proper airflow.
- Secure the PSU – Use the provided screws to secure the PSU to the mounting area. Ensure that the PSU is tightly and firmly fastened to prevent any movement or vibration that could lead to damage or noise.
- Double-check the alignment – Once the PSU is secured, double-check its alignment to ensure that it is straight and properly positioned within the mounting area.
- Take cable length into consideration – Consider the length of each cable and plan the routing accordingly. Ensure that the cables can reach the appropriate connectors on the components without being too tight or causing strain.
- Organize the cables – Use cable ties to bundle and secure the cables coming out of the PSU. This will help keep the cables organized, improve airflow, and prevent cable clutter.
Mounting the PSU onto the computer case is a crucial step in the installation process. Ensuring a secure and properly aligned PSU will promote efficient cooling and prevent any potential damage or disruptions. Take your time to carefully mount the PSU and organize the cables for a clean and organized setup.
Step 6: Connect the power cables to the appropriate components
With the Antec Power Supply Unit (PSU) securely mounted in your computer case, it’s time to connect the power cables to the appropriate components. Follow these steps to ensure correct and secure connections:
- Refer to the PSU connectors – Consult the user manual or the labels on the cables to identify the connectors required for each component.
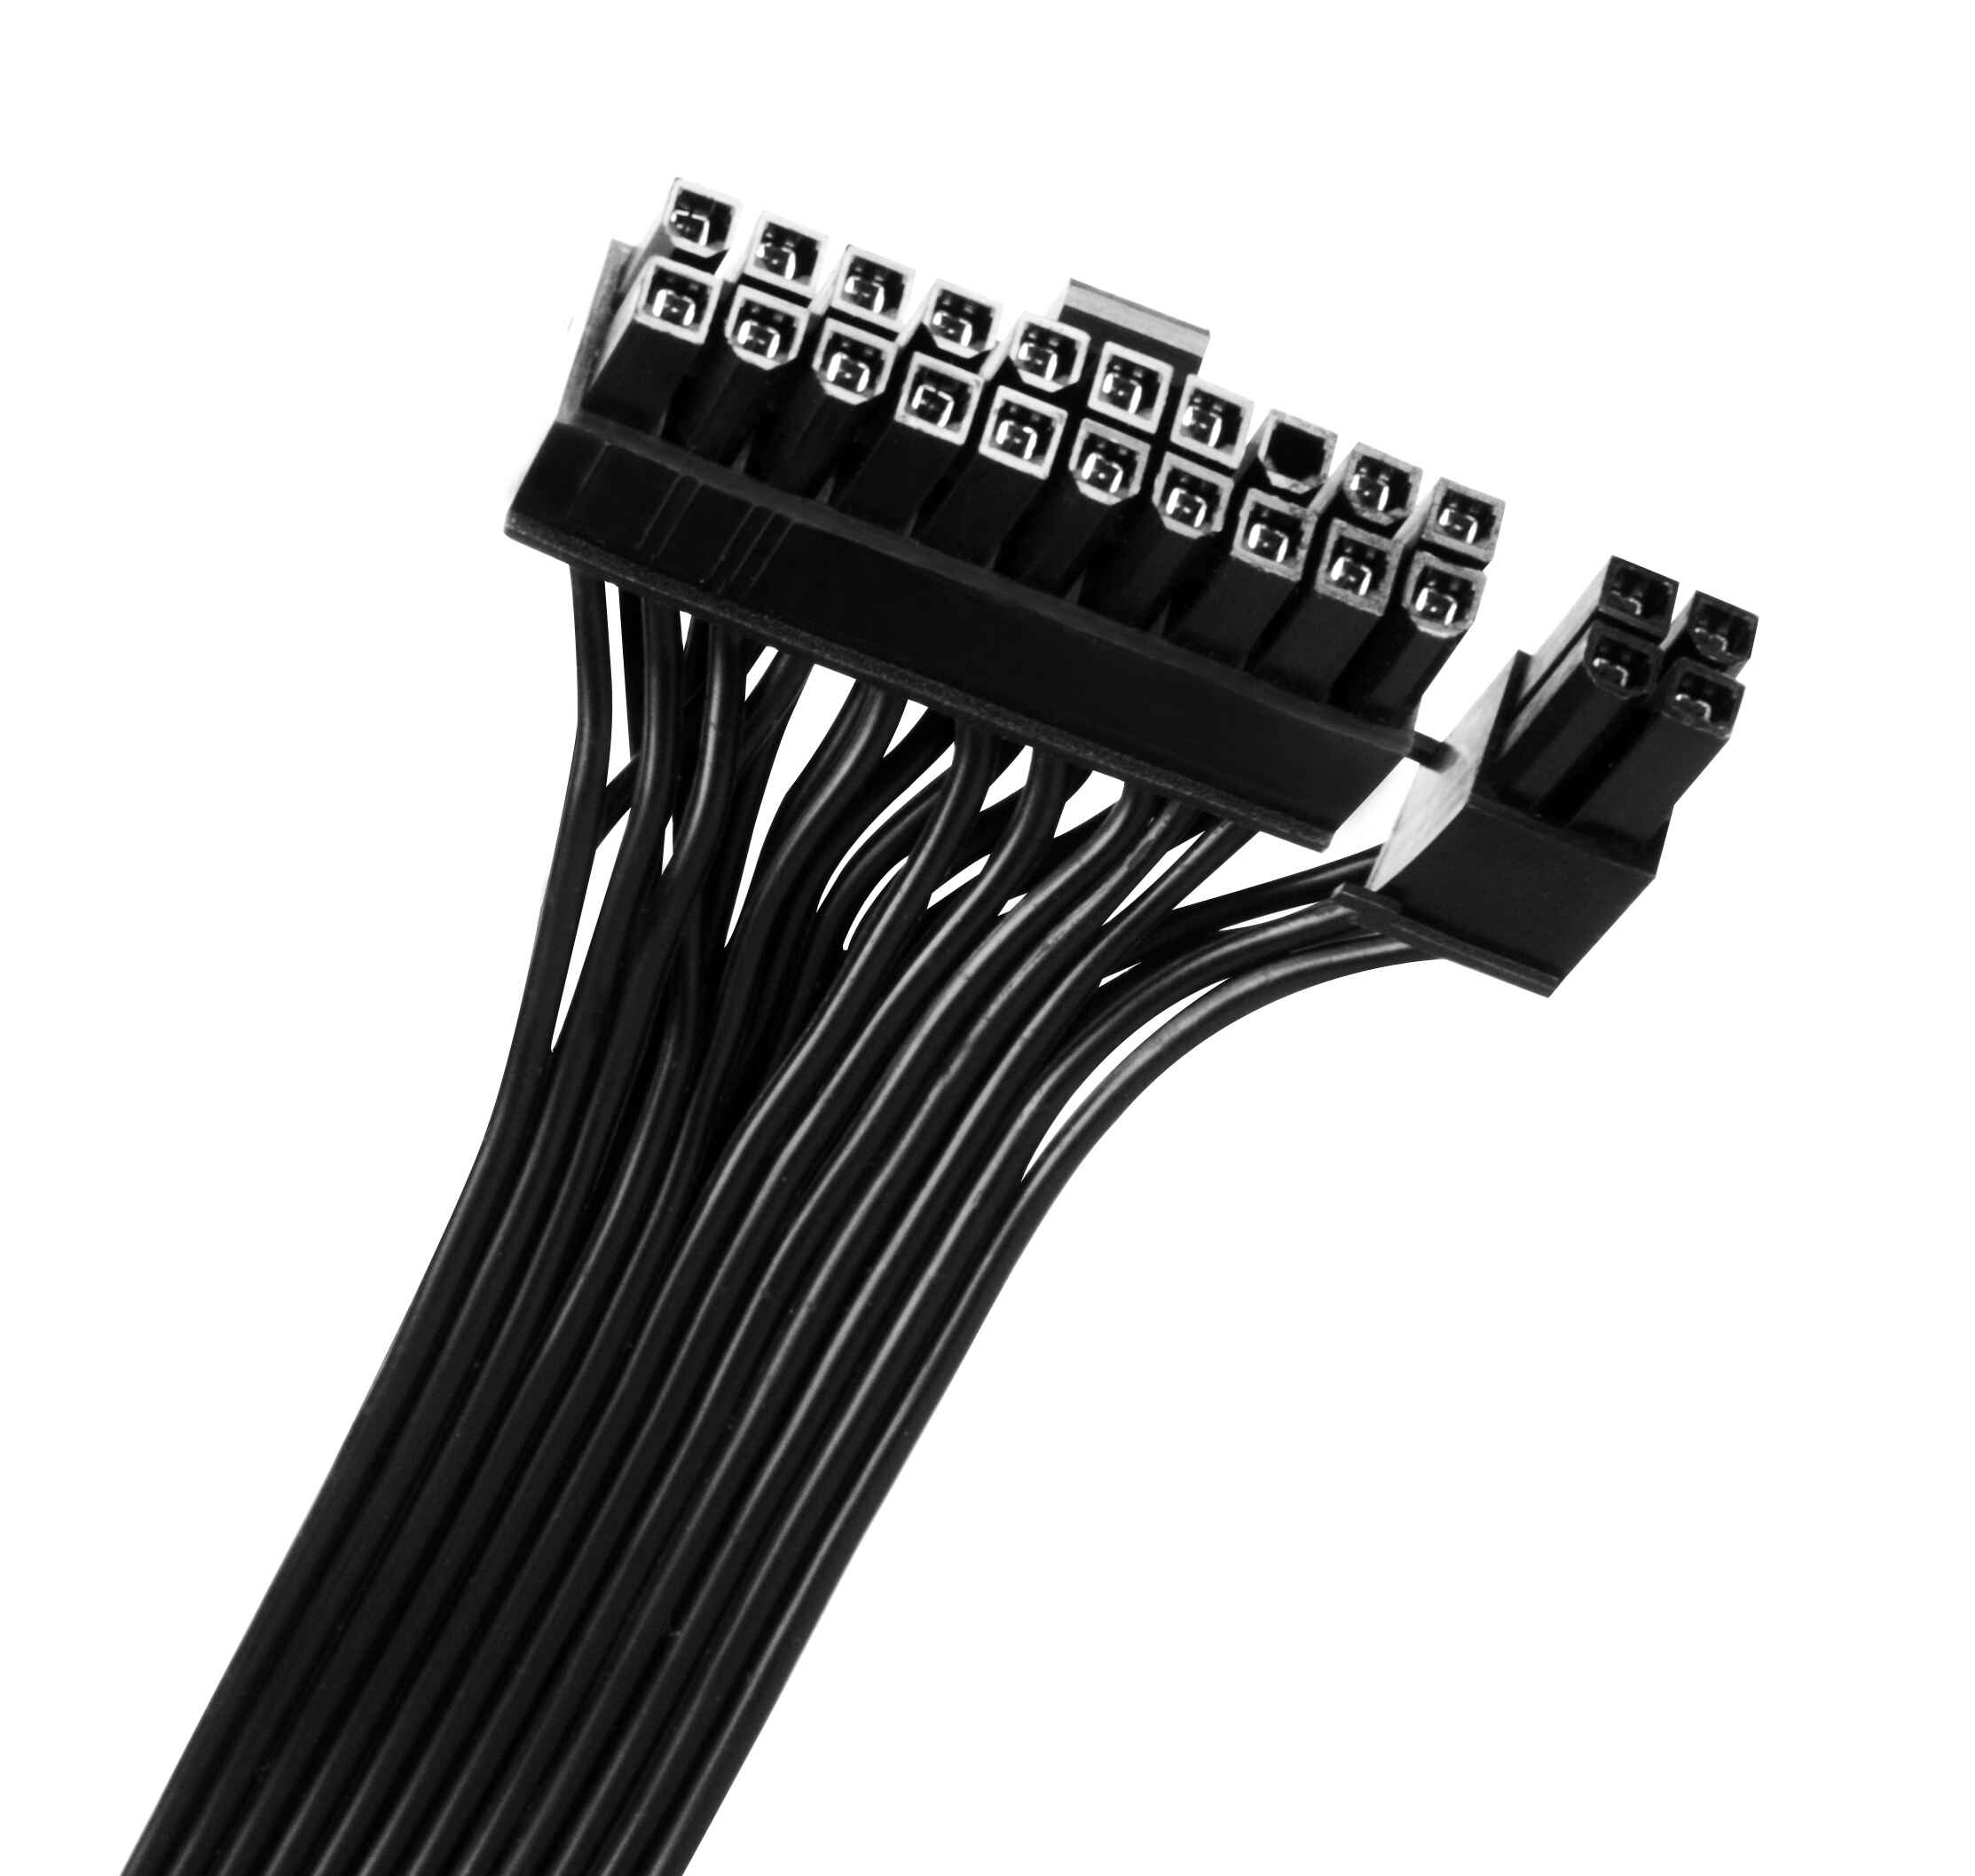
- Connect the motherboard power – Locate the 24-pin ATX power connector on the PSU and carefully connect it to the corresponding motherboard power port. Ensure that it is firmly seated and properly aligned.
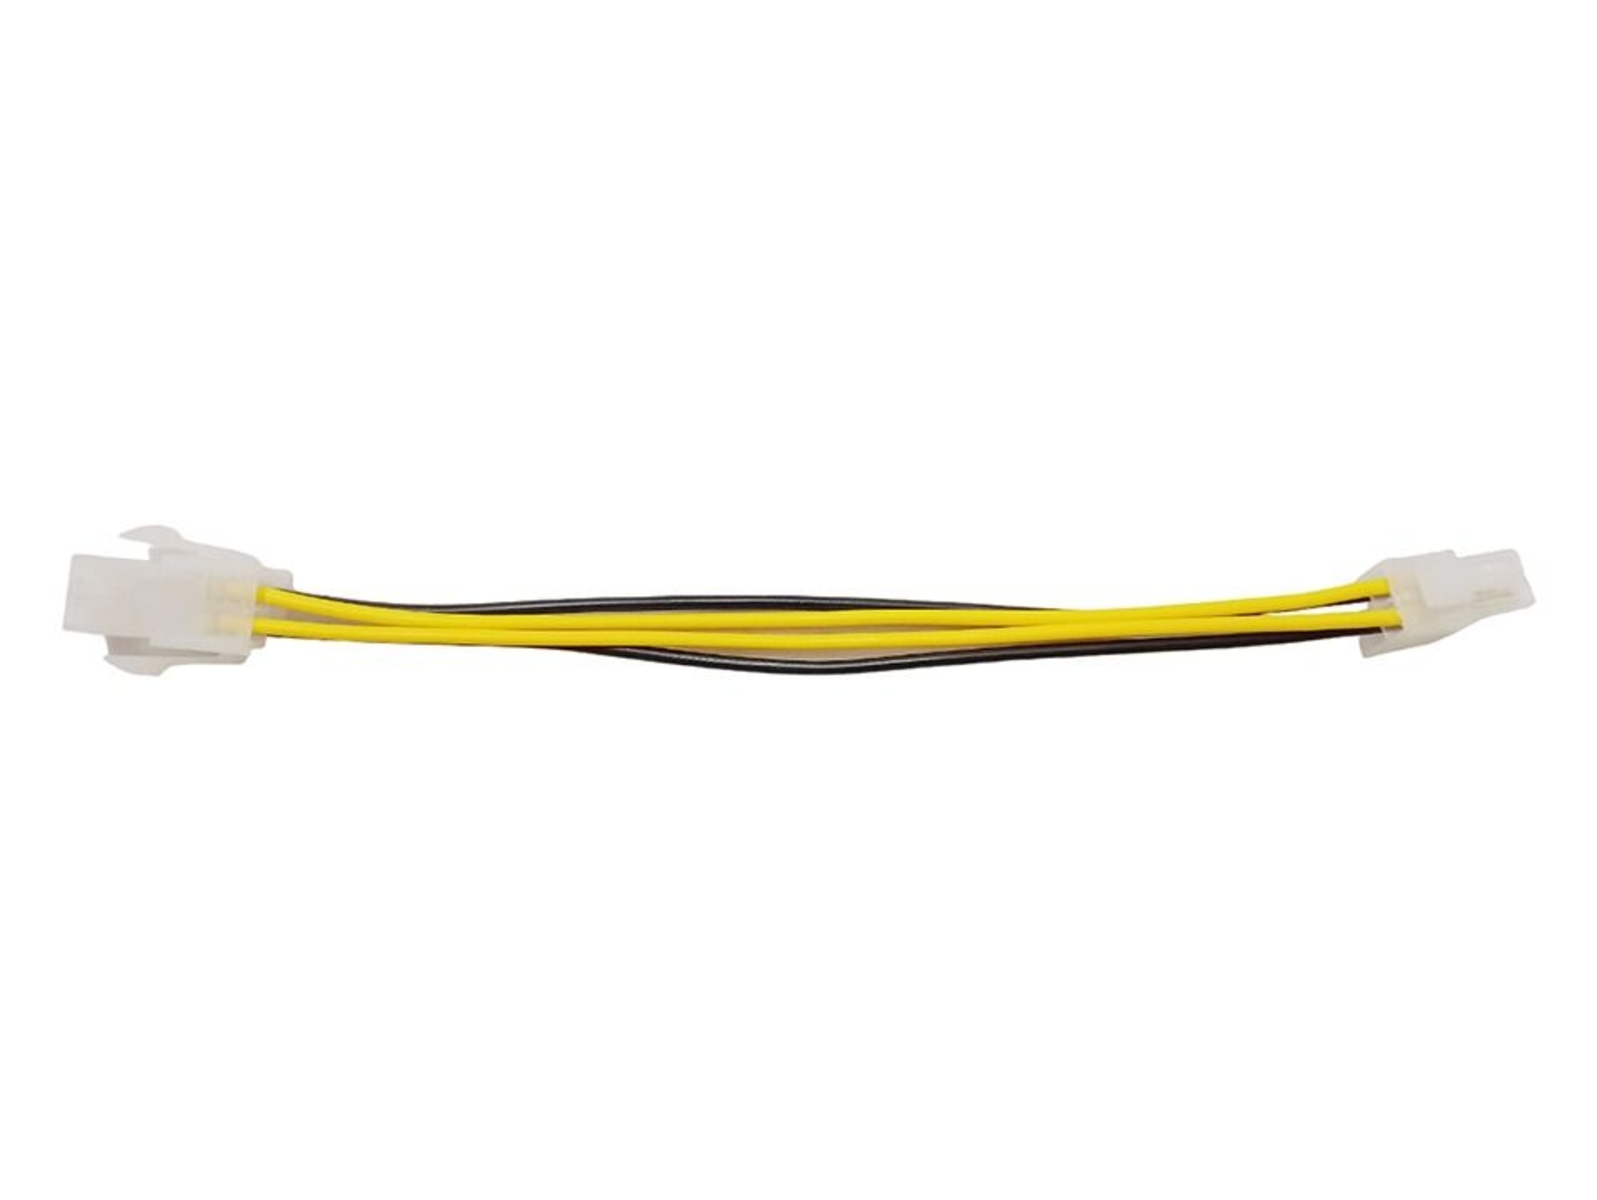
- Connect the CPU power – If your motherboard has an 8-pin or 4+4-pin CPU power connector, locate the corresponding cable from the PSU and connect it to the appropriate CPU power port on the motherboard. Make sure it is securely plugged in.
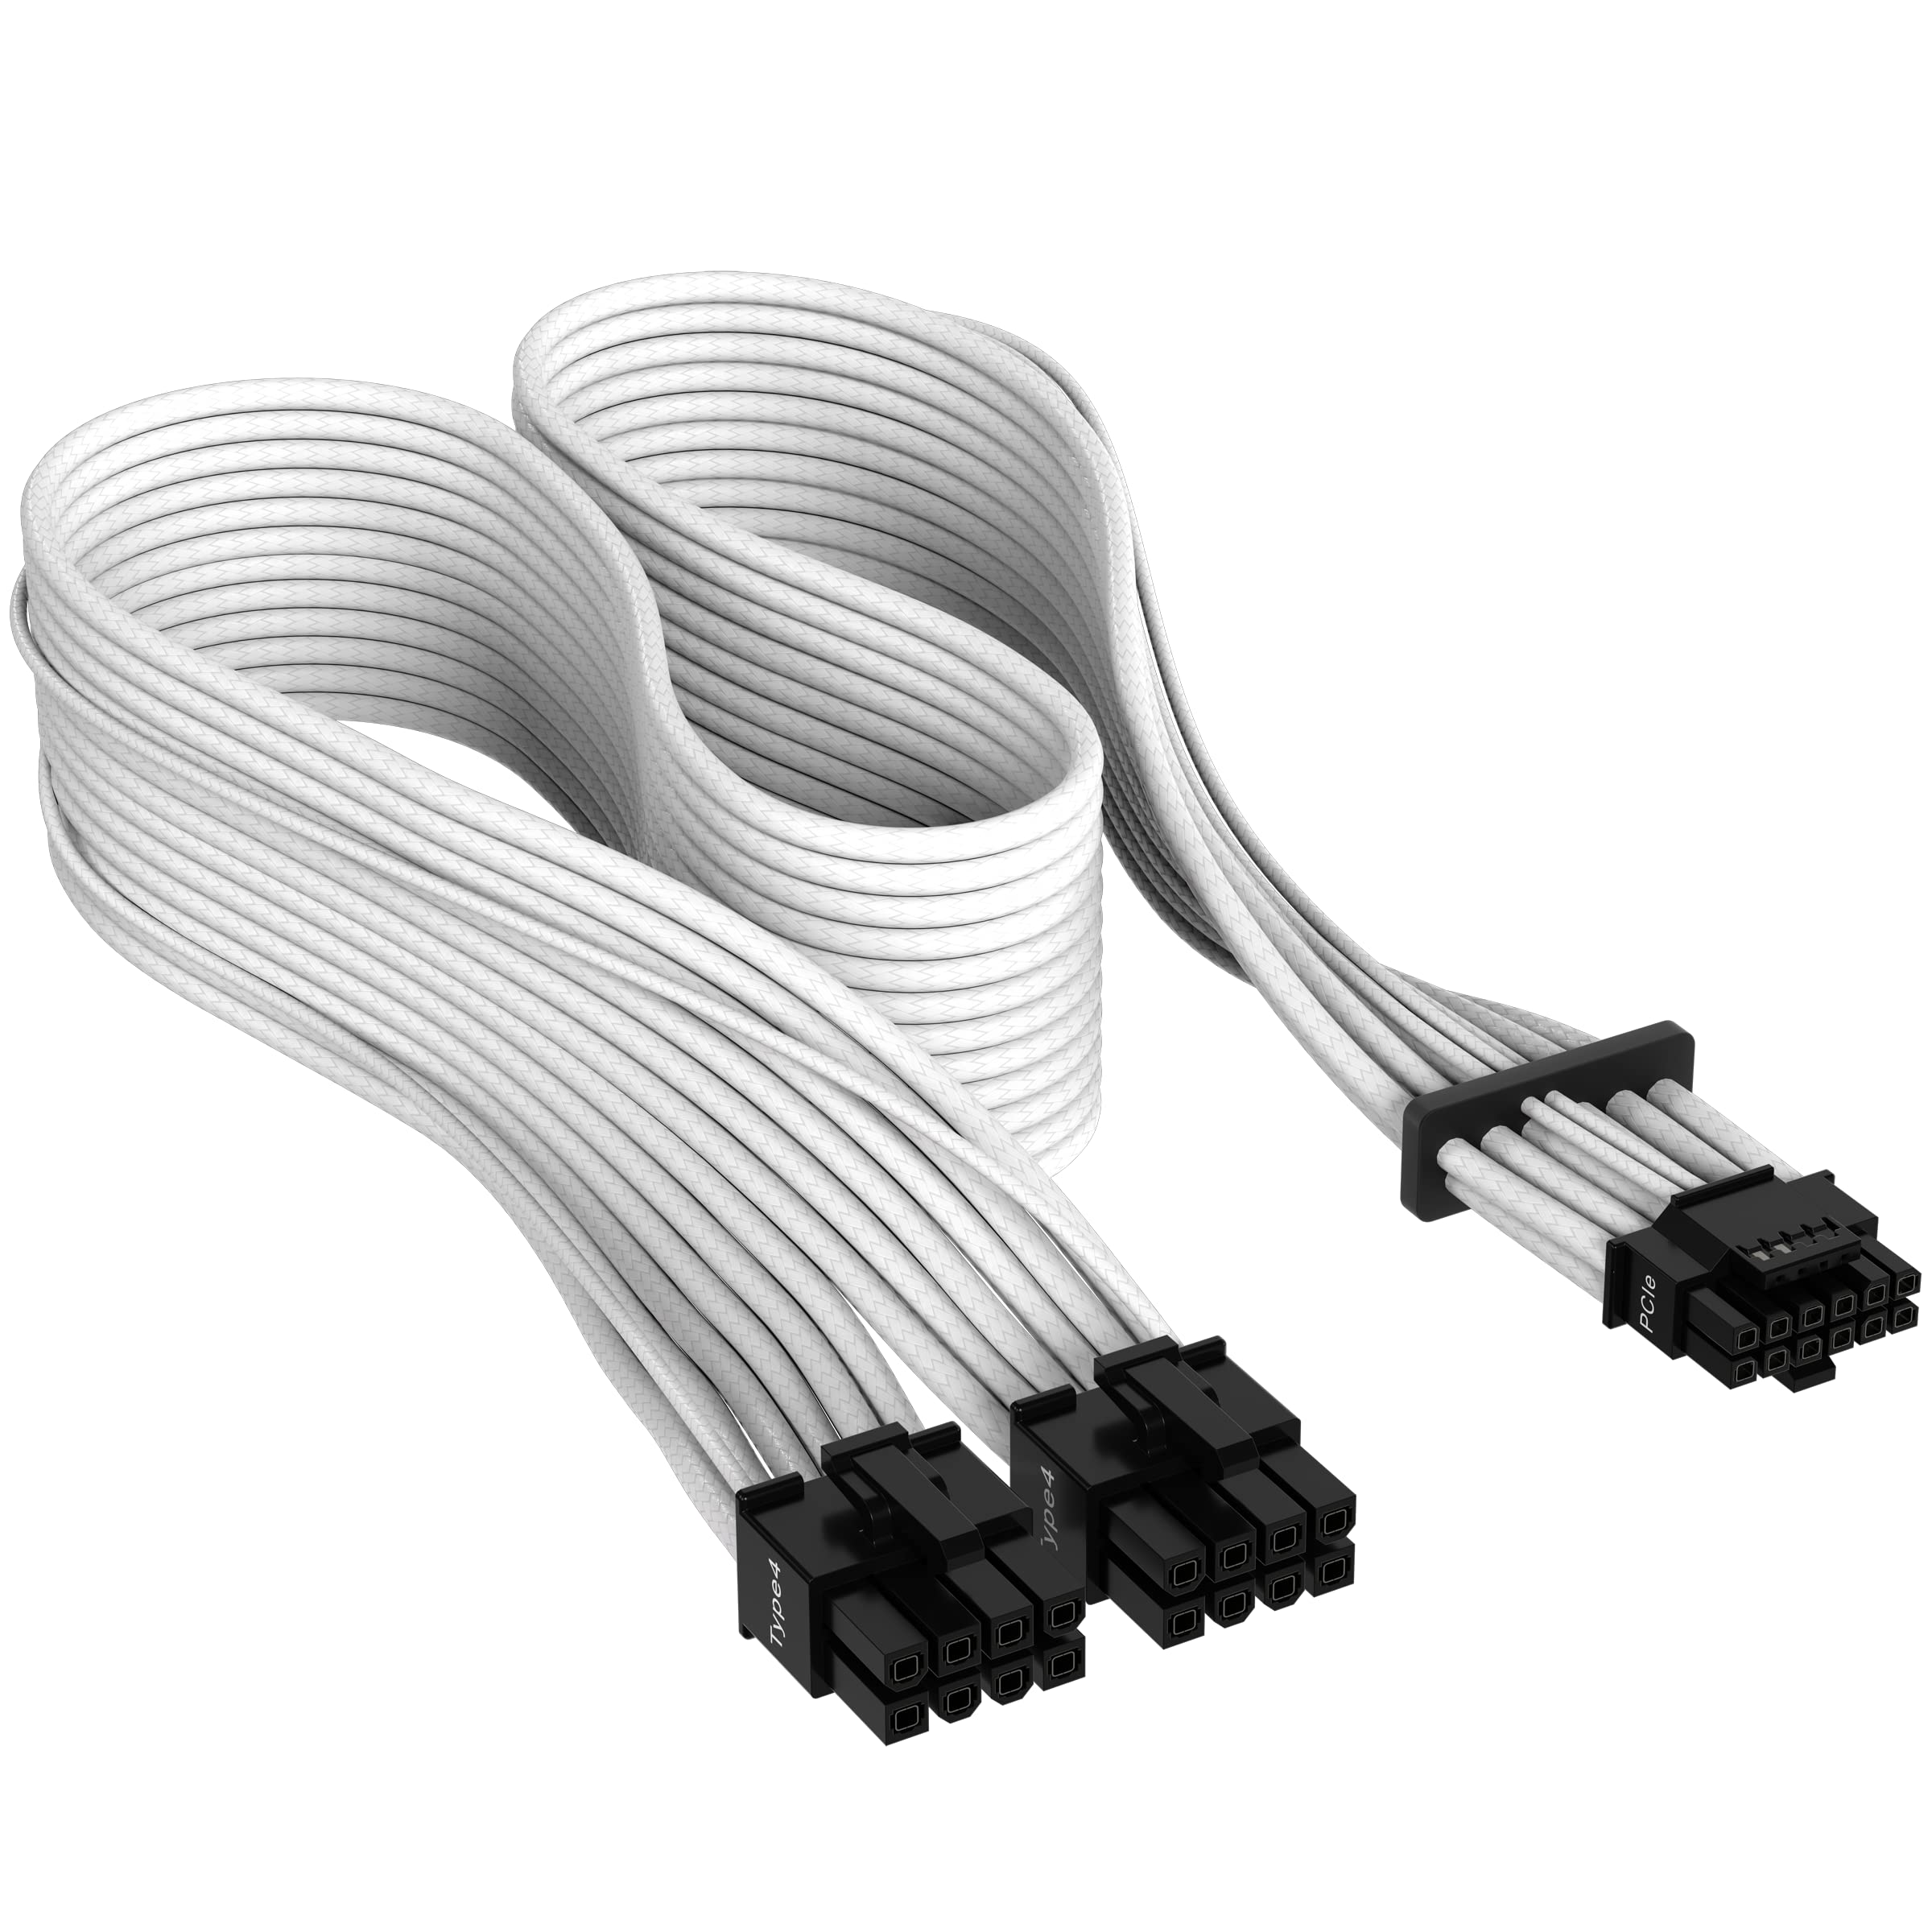
- Connect the graphics card power – If your graphics card requires additional power, locate the PCIe power connectors on the PSU and connect the appropriate cables to the graphics card. Check your graphics card’s specifications for the required power connectors.
- Connect the storage devices – Use the SATA power connectors from the PSU to connect power to your hard drives, solid-state drives (SSDs), or optical drives. Ensure a solid connection to each drive.
- Connect other components – If you have any additional components that require power, such as case fans or peripherals, use the peripheral connectors from the PSU to connect the necessary cables.
When connecting the power cables, make sure they are inserted fully and securely into the appropriate ports. Take care to avoid bending or damaging the connectors or cables. Properly routed and secured cables will help keep your system organized and improve airflow within the case.
Double-check all your connections to ensure that each cable is plugged in correctly. Loose or improperly connected cables can lead to power issues or system instability. Once you have verified that all power cables are connected securely, you’re ready to move on to the next step.
Step 7: Secure the cables using cable ties
After connecting the power cables to the appropriate components, it’s important to ensure that the cables are organized and secure. Using cable ties will help keep the cables neat, prevent tangling, and improve airflow within your computer case. Follow these steps to secure the cables:
- Plan the cable routing – Before securing the cables, plan the routing to achieve an organized layout. Consider the length of each cable and find the most efficient path from the PSU to each component. Avoid crossing cables or creating tight bends.
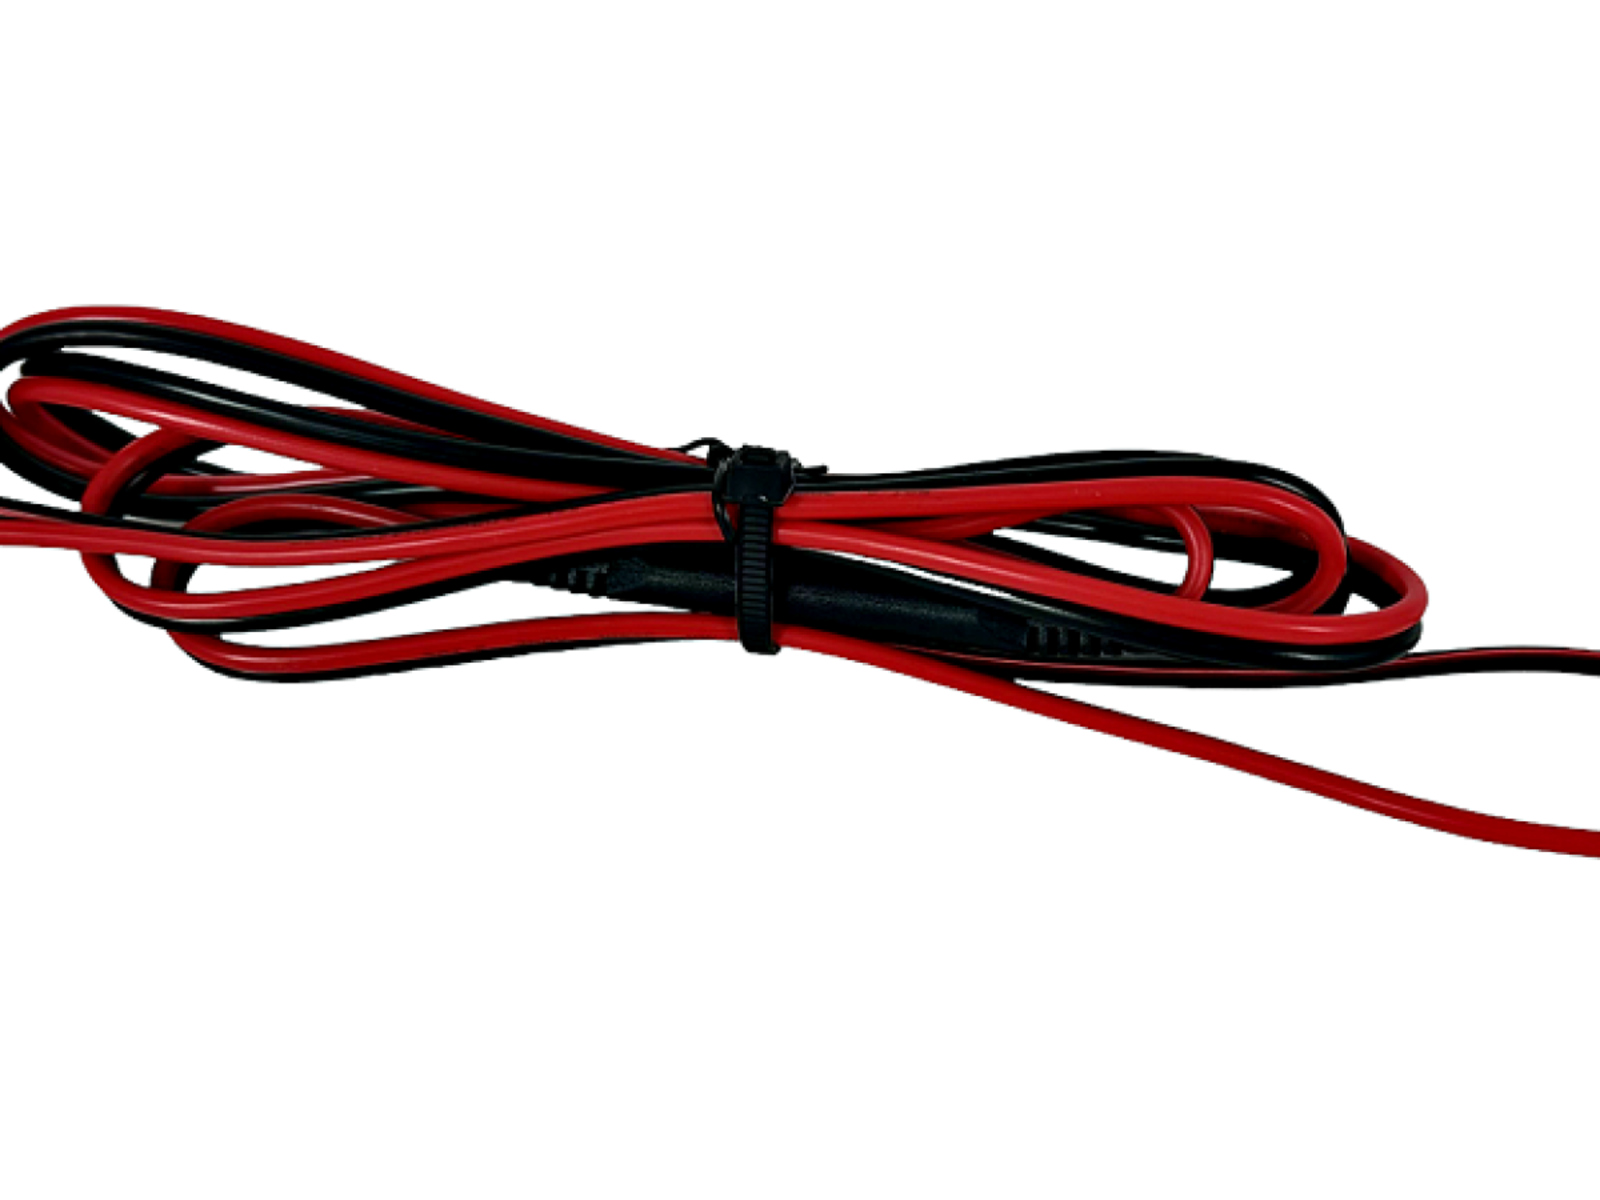
- Gather the cable ties – Collect a sufficient number of cable ties to secure the cables. These ties are usually made of plastic and have a small teeth-like mechanism for fastening.
- Bunch the cables – Gather the cables together in groups based on their destination or function. For example, gather the motherboard power cables, graphics card cables, and SATA cables separately.
- Secure the cable ties – Place a cable tie around the bundled cables near the PSU or where appropriate. Pull the tie tight, but not too tight to avoid damaging the cables. Trim any excess length of the cable ties using wire cutters.
- Repeat for other cable groups – Continue securing the cables using cable ties, ensuring that each group is neatly organized and fastened. Make adjustments to the routing or cable placement as needed for a cleaner look.
- Check for cable strain – As you secure the cables, ensure there is no strain or tension on any of the connectors. The cables should have a little slack to accommodate any future changes or upgrades to your system.
By securing the cables using cable ties, you not only improve the aesthetic appearance of your system but also promote efficient airflow and reduce the risk of accidental disconnections. Take your time to organize the cables neatly and avoid any excessive tension that could potentially damage the connectors.
Once you have fastened all the cables using cable ties, take a moment to double-check the cable routing and organization to ensure a clean and professional-looking build.
Step 8: Double-check all connections
Before powering on your computer, it is crucial to double-check all the connections to ensure that everything is properly connected. This final step will help prevent any potential issues and ensure a smooth and successful installation of your Antec Power Supply Unit (PSU). Follow these guidelines to double-check your connections:
- Inspect each cable – Carefully examine each power cable and its connection point, from the PSU to the respective components. Ensure that each connection is secure, with no loose or partially inserted cables.
- Verify alignment – Check the alignment of the connectors. Make sure they are properly inserted and in the correct orientation. Misaligned connectors can prevent a successful power connection.
- Check for any damaged cables – Inspect the cables for any signs of damage, such as frayed wires, loose connections, or visible cuts. Damaged cables should be replaced to avoid potential hazards.
- Confirm proper cable routing – Review the routing of the cables and ensure they are neatly organized and do not block any airflow or obstruct any other components. Make adjustments as necessary.
- Review cable labels – If your cables have labels indicating their purpose or destination, confirm that each cable is connected to the correct component. This will help prevent any potential confusion or misconfiguration.
- Perform a visual inspection – Take a step back and visually inspect your entire setup. Look for any loose screws, unsecured components, or any irregularities that might compromise the stability or functionality of your system.
- Refer to documentation – If you have any doubts or questions regarding specific connections, consult the documentation provided with your PSU or refer to the manufacturer’s website for guidance.
Double-checking all connections is a crucial step to ensure the longevity and reliable operation of your computer. Taking the time to verify each connection will give you peace of mind and improve the overall performance of your system.
Once you are confident that all connections are secure and properly aligned, you can proceed to the final step of powering on your computer and testing the PSU.
Step 9: Power on the computer and test the PSU
Now that you have successfully double-checked all the connections, it is time to power on your computer and test the functionality of your Antec Power Supply Unit (PSU). Follow these steps to ensure a smooth and safe startup:
- Connect the power cable – Plug the power cable from your PSU into a grounded power outlet.
- Flip the power switch – Locate the power switch on the back of the PSU and flip it to the “on” position.
- Press the power button – Press the power button on your computer’s case to start up the system.
- Listen for startup sounds – Listen for any unusual sounds during the startup process. A quiet and smooth startup is a good indication that your PSU is functioning properly.
- Check for LED indicators – Many PSUs come with LED indicators to show that they are receiving power and functioning correctly. Check for these indicators to ensure they are on.
- Monitor component activity – Keep an eye on your computer’s monitor and observe if the components are receiving power and functioning as expected. Check that the fans are spinning, LED lights are illuminating, and the operating system is booting up.
- Stress test (optional) – If you want to further test the stability of your PSU, you can run a stress test using software designed for this purpose. This will simulate intensive use of your computer’s components and ensure your PSU can handle the load.
- Monitor temperatures – During the testing phase, pay attention to the temperatures of your components. Excessive heat may indicate insufficient power supply or poor cooling. Ensure that your system stays within safe temperature ranges.
If your computer successfully powers on and all components are functioning properly, congratulations! You have successfully installed and tested your Antec PSU. Enjoy your newly powered system!
If you encounter any issues during the testing phase, such as unexpected shutdowns, strange noises, or component failures, double-check your connections and consult the manufacturer’s documentation or technical support for assistance.
Remember, proper installation and testing of your PSU are crucial for the stability and longevity of your system. Taking the time to ensure everything is in working order will provide you with a reliable and efficient computing experience.
Conclusion
Congratulations on successfully assembling your Antec Power Supply Unit (PSU)! By following this step-by-step guide, you have learned how to gather the necessary tools and materials, prepare your workspace, unpack the PSU, locate the connectors and cables, mount the PSU onto the computer case, connect the power cables, secure the cables using cable ties, double-check all connections, and power on the computer to test the PSU. Your efforts will result in a properly powered and efficiently functioning computer system.
Throughout the installation process, it is crucial to prioritize safety by handling the PSU and other components with care and taking necessary precautions to protect against static electricity. Additionally, organizing and securing the cables will not only improve the aesthetics of your build but also enhance cooling efficiency and ensure better airflow within the case.
Remember, every computer build may have unique requirements, so always refer to the user manual provided with your specific Antec PSU and consult the manufacturer’s support resources for any specific questions or concerns.
With your newly installed Antec PSU, your computer will receive the optimal power it needs to run smoothly and power-hungry components without any issues. Enjoy the enhanced performance and stability that a reliable PSU brings to your system.
Thank you for choosing Antec and utilizing this comprehensive guide. We hope it has empowered you with the knowledge and confidence to successfully assemble and install your Antec Power Supply Unit. Happy computing!