Introduction
Welcome to this guide on how to use a Lack table as a server rack. Server racks are essential for organizing and housing servers, networking equipment, and other devices in a data center or home environment. However, traditional server racks can be expensive and bulky, making them impractical for some individuals or small businesses.
That’s where the Lack table from IKEA comes in. The Lack table is a simple and affordable piece of furniture that can be transformed into a functional server rack. Not only does it provide a cost-effective solution, but it also offers a modern and minimalist design that seamlessly blends into any space.
In this guide, we will walk you through the process of preparing the Lack table and assembling it as a server rack. We will also discuss important aspects such as cable management, ventilation, safety considerations, and maintenance. Whether you are a tech enthusiast looking to set up a home server or a small business owner needing a budget-friendly server rack, this guide is for you.
Keep in mind that while the Lack table can be repurposed as a server rack, it may have limitations in terms of weight capacity and size compared to commercial server racks. Therefore, it is important to evaluate your specific needs and ensure that the Lack table meets your requirements before proceeding with the transformation.
Without further ado, let’s dive into the materials needed and the step-by-step process of turning a Lack table into a functional and stylish server rack.
Materials Needed
Before we begin, let’s gather the necessary materials to transform your Lack table into a server rack. Here’s a list of items you will need:
- Lack Table: Purchase a Lack table from IKEA. You can choose the size that suits your needs, whether it’s the smaller coffee table version or the larger side table.
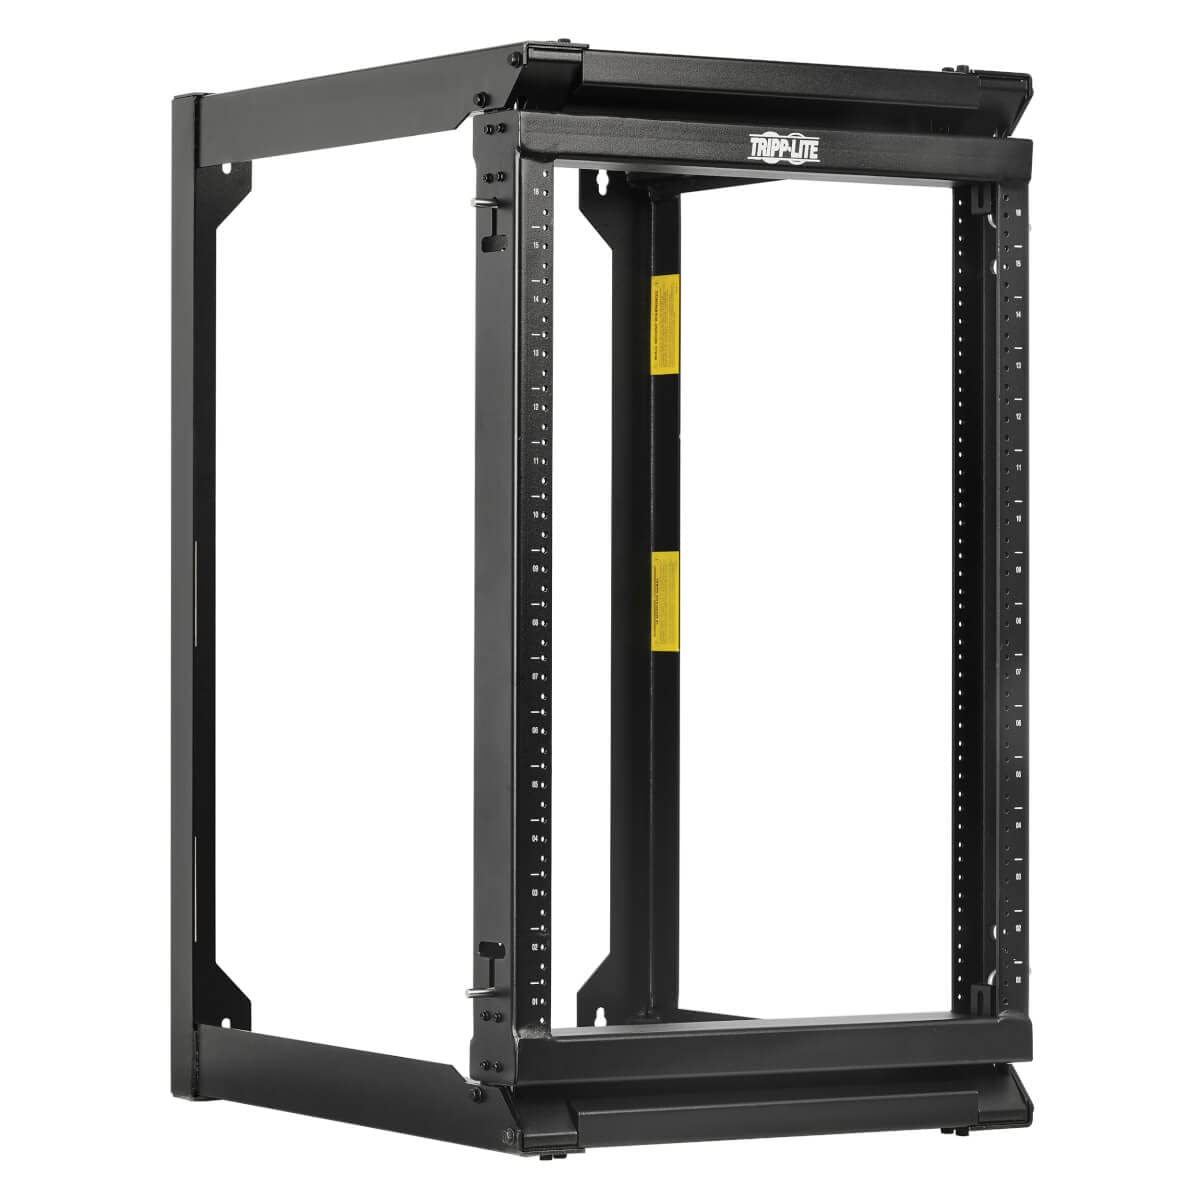
- Rack Rails: You will need rack rails to mount your equipment. Measure the inside dimensions of the Lack table to determine the size of the rack rails you need.
- Screws and Nuts: Get screws and nuts that are compatible with the rack rails you purchased. The size may vary depending on the rails, so ensure you have the appropriate hardware.
- Rack Mount Shelves: If you plan to install non-rack mount devices, such as switches or routers, you will need rack mount shelves to support them.
- Cable Management Solutions: Consider using cable management solutions such as cable ties, cable clips, and cable management racks to keep your cables organized and tangle-free.
- Ventilation Fans: To ensure proper airflow and cooling, you may want to add ventilation fans to the Lack table. Choose fans that match the dimensions of your table and provide adequate airflow for your equipment.
- Power Strip: A power strip with surge protection will be essential for supplying power to all your devices. Make sure it has enough outlets for your equipment.
- Tools: Gather basic tools such as a screwdriver, measuring tape, and a drill with appropriate bits for installation purposes.
With these materials on hand, you are now ready to move on to the next phase, which is preparing the Lack table for assembly as a server rack.
Preparing the Lack Table
Now that you have the necessary materials, let’s prepare the Lack table to be transformed into a server rack. Follow these steps:
- Clear the table: Remove any items or accessories from the Lack table and ensure it’s completely empty.
- Measure and mark: Measure the inside dimensions of the table to determine where the rack rails will be installed. Use a pencil to mark the spots where the rails will be positioned.
- Drill pilot holes: With the help of a drill and appropriate drill bit, drill pilot holes on the marked spots. These holes will make it easier to screw in the rack rails later.
- Attach the rack rails: Take the rack rails and align them with the pilot holes. Use the screws and nuts to securely attach the rack rails to the inside of the table. Make sure they are level and stable.
- Add rack mount shelves: If you plan to include non-rack mount devices, attach the rack mount shelves to the rack rails according to your needs. Ensure they are installed securely to support the equipment properly.
Once you have completed these steps, your Lack table is now prepared to be assembled as a server rack. The rack rails and rack mount shelves provide the necessary framework to hold and organize your server equipment. In the next section, we will go through the process of assembling the server rack using the Lack table.
Assembling the Server Rack
With the Lack table prepared, it’s time to assemble it into a functional server rack. Follow these steps to complete the assembly:
- Place the Lack table in the desired location: Choose a suitable spot for your server rack, ensuring there is enough space and easy access for maintenance.
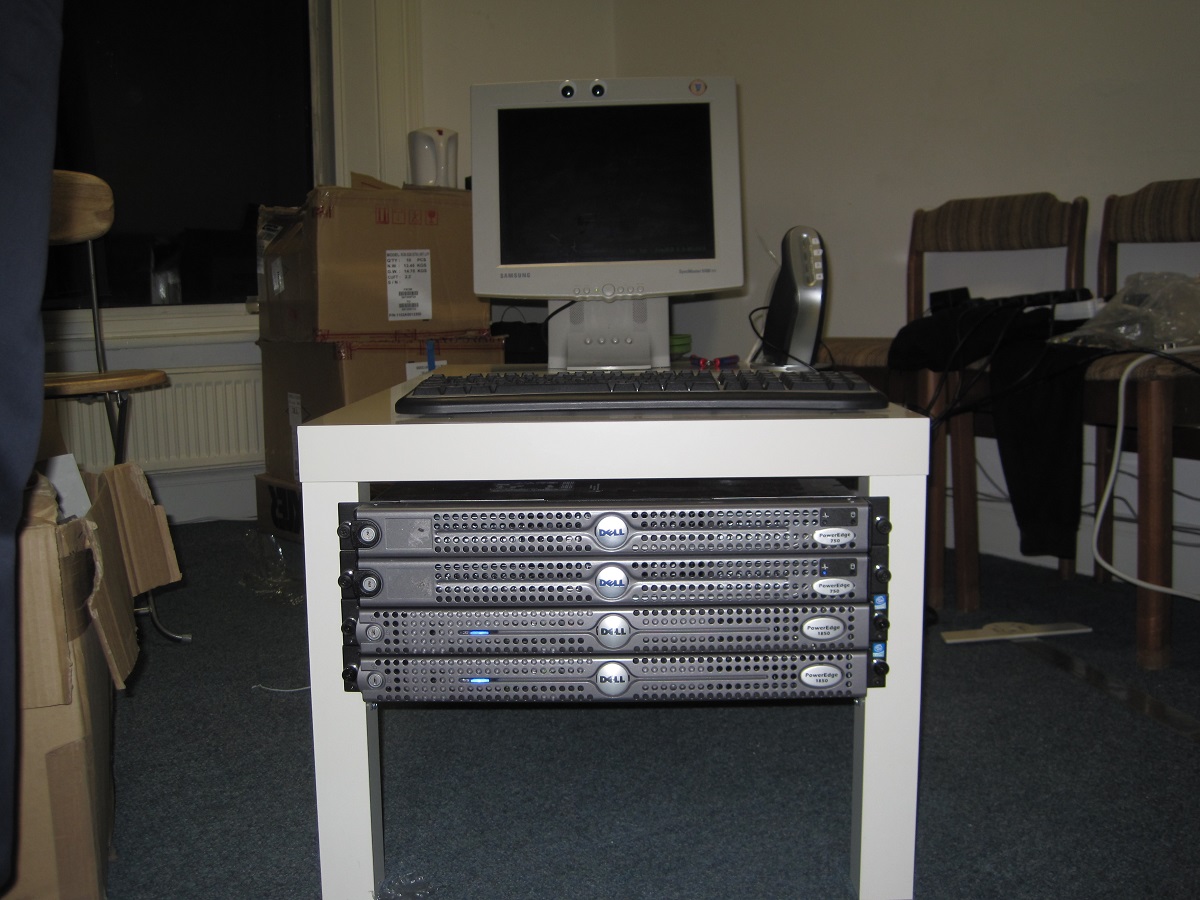
- Position the equipment: Carefully place your server equipment, networking devices, and other components on the rack mount shelves or directly on the rack rails inside the Lack table. Organize them in a way that optimizes space and accessibility.
- Secure the equipment: Use the appropriate screws and nuts to secure your equipment to the rack rails or rack mount shelves. This will prevent any accidental movement or damage to the devices.
- Route and organize cables: Take the time to neatly route and organize the cables within the server rack. Use cable ties, clips, and management racks to keep the cables organized and prevent tangling. This will also make future maintenance tasks much easier.
- Install ventilation fans: If necessary, install ventilation fans on the Lack table to ensure proper airflow and cooling for your equipment. Place the fans strategically to optimize airflow throughout the rack.
- Connect power supply: Plug your devices into a power strip with surge protection and connect it to a reliable power source. Ensure that the power strip has sufficient outlets to accommodate all your equipment.
By following these steps, you have successfully assembled your Lack table server rack. The Lack table provides a stable and practical structure for housing your server equipment while maintaining a clean and organized appearance. In the next sections, we will discuss important considerations such as cable management, ventilation, safety, and maintenance to ensure the optimal functioning of your server rack.
Cable Management
Proper cable management is crucial when setting up your Lack table server rack. Effective cable management not only improves aesthetics but also enhances airflow, reduces the risk of cable damage, and simplifies future maintenance. Here are some tips for managing your cables:
- Plan your cable routes: Before connecting your devices, plan the routes for your cables. Consider the shortest and most logical paths to minimize cable clutter.
- Use cable ties and clips: Secure your cables using cable ties and clips. Bundle cables together and attach them to the rack rails or cable management racks to keep them organized and prevent tangling.
- Label your cables: Labeling your cables makes it easier to identify and troubleshoot specific connections. Use labels or color-coded tags to distinguish between different types of cables.
- Separate power and data cables: Keep power and data cables separate to minimize interference and potential performance issues. This also makes it easier to identify and troubleshoot connection problems.
- Leave slack for flexibility: Allow some slack in your cables to accommodate any future changes or movements of devices within the server rack. This will make it easier to reposition or replace equipment if needed.
- Use cable management accessories: Consider using cable management accessories such as cable management panels or grommets to further organize and protect your cables. These accessories can help with routing and concealing cables, creating a more professional and clean appearance.
Remember, a well-organized cable management system not only improves the functionality and efficiency of your server rack but also simplifies troubleshooting and maintenance tasks in the long run. Take the time to properly manage your cables during the setup process, and periodically check and reorganize them as needed.
Next, we will discuss the importance of ventilation and cooling to keep your server equipment running smoothly within the Lack table server rack.
Ventilation and Cooling
Proper ventilation and cooling are critical for maintaining optimal performance and preventing overheating of your server equipment within the Lack table server rack. Without adequate airflow, the risk of hardware failure increases. Here are some considerations for ventilation and cooling:
- Position your rack strategically: Ensure that the Lack table server rack is placed in an area with sufficient airflow. Avoid enclosed spaces or cramped corners that restrict the movement of air.
- Leave space between devices: Allow for adequate spacing between each device within the rack. This allows air to circulate freely and prevents hot spots from forming.
- Install ventilation fans: If the Lack table server rack does not provide sufficient ventilation, consider installing additional fans. Place the fans strategically to ensure proper airflow throughout the rack.
- Monitor temperature: Use temperature monitoring tools to regularly monitor the temperature inside the server rack. This will help you identify any potential cooling issues and take necessary actions promptly.
- Clean and dust regularly: Dust accumulation on your equipment can hinder proper cooling. Regularly clean and remove dust from the server rack to maintain optimal airflow.
- Consider liquid cooling: If you have high-performance servers or devices that generate excessive heat, you may want to explore the option of liquid cooling. Liquid cooling can be more efficient in dissipating heat and maintaining lower temperatures.
By following these ventilation and cooling measures, you can ensure that your Lack table server rack provides a suitable environment for your server equipment to operate efficiently and reliably. Proper temperature regulation plays a crucial role in extending the lifespan of your hardware and avoiding costly downtime.
In the next section, we will discuss important safety considerations when using a Lack table as a server rack to ensure the well-being of both your equipment and yourself.
Safety Considerations
When setting up a Lack table as a server rack, it’s important to prioritize safety to protect both your equipment and yourself. Here are some safety considerations to keep in mind:
- Weight capacity: Be mindful of the weight capacity of the Lack table when loading it with server equipment. Exceeding the weight limit can compromise the structural integrity of the table and lead to accidents.
- Stability: Ensure that the Lack table server rack is stable and securely positioned. Avoid placing it on uneven or unstable surfaces that could cause it to topple over.
- Secure fastening: Double-check all screws and fastenings to ensure they are properly tightened. Loose screws can lead to instability and potential damage to your equipment.
- Electrical safety: Adhere to electrical safety guidelines when connecting power cords. Avoid overloading power strips and use surge protectors to safeguard against power fluctuations.
- Proper grounding: Ensure that your server equipment is properly grounded to prevent electrical shocks and equipment damage due to power surges.
- Avoid cable hazards: Secure cables and keep them away from high-traffic areas to prevent tripping hazards. Use cable management solutions to keep them organized and out of the way.
- Adequate ventilation: Properly ventilate the Lack table server rack as discussed earlier to prevent overheating and potential fire hazards.
- Regular maintenance: Perform regular maintenance checks, including cable inspections, dust removal, and equipment inspections, to identify any potential safety risks and address them promptly.
Following these safety considerations will help ensure a safe and secure environment for your server equipment while minimizing the risk of accidents or damage. Your safety and the protection of your equipment should always be a top priority.
Finally, let’s move on to the last section where we’ll discuss maintenance and upkeep to ensure the longevity and optimal performance of your Lack table server rack.
Maintenance and Upkeep
To ensure the longevity and optimal performance of your Lack table server rack, regular maintenance and upkeep are essential. By following these maintenance practices, you can mitigate potential issues and keep your server rack in excellent condition:
- Regular inspections: Conduct routine inspections of your Lack table server rack to check for any loose screws, damaged cables, or signs of wear and tear. Address any issues promptly to prevent further damage.
- Dust removal: Dust accumulation can hinder airflow and cause overheating. Regularly clean the Lack table and the equipment inside the rack to remove any dust or debris.
- Cable management: Periodically check and organize your cables, ensuring they are routed properly and secured with cable ties or clips. This will help maintain a tidy and efficient cable management system.
- Temperature monitoring: Continuously monitor the temperature inside the server rack using temperature monitoring tools. If you notice any unusual spikes in temperature, investigate and take necessary measures to improve cooling.
- Equipment upgrades: Over time, you may need to upgrade or replace your server equipment to keep up with technological advancements. Regularly assess the performance and compatibility of your devices to determine if any upgrades are needed.
- Security measures: Implement appropriate security measures such as firewalls and antivirus software to protect your server equipment and data from cyber threats.
- Stay up to date with manufacturer guidelines: Be familiar with the manufacturer guidelines for your server equipment, including maintenance recommendations and firmware updates. Stay up to date with any product recalls or important announcements.
By incorporating these maintenance practices into your routine, you can ensure that your Lack table server rack remains in good working condition, extends its lifespan, and provides reliable performance for your server needs.
With that, we have covered all the essential aspects of using a Lack table as a server rack. From preparing the table to assembling the server rack, managing cables, ensuring proper ventilation and cooling, prioritizing safety, and performing regular maintenance. We hope this guide has been helpful in assisting you with setting up your Lack table server rack and optimizing your server infrastructure.
Conclusion
Congratulations! You have successfully learned how to transform a Lack table into a functional server rack. This cost-effective solution allows you to organize and house your server equipment in a stylish and compact manner.
Throughout this guide, we discussed the materials needed, the process of preparing the Lack table, assembling the server rack, cable management, ventilation and cooling, safety considerations, and maintenance practices.
Remember to carefully follow safety guidelines, consider weight capacities, and ensure proper grounding and cable management to maintain a safe and efficient environment for your server equipment.
Regular maintenance, such as dust removal, cable inspections, and equipment upgrades, will help prolong the lifespan of your server rack and ensure optimal performance over time.
Whether you are setting up a home server or a small business network, the Lack table server rack offers a cost-effective and visually appealing solution that fits seamlessly into any space.
We hope this guide has been informative and has provided you with the knowledge and confidence to create your own Lack table server rack. Happy server organizing!