Introduction
Mounting server rack rails is an essential task for anyone involved in managing and organizing server equipment. Whether you’re setting up a small home server or managing a large data center, properly mounting the servers is crucial for optimal performance and organization.
The process of mounting server rack rails may seem daunting at first, but with the right tools and a little guidance, it becomes a straightforward task. In this article, we will provide a step-by-step guide to help you mount server rack rails effectively.
Before diving into the steps, it’s important to understand the benefits of properly mounting server rack rails. By securely mounting servers to the rack rails, you can ensure stability, minimize the risk of overheating, and create a clean and organized server room or data center environment. Additionally, mounting servers on rack rails simplifies maintenance and troubleshooting, as you can easily access and remove individual servers without affecting the rest of the rack.
In this guide, we will cover the necessary tools and equipment, demonstrate how to assess mounting requirements, explain the process of attaching rack rails to servers, and detail the steps to mount the servers onto the rack rails. We will also discuss securing the servers in place, cable management, and final touches to ensure a professional and functional setup.
Whether you’re a seasoned IT professional or a DIY enthusiast, this guide will provide you with the knowledge and confidence to successfully mount server rack rails and organize your server equipment efficiently. So, let’s dive in and get started!
Tools and Equipment Needed
Before you begin the process of mounting server rack rails, it’s important to gather the necessary tools and equipment to ensure a smooth and successful installation. Here are the essential items you will need:
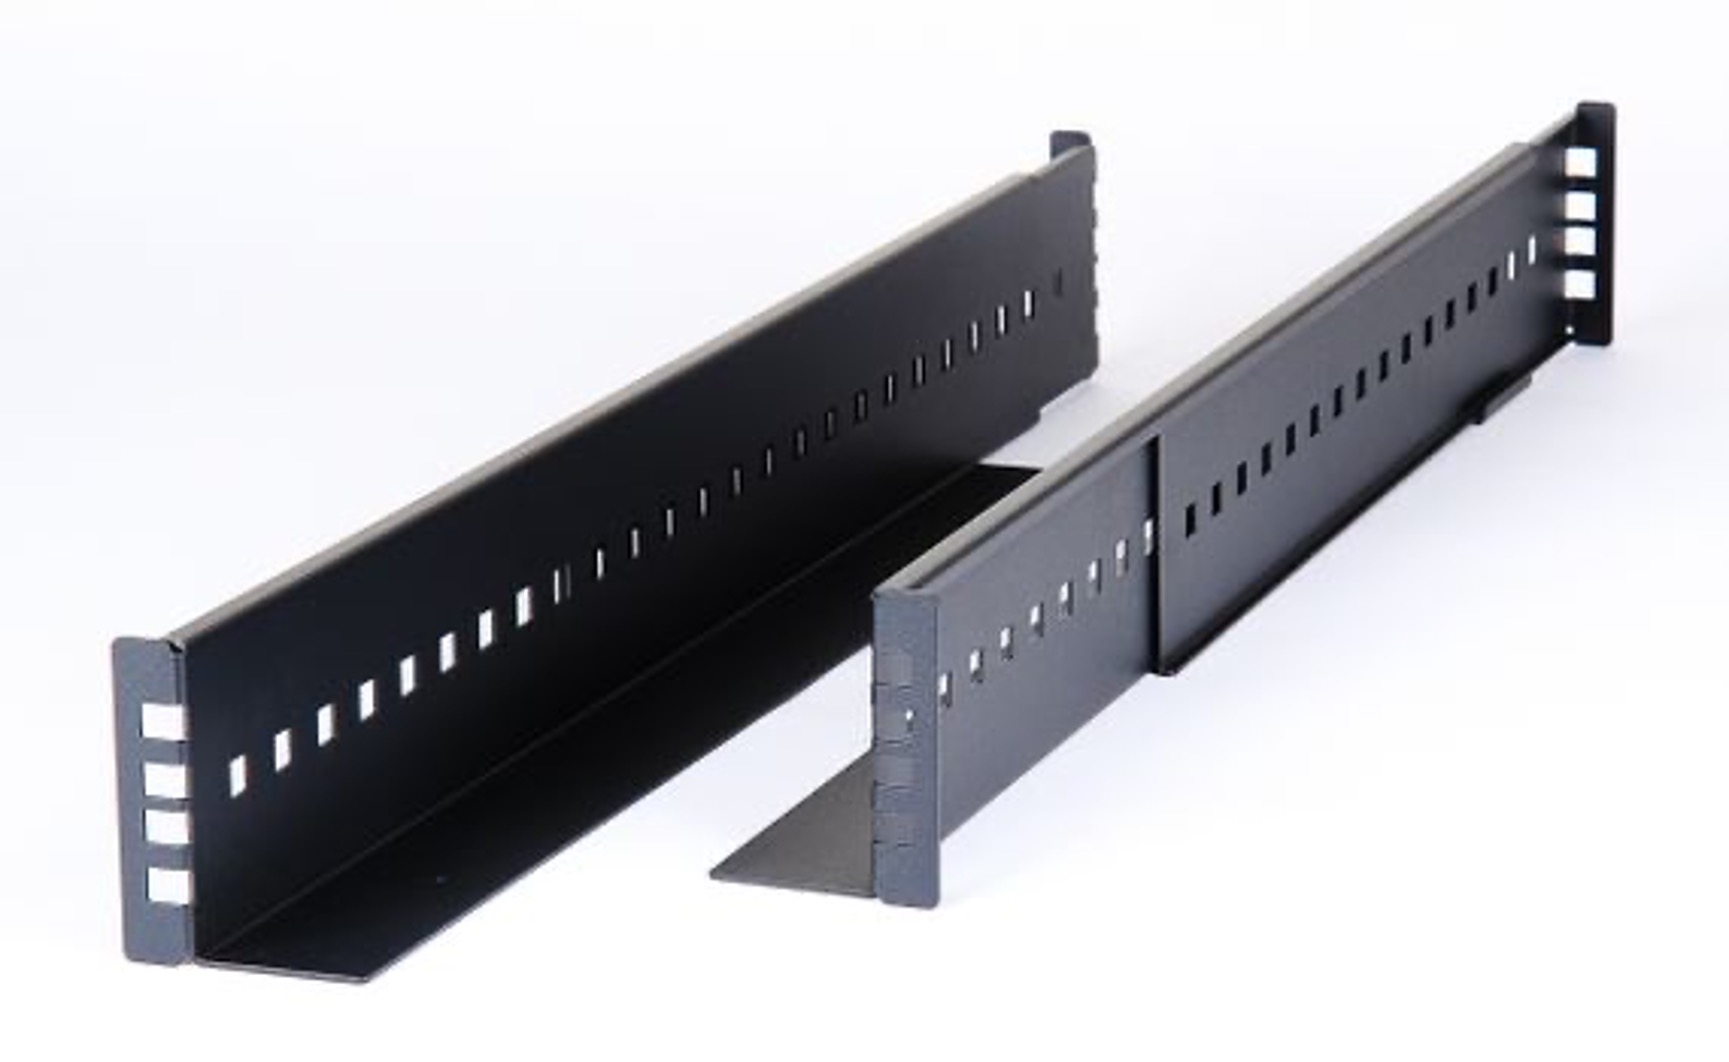
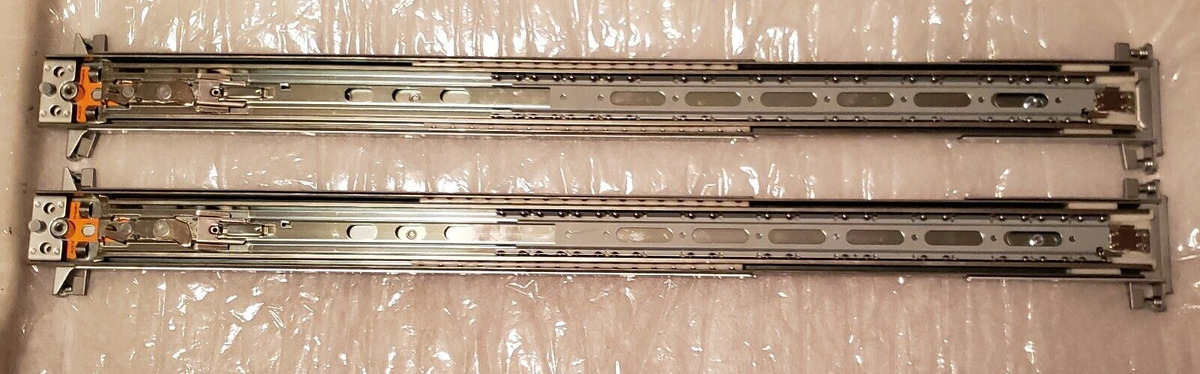
- Rack Rails: These are the metal rails that attach to the sides of the server rack and provide the mounting points for the servers.
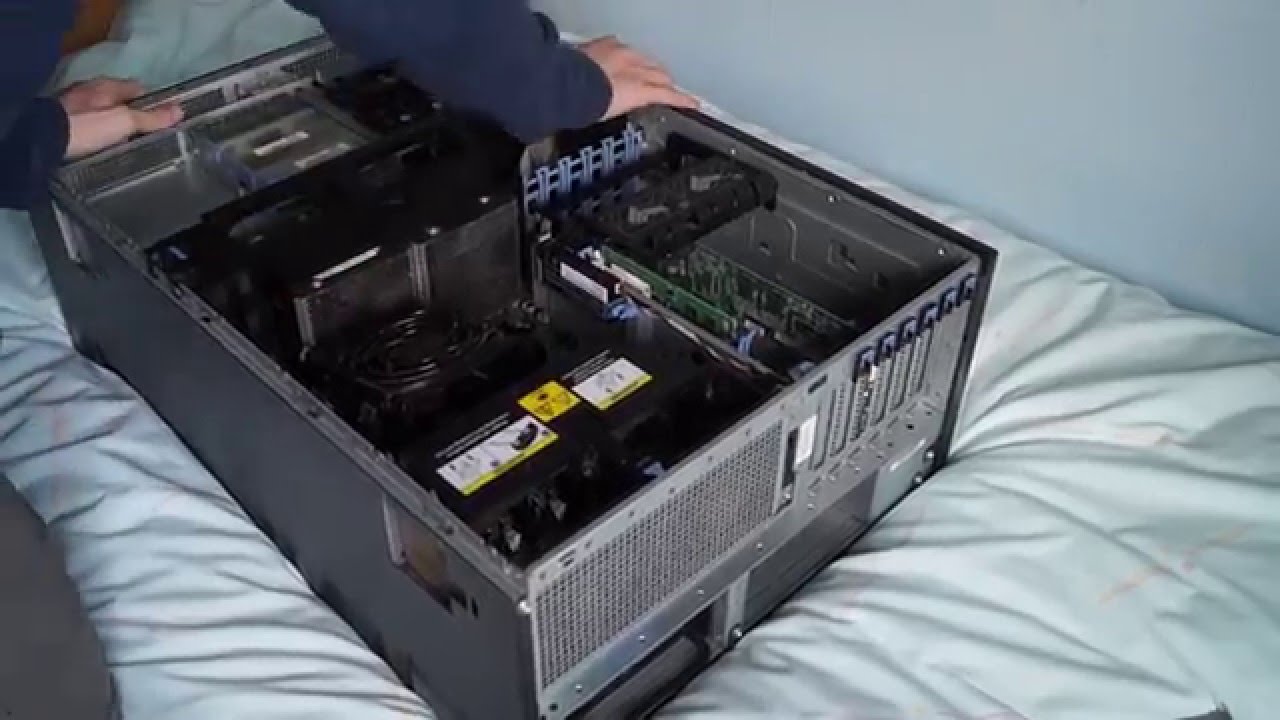
- Servers: The actual server units that will be mounted onto the rack rails. Ensure that you have the servers ready and properly configured before starting the installation.
- Mounting Hardware: Depending on the specific server rack and rack rails you are using, you will need various screws, nuts, and washers to secure the rack rails to the server rack and attach the servers to the rack rails. Consult the manufacturer’s instructions for the appropriate mounting hardware.
- Screwdriver: A Phillips-head screwdriver or a compatible tool will be required to tighten the screws during the installation process.
- Rack Mounting Brackets (Optional): In some cases, you may need additional brackets or adapters to mount servers that do not have built-in rack mount support. These brackets allow you to convert non-rack-mountable equipment into a rack-mountable form.
- Cable Management Accessories: To maintain a clean and organized server room, consider using cable management accessories such as cable ties, wire organizers, and cable management arms to route and secure the cables neatly.
Having all the necessary tools and equipment ready before starting the installation will ensure a more efficient process and minimize any potential delays. It’s also a good practice to double-check that you have the correct types and sizes of screws for mounting the rack rails and servers.
Once you have gathered all the required tools and equipment, you are ready to proceed with the mounting process. The next section will guide you through the crucial step of assessing your mounting requirements.
Step 1: Assess Mounting Requirements
Before you begin mounting server rack rails, it’s important to assess your specific mounting requirements. This step involves evaluating factors such as rack size, server dimensions, weight capacity, and any additional features or considerations specific to your setup.
The following are the key factors to consider during the assessment:
- Rack Size: Measure the height, width, and depth of your server rack to determine the appropriate size of rack rails. It’s crucial to select rack rails that match the size of your rack to ensure a proper fit.
- Server Dimensions: Measure the dimensions of your servers, including their height and depth. This information will help you determine the placement and alignment of the rack rails on the server rack. Consider the number of servers you plan to mount and their physical dimensions to ensure adequate space within the rack.
- Weight Capacity: Check the weight capacity of your server rack to ensure that it can support the combined weight of the servers and any additional equipment. Exceeding the weight capacity can lead to instability and potential damage to the rack.
- Rack Rail Compatibility: Verify that the rack rails you have chosen are compatible with your specific server model. Some servers may require specific types of rack rails or mounting brackets, so it’s important to consult the manufacturer’s documentation for compatibility information.
- Accessibility and Ventilation: Consider how the placement of the rack rails will affect the accessibility and ventilation of the servers. Ensure there is enough space for proper airflow and that there is easy access to the front and back of the servers for maintenance and cable management.
By carefully assessing your mounting requirements, you can ensure that you choose the right rack rails, align them properly on the server rack, and create an organized and efficient server setup. Taking the time to properly evaluate these factors will save you from potential issues down the line and help you achieve optimal performance.
Once you have assessed your mounting requirements, you are ready to move on to the next step: preparing the server rack.
Step 2: Preparing the Server Rack
After assessing your mounting requirements, the next step is to prepare the server rack for the installation of rack rails. Properly preparing the server rack ensures stability, ease of installation, and efficient cable management. Follow these steps to prepare the server rack:
- Clean and Clear the Rack: Remove any dust, debris, or unnecessary equipment from the server rack. It’s important to have a clean and clutter-free environment to work with.
- Determine Rail Placement: Based on your assessment, determine where the rack rails will be installed in the server rack. Consider factors like access to power outlets, ventilation, and cable management when deciding on the placement.
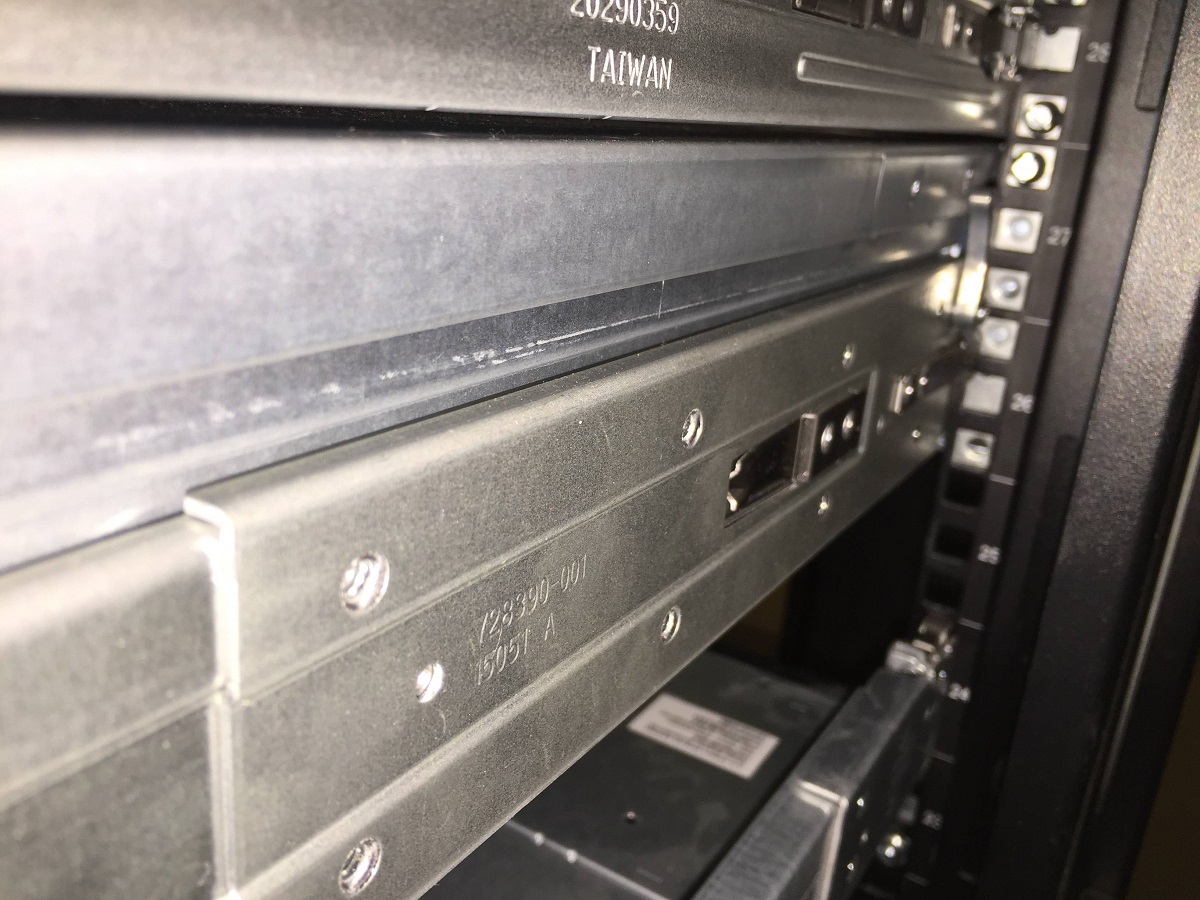
- Align the Rails: Place the rack rails on the sides of the server rack, aligning them with the mounting holes in the rack. Ensure that the rails are level and evenly spaced from top to bottom.
- Secure the Rails: Using the appropriate screws and mounting hardware, secure the rack rails to the server rack by inserting screws through the mounting holes and tightening them with a screwdriver. Ensure that the rails are firmly attached to the rack to prevent any movement or instability.
- Check Stability: Once the rack rails are securely installed, gently shake the server rack to check for any excessive movement. If there is any instability, double-check the mounting of the rack rails and make the necessary adjustments to ensure a stable setup.
By properly preparing the server rack, you create a solid foundation for mounting the servers and ensure a secure and organized server environment. Taking the time to clean, align, and securely attach the rack rails will make the subsequent steps of mounting the servers much smoother and hassle-free.
With the server rack prepared, we can move on to the next step: attaching the rack rails to the servers.
Step 3: Attach the Rack Rails to the Servers
Now that the server rack is prepared, it’s time to attach the rack rails to the servers. This step involves securing the rack rails onto the servers, creating a sturdy connection between the servers and the rack. Follow these steps to attach the rack rails:
- Position the Servers: Place the servers in front of the server rack, aligning them with the rack rails. Ensure that the servers are in the correct orientation (typically, the front of the server faces the front of the rack) and that they are evenly spaced.
- Align the Rack Rails: Gently slide the rack rails into the server chassis or mounting brackets on each side of the server. Align the mounting holes of the rack rails with the corresponding holes on the server.
- Secure with Screws: Insert the appropriate screws through the mounting holes on the rack rails and into the corresponding holes on the server. Use a screwdriver to tighten the screws, ensuring a secure connection between the rack rails and the servers.
- Repeat for Each Server: Repeat the above steps for each server that needs to be mounted onto the server rack, ensuring that all rack rails are securely attached and the servers are aligned properly.
It’s important to follow the manufacturer’s instructions when attaching the rack rails to the servers, as different server models may have specific mounting requirements. Take care not to over-tighten the screws, as it can damage the server chassis or rack rails. If necessary, consult the server documentation or seek professional assistance.
By properly attaching the rack rails to the servers, you ensure a secure and stable connection between the equipment and the server rack. This step sets the stage for the next step: mounting the servers onto the rack rails.
Step 4: Mounting the Servers to the Rack Rails
With the rack rails securely attached to the servers, it’s time to mount the servers onto the rack rails. This step involves carefully sliding the servers into the server rack, aligning them with the rack rails, and ensuring a proper fit. Follow these steps to mount the servers onto the rack rails:
- Position the Server: Carefully position the server in front of the server rack, aligning it with the corresponding rack rails. Make sure to hold the server by its sturdy components, such as the chassis handles or designated lifting points, to avoid damage to delicate internal components.
- Slide the Server: Gently slide the server into the server rack, ensuring that the rack rails on the server align with the rack rails in the server rack. Take your time to avoid any collisions or forceful movements that may cause damage to the server or the rack.
- Push Until Fully Seated: Continue pushing the server into the server rack until it is fully seated and properly aligned. The server should fit snugly onto the rack rails, with the front panel flush with the front of the server rack. Ensure that the mounting holes on the rack rails align with the screw holes on the server.
- Secure with Screws: Once the server is properly aligned, insert screws through the mounting holes on the rack rails and into the corresponding holes on the server. Use a screwdriver to tighten the screws, securely fastening the server to the rack rails. Ensure that the screws are tightened just enough to hold the server in place without putting excessive pressure on the components.
- Repeat for Each Server: Repeat the above steps for each server that needs to be mounted onto the rack rails. Take caution to maintain proper spacing between the servers and ensure that they are aligned parallel to each other for neat cable management and efficient airflow.
It’s important to handle the servers with care during this process to prevent any accidental damage. Take note of any weight distributions or balance considerations, especially when mounting larger or heavier servers.
By effectively mounting the servers onto the rack rails, you create a stable and organized server setup, allowing for easy access, maintenance, and cable management. With the servers securely in place, it’s time to move on to the next step: securing the servers in place.
Step 5: Securing the Servers in Place
Once the servers are mounted onto the rack rails, it’s important to secure them in place to prevent any unwanted movement or vibrations. This step involves implementing additional measures to enhance the stability and security of the server setup. Follow these steps to secure the servers in place:
- Check Alignment: Ensure that all servers are properly aligned and evenly spaced within the server rack. This step is crucial for maintaining proper airflow, cable management, and overall stability.
- Use Server Rack Mounting Brackets: Depending on the server model and rack design, you may need to use additional server rack mounting brackets to further secure the servers in place. These brackets provide extra stability and prevent any forward or backward movement.
- Tighten Mounting Screws: Double-check that all the mounting screws are properly tightened. Use a screwdriver to secure them firmly, but be cautious not to overtighten and risk damaging the server or the rack rails.
- Use Cable Management Tools: Implement cable management tools and techniques to keep the cables organized and prevent them from obstructing the server airflow or becoming tangled. Utilize cable ties, Velcro straps, cable management arms, and other accessories to neatly secure and route the cables along the server rack.
- Label and Document: Consider labeling the servers and documenting their locations and configurations. This step will facilitate future maintenance and troubleshooting, allowing for easy identification of specific servers within the rack.
- Perform Stability Checks: Once all the servers are secured in place, gently shake the server rack to check for any excessive movement or instability. If you notice any instability, recheck the alignment, tighten the screws, and make necessary adjustments to ensure a stable setup.
By taking these additional steps to secure the servers in place, you can ensure a stable and secure server rack setup. This not only protects the servers from any accidental dislodging but also promotes better airflow, cable management, and overall organization.
With the servers securely in place and properly secured, you can now move on to the next step: cable management and final touches.
Step 6: Cable Management and Final Touches
With the servers securely mounted and secured in place, the final step is to tackle cable management and add the finishing touches to your server rack setup. Proper cable management not only ensures a neat and organized appearance but also improves airflow, accessibility, and ease of maintenance. Follow these steps to effectively manage the cables and add final touches to your server rack:
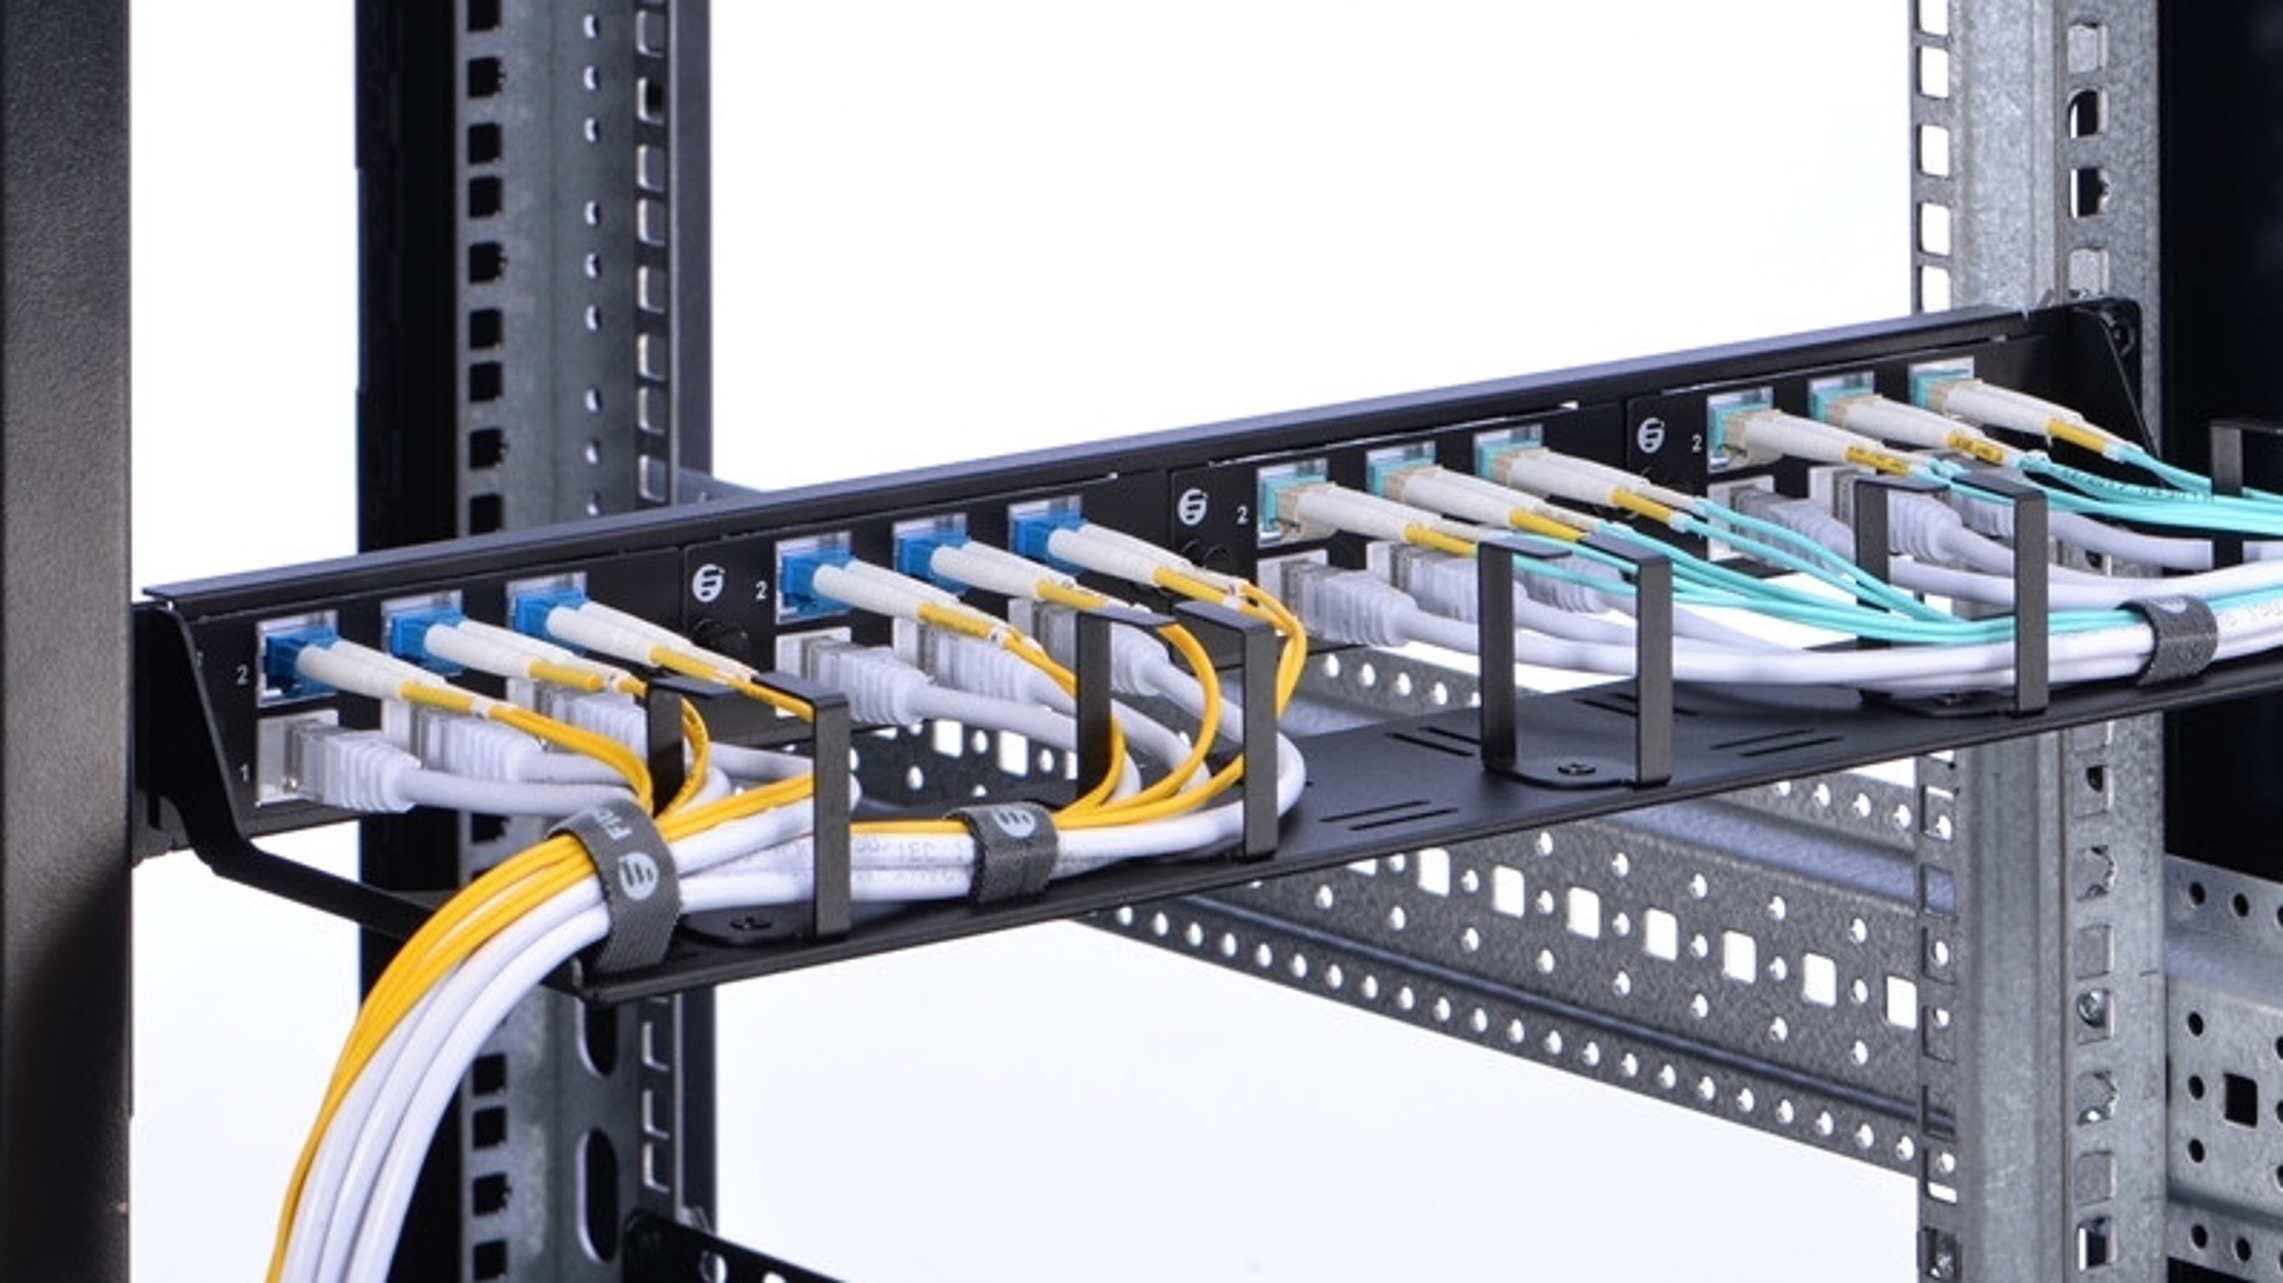
- Route Cables Neatly: Begin by routing the power and data cables along the designated cable management pathways within the server rack. Use cable ties, Velcro straps, or other cable management tools to bundle and secure the cables together.
- Label and Identify Cables: Label the cables or use color-coded tags to identify and distinguish between different types of cables. Documentation of cable connections can also be helpful for future reference or troubleshooting.
- Separate Power and Data Cables: Whenever possible, separate power cables from data cables to minimize interference and ensure optimal performance. This step helps prevent data corruption and electromagnetic interference.
- Ensure Adequate Airflow: Make sure that cables are routed in a way that doesn’t impede the airflow through the server rack. Maintain sufficient space around ventilation areas to allow for proper cooling and prevent potential overheating issues.
- Secure and Organize Cables: Use cable management arms, clips, or other accessories to secure and organize cables along the sides or back of the server rack. Keep cables neatly bundled and avoid any tangled or dangling wires that could potentially obstruct access or create hazards.
- Perform Cable Tests and Inspections: Before finalizing your server rack setup, perform cable tests and inspections to ensure all connections are secure and functioning correctly. Consider conducting thorough cable tests, such as continuity checks or data transmission tests, to verify the integrity of the connections.
- Conduct Final Cleanup: Once cable management is complete, perform a final cleanup of the server rack area. Remove any packaging materials, tools, or debris that may have accumulated during the installation process.
By effectively managing the cables and adding final touches to your server rack setup, you can achieve a clean, organized, and professional appearance. Not only does this make maintenance and troubleshooting easier, but it also reflects a well-maintained and efficient server infrastructure.
With the cables properly managed and final touches added, you have successfully completed the process of mounting server rack rails and organizing your server equipment. Your server rack is now ready to support your IT infrastructure and provide a stable and efficient platform for your servers.
Conclusion
Mounting server rack rails is an essential task for organizing and managing server equipment effectively. By following the step-by-step guide outlined in this article, you can ensure a successful installation and create a stable, organized, and efficient server rack setup.
We began by emphasizing the importance of assessing your mounting requirements, considering factors such as rack size, server dimensions, weight capacity, and compatibility. By carefully evaluating these factors, you can choose the right rack rails and align them properly on the server rack.
Next, we covered the necessary tools and equipment needed for the installation, including rack rails, servers, mounting hardware, screwdriver, rack mounting brackets (if required), and cable management accessories. Having these tools ready before you start ensures a smoother and more efficient process.
We then walked through the step-by-step process, including preparing the server rack, attaching the rack rails to the servers, mounting the servers onto the rack rails, securing the servers in place, managing the cables, and adding final touches.
Proper cable management, such as routing cables neatly, labeling and identifying cables, separating power and data cables, and ensuring adequate airflow, enhances the overall functionality and appearance of the server rack. By securing the servers in place and performing final tests, you can ensure a stable and optimal server infrastructure.
By following these steps, you can create a well-organized and efficient server rack setup that promotes easy accessibility, simplified maintenance, and effective cable management. A properly mounted server rack with secure connections not only provides a stable platform for your servers but also ensures an optimized IT environment.
Remember, mounting server rack rails is a task that requires attention to detail and careful consideration. By taking the time to assess your requirements, gather the necessary tools, and follow the step-by-step process, you can achieve a successful installation and maximize the performance and organization of your server equipment.
Now that you have the knowledge and guidance, it’s time to apply it to your own server rack setup and enjoy the benefits of a well-organized, stable, and efficient IT infrastructure.