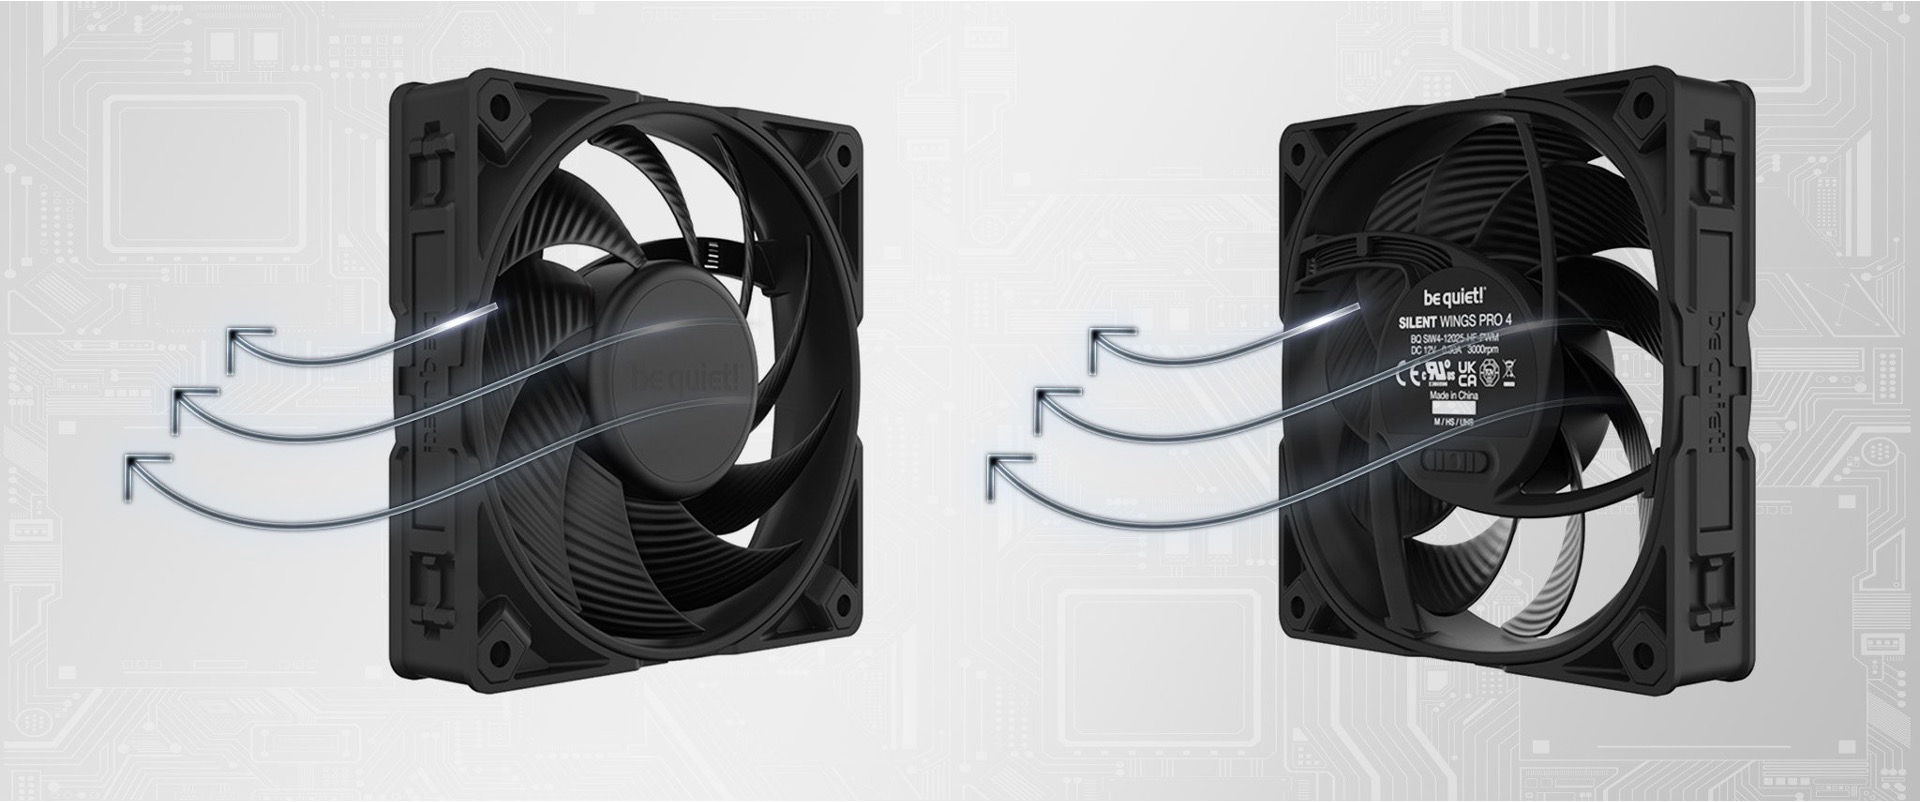
To reverse your CPU case fan's airflow direction, you have two options: physically flip a standard fan so its frame faces the opposite way, or install a purpose-built reverse-blade fan from brands like Corsair, Arctic, or Cooler Master. The fastest and cheapest method to reverse CPU fan direction is flipping the existing fan, but this changes the visible side and can affect aesthetics; a reverse-blade fan is designed to pull air in the opposite direction while keeping the same attractive side facing you.
How to reverse CPU fan direction: flipping vs. reverse-blade fans
Flipping a standard fan is straightforward: unscrew it, rotate it 180 degrees so the side that faced the case interior now faces outward (or vice versa), and remount it. This works because most axial fans push air from the front (where the label is) to the back (where the support struts are). When you flip the fan, the airflow direction reverses. However, the support struts and motor hub, which are normally hidden on the exhaust side, will now be visible from the outside, which many builders find visually unappealing. This is especially noticeable on glass-side-panel cases. If aesthetics matter to you, a reverse-blade fan solves this. Companies like Corsair, Arctic, and Cooler Master offer "reverse blade" or "reverse edition" fans that are engineered to push air in the opposite direction while keeping the clean, label-facing side toward the visible area. These fans cost more than a standard fan but deliver the same airflow direction change without the visual compromise.
Why you might want to reverse your fan's airflow
Reversing a fan's airflow can turn a rear exhaust into an intake, which is useful for specific cooling configurations, for example, when you want to push cool air directly onto a CPU cooler mounted near the rear of the case. It can also help manage dust: if your rear fan currently pulls dusty air into the case from behind, reversing it to exhaust will push that dust out instead. Another common reason is balancing case pressure. If you have too many intakes and not enough exhausts, reversing one fan can create a more neutral or positive pressure setup, which reduces dust infiltration through unfiltered gaps. The key benefit is that you don't need to buy a new fan, you just reorient the one you already have, which saves money and time.
Before you start: precautions and what to expect
Before you flip anything, check that your fan is actually reversible. Most standard fans are, but some proprietary fans (like those on prebuilt systems from Dell or HP) may have connectors that only work in one orientation, or they may be riveted in place. Also, note that flipping a standard fan changes the visible side, the support struts and motor hub will face outward. If your case has a transparent side panel, this will be visible. More importantly, reversing a fan's direction changes the overall case air pressure. If you flip a rear exhaust to an intake, you'll have more air coming in than going out, which can cause positive pressure. This is generally fine, but it means you need to ensure other exhaust paths (like the top or front fans) are still expelling air. If you flip the only exhaust fan, you could end up with zero exhaust, which traps hot air inside. Plan your airflow before you start, and consider whether you need to adjust other fans to maintain a balanced flow.
Step-by-step guide to flipping your CPU case fan
Follow these steps to safely reverse your fan's airflow direction.
Step 1: Power down and unplug
Shut down your computer completely, unplug the power cord, and press the power button for a few seconds to discharge any residual electricity in the capacitors. This is critical for your safety and to prevent damage to the motherboard or fan controller.
Step 2: Open the case
Remove the side panel of your case. Most cases use thumbscrews or a latch on the rear. If you're unsure, check your case manual. Once the panel is off, you'll have access to the internal components.
Step 3: Note the current airflow arrow
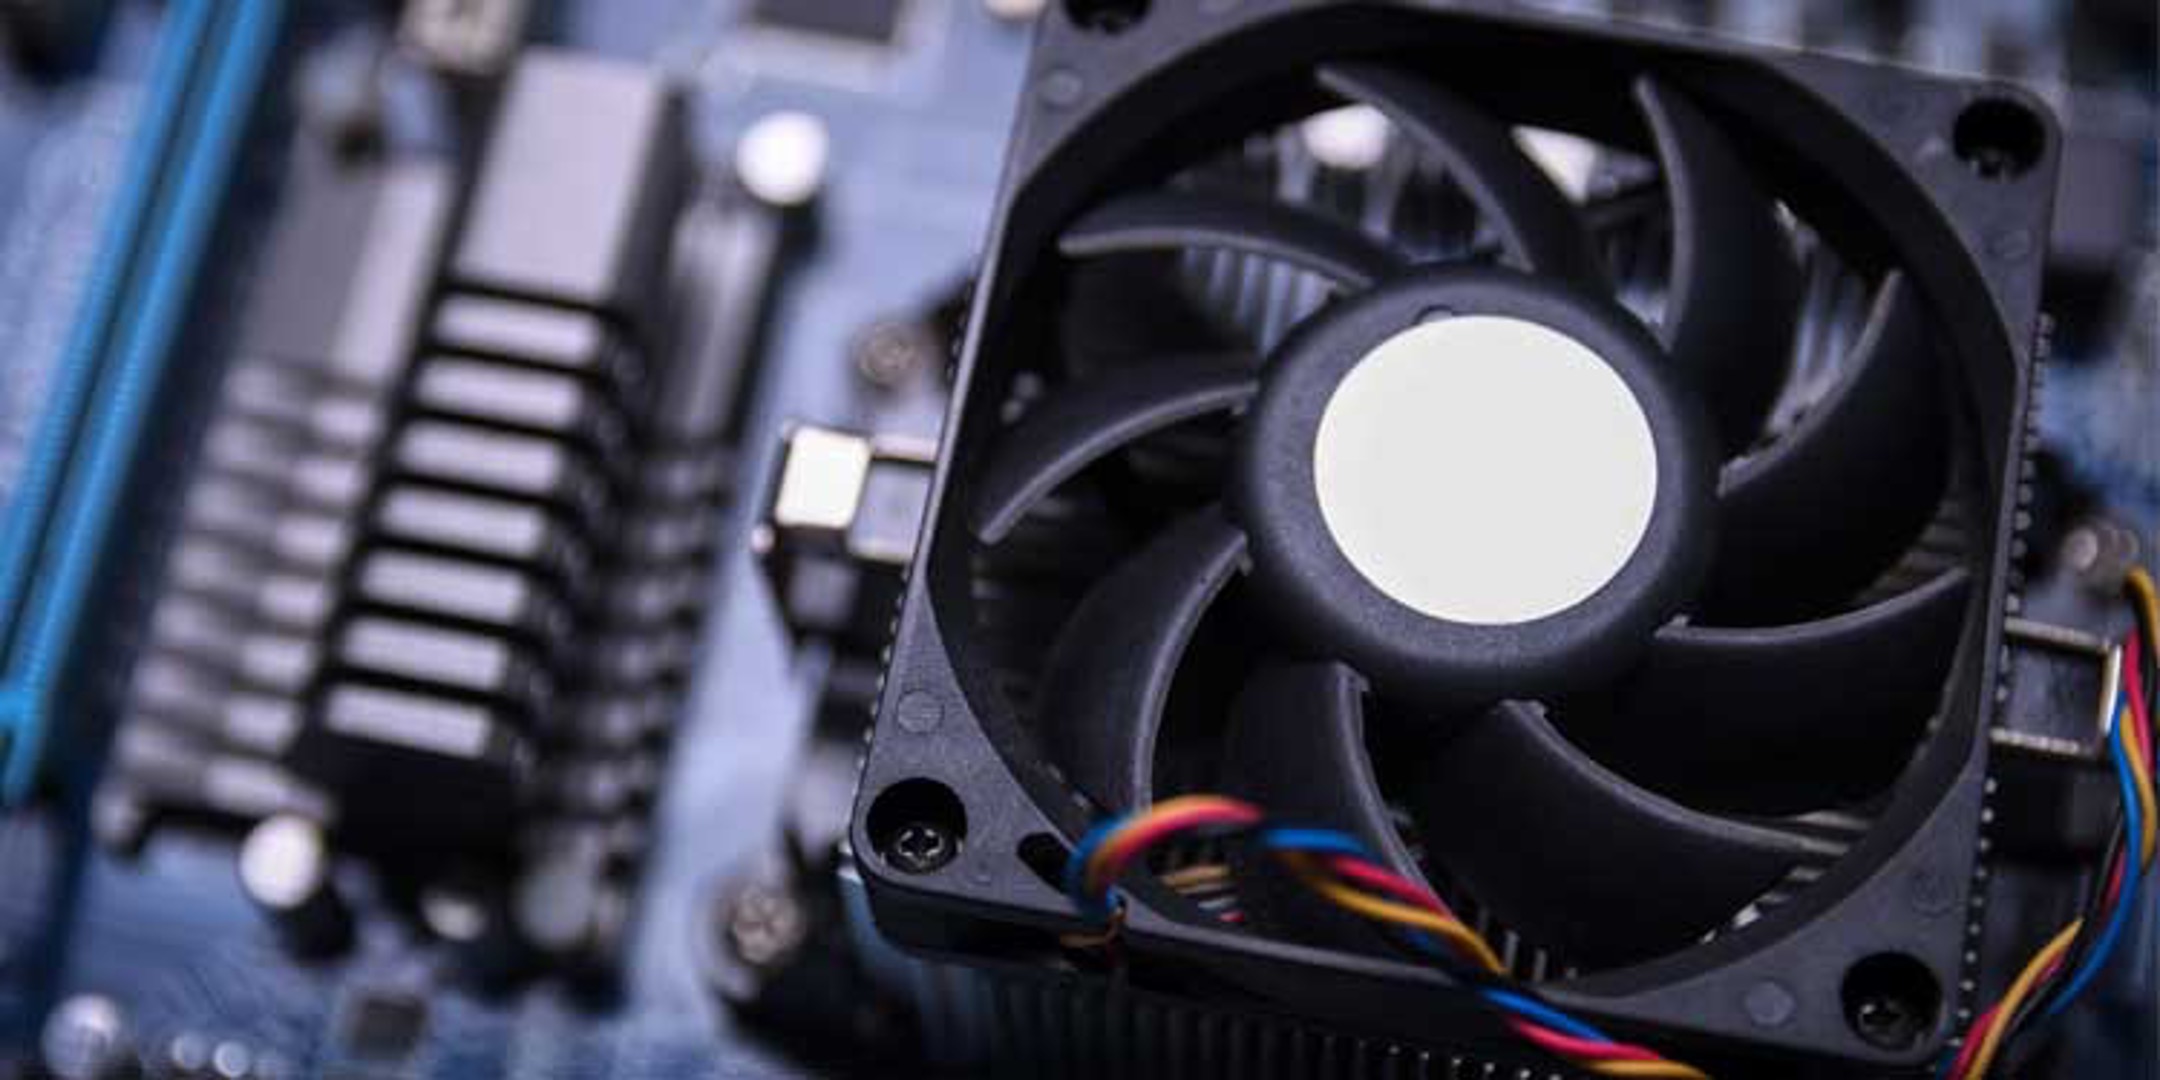
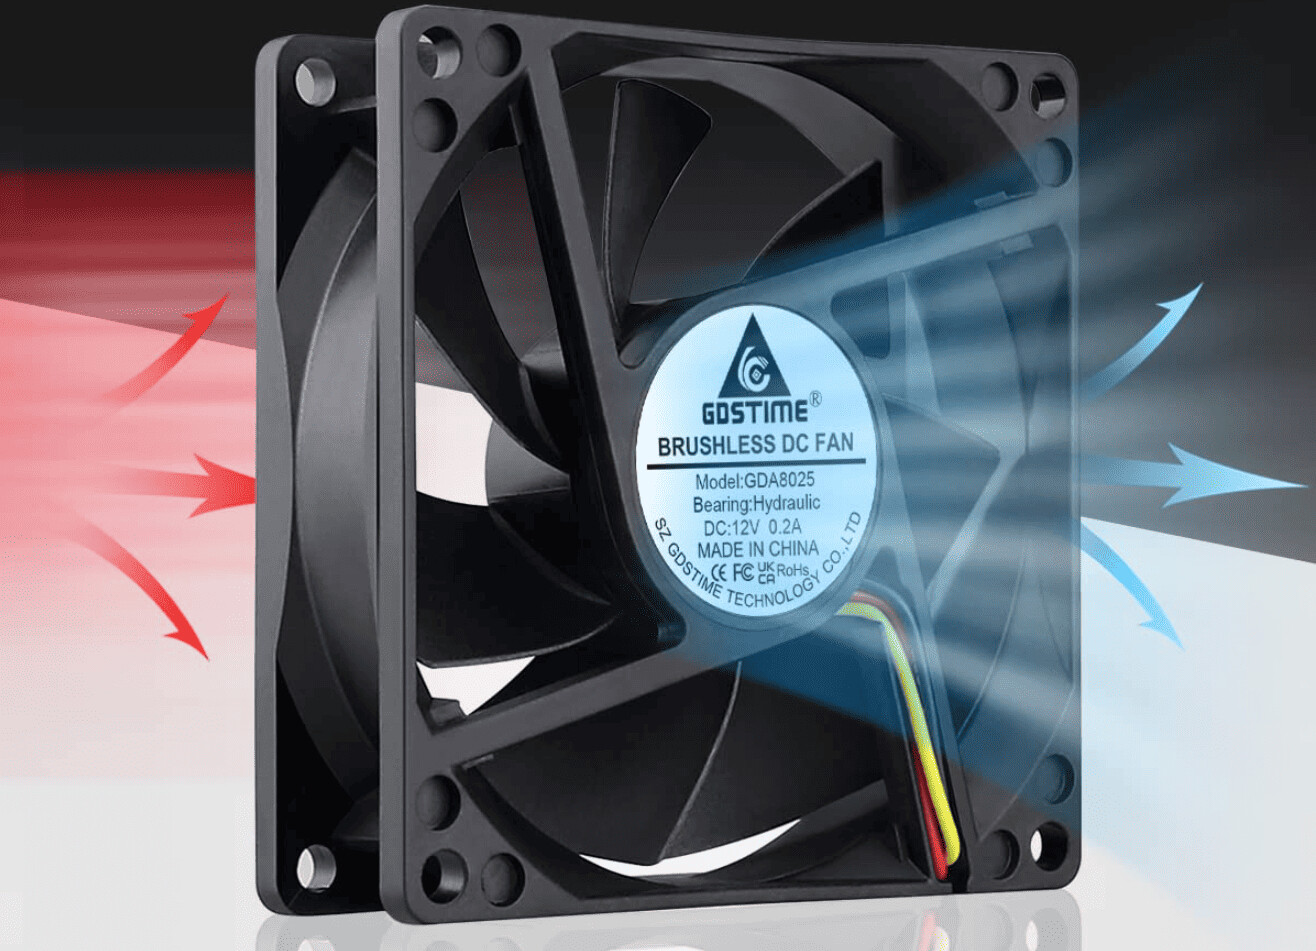
Look at the fan you want to reverse. Most fans have two small arrows molded into the frame: one indicating the direction of airflow (usually a triangle pointing where air blows) and another showing the rotation direction. Note the airflow arrow so you know which way the fan is currently pushing air. If there are no arrows, you can determine the direction by looking at the fan blades: the concave side (the "cup" shape) is the intake side, and the convex side (the "back" of the blade) is the exhaust side.
Step 4: Disconnect the fan cable
Unplug the fan's power connector from the motherboard or fan hub. If the fan has a separate RGB cable, unplug that too. Be gentle, these connectors are small and can be brittle. If the fan is connected via a molex adapter, remove that as well.
Step 5: Unscrew and flip the fan
Remove the four screws (or clips) that hold the fan to the case. Carefully lift the fan out. Now rotate it 180 degrees so the side that was facing the case interior now faces outward. For example, if the airflow arrow was pointing into the case (intake), after flipping, the arrow should point out of the case (exhaust). Reinsert the fan into its mounting location and secure it with the screws. Make sure the fan blades are not touching any cables or other components.
Step 6: Reconnect and close the case
Plug the fan's power cable back into the same motherboard header or hub. If you have an RGB connector, reconnect that as well. Tuck any excess cable neatly out of the airflow path. Replace the side panel and secure it.
Testing your new airflow setup
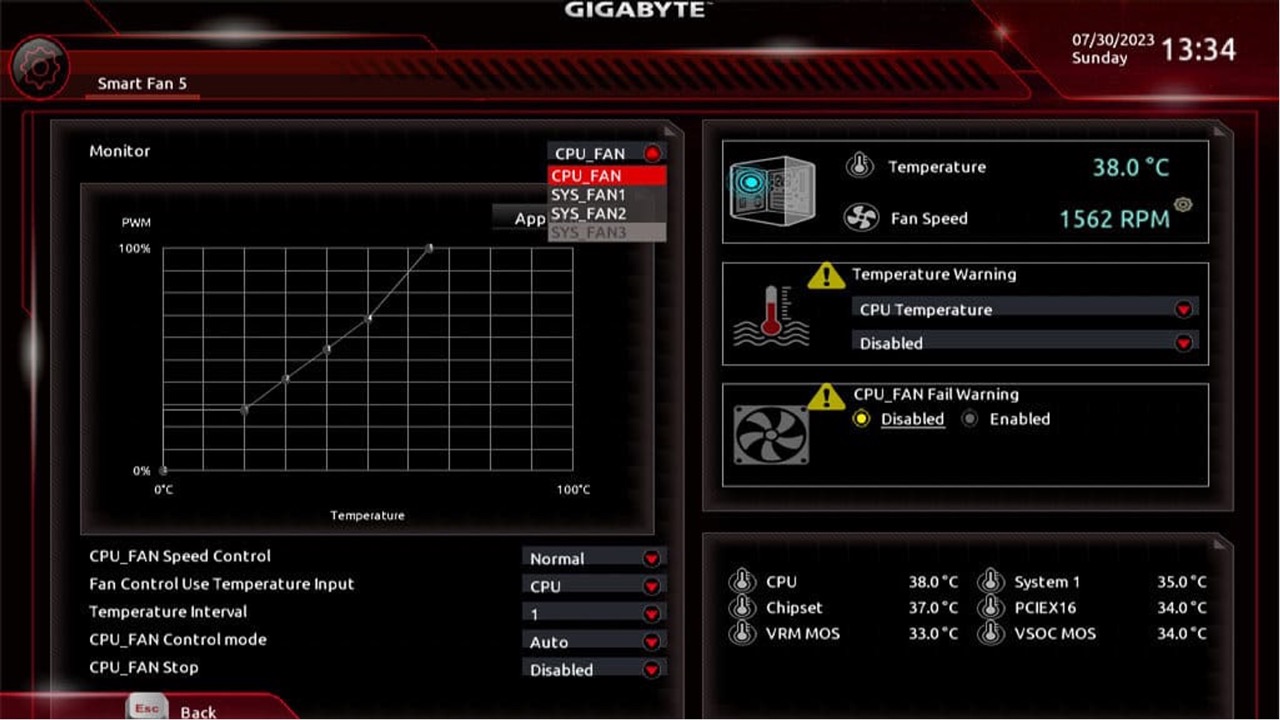
After flipping the fan, boot up your computer and enter the BIOS or use a monitoring tool like HWMonitor or Core Temp. Check the CPU temperature at idle, it should be roughly the same as before, or slightly lower if the new airflow direction is more efficient. Watch the CPU temperature curve: if it climbs higher than your previous maximum, the reversed airflow is likely pulling hot air from elsewhere in the case onto the CPU. If temperatures are worse, you have two options: revert the fan back to its original orientation, or adjust other fans to compensate. For example, if you flipped a rear exhaust to an intake, you might need to turn the top rear fan into an exhaust to maintain proper airflow. Also, check the GPU temperature under load, if the reversed fan is now blowing hot air from the CPU cooler onto the GPU, you'll see that in the numbers. If you notice any unusual noise or vibration, the fan might be mounted too tightly or the blades could be hitting a cable. Recheck the mounting and ensure the fan is spinning freely.