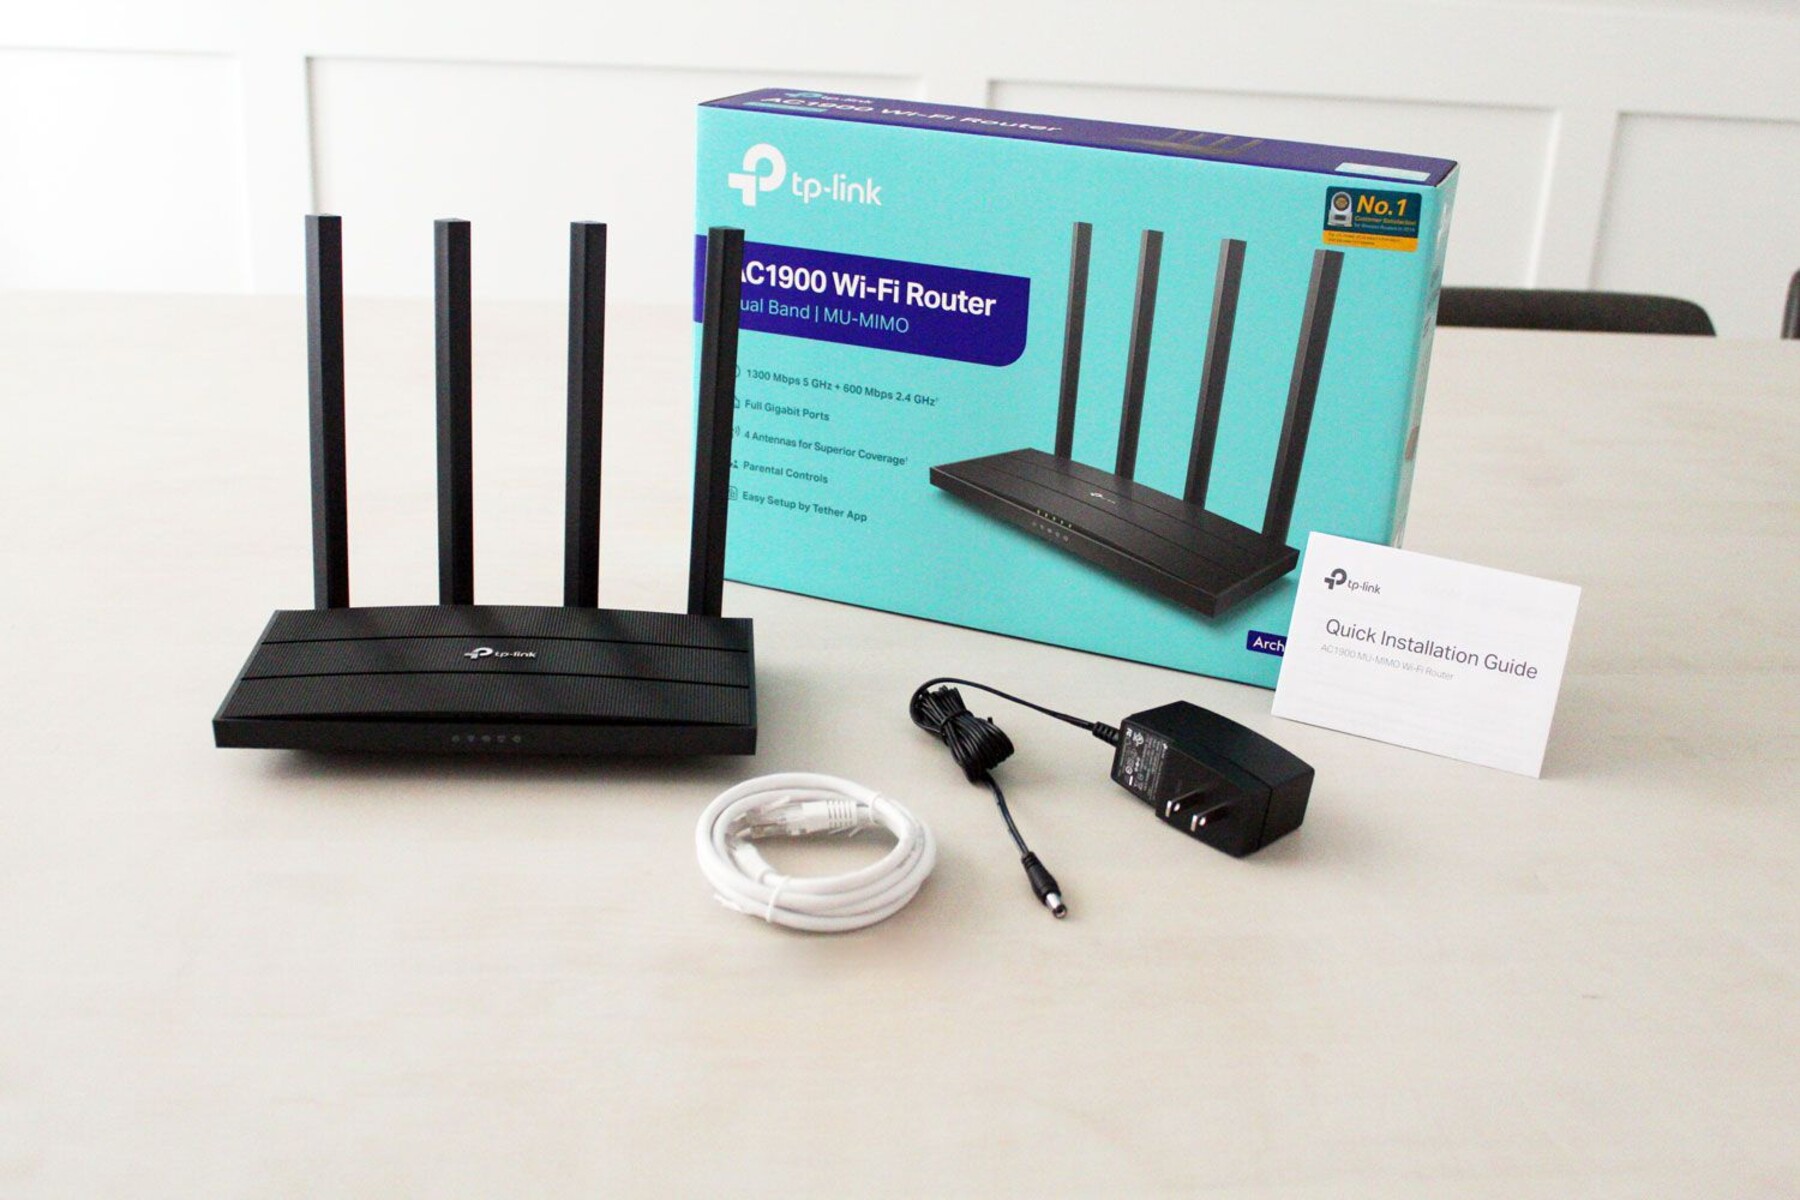
To set up wireless router for best performance, start by placing it in a central, elevated spot and then update its firmware before changing any other settings. This two-step foundation ensures your router broadcasts a strong, secure signal from a position that minimizes interference, making every subsequent configuration more effective.
Find the Optimal Placement to Set Up Your Wireless Router
Your router’s physical location is the single most important factor in Wi-Fi performance. A poor spot can cripple even the most expensive router. The goal is to create a direct, unobstructed path between the router and your devices.
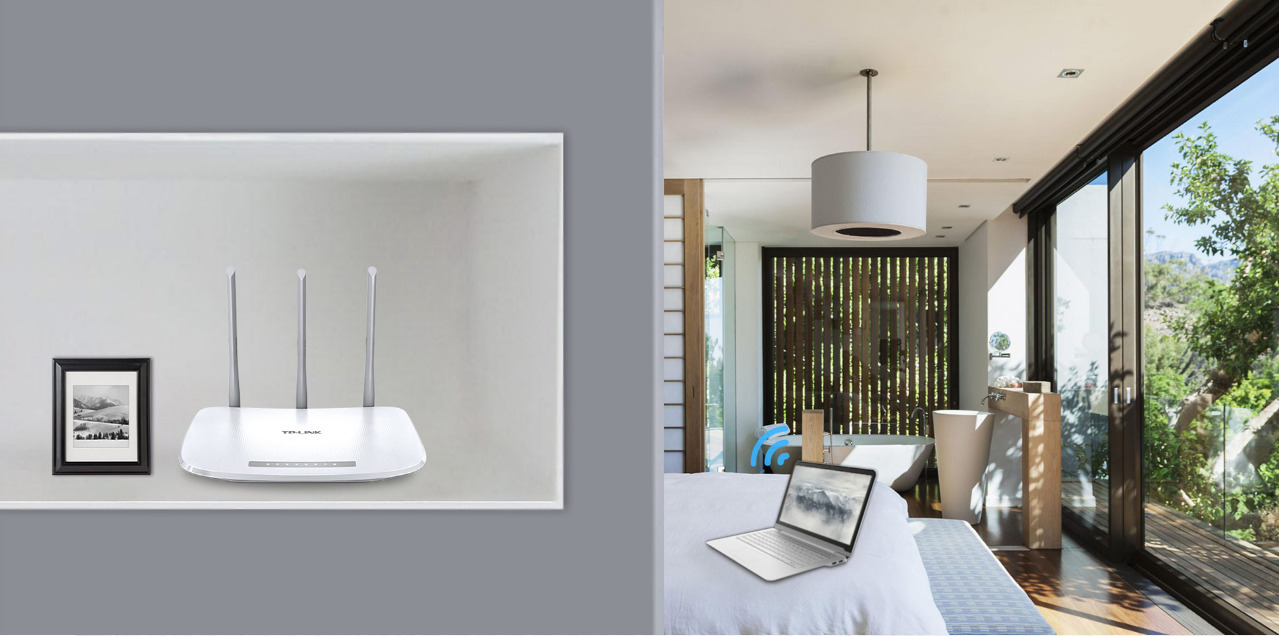
Place the router in a central location within your home. This ensures the signal radiates outward evenly, reducing the chance of dead zones in distant rooms. If your home has multiple floors, position it on the upper floor if possible, or at the midpoint of the structure.
Elevate the router to 5-7 feet off the floor. A shelf, desk, or mounted on a wall is ideal. This height mimics the typical height of devices like laptops and smartphones, allowing the signal to travel more horizontally. Avoid placing it on the floor, as furniture and flooring materials absorb a significant portion of the signal.
Keep the router away from physical obstructions. Thick walls, concrete, large metal objects (like filing cabinets or refrigerators), and large mirrors all reflect or absorb Wi-Fi signals. Also, avoid placing it inside a cabinet or behind a TV, as the enclosure will trap the signal.
Maintain a distance of at least 3-5 feet from other electronics that emit electromagnetic interference. The primary culprits are:
- Microwave ovens (especially when operating)
- Cordless phones (particularly 2.4 GHz models)
- Baby monitors
- Bluetooth speakers and devices
- Fluorescent lights
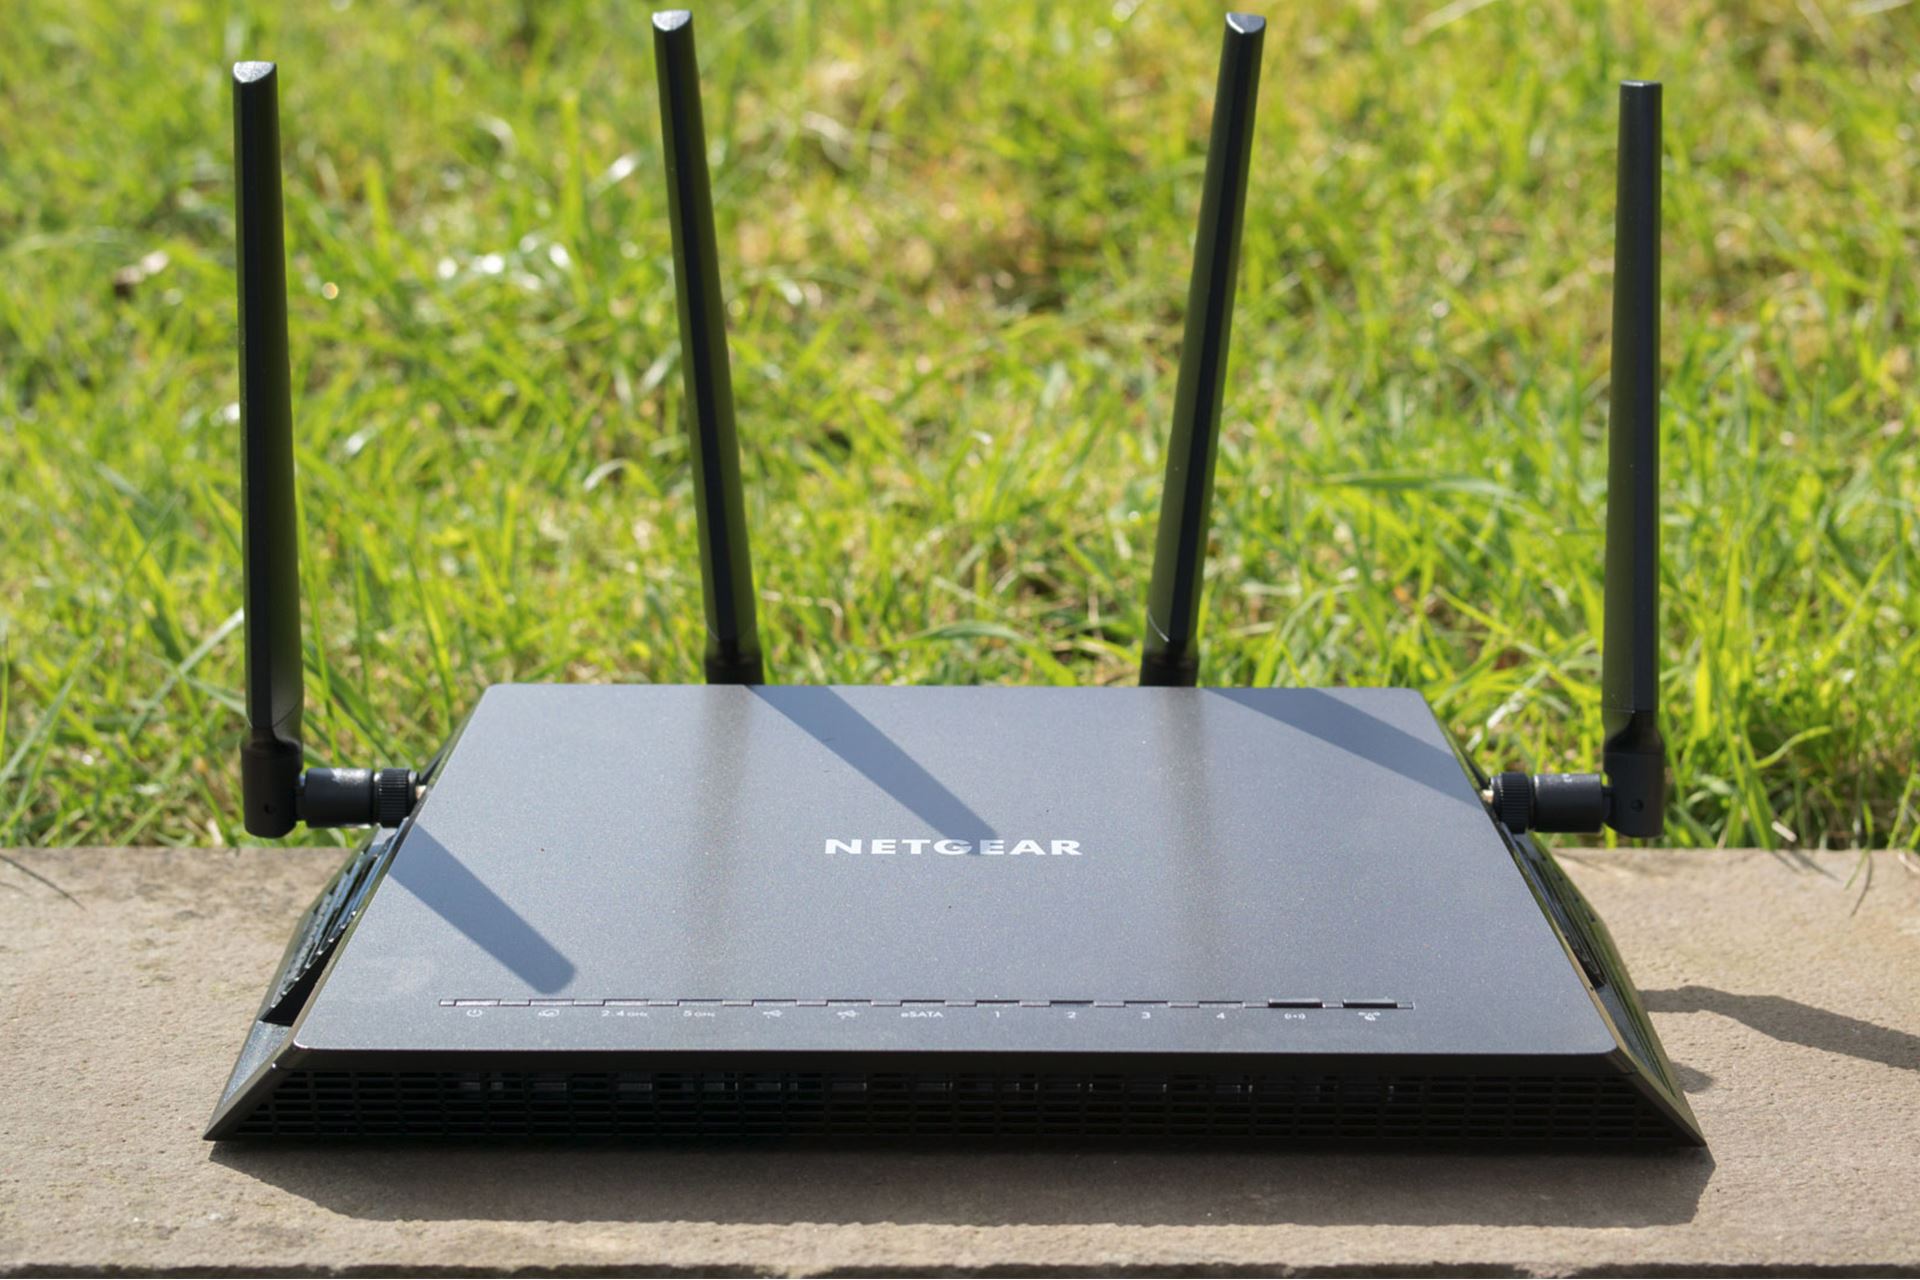
Fish tanks are also problematic because water absorbs Wi-Fi signals. If you have a fish tank, keep the router away from it. Finally, use a Wi-Fi analyzer app on your phone to walk around your home and confirm you have strong signal in the rooms where you need it most. If you find weak areas, adjust the router’s position or angle its external antennas (if it has them) vertically for better vertical coverage or horizontally for better horizontal coverage.
Update Your Router's Firmware
Firmware is the operating system that runs on your router. Manufacturers regularly release updates to patch security vulnerabilities, fix bugs that cause instability, and occasionally add new features. Running outdated firmware is a common cause of intermittent drops and slow speeds.
To update, first identify your router’s model number, usually found on a sticker on the bottom or back of the device. Go to the manufacturer’s website (e.g., ASUS, TP-Link, Netgear, Linksys) and navigate to the support or downloads section. Search for your specific model and download the latest firmware file to your computer.
Next, access your router’s web interface. Open a web browser and enter your router’s IP address (commonly 192.168.1.1 or 192.168.0.1). Log in with your admin credentials. Navigate to the “Administration,” “System,” or “Firmware Update” section. You will typically see an option to “Check for Updates” or “Upload” a file. If you downloaded the file, select it and upload it. Do not power off the router during the update process, as this can permanently damage it.
After the update, the router will reboot. Log back in and verify the new firmware version is active. It’s good practice to check for updates every few months, as security patches are critical.
Change the Default Admin Password
Every router ships with a default admin username and password (often “admin” and “password” or “admin” and “admin”). These are publicly known, meaning anyone within Wi-Fi range can log into your router and hijack your network settings. Changing this is your first line of defense against unauthorized access.
Access the router’s web interface using the IP address and your current login. Look for a section called “Administration,” “Management,” or “System.” Find the “Change Password” or “Admin Password” field.
Create a strong password that is at least 12 characters long. Use a mix of uppercase and lowercase letters, numbers, and special symbols (e.g., !@#$%^). Avoid using personal information like your name, birthdate, or address. Do not reuse a password you use for email or banking. Ideally, use a password manager to generate and store a unique, random password.
After saving, log out and log back in with the new password to confirm it works. This step prevents attackers from altering your security settings, redirecting your traffic, or installing malicious firmware.
Choose the Right Wi-Fi Channel and Width
Wi-Fi networks operate on specific channels. In congested areas (apartments, dense neighborhoods), overlapping channels cause interference, leading to slower speeds and lag. Selecting the right channel and channel width is crucial for stability.
For the 2.4 GHz band: This band has longer range but is more prone to interference. It has channels 1 through 11 (in the US). Channels 1, 6, and 11 are non-overlapping. Your router and neighboring networks should ideally be on one of these three. Use a Wi-Fi analyzer app (like NetSpot or WiFi Analyzer) to see which channels are least congested. Manually set your router to the least crowded of these three channels. Set the channel width to 20 MHz. While 40 MHz can offer higher throughput, it is more susceptible to interference and can cause instability in congested environments. 20 MHz is the safest and most reliable choice for this band.
For the 5 GHz band: This band offers faster speeds but shorter range. It has many more channels. Lower channels (36, 40, 44, 48) are generally less congested than higher ones. Use your Wi-Fi analyzer to find a clear channel. You can also consider enabling DFS (Dynamic Frequency Selection) channels if your router supports it. This can be beneficial because many consumer routers don’t use DFS, giving you a less crowded spectrum. However, DFS can occasionally cause a brief disconnect when the router switches channels.
For channel width on 5 GHz, start with 80 MHz. This provides excellent throughput for modern devices. If you experience instability or interference, drop to 40 MHz.
To change these settings, log into your router’s web interface, go to “Wireless Settings” or “Wi-Fi,” and manually select the channel and width for each band. Save the settings and test your connection.
Set Up a Guest Network
A guest network provides visitors with internet access while isolating them from your primary network. This prevents guests from accessing shared files, printers, or smart home devices connected to your main network. It also keeps your main Wi-Fi password private.
Log into your router’s web interface and find the “Guest Network” or “Guest Wi-Fi” section. Enable the feature. You will be prompted to create a separate SSID (network name), make it distinct from your main network, such as “MyHome-Guest.” Set a strong password for this network, different from your main Wi-Fi password.
Most routers allow you to configure guest network permissions. Ensure the following settings are enabled:
- Enable SSID Broadcast: So guests can find it.
- Enable “Allow Guest to Access Local Network” (or similar): This should be disabled to isolate guests from your main devices.
- Enable “Allow Guest to Access Internet”: This must be enabled.
Some routers also offer bandwidth limits for the guest network. You can set a maximum upload/download speed to ensure guests don’t consume all your bandwidth. After configuring, save the settings. Provide the guest network name and password to your visitors. Periodically change the guest password, especially after large gatherings, to maintain security.
Enable Quality of Service (QoS) to Prioritize Traffic
QoS allows you to prioritize bandwidth for specific devices or applications. This is essential for activities that are sensitive to latency, such as video conferencing, online gaming, and VoIP calls. Without QoS, a large file download on one device can cause lag and buffering on another.
Access your router’s web interface and find the “QoS” or “Traffic Management” section. The exact options vary by router model, but the general process is:
- Enable QoS: Turn on the QoS feature.
- Set Upstream and Downstream Speeds: Enter your internet connection’s maximum upload and download speeds (from your ISP). This allows the router to allocate bandwidth accurately.
- Add Rules: You can prioritize by device (MAC address) or by application (e.g., “Streaming,” “Gaming”). For device-based priority, select the device you want to prioritize (like your work laptop or gaming console) and set its priority to “High” or “Highest.”
- For application-based QoS: Choose the application type (e.g., “Video Conferencing” or “Gaming”) and assign it a high priority. Lower priority can be assigned to “File Downloads” or “Web Browsing” to prevent them from hogging bandwidth.
After configuring, save the settings. The router will now automatically ensure that high-priority traffic gets the necessary bandwidth, providing a smoother experience for latency-sensitive applications. If you have a router that supports Adaptive QoS, it may automatically classify traffic, but manual rules give you more control.
Configure Parental Controls for Safe Browsing
Parental controls allow you to manage your children’s internet usage directly from the router, enforcing content filters and access schedules across all connected devices. This is more reliable than installing software on each device, as it applies network-wide.
Log into your router’s web interface and find the “Parental Controls” or “Access Control” section. The configuration process typically involves:
- Add Devices: Identify the devices you want to control. You can usually select them from a list of connected devices or enter their MAC addresses manually.
- Set Filters: Choose the level of content filtering. Many routers offer pre-set categories like “Adult Content,” “Gambling,” or “Social Media.” You can block these categories entirely.
- Create Schedules: Set specific times when internet access is allowed or blocked. For example, you can block internet access on a child’s tablet from 9 PM to 7 AM on school nights.
- Apply Rules: Assign these filters and schedules to the specific devices you added in step 1.
Some routers allow you to create different profiles for different children, each with its own set of rules. After saving, the router will enforce these policies. Periodically review the settings as your children grow and their online needs change. You can also use the router’s logs to see which websites were accessed, if your router supports that feature.
\nRelated reading: How To Setup Tenda Wireless Router, How To Setup Linksys Wireless Router Without CD, and How Do I Change Password On Netgear Wireless Router.