Introduction
Television antennas have come a long way since the days of bulky rabbit ears and tangled wires. With advancements in technology, you can now connect your TV antenna to your television wirelessly, eliminating the need for unsightly cables and allowing for greater flexibility in antenna placement. Whether you’re looking to improve the reception of your favorite channels or simply want a neater setup, connecting your TV antenna wirelessly is a convenient option.
In this article, we’ll guide you through the process of connecting your TV antenna to your television wirelessly. We’ll explain the basics, help you choose the right wireless antenna, walk you through the installation process, and provide tips on adjusting the antenna position for optimal reception. By the end of this guide, you’ll be able to enjoy your favorite TV shows and movies without the hassle of cables cluttering your entertainment area.
Before we dive into the details, it’s important to note that connecting your TV antenna wirelessly requires the use of a wireless transmitter and receiver system. This system eliminates the need for a physical connection between your antenna and TV, allowing you to place your antenna in a location that provides the best signal reception.
Now, let’s explore how you can connect your TV antenna to your television wirelessly and start enjoying crystal-clear free-to-air channels!
Understanding the Basics
Before you can connect your TV antenna to your TV wirelessly, it’s important to have a basic understanding of how this technology works. Essentially, a wireless TV antenna setup consists of two main components: a wireless transmitter and a wireless receiver.
The wireless transmitter is connected to your TV antenna, which captures the broadcast signals from nearby television stations. It converts these signals into a wireless format and transmits them to the wireless receiver. The wireless receiver, in turn, is connected to your television and receives the wireless signal from the transmitter. It decodes the signal and displays the TV channels on your screen.
It’s worth noting that the wireless transmission range will vary depending on the specific system you choose. Some systems have a range of a few meters, while others can transmit signals wirelessly up to 100 feet or more. Consider the size of your home and the distance between your antenna and TV when selecting a wireless antenna system.
Another important aspect to consider is the frequency range of the wireless transmitter and receiver. Make sure that they are compatible with the frequency range of your TV antenna. Most wireless antenna systems operate on the 2.4GHz or 5GHz frequency band, which is commonly used for Wi-Fi networks. Some models also offer dual-band functionality, allowing you to choose between the two frequency bands for optimal performance.
Before purchasing a wireless antenna system, it’s a good idea to check whether it is compatible with your TV model. Most modern TVs have built-in wireless receivers, allowing for easy connection with a wireless transmitter. However, if your TV doesn’t have built-in wireless capabilities, you may need to use a separate wireless receiver that plugs into your TV’s HDMI or AV ports.
Now that you have a basic understanding of the components and considerations involved in a wireless TV antenna setup, it’s time to move on to selecting the right wireless antenna system for your needs. In the next section, we’ll explore the factors to consider when choosing a wireless antenna.
Selecting the Right Wireless Antenna
When it comes to selecting the right wireless antenna for your TV, there are a few key factors to consider. These factors will help ensure that you choose a wireless antenna system that is compatible with your TV and provides reliable signal reception.
First, consider the range of the wireless antenna system. Look for a system that offers a range that suits the size of your home and the distance between your TV antenna and your TV. If you have a large home or need to transmit the signal over a long distance, opt for a wireless antenna system with a greater range.
Next, consider the frequency range of the wireless antenna system. Ensure that it is compatible with the frequency range of your TV antenna. Most wireless antenna systems operate on the 2.4GHz or 5GHz frequency band, but it’s essential to check the specifications to confirm compatibility.
Additionally, consider the type of wireless connection the system uses. Some wireless antenna systems utilize Wi-Fi or Bluetooth technology, while others may use a proprietary wireless connection. Choose a system that utilizes a wireless connection type that is compatible with your TV and meets your connectivity needs.
Another factor to consider is the number of channels the wireless antenna system can support. Ensure that the system can handle the number of channels you wish to receive. Some systems may have limitations on the number of channels they can transmit wirelessly, so double-check the specifications before making a purchase.
Furthermore, look for additional features or functionalities that may enhance your viewing experience. Some wireless antenna systems offer built-in amplifiers to improve signal strength, while others may have adjustable antenna positions for better reception. Consider your specific needs and preferences when evaluating these additional features.
Lastly, consider the price and budget for your wireless antenna system. Prices may vary depending on the brand, range, features, and quality of the system. Evaluate your budget and choose a system that offers the best balance between affordability and performance.
By considering these factors, you’ll be able to select the right wireless antenna system for your needs. In the next section, we’ll walk you through the installation process of the wireless antenna system.
Installing the Antenna
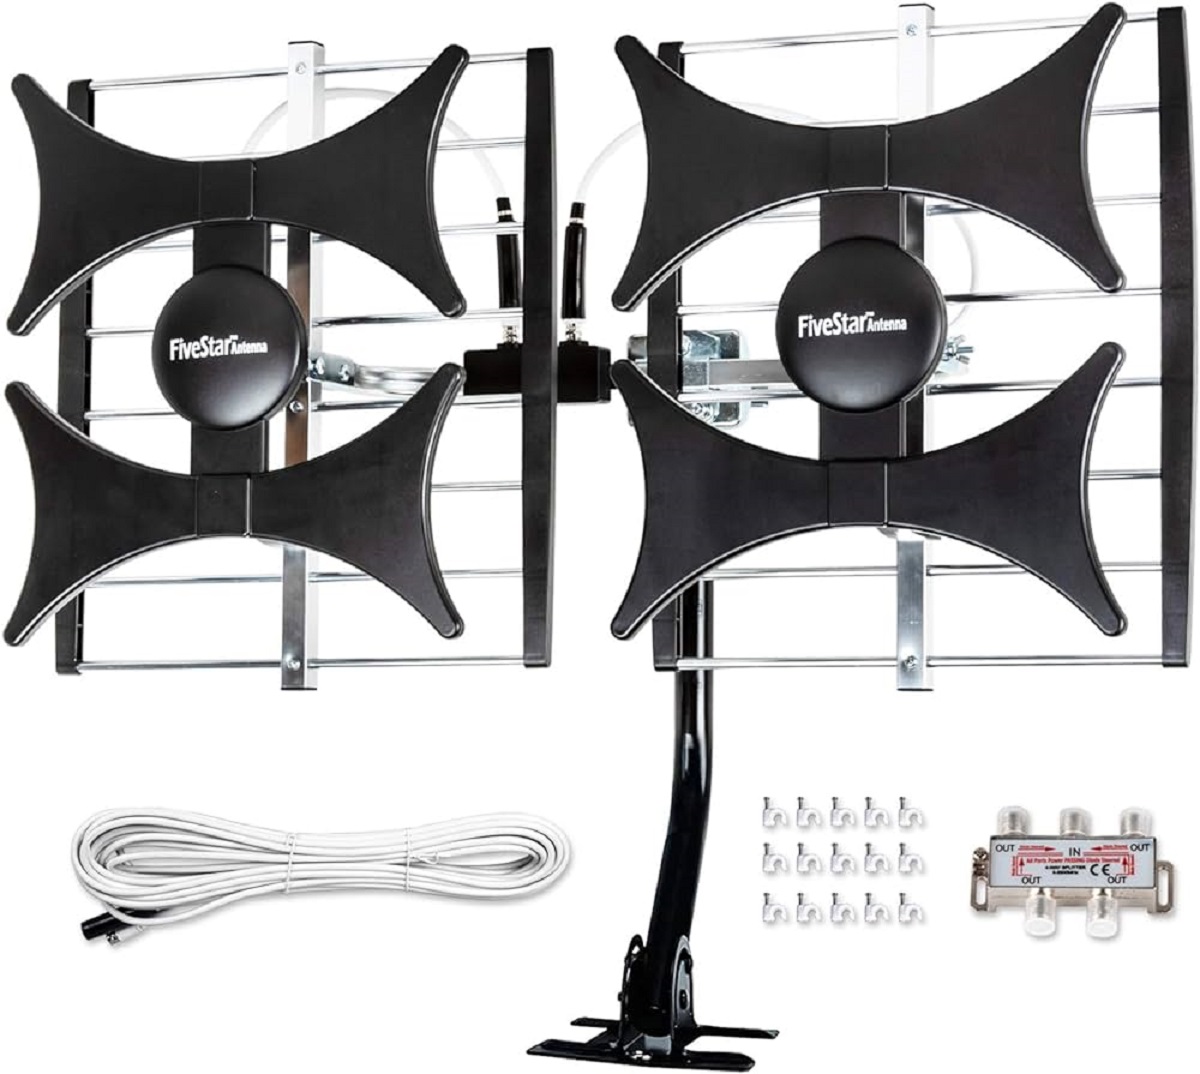
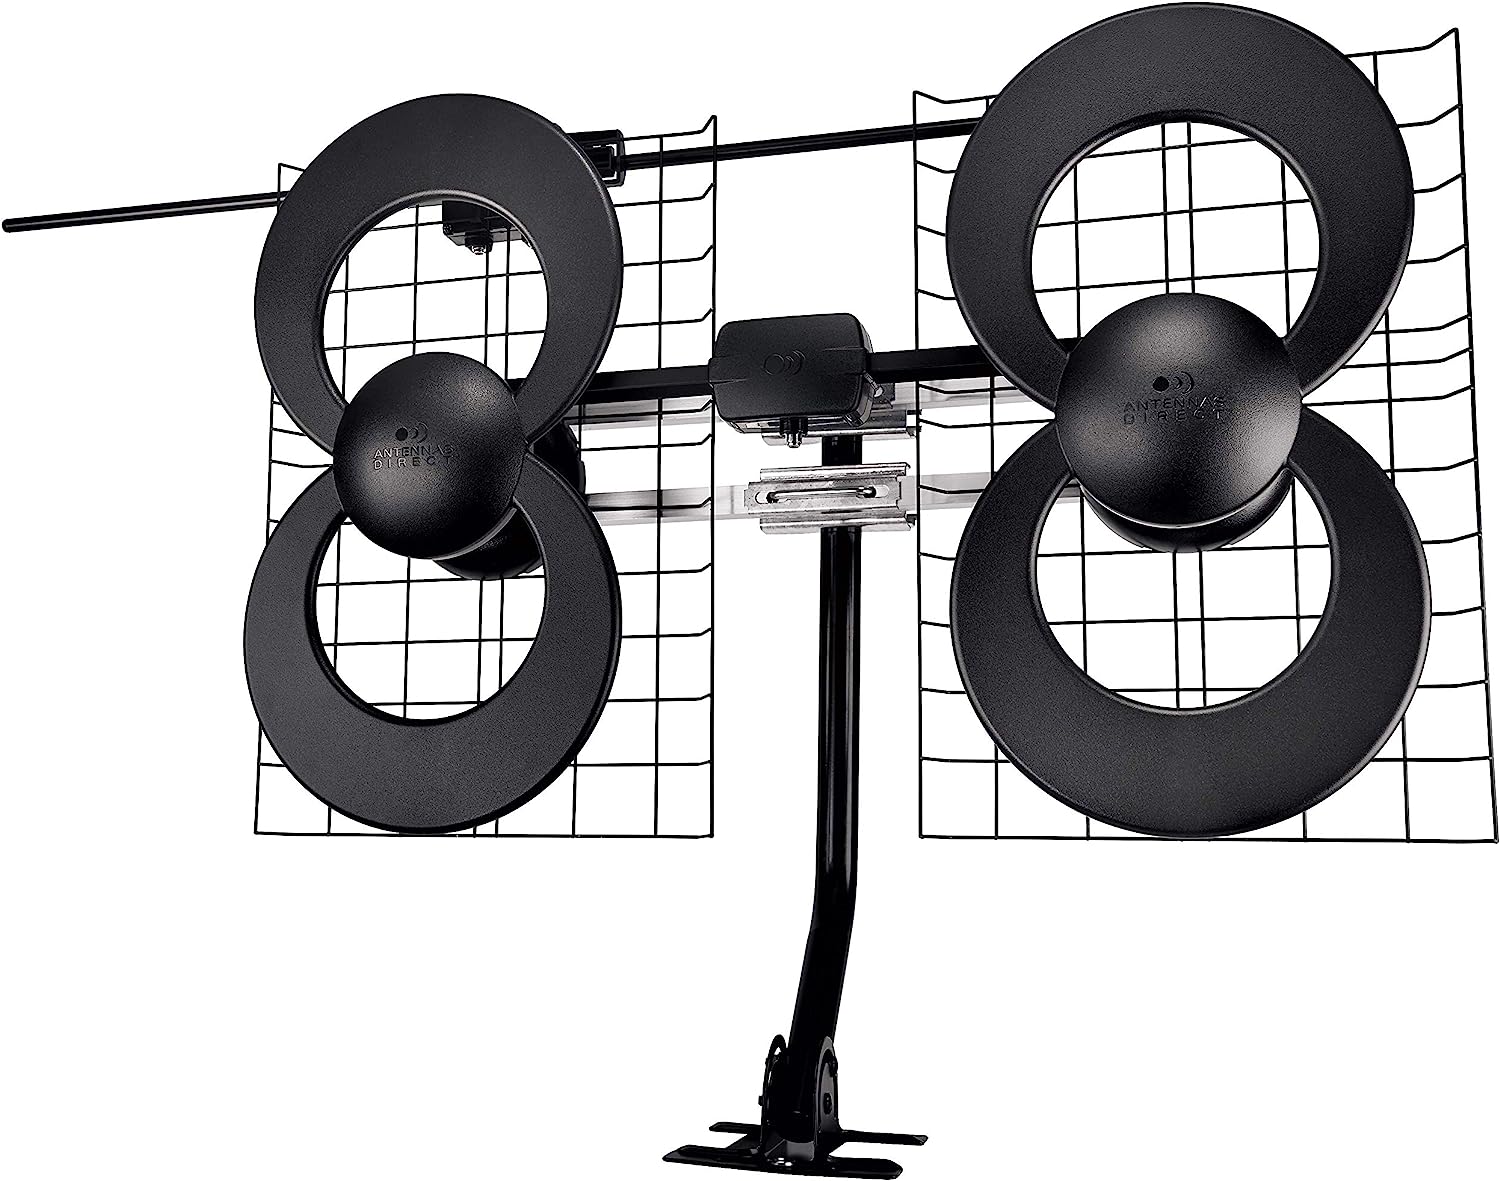
Now that you’ve chosen the right wireless antenna system, it’s time to install the antenna. The installation process may vary depending on the specific antenna system you have selected, but the general steps are as follows:
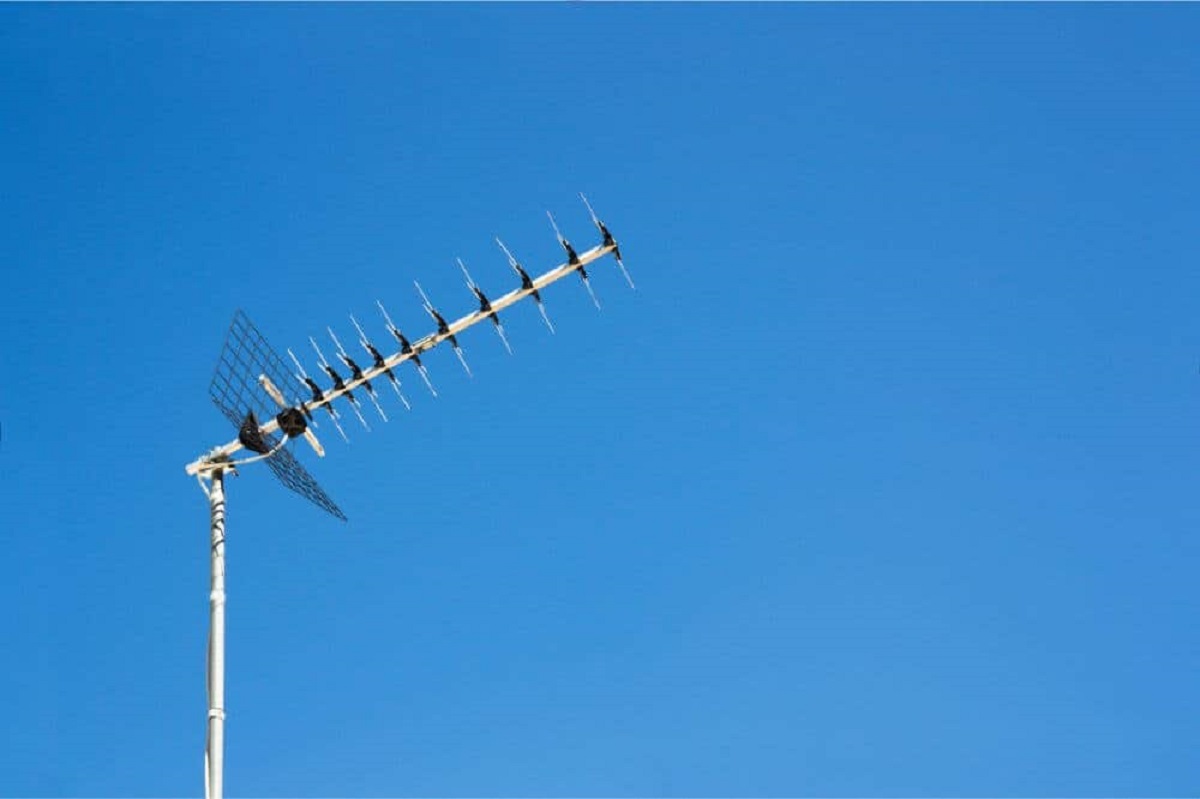
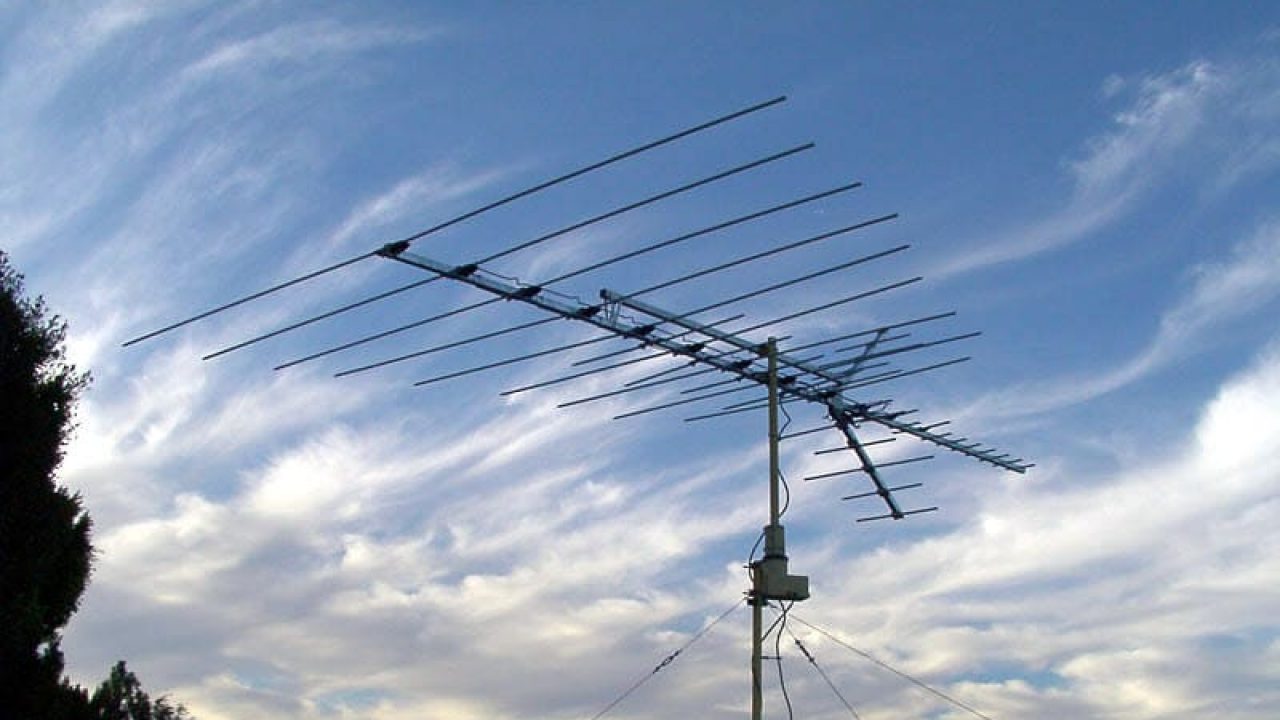
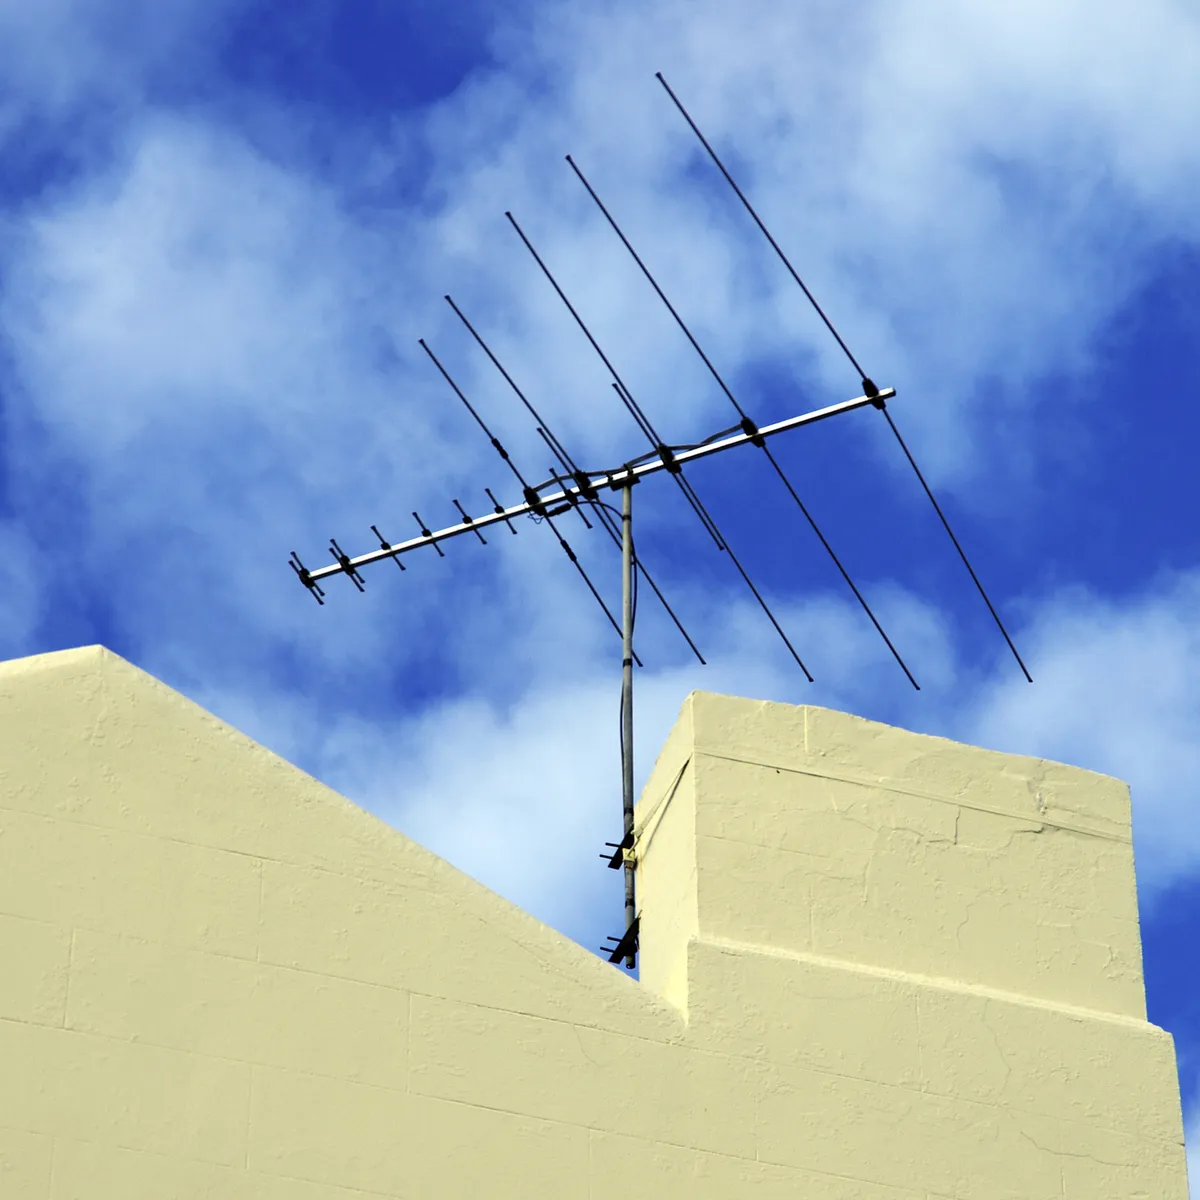
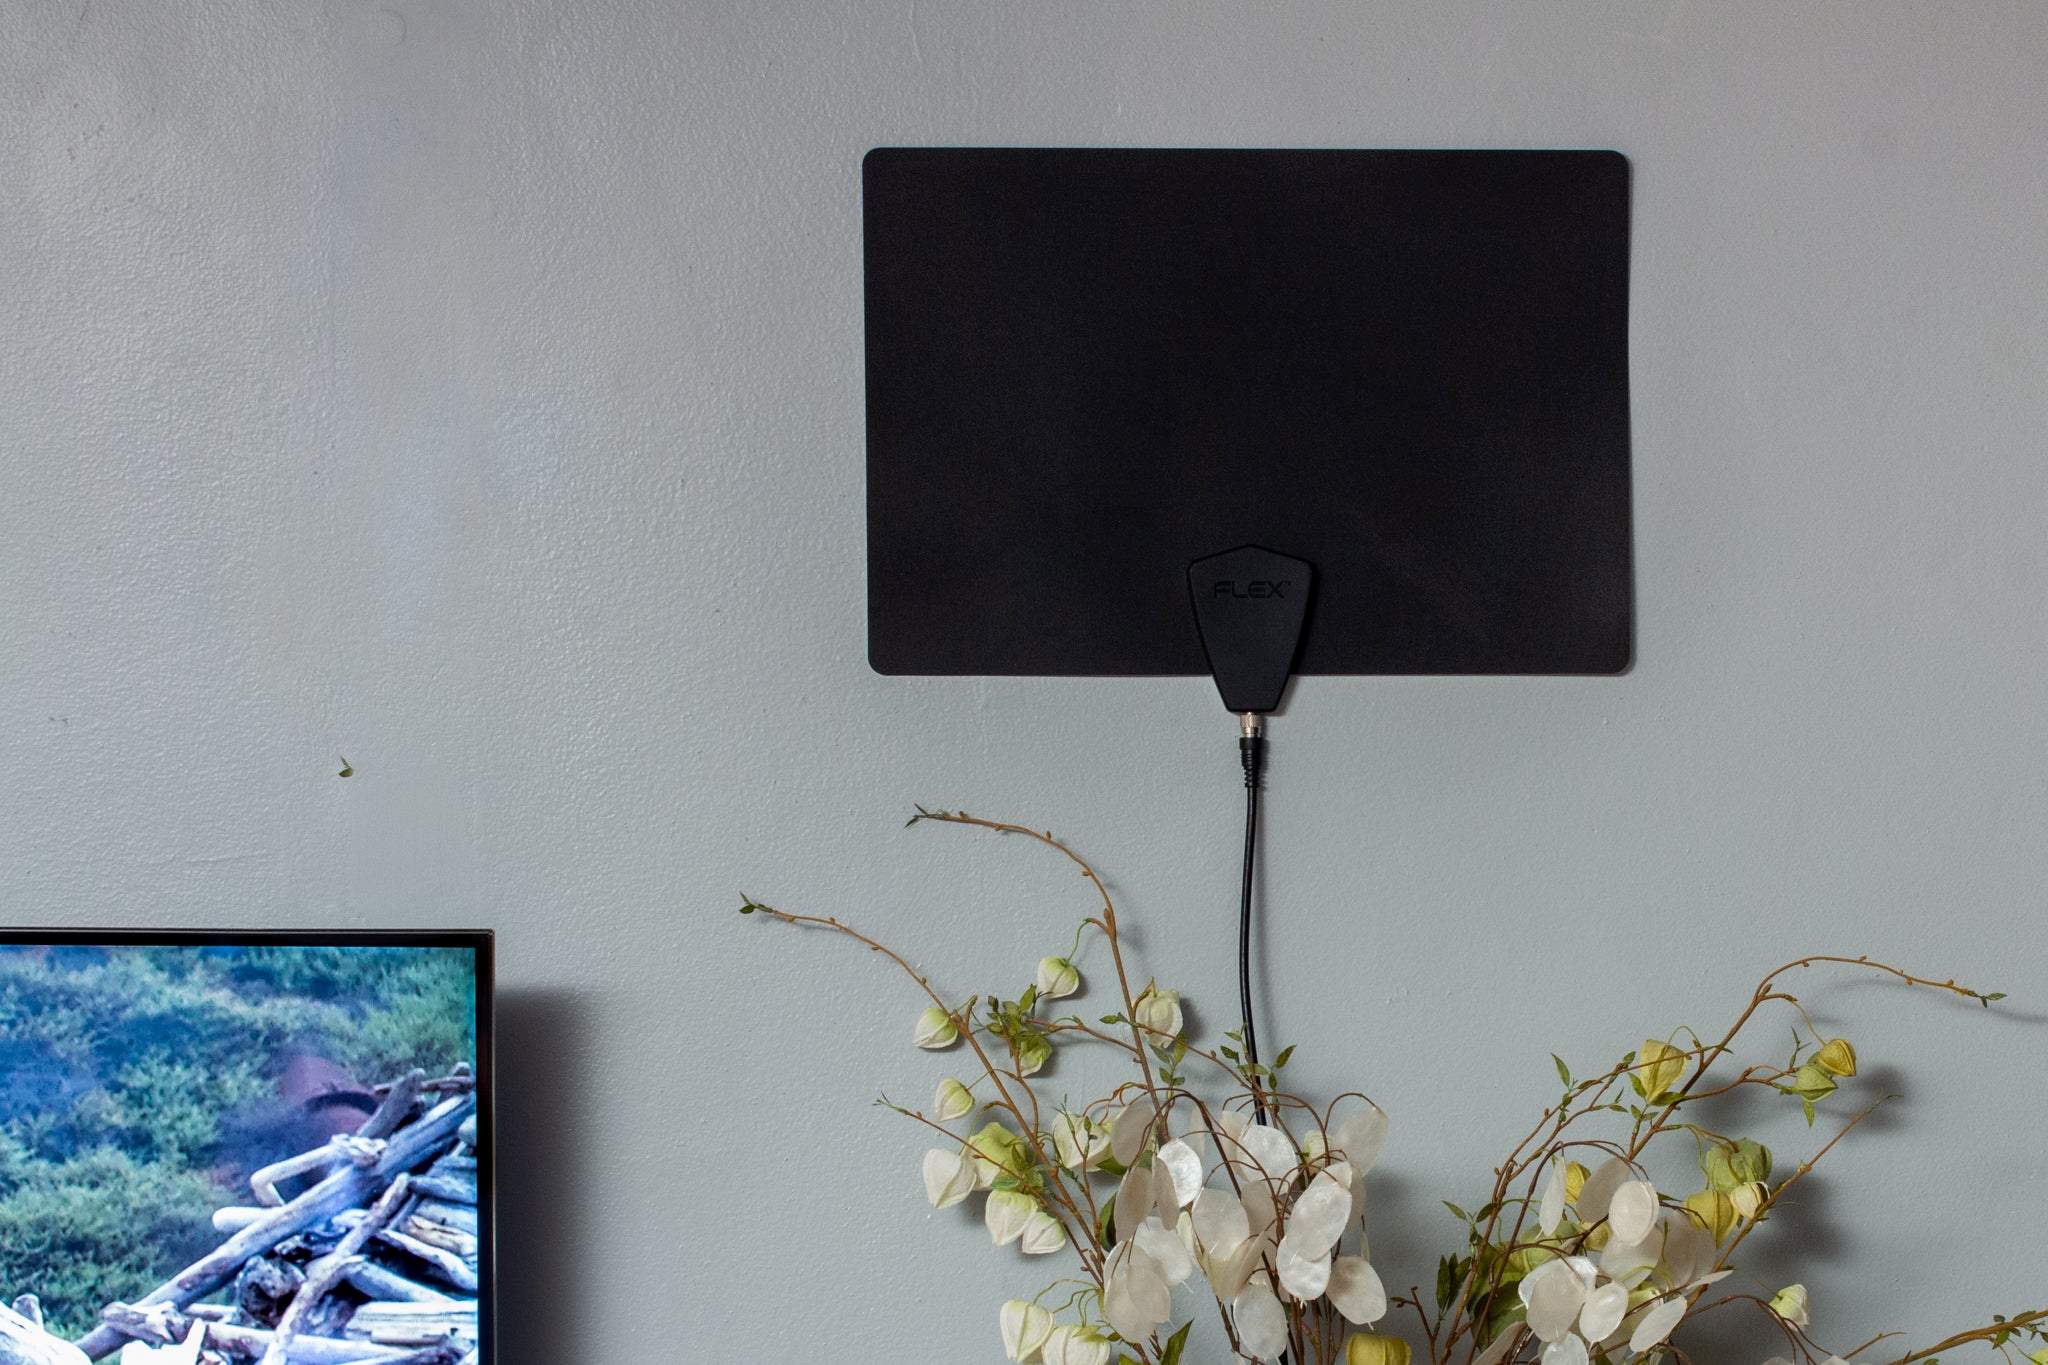
- Locate an optimal placement for your TV antenna. This is typically near a window or an area where the signal reception is strong. Avoid placing the antenna near large metal objects or dense walls that may interfere with the signal.
- Once you have determined the ideal placement, mount the antenna using the provided hardware. Ensure that it is securely attached to the wall or window frame.
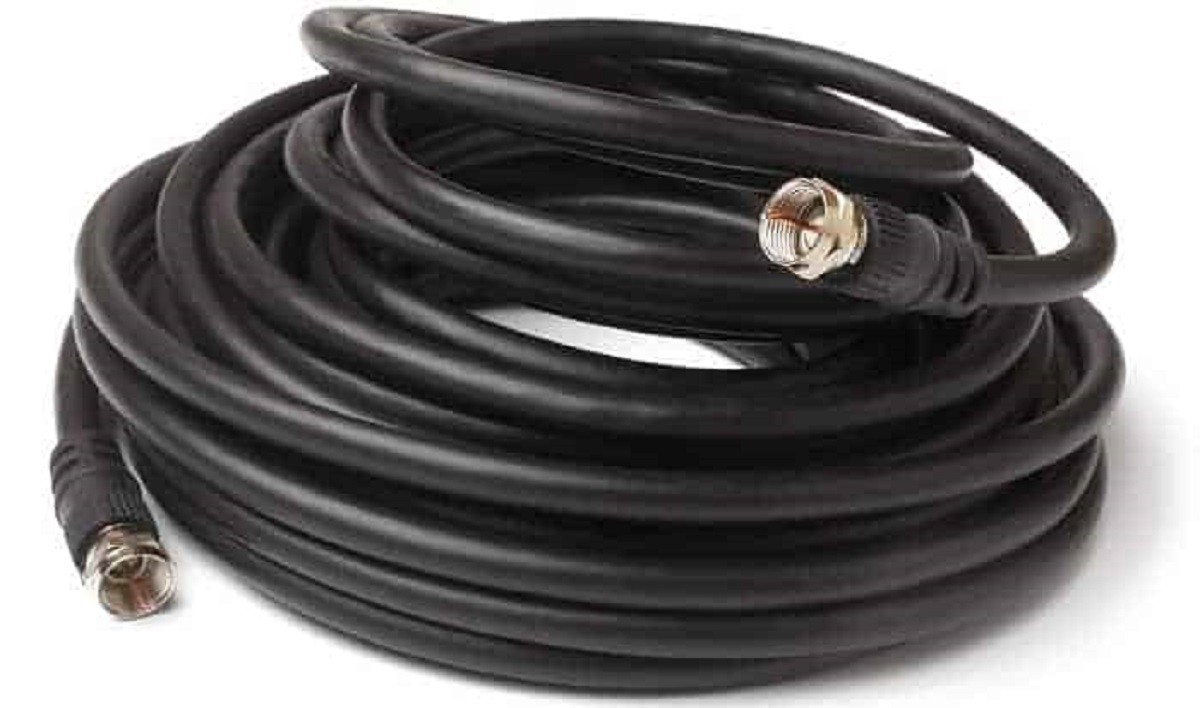
- Connect the antenna’s coaxial cable to the wireless transmitter. The transmitter is the device that will wirelessly transmit the signal to your TV. Depending on the specific system, this connection may be made with a standard coaxial cable or a specialized connector.
- Ensure that the wireless transmitter is powered on and functioning properly. Refer to the manufacturer’s instructions for specific information on how to power on and activate the transmitter.
- Once the transmitter is on, it will begin wirelessly transmitting the TV signals to the receiver. The receiver should be placed near your TV, ideally within range of the transmitter. Connect the receiver to your TV using the appropriate cable, such as HDMI or AV.
- Power on your TV and switch to the correct input source. This may vary depending on your TV model. Consult your TV’s user manual if you are unsure of how to do this.
- If everything is connected properly, you should now be able to access and watch the TV channels wirelessly through your TV. Use your TV’s remote control to navigate through the channels.
It’s important to note that some wireless antenna systems may have additional installation steps or require specific setup procedures. Always refer to the manufacturer’s instructions for your specific antenna system to ensure successful installation.
With the antenna installed and the wireless transmitter and receiver connected to your TV, you’re one step closer to enjoying your favorite TV channels wirelessly. In the next section, we’ll discuss how to pair the wireless transmitter and receiver.
Connecting the Wireless Transmitter
After installing the TV antenna, the next step is to connect the wireless transmitter to ensure the smooth transmission of the TV signals. The wireless transmitter is the device that converts the signals from the antenna into a wireless format and sends them to the wireless receiver connected to your TV. Here’s how you can connect the wireless transmitter:
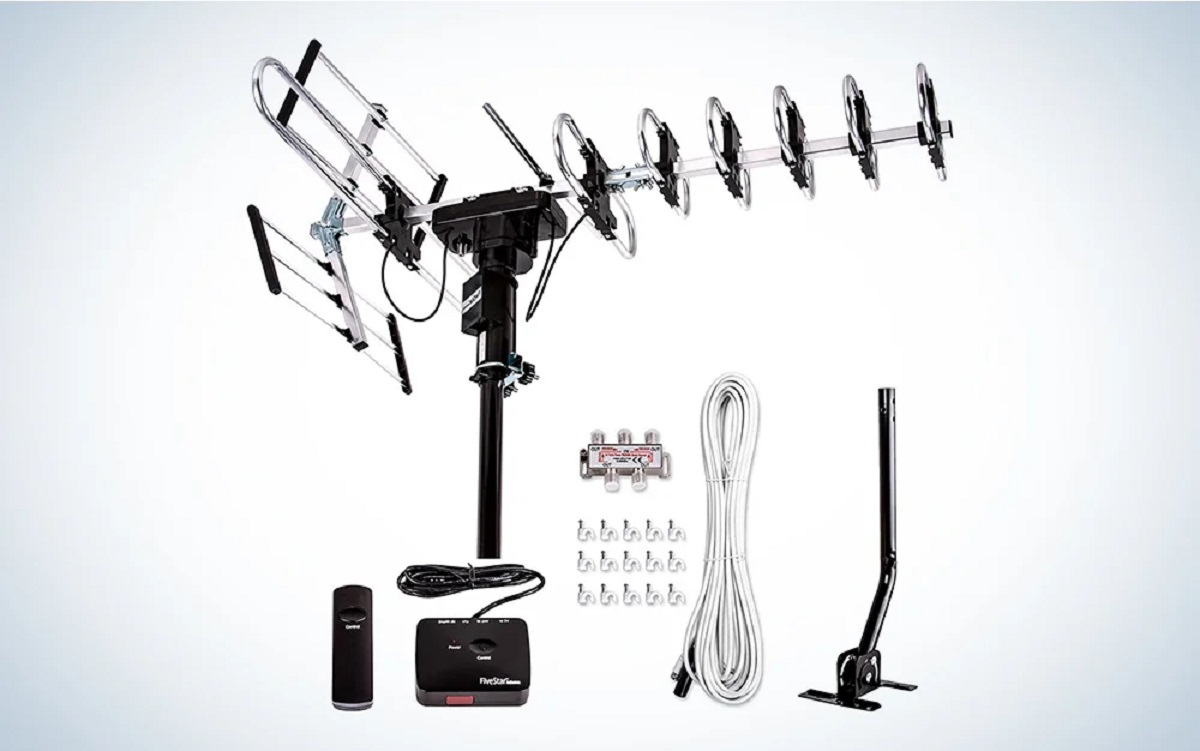
- Locate the wireless transmitter that came with your wireless antenna system. It is usually a small device with power and input/output ports.
- Connect the antenna’s coaxial cable to the input port of the wireless transmitter. This is the same coaxial cable that is connected to the TV antenna. Ensure that the connection is secure.
- Next, connect the power adapter to the wireless transmitter. Plug the adapter into a power outlet and ensure that it is properly connected to the transmitter.
- Power on the wireless transmitter. Depending on the model, there may be a power button or switch on the transmitter. Refer to the manufacturer’s instructions for your specific model.
- Once the wireless transmitter is powered on, it will begin converting the TV signals into a wireless format and transmitting them to the wireless receiver.
- Now it’s time to connect the wireless receiver to your TV. The wireless receiver is usually a small device with output ports that connect to your TV.
- Using the appropriate cable, such as HDMI or AV, connect the output port of the wireless receiver to the corresponding input port on your TV.
- Power on your TV and switch to the correct input source that corresponds to the input port you connected the wireless receiver to. This will vary depending on your TV model, so consult your TV’s user manual if needed.
- If everything is connected correctly, you should now be able to receive the wireless TV signals on your TV. Use your TV’s remote control to navigate through the channels.
It is important to follow the manufacturer’s instructions for your specific wireless antenna system to ensure the correct and successful connection of the wireless transmitter. If you encounter any issues, consult the troubleshooting guide provided by the manufacturer.
Now that the wireless transmitter is connected and functioning properly, we can move on to the next section, where we will discuss how to pair the transmitter and receiver to establish a wireless connection.
Pairing the Transmitter and Receiver
Once you have connected the wireless transmitter and receiver, the next step is to pair them to establish a wireless connection. Pairing ensures that the transmitter and receiver can communicate with each other and transmit the TV signals wirelessly. Here are the steps to follow:
- Make sure that both the wireless transmitter and receiver are powered on and connected to their respective devices (antenna and TV).
- Check the manufacturer’s instructions for the specific pairing process of your wireless antenna system. The process may involve pressing certain buttons or following a series of steps on both the transmitter and receiver.
- Typically, you will need to locate the pairing buttons on both the transmitter and receiver. Press and hold the pairing button on the transmitter for a few seconds until the LED indicator starts blinking. Repeat the same process on the receiver.
- The LED indicators on both the transmitter and receiver will usually flash or change color to indicate that the pairing process is in progress.
- Wait for a few moments while the transmitter and receiver establish a wireless connection. The LED indicators will stabilize or turn a solid color once the pairing process is complete and the wireless connection is established.
- Once the pairing is successful, you should be able to receive the TV signals wirelessly on your TV. Use your TV’s remote control to navigate through the channels and enjoy your favorite broadcasts.
If you encounter any issues during the pairing process, consult the manufacturer’s instructions or troubleshooting guide for your specific wireless antenna system. They may provide additional steps or troubleshooting tips to help you successfully pair the transmitter and receiver.
Now that the transmitter and receiver are paired and the wireless connection has been established, you’re ready to enjoy the convenience and flexibility of wirelessly connecting your TV antenna to your TV. In the next section, we’ll discuss how to test the wireless connection and ensure that everything is working correctly.
Testing the Wireless Connection
After successfully pairing the wireless transmitter and receiver, it’s important to test the wireless connection to ensure that it is working properly. Testing the connection will give you confidence that you can enjoy your favorite TV channels without any interruptions. Here are some steps to test the wireless connection:
- Ensure that both the wireless transmitter and receiver are powered on and in close proximity to each other.
- Tune your TV to one of the channels that your TV antenna should be receiving.
- Check the signal strength and clarity on your TV. Ensure that the picture quality is clear and there are no visible artifacts or interference.
- Switch between different channels to verify that you can receive a variety of broadcasts wirelessly.
- Pay attention to any signs of weak signal or added noise/distortion during the testing process.
- If you encounter any issues or the signal quality is poor, try adjusting the position of the wireless transmitter or the antenna. Moving them closer together or repositioning them may improve the signal strength.
- Ensure that there are no obstructions between the wireless transmitter and receiver that could interfere with the wireless signal.
- If you continue to experience issues, consult the troubleshooting guide provided by the manufacturer of your wireless antenna system. They may offer additional steps or suggestions to resolve any connection problems.
Testing the wireless connection is a crucial step in ensuring a smooth and uninterrupted TV viewing experience. By carefully evaluating the signal strength, clarity, and overall performance, you can make any necessary adjustments or seek further assistance if needed.
Now that you have tested the wireless connection and confirmed that everything is functioning as expected, you can sit back, relax, and enjoy your favorite TV shows and movies without the limitations of wired connections.
Adjusting the Antenna Position
Even with a wireless antenna system, it’s important to find the optimal position for your TV antenna to ensure the best possible signal reception. Adjusting the antenna’s position can significantly improve the clarity and strength of the TV channels you receive. Here are some steps to help you adjust the antenna position:
- Start by observing the signal strength and picture quality on your TV. Look for any signs of weak signals, pixelation, or audio/video distortion.
- If you notice any issues, try moving the antenna to different locations within your home. Ideally, you want to place it near a window or in an area where the signal reception is strong.
- Make small adjustments to the position of the antenna while observing the TV’s signal strength. You can rotate the antenna, move it higher or lower, or adjust its angle.
- Continuously monitor the signal strength and picture quality on your TV as you make these adjustments. Take note of any improvements or changes.
- Consider using a signal strength meter or a channel scan feature on your TV to help you identify the optimal position. These tools can provide real-time feedback on the signal reception.
- Pay attention to any obstructions around the antenna that may hinder signal strength. Large objects, thick walls, or other electronic devices can interfere with the signal. Try to minimize such obstructions as much as possible.
- Keep experimenting with the antenna’s position until you achieve the best signal quality and reception. It may take some trial and error to find the ideal location.
Remember, adjusting the antenna position is a crucial step in optimizing the performance of your wireless TV antenna system. By finding the sweet spot for your antenna, you can ensure that you receive the clearest and strongest signal possible.
If you’re still experiencing signal or reception issues after adjusting the antenna position, consult the troubleshooting guide provided by the manufacturer of your wireless antenna system. They may offer further tips and solutions to help you overcome any challenges.
With the antenna properly positioned and the signal optimized, you can now enjoy a seamless and uninterrupted TV viewing experience. In the next section, we’ll discuss some common issues that you may encounter and how to troubleshoot them.
Troubleshooting Common Issues
While connecting your TV antenna wirelessly can provide many benefits, you may encounter some common issues along the way. Understanding how to troubleshoot these issues can help you quickly resolve them and enjoy uninterrupted TV viewing. Here are some common issues and their troubleshooting steps:
- No Signal: If you are experiencing a complete loss of signal on your TV, check that the wireless transmitter is powered on and properly paired with the receiver. Ensure that the antenna is properly connected to the transmitter and that the transmitter is within range of the receiver.
- Poor Signal Quality: If the signal is weak, pixelated, or interrupted, try repositioning the wireless transmitter and receiver for a better line of sight. Adjust the antenna position to improve signal reception. Avoid any obstructions or interference from nearby electronic devices.
- Audio/Video Lag: If you notice a delay between the audio and video on your TV, ensure that the wireless transmitter and receiver are in sync. Refer to the manufacturer’s instructions for any settings that can help reduce latency issues. Consider upgrading to a higher-quality wireless antenna system for better performance.
- Interference: If you are experiencing interference, such as distortions or noise in the TV channels, check for nearby devices that could be causing interference. Move any electronic devices away from the wireless transmitter and receiver. Consider using an antenna with built-in interference-filtering capabilities.
- Inconsistent Reception: If the reception varies or channels come in and out, check for loose or damaged connections between the antenna, transmitter, and receiver. Ensure that all cables are securely plugged in. Consider using high-quality cables to minimize signal loss.
- Remote Control Issues: If the remote control is not working properly, ensure that the batteries are fresh and correctly inserted. If the issue persists, consult the user manual for troubleshooting steps specific to your TV and remote control.
- Compatibility Issues: If you are using a separate wireless receiver that plugs into your TV, ensure that it is compatible with your TV model and supports the necessary connections (HDMI, AV, etc.). Consider using a wireless antenna system that is specifically designed for your TV model.
If you are unable to resolve the issue using the troubleshooting steps provided, contact the customer support of your wireless antenna system manufacturer for further assistance. They can provide specialized guidance and help you troubleshoot any specific technical issues.
By understanding how to troubleshoot common issues that may arise with your wireless TV antenna, you can save time and frustration and enjoy a smooth and uninterrupted viewing experience.
Conclusion
Connecting your TV antenna to your TV wirelessly provides you with the convenience and flexibility of enjoying your favorite TV channels without the need for unsightly cables. By following the steps outlined in this guide, you can successfully set up and connect your TV antenna wirelessly, enhancing your TV viewing experience.
Understanding the basics of wireless antenna systems, selecting the right antenna for your needs, and properly installing the antenna are crucial steps in the process. Additionally, ensuring that the wireless transmitter and receiver are correctly connected and paired, testing the wireless connection, adjusting the antenna position, and troubleshooting common issues are essential for optimal performance.
Remember to consult the manufacturer’s instructions specific to your wireless antenna system for accurate guidance throughout the setup and installation process. Additionally, be mindful of your TV model’s compatibility and any special requirements it may have.
By achieving a strong wireless connection and adjusting the antenna position for optimal signal reception, you can enjoy crystal-clear free-to-air channels and a seamless viewing experience. Should you encounter any issues, refer to the troubleshooting section or reach out to the customer support of your wireless antenna system for assistance.
Now, embrace the world of wireless connectivity and say goodbye to the clutter of wires while watching your favorite TV shows and movies with superior picture quality and sound.