Introduction
Welcome to our guide on how to rescan your TV antenna. With the transition from analog to digital broadcasting, it has become necessary to periodically rescan your TV antenna. By rescanning, you can ensure that you receive all the available channels in your area and enjoy uninterrupted viewing.
Rescanning your TV antenna is a simple process that involves scanning for new or updated channels. It is essential because broadcasters sometimes change their frequencies, add new channels, or make upgrades to their signals. Failing to rescan your TV antenna can result in missing out on new channels and experiencing signal disruptions.
In this guide, we will take you through the step-by-step process of rescanning your TV antenna. Whether you are using an indoor or outdoor antenna, this guide will help you stay up-to-date with the latest channels and programming available in your area.
Additionally, we will provide troubleshooting tips to help you overcome any challenges you may encounter during the rescan process. So, let’s get started and ensure you are making the most out of your TV antenna!
Why You Need to Rescan Your TV Antenna
Rescanning your TV antenna is crucial for several reasons. Here are a few compelling reasons why you should prioritize regular rescanning:
1. Updated Channel Lineup: Broadcasters often make changes to their channel lineup by adding new channels or moving existing ones to different frequencies. By rescanning, you can ensure that you have access to the latest channels available in your area.
2. Improved Signal Quality: Over time, signal conditions may change due to various factors such as weather, construction, or other new obstructions. By rescanning your TV antenna, you can optimize the signal reception and improve the overall picture and sound quality of your television.
3. Discover New Channels: Broadcasting companies frequently introduce new channels to cater to different interests and demographics. By rescanning, you may discover hidden gems or specialized channels that you were previously unaware of.
4. Preserve Access to Local Networks: Local network affiliates sometimes switch frequencies or make technical changes. Failing to rescan your TV antenna could result in losing access to your favorite local channels, including news, sports, and community programming.
5. Stay Up-to-Date with Broadcast Technology: Television technology is constantly evolving. By rescanning your TV antenna, you can ensure that you are taking advantage of the latest advancements in broadcasting technology, such as higher-quality video and audio formats.
6. Ensure Regulatory Compliance: Rescanning your TV antenna is not only beneficial but also required by law in many areas. Government regulations often mandate periodic rescanning to ensure that viewers have access to the most up-to-date channel lineups.
7. Future-Proofing: By adopting the practice of regular rescanning, you are future-proofing your TV setup. As broadcasting technology continues to evolve, staying proactive with rescanning will help you adapt to any future changes smoothly.
By understanding the importance of rescanning your TV antenna, you can ensure that you are not missing out on any available channels, maintaining the best television viewing experience possible.
When to Rescan Your TV Antenna
Knowing when to rescan your TV antenna is crucial to ensure you stay up-to-date with the latest channel lineup. Here are the key situations when you should consider rescanning:
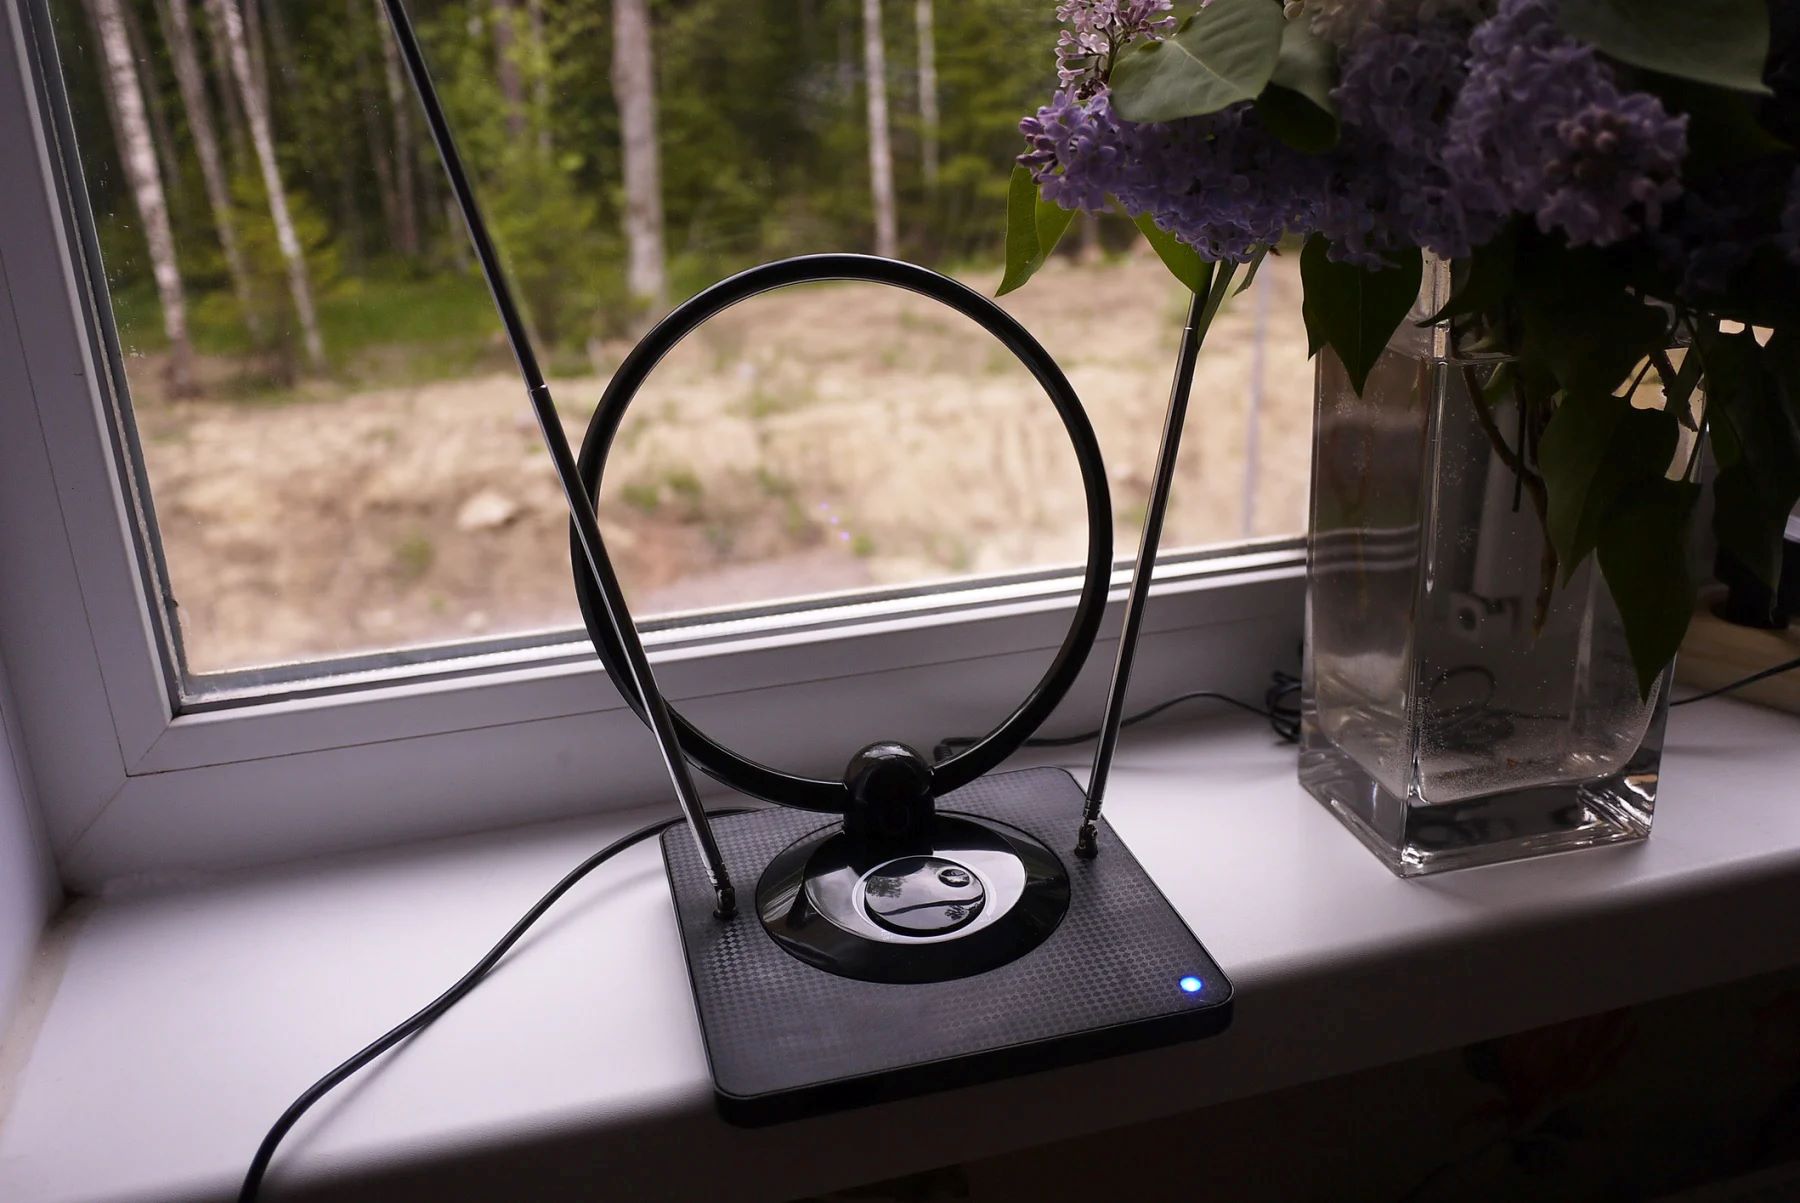
1. After Installing or Relocating Your Antenna: If you have recently installed a new TV antenna or relocated your existing one, it is essential to perform a rescan. Changes in antenna position or the addition of a new antenna may require a rescan to optimize signal reception and discover available channels.
2. When Noticing Signal Issues: If you are experiencing signal issues such as pixelation, picture freezing, or missing channels, it might be time to rescan. Changes in broadcasting frequencies or other technical adjustments can impact signal reception, and rescanning can help resolve these issues.
3. After a Major Broadcast Tower Update: When major changes occur in your area’s broadcast towers, such as upgrades or tower relocations, it is advisable to rescan your TV antenna. These changes can affect signal strength and channel availability, necessitating a rescan to ensure you are receiving all the channels correctly.
4. When Noticing New Channels: If you hear of new channels or networks being introduced in your area, it is a good idea to rescan your TV antenna. This will allow you to discover and add these channels to your lineup, expanding your viewing options.
5. Periodically as Recommended: It is generally recommended to perform a routine rescan every few months or as advised by your local broadcasting authorities. This ensures that you are regularly updating your channel lineup and staying on top of any changes that might have occurred.
Remember, rescanning your TV antenna is a proactive step to ensure you are receiving the best possible signal and accessing all available channels in your area. By staying vigilant and rescanning when necessary, you can enjoy uninterrupted entertainment and make the most of your TV antenna.
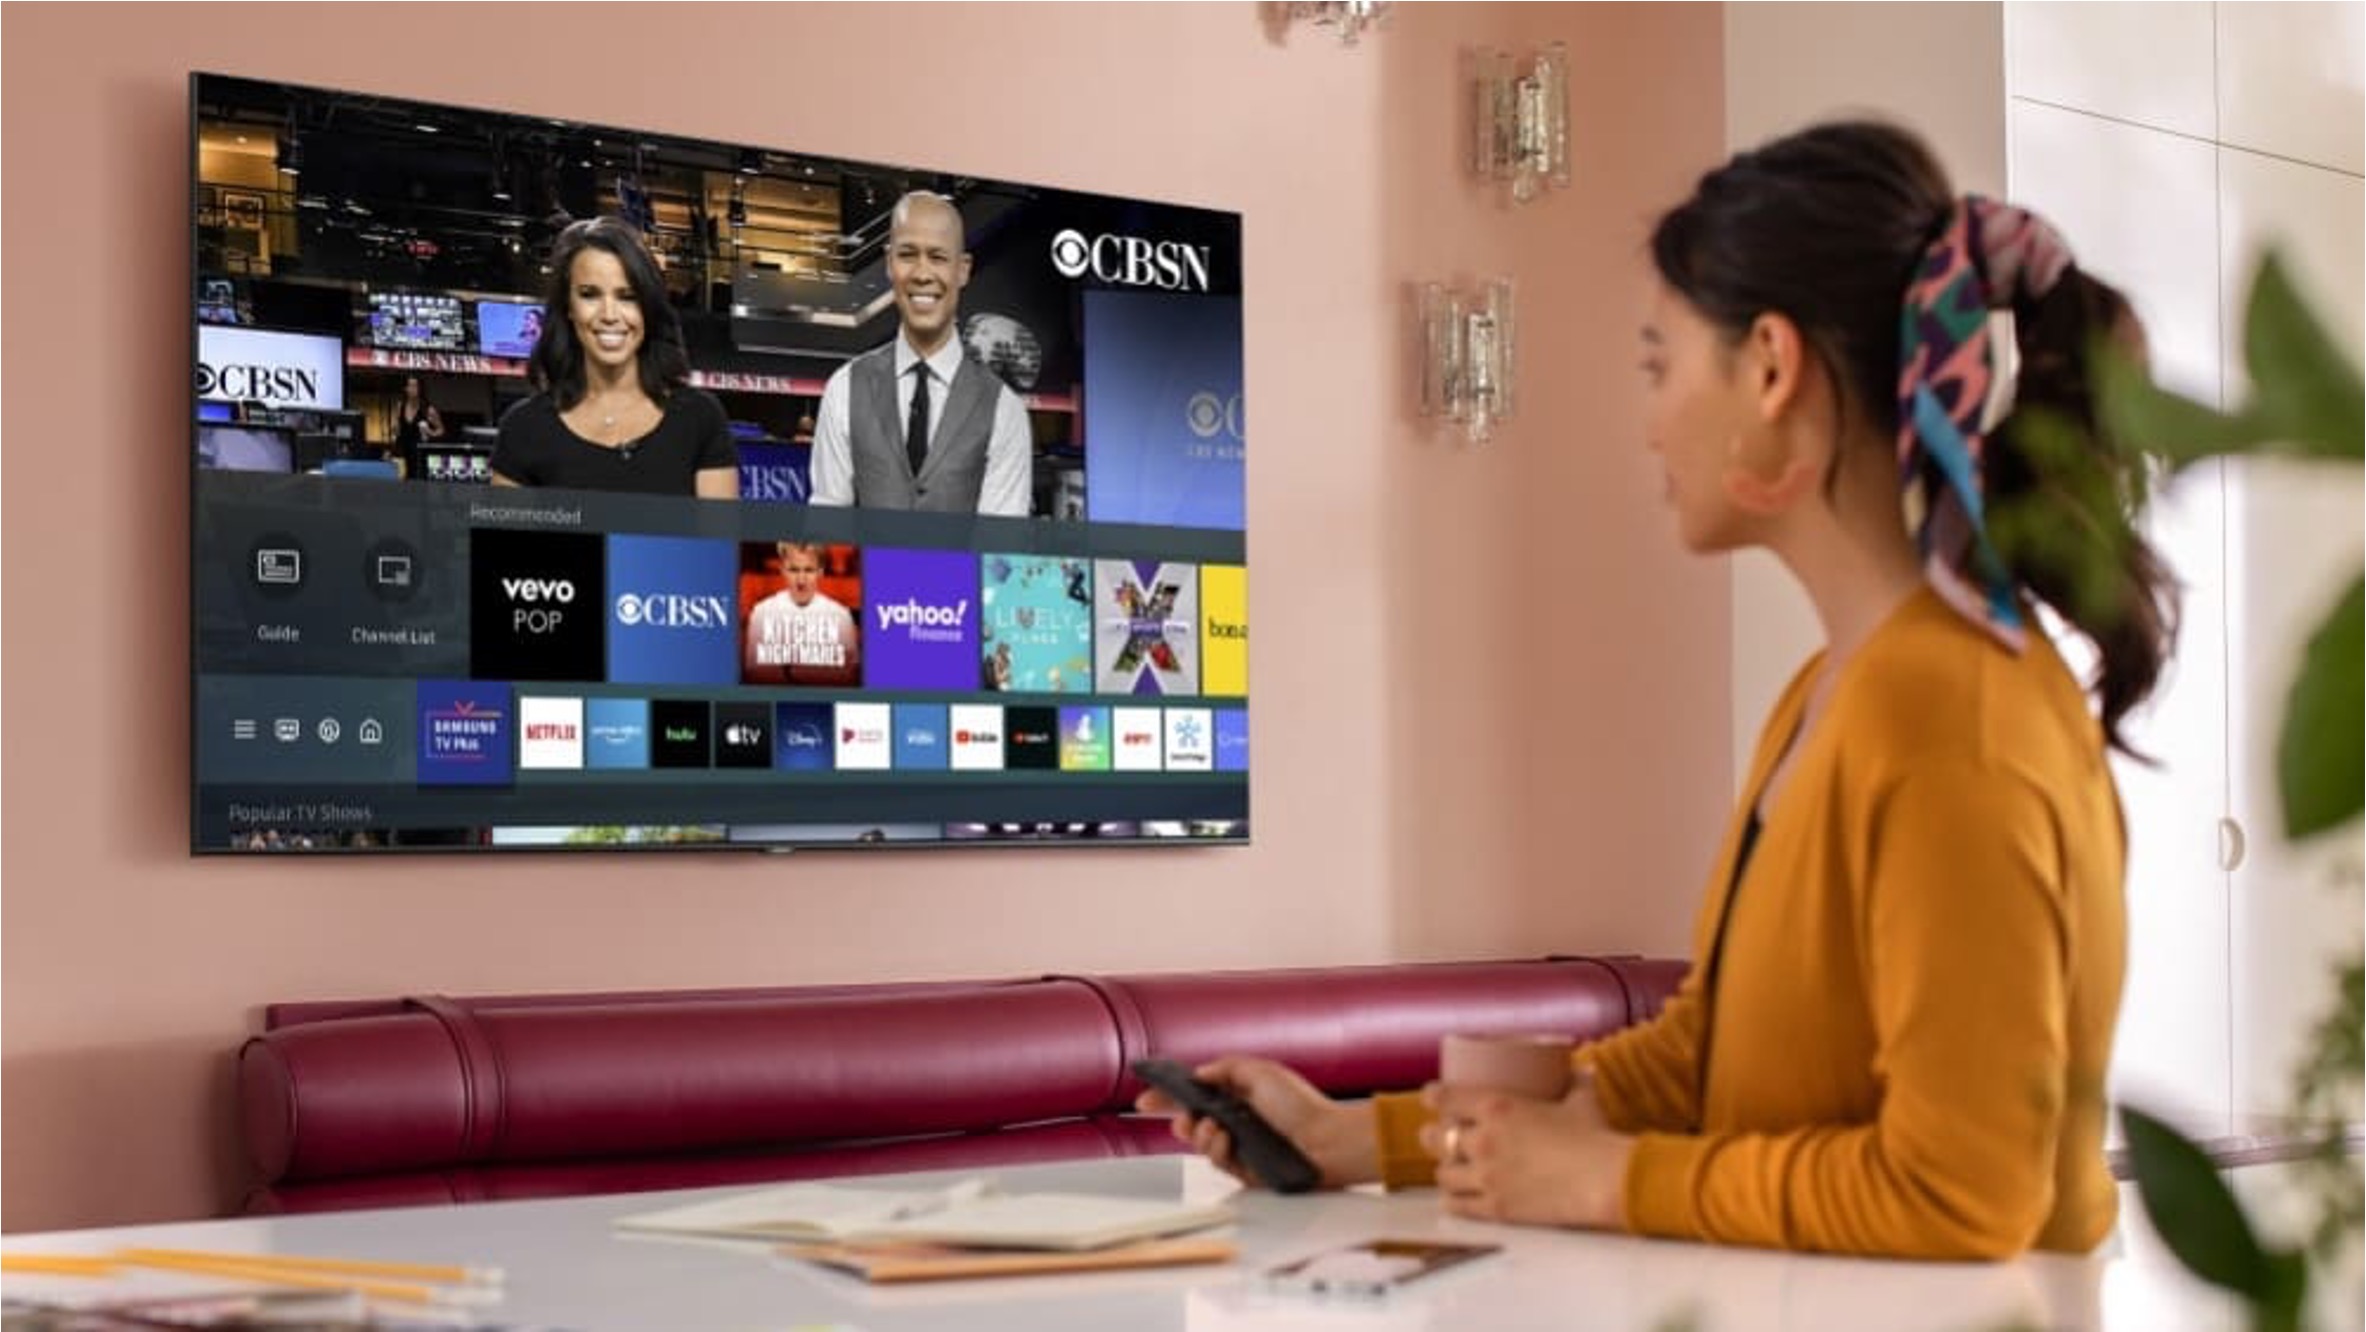
Step 1: Find the Rescan Option on Your TV
Before you can start the process of rescanning your TV antenna, you need to locate the rescan option on your TV. The exact steps may vary depending on the make and model of your television, but here are some general guidelines:
1. Access the Menu: On your TV remote, look for the “Menu” button. Press it to bring up the on-screen menu.
2. Navigate to the Channel or Setup Menu: In the on-screen menu, navigate using the arrow keys (usually found in the center of the remote) to find the “Channel” or “Setup” option. Press the corresponding button to enter the Channel or Setup menu.
3. Look for Auto-Scan, Rescan, or Channel Scan: Once you are in the Channel or Setup menu, search for options like “Auto-Scan,” “Rescan,” or “Channel Scan.” These options may be listed under submenus like “Channel Setup” or “Tuning.”
4. Select the Rescan Option: Locate and select the rescan option to initiate the scanning process. Depending on your TV, you may be prompted to confirm your selection.
5. Follow On-screen Instructions: Once you have selected the rescan option, carefully follow the on-screen instructions. These instructions will guide you through the scanning process and notify you when the scan is complete.
6. Patience is Key: Keep in mind that the scanning process may take a few minutes to complete. It’s important to be patient and avoid interrupting the scan as it searches for available channels.
If you are having trouble finding the rescan option or navigating through the menu, refer to your TV’s user manual or visit the manufacturer’s website for specific instructions related to your model.
Once you have successfully located the rescan option on your TV, you are ready to move on to the next step: starting the rescan process.
Step 2: Start the Rescan Process
Once you have found the rescan option on your TV, you can begin the process of rescanning your TV antenna. Follow these steps to initiate the rescan:
1. Confirm Your Selection: If prompted, confirm your selection to start the rescan process. This may involve pressing the “OK” or “Enter” button on your remote.
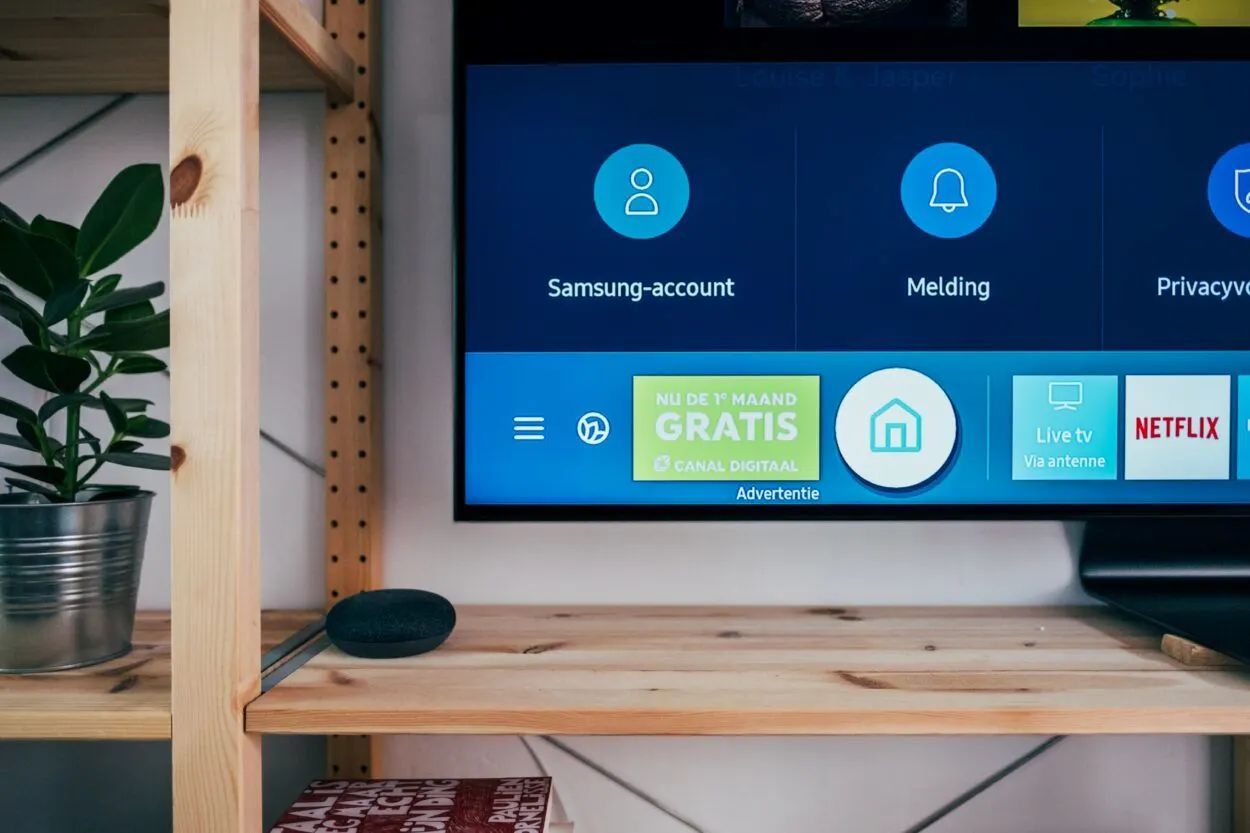
2. Select Your Antenna Source: If your TV has multiple antenna inputs, such as “Antenna” and “Cable,” ensure you select the correct source. Choose the “Antenna” or “Antenna (Air)” option to proceed with the rescan.
3. Start the Rescan: Once you have confirmed your antenna source, select the option to start the rescan process. This may be labeled as “Start Scan,” “Scan for Channels,” or a similar term.
4. Wait for the Scan to Complete: The TV will now begin scanning for available channels. It will search for digital signals and store any new or updated channels it detects. The scan may take a few minutes to complete, so be patient and avoid interrupting the process.
5. Monitor the Progress: Some TVs display a progress bar or percentage indicator during the scan. This allows you to track the scanning progress. You may also see a list of channels being detected as the scan takes place.
6. Be Prepared for Channel Reordering: After the rescan, it is common for the TV to reorder the detected channels. The TV may rearrange the channel numbers based on signal strength or other factors. Don’t worry if the channel lineup appears different after the rescan; it’s a normal part of the process.
7. Scan Again if Necessary: If you suspect that some channels were not detected or you experience issues with reception, consider rescanning again. Sometimes, performing multiple scans can help ensure all available channels are captured.
By following these steps, you can initiate the rescan process and allow your TV to search for and store any new or updated channels available in your area. Once the scan is complete, you can move on to the next step: checking for channel updates.
Step 3: Wait for the Rescan to Complete
After starting the rescan process on your TV, it’s crucial to wait patiently for the scan to complete. The duration of the rescan can vary depending on the number of channels in your area and the scanning capabilities of your TV. Here are some important points to keep in mind while waiting for the rescan to finish:
1. Avoid Interrupting the Scan: It’s essential not to interrupt the scanning process once it has begun. Interrupting the scan may result in incomplete channel detection or further delays. Allow the rescan to run without any interference.
2. Be Patient: The rescan can take several minutes to complete, so it’s important to exercise patience. It may seem like the scan is taking longer than expected, but keep in mind that this is a normal part of the process.
3. Monitor the Progress: Some TVs provide a progress bar or percentage indicator during the scan. This visual cue allows you to monitor the progress of the rescan. Keep an eye on the display to track how far along the scan has progressed.
4. Don’t Change Channels: While the rescan is in progress, avoid changing channels or conducting any other activities on your TV. Switching channels or navigating through menus may disrupt the scan and lead to inaccurate results.
5. Stay within Range: Ensure that you remain within the reception range of your TV antenna while the rescan is ongoing. Moving too far away from the antenna may lead to signal loss and affect the rescan process.
6. Read Any On-Screen Instructions: Your TV may display additional instructions during the rescan process. These instructions may provide important information or specific steps to follow. Read any on-screen prompts carefully to ensure a successful rescan.
7. Seek Help if Needed: If you encounter any issues or have concerns during the rescan process, consult the user manual for your TV or contact the manufacturer’s support for assistance. They can provide specific guidance based on your TV model.
By following these guidelines and allowing the rescan to complete without interruptions, you will be in a better position to ensure that all available channels are detected and properly stored by your TV.
Step 4: Check for Channel Updates
Once the rescan process is complete and your TV has finished detecting and storing the available channels, it’s time to check for any channel updates. Here’s how you can do it:
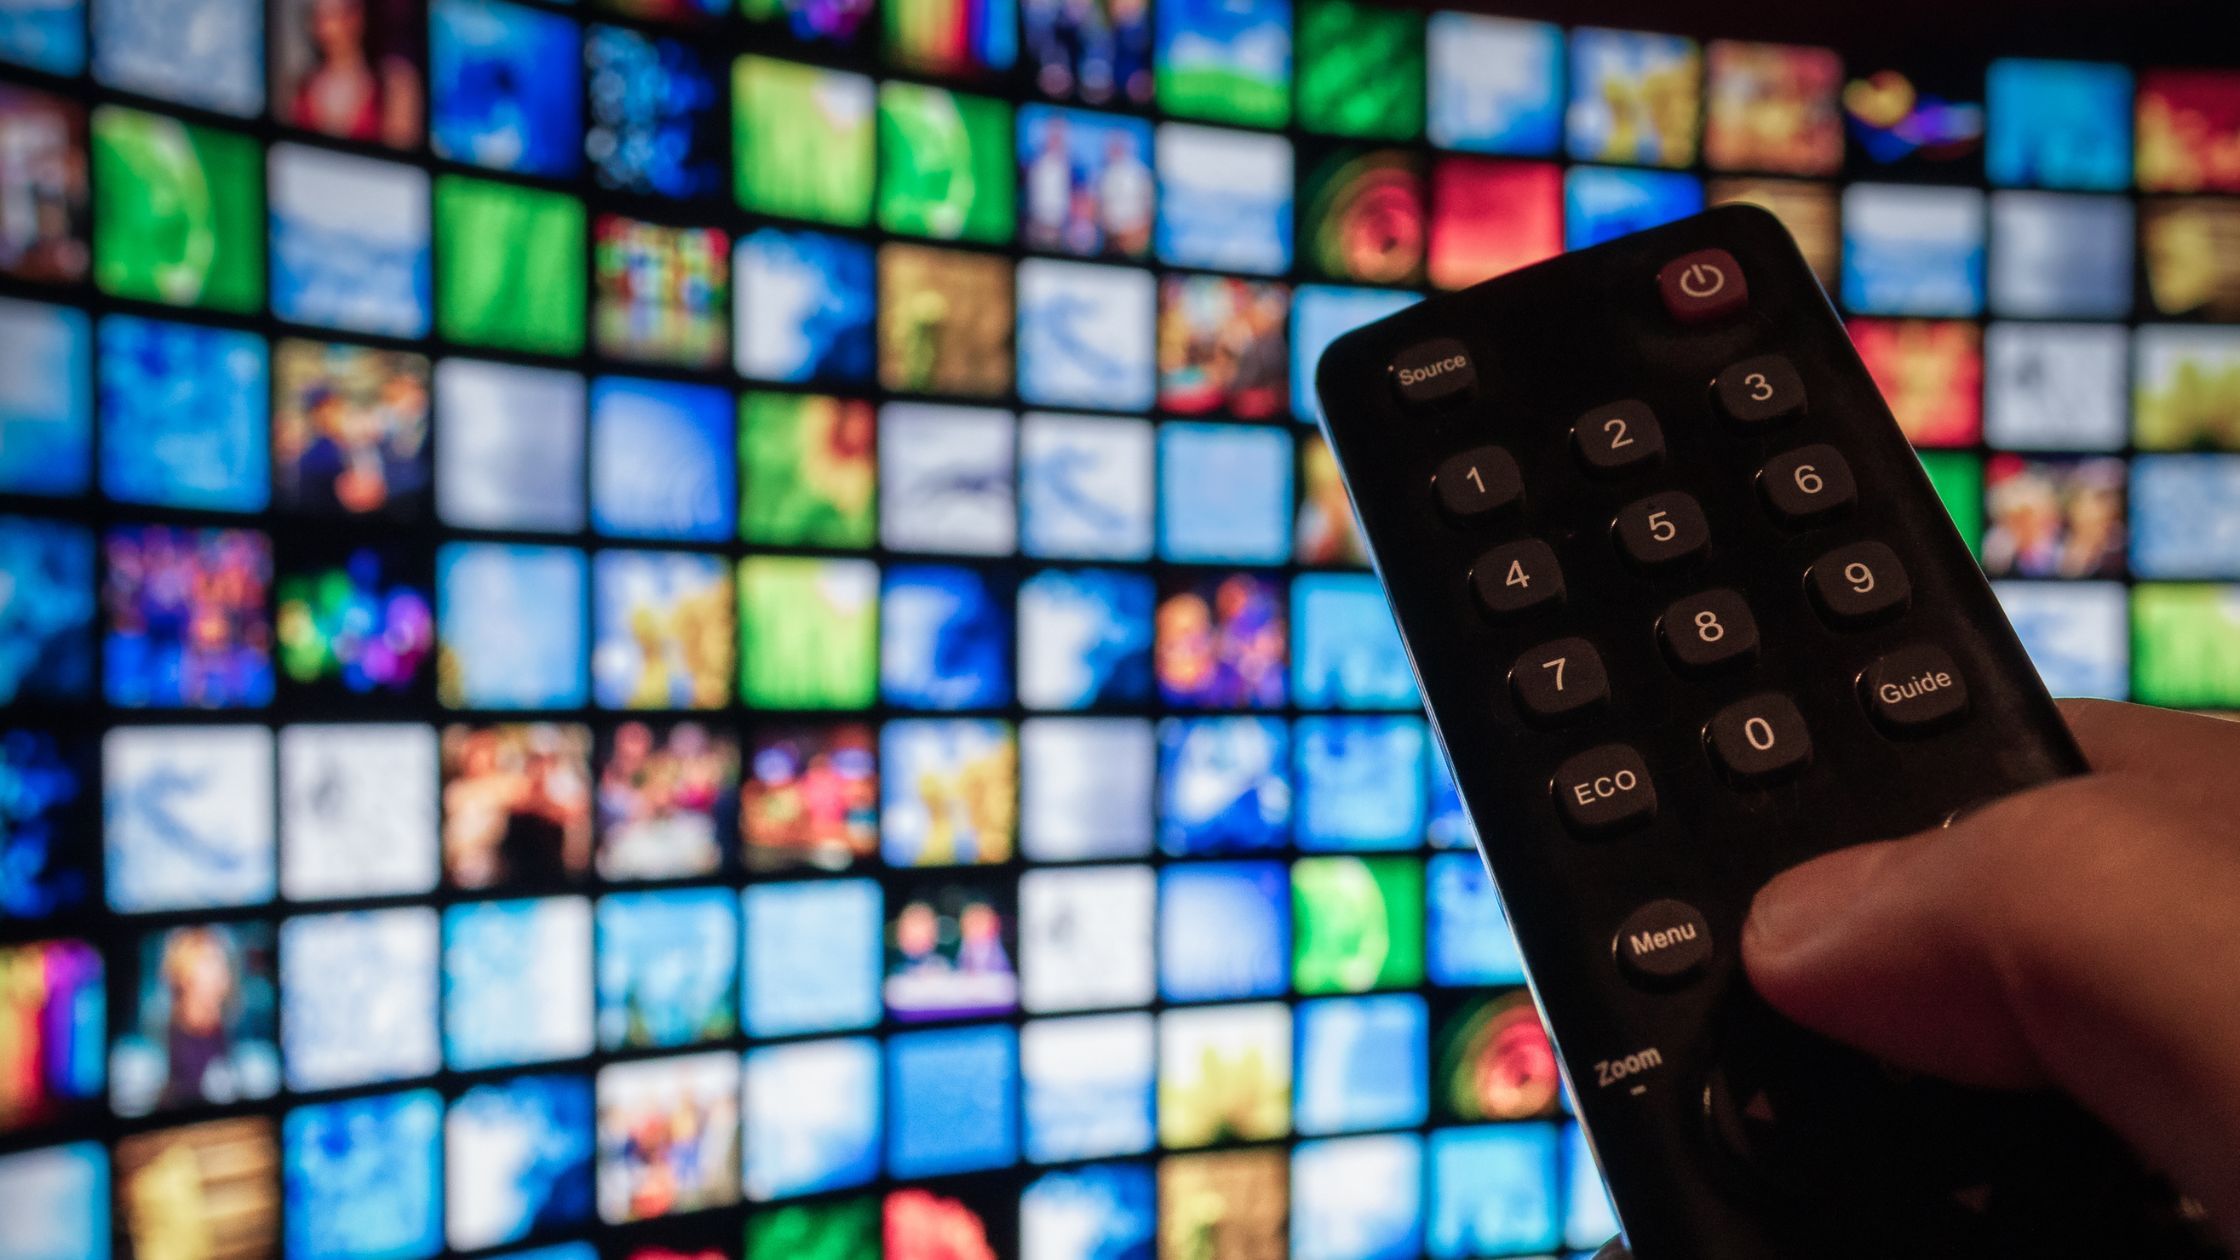
1. Navigate to the Channel List: Using your TV remote, access the channel list on your TV. Look for a button or option on your remote that specifically indicates “Channel List,” “Channel Guide,” or “Channels.”
2. Review the Updated Channel Lineup: In the channel list, you should see the complete lineup of channels that were detected and stored during the rescan process. Take a moment to review the channel list to ensure that all your desired channels are present.
3. Organize the Channel List: Some TVs offer options to organize the channel list according to your preference. You may be able to sort channels by number, name, or other criteria. Arrange the channels in a way that makes it easier for you to navigate and find your favorite ones.
4. Verify Channel Signal Strength: While in the channel list or channel guide, you may have the option to view signal strength for each channel. This information can help you identify channels with weaker signals, which may result in poor picture quality or intermittent reception.
5. Remove Duplicate or Unwanted Channels: Occasionally, during the rescan, duplicate channels or channels with weak signals may be stored. Take this opportunity to remove any duplicate or unwanted channels from your channel list. Refer to your TV’s manual or on-screen instructions for specific steps on how to delete channels.
6. Note Any Missing Channels: If you notice that certain channels are missing from the updated lineup, it could be an indication of a weak signal or a broadcasting issue. In such cases, you may need to readjust your antenna position or seek assistance from a professional to improve reception and regain access to those channels.
7. Enjoy Your Updated Channel Lineup: With the rescan complete and the channel list updated, you can now enjoy the enhanced viewing experience with the latest channels available in your area. Explore the newly detected channels and discover the variety of programs and content now at your fingertips.
By checking for channel updates after the rescan, you can ensure that you have a comprehensive and up-to-date lineup of channels, allowing you to make the most of your TV antenna.
Troubleshooting Tips for Rescanning Your TV Antenna
The process of rescanning your TV antenna may encounter some challenges or issues along the way. Here are some troubleshooting tips to help you overcome common problems and ensure a successful rescan:
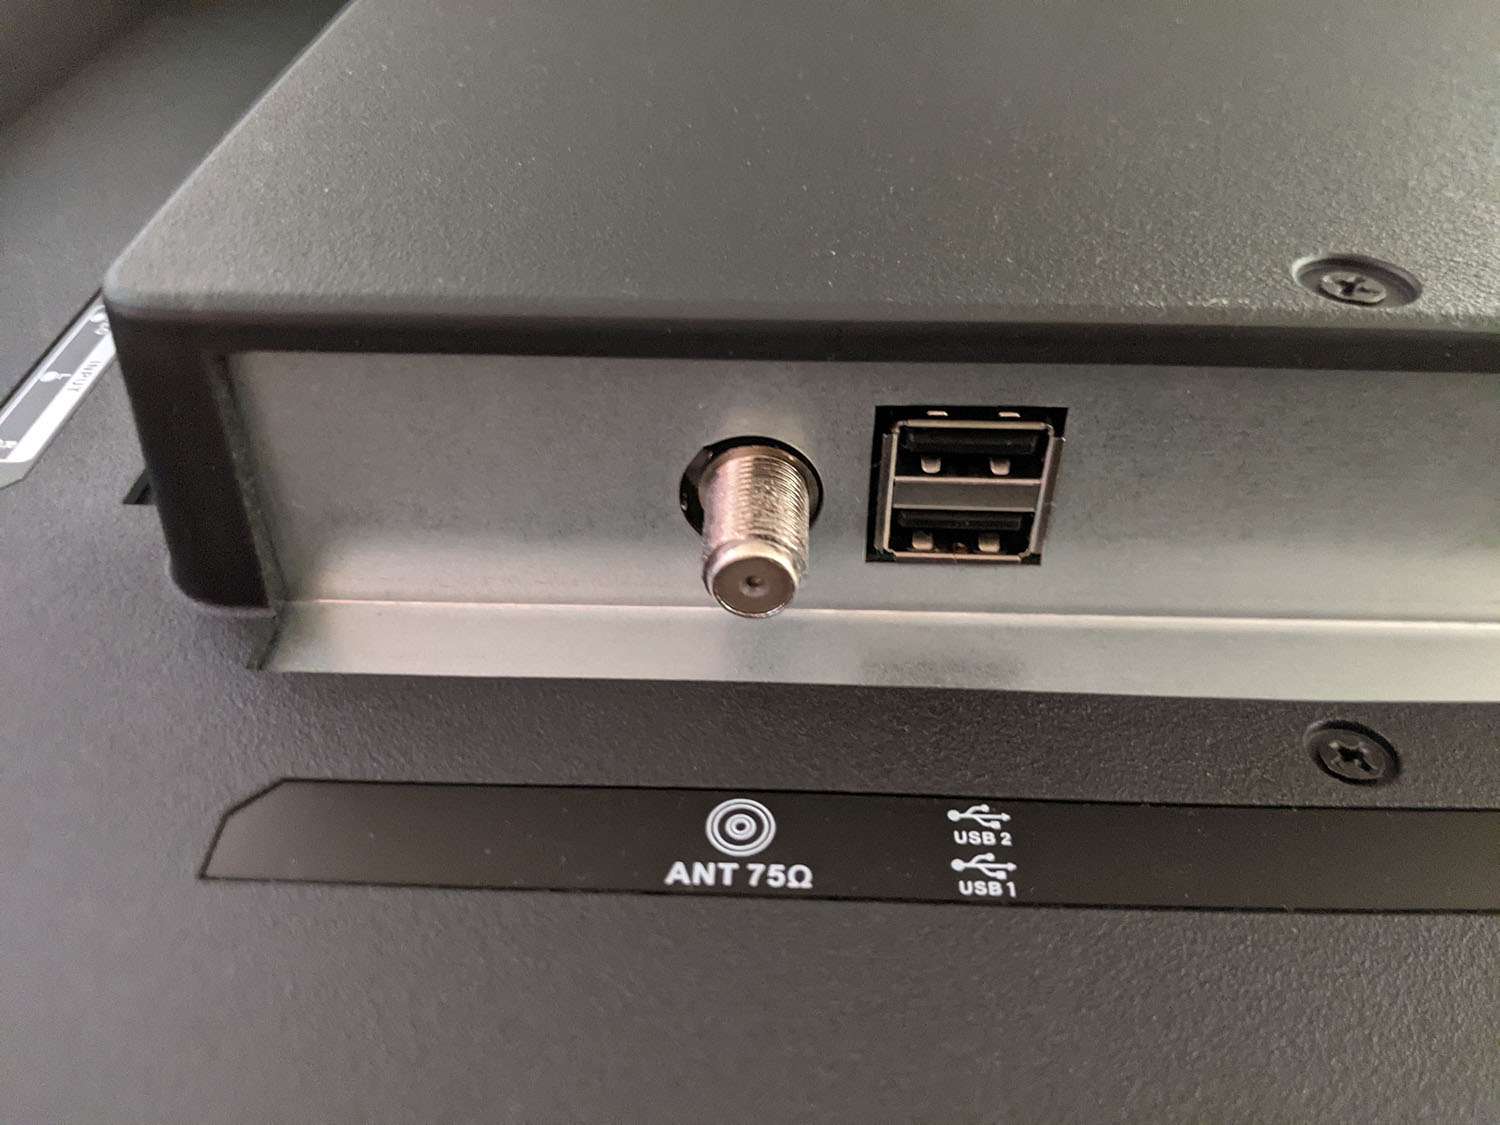
1. Check Antenna Connections: Ensure that your TV antenna is securely connected to your television. Loose or faulty connections can lead to poor signal reception and result in missing channels during the rescan. Double-check and tighten any loose connections to eliminate this potential issue.
2. Adjust Antenna Position: If you are not receiving all expected channels or experiencing signal issues, try adjusting the position or orientation of your TV antenna. Experiment with different angles or locations to find the optimal placement that provides the best signal strength and reception.
3. Use an Amplifier or Signal Booster: In areas with weaker signals, using an amplifier or signal booster can enhance the reception capabilities of your TV antenna. This can help improve the signal quality and increase the number of channels detected during the rescan process.
4. Scan at Different Times: Try conducting the rescan process at different times of the day, especially during periods of good weather conditions. Sometimes, certain channels may be more easily detected during specific times, and scanning at different times could result in capturing all available channels.
5. Update Your TV Firmware: Check if there are any available firmware updates for your TV. Manufacturers periodically release firmware updates to enhance TV functionality, including improvements in channel scanning and reception. Updating your TV firmware may help resolve issues encountered during the rescan process.
6. Consult the TV Manual: Refer to the user manual or online documentation specific to your TV model. It may provide additional troubleshooting steps or address common issues related to rescanning your TV antenna. Following the manufacturer’s recommendations can often provide effective solutions.
7. Seek Professional Assistance: If you have exhausted all troubleshooting options and are still experiencing difficulties, consider seeking professional assistance. A qualified technician can assess your antenna setup, signal strength, and provide tailored solutions to optimize your TV reception.
By following these troubleshooting tips, you can address common issues that may arise during the rescan process and ensure a successful antenna scan, resulting in a comprehensive and accurate channel lineup.
Conclusion
Rescanning your TV antenna is a vital step to ensure you receive all available channels and enjoy the best possible viewing experience. By following the step-by-step process outlined in this guide, you can easily rescan your TV antenna and stay up-to-date with the latest channel lineup in your area.
We discussed the importance of rescanning your TV antenna, including the benefits of accessing new channels, improving signal quality, and staying compliant with broadcasting regulations. Understanding why and when to rescan is crucial to make the most out of your TV antenna.
We then walked through the four essential steps of rescanning: finding the rescan option, starting the rescan process, waiting for the scan to complete, and checking for channel updates. Each step plays a vital role in ensuring that you properly scan for new or updated channels and organize them for easy access.
Lastly, we provided troubleshooting tips to help you address common challenges that may arise during the rescan process. By following these tips, you can overcome issues like poor signal reception, missing channels, or other technical difficulties.
Remember, periodic rescanning is necessary to stay updated with any changes in broadcasting frequencies and channel lineups. By incorporating regular rescan routines, you can ensure that you have access to all available channels and enjoy the best possible TV viewing experience.
We hope this guide has been helpful in demystifying the process of rescanning your TV antenna. So go ahead, follow the steps, troubleshoot if needed, and enjoy the wide array of channels waiting to be discovered!