Introduction
Welcome to this guide on how to make a digital TV antenna! In this digital age, television signals have undergone a significant transformation. Analog signals have been replaced with digital signals, offering improved picture and sound quality. However, this switch has caused some older antennas to become obsolete, leaving you with limited options for capturing those over-the-air signals. That’s where building your own digital TV antenna comes in handy!
By creating your own antenna, you can ensure a strong and reliable reception, bringing your favorite TV shows and local channels right to your screen. Don’t worry if you’re not technologically inclined – this DIY project is straightforward and can be accomplished with a few basic materials and simple steps. So, let’s get started!
Before we dive into the construction process, let’s quickly go over the materials you’ll need:
- Coaxial cable
- Copper wire
- Coaxial connector
- Wood or plastic base
- Tools: wire cutters, wire strippers, screwdriver
Now that you have an overview of the materials needed, let’s move on to the step-by-step instructions for building your own digital TV antenna.
Materials Needed
Before diving into the construction process, it’s important to gather all the necessary materials. Here’s a list of what you’ll need to make your own digital TV antenna:
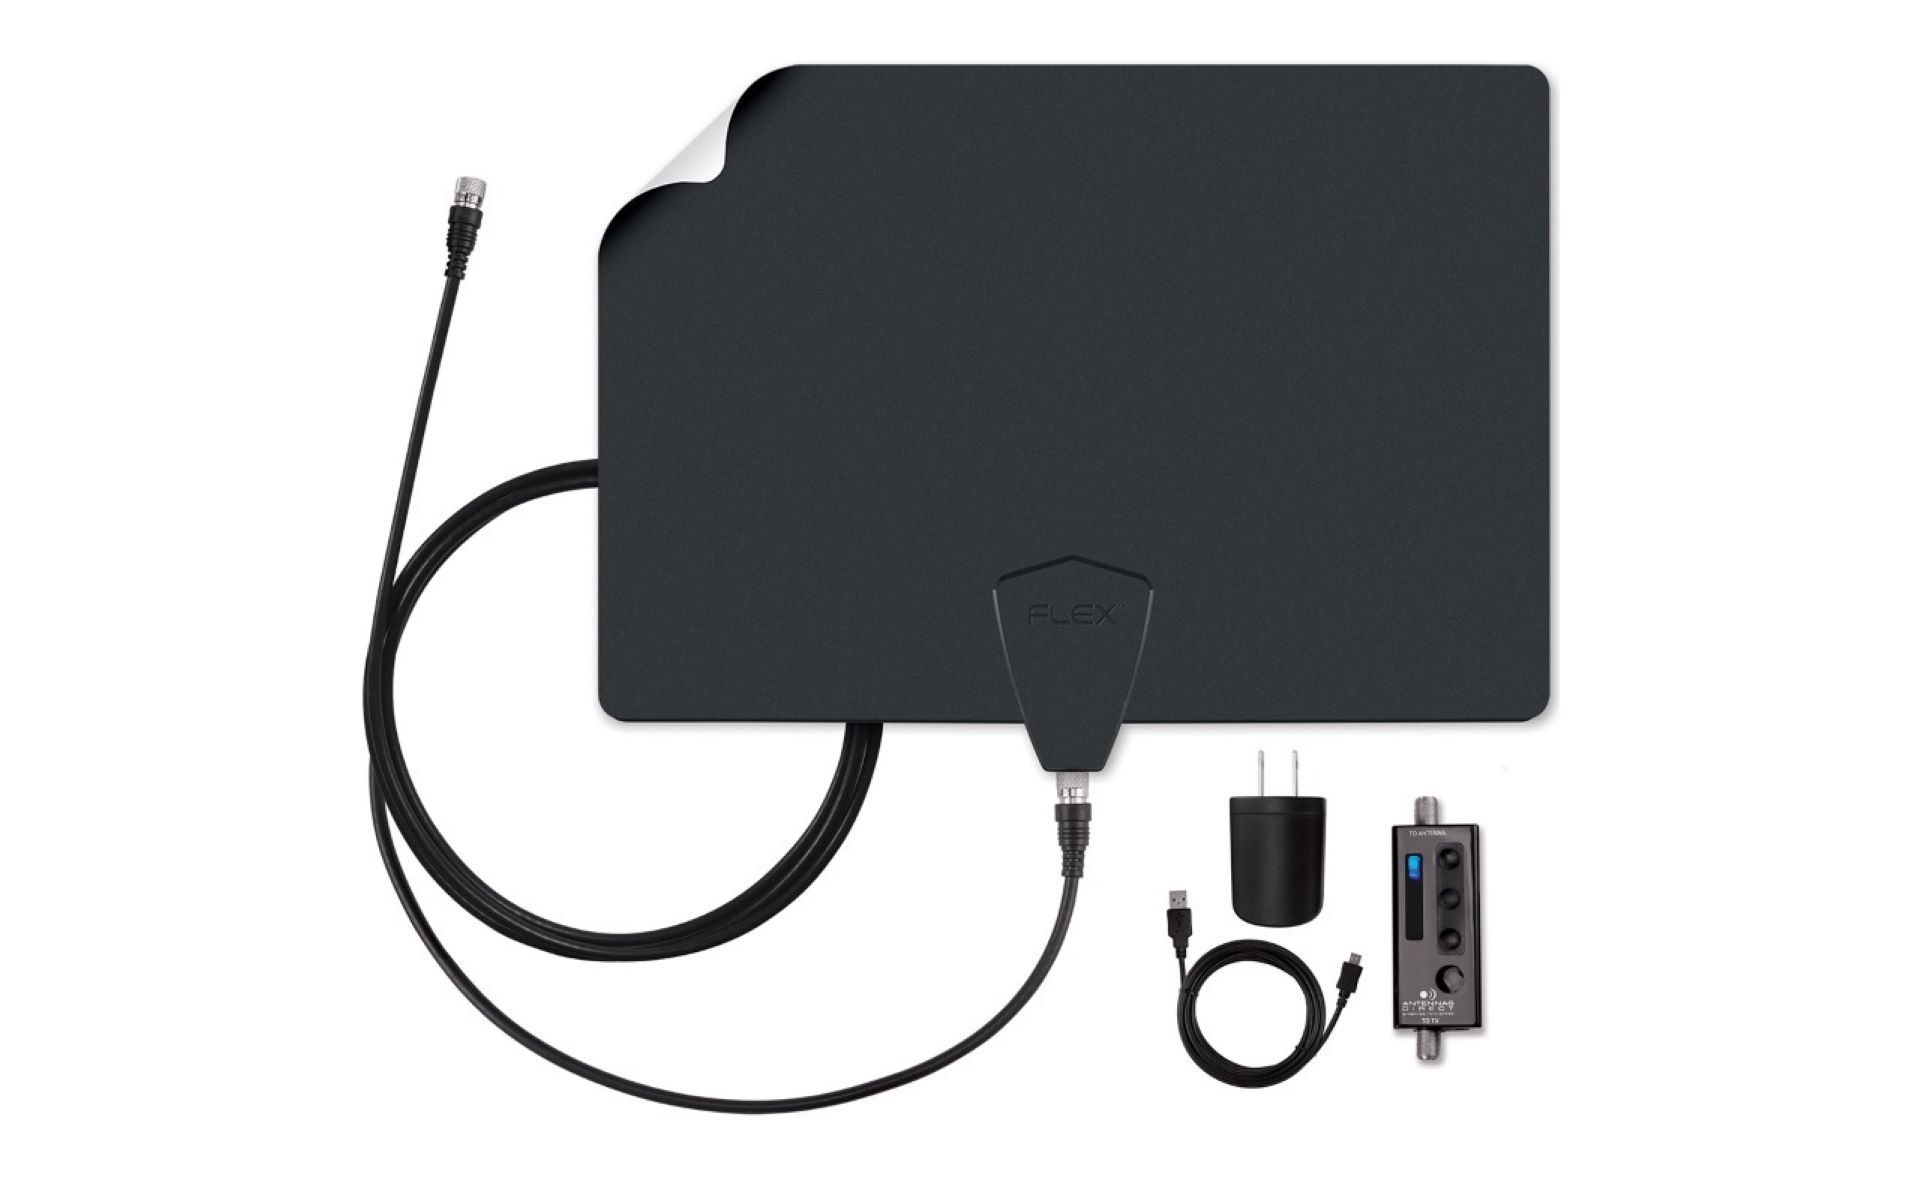
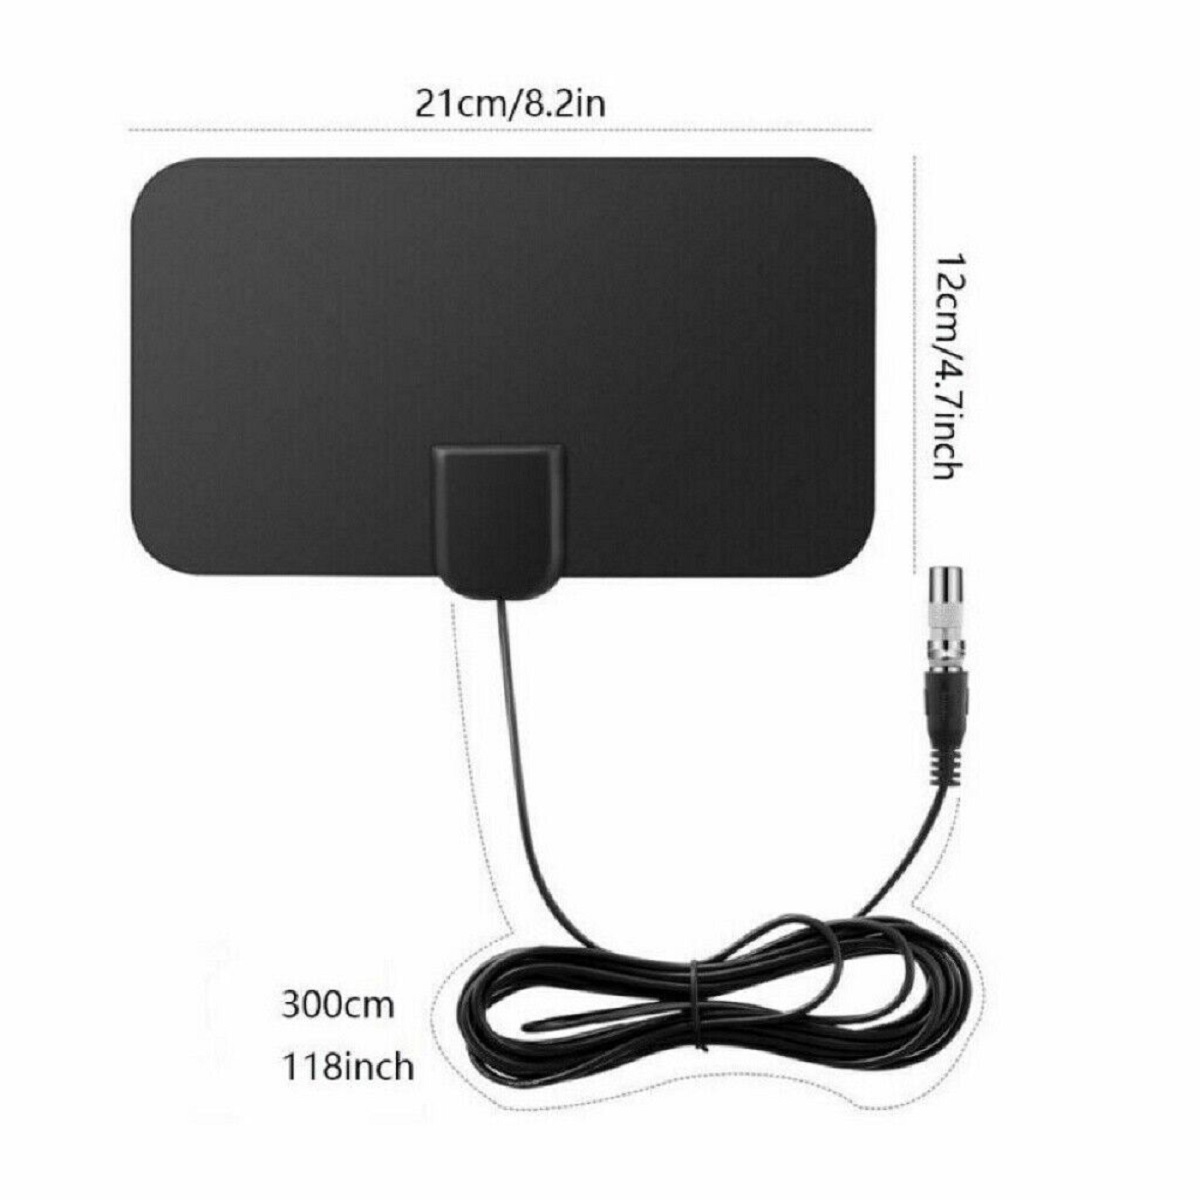
- Coaxial cable: This is the main component of your antenna. Make sure to choose a good quality coaxial cable that is long enough to reach your TV from the antenna location. A length of around 5-10 feet should suffice.
- Copper wire: You’ll need a piece of copper wire to act as the antenna itself. The length of the wire will depend on the frequency range of the channels you want to receive. As a general rule, a wire length of around 2-3 feet should work well for most indoor antennas.
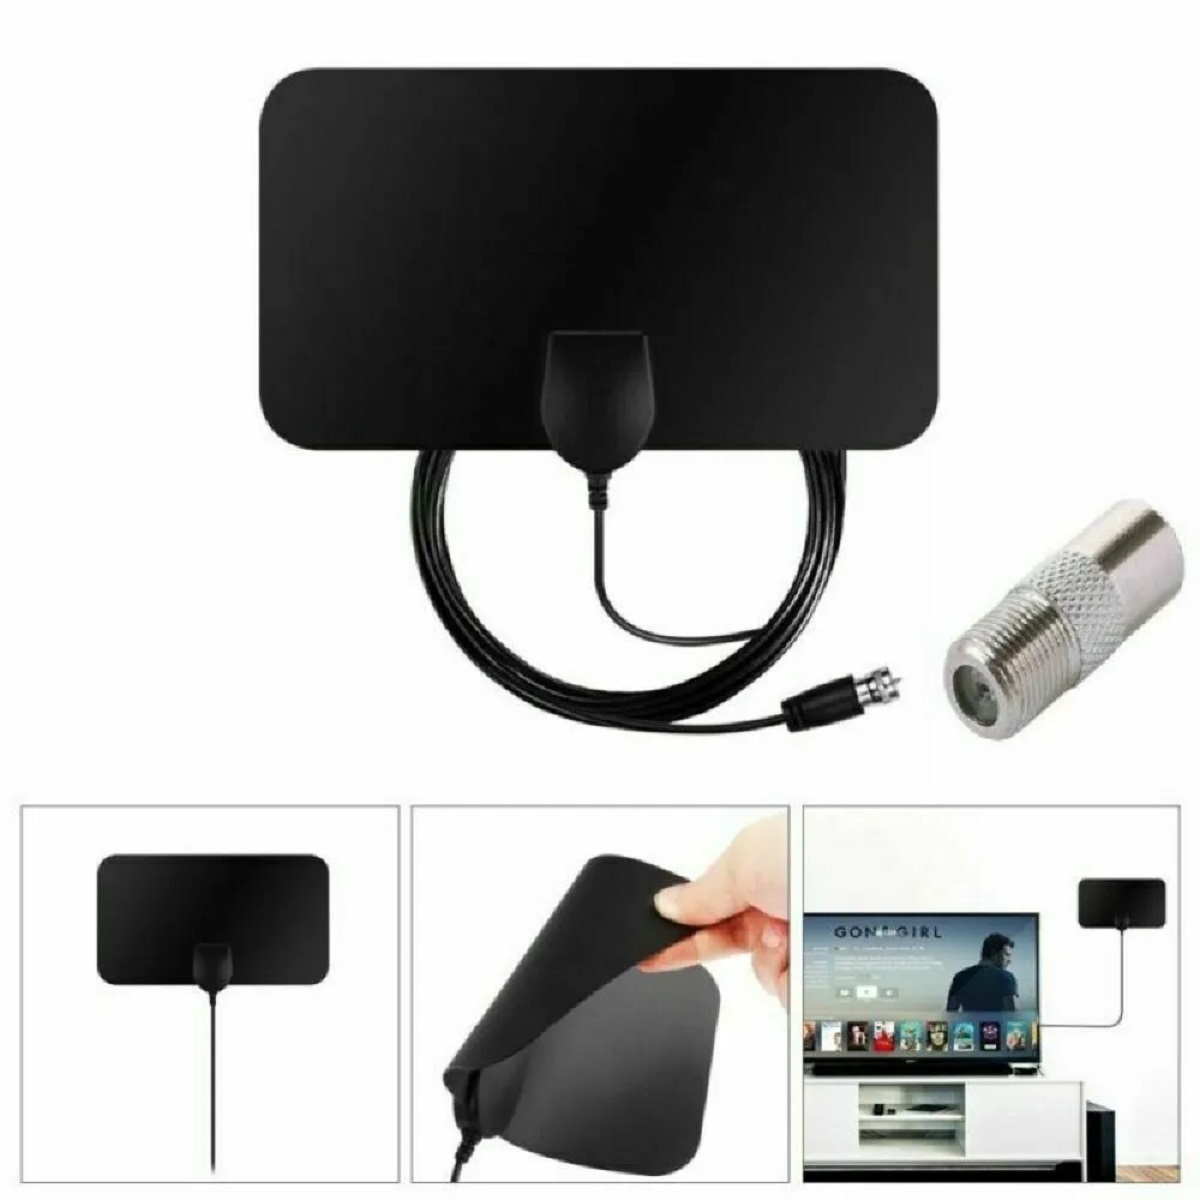
- Coaxial connector: This connector will help you connect the coaxial cable to the copper wire. Look for a connector that is compatible with the type of coaxial cable you have, typically either F-type or BNC connectors.
- Wood or plastic base: You’ll need a sturdy base to mount your antenna on. This can be made from a small piece of wood or plastic. Ensure it is large enough to hold the copper wire securely.
- Tools: To assemble your digital TV antenna, you’ll need a few basic tools. These include wire cutters, wire strippers, and a screwdriver.
Once you have all the materials ready, you’ll be well-equipped to start building your own digital TV antenna. In the following steps, we’ll guide you through the process of measuring, cutting, and connecting the wire to the coaxial cable, creating the antenna base, and finally positioning and adjusting the antenna for optimal reception.
Step 1: Gather the necessary items
The first step in building your digital TV antenna is to gather all the necessary items. Here’s a quick rundown of what you’ll need:
- Coaxial cable: Choose a coaxial cable of sufficient length to reach your TV from the antenna location. Be sure to select a cable that has a suitable impedance rating for digital TV signals.
- Copper wire: You’ll need a piece of copper wire to act as the antenna element. The length of the wire will depend on the channels you want to receive, so it’s essential to do a little research beforehand. A good starting point is a wire length of about 2-3 feet.
- Coaxial connector: This connector will allow you to attach the copper wire to the coaxial cable. Ensure that the connector is compatible with your specific coaxial cable type, which is typically either F-type or BNC.
- Wood or plastic base: You’ll need a sturdy and stable base on which to mount your antenna. A small piece of wood or plastic should suffice, as long as it is large enough to accommodate the wire securely.
- Tools: Gather the necessary tools for constructing your antenna, including wire cutters, wire strippers, and a screwdriver. These tools will be essential for cutting and stripping the wire and attaching the connector.
Once you have gathered all the required items, you’ll have everything you need to start assembling your digital TV antenna. The following steps will guide you through measuring, cutting, and attaching the wire to the coaxial connector, creating the antenna base, connecting the antenna to your TV, and positioning and adjusting the antenna for optimal reception. It’s time to get started on building your own antenna and enjoying crystal-clear digital TV signals!
Step 2: Measure and cut the wire
With all the necessary items gathered, it’s time to move on to the second step: measuring and cutting the copper wire for your digital TV antenna. Follow the steps below:
- Measure: Start by determining the length of wire you’ll need. This can vary depending on the channels you want to receive. As a general guideline, a wire length of around 2-3 feet should work well for most indoor antennas.
- Prepare the wire: Use a pair of wire cutters to cut the copper wire to the desired length. Take your time and ensure a clean and precise cut.
- Strip the ends: Once the wire is cut, use wire strippers to remove about half an inch of insulation from both ends of the wire. This will expose the bare copper wire for connecting to the coaxial connector.
It’s important to note that the wire length and stripping the ends will depend on the specific requirements of your antenna design and the channels you want to receive. If you’re unsure, it’s always a good idea to consult online resources or seek guidance from antenna-building enthusiasts.
Now that you have measured and cut the copper wire, you’re one step closer to completing your digital TV antenna. The next step will involve attaching the wire to the coaxial connector, allowing for a seamless connection between the antenna and your TV. Keep following the instructions to create your very own digital TV antenna!
Step 3: Strip the wire
After measuring and cutting the copper wire, the next step in building your digital TV antenna is to strip the wire. Stripping the wire involves removing the insulation from the ends of the wire to expose the bare copper. Follow these steps to strip the wire:
- Prepare your wire strippers: Ensure that your wire strippers are suitable for the gauge of the wire you’re working with. Different wire strippers have different sizes for different gauge wires, so make sure to select the appropriate one.
- Identify the insulation: Look for the plastic or rubber insulation that covers the ends of the wire. This insulation is usually colored, helping to distinguish it from the bare copper wire.
- Position the wire strippers: Open the wire strippers and position the wire within the appropriate-sized notch that matches the gauge of your wire. Make sure the wire is fully inserted into the notch without damaging the copper strands.
- Strip the wire: Firmly squeeze the wire strippers’ handles together, applying enough pressure to cut through the insulation. Once cut, gently twist and pull the wire strippers to remove the insulation from both ends of the wire.
- Inspect the stripped ends: After stripping the wire, inspect the stripped ends to ensure that all the insulation has been removed, leaving the bare copper exposed. If there are any remaining pieces of insulation, use the wire strippers to carefully remove them.
Stripping the wire is a critical step in building your antenna, as it allows for a proper connection between the copper wire and the coaxial connector. Take your time and be careful not to damage or break any of the copper strands during the stripping process.
Now that you have successfully stripped the wire, you’re ready for the next step: attaching the wire to the coaxial connector. This will enable you to create a solid connection between the antenna element and the coaxial cable. Keep following the instructions to complete your DIY digital TV antenna!
Step 4: Attach the wire to the coaxial connector
Now that you have stripped the wire, it’s time to move on to the next step: attaching the wire to the coaxial connector. This connector will serve as the bridge between the antenna element (copper wire) and the coaxial cable. Follow these instructions to complete this step:
- Prepare the coaxial connector: Examine the coaxial connector and identify the two parts: the body and the pin. The body is the cylindrical part that will connect to the coaxial cable, while the pin is the protruding metal part that will connect to the copper wire.
- Insert the copper wire: Take one end of the stripped copper wire and carefully insert it into the coaxial connector’s pin. Ensure that the exposed copper wire is securely inside the connector without any loose strands.
- Tighten the connector: Using a screwdriver, tighten the coaxial connector’s body to secure the wire in place. Be careful not to overtighten, as it may damage the connector or cause the wire to break. The connector should be snug and securely holding the wire.
- Repeat for the other end: Repeat the above steps for the other end of the copper wire, attaching it to the pin of another coaxial connector. Again, make sure it is securely tightened.
Once you have successfully attached the wire to the coaxial connectors, you have completed an essential part of building your digital TV antenna. The coaxial connectors will allow for a reliable connection between the antenna element and the coaxial cable, ensuring that the TV signal is properly transmitted. Now, let’s move on to the next step: creating the antenna base to mount your DIY digital TV antenna!
Step 5: Create the antenna base
With the wire securely attached to the coaxial connectors, it’s time to move on to the next step: creating the antenna base. The base will provide stability and support for your DIY digital TV antenna. Follow these steps to create the base:
- Select your base material: Choose a suitable material for your antenna base, such as wood or plastic. The base should be sturdy enough to hold the wire upright without wobbling or tipping over.
- Measure and cut the base: Using a saw or appropriate cutting tool, measure and cut your base material to the desired size and shape. Consider the dimensions of your space and the overall stability you want to achieve for your antenna.
- Smooth the edges: Use sandpaper to smooth out any rough edges or splinters on the base. This will ensure a clean and polished finish and prevent any potential injuries.
- Drill a hole: Determine the center of the base and drill a hole that is slightly smaller than the diameter of the wire. This hole will serve as the mounting point for your antenna element.
- Sand or paint the base: If desired, you can sand the entire base to create a smooth surface or apply a coat of paint to match your aesthetic preferences. This step is optional but can enhance the overall appearance of your DIY digital TV antenna.
Once you have created the antenna base, you’re one step closer to completing your digital TV antenna. The base will provide stability and support to ensure that your antenna stands upright and receives optimum signal reception. In the next step, we’ll move on to attaching the wire to the base, finalizing the construction of your DIY digital TV antenna. Keep following the instructions, and soon you’ll be enjoying high-quality TV channels!
Step 6: Attach the wire to the base
With the antenna base ready, it’s time to move on to the next step: attaching the wire to the base. This step will secure the antenna element in place, ensuring stability and proper signal reception. Follow these instructions to complete this step:
- Insert the wire into the hole: Take the end of the wire with the coaxial connector attached and carefully insert it into the hole drilled in the center of the base. Ensure that the wire is inserted far enough, so it stands upright and remains securely in place.
- Secure the wire: Once the wire is inserted into the hole, you can use glue, adhesive, or any suitable fastener to secure it to the base. Make sure the wire is held firmly without any wobbling or movement.
- Allow time to dry or set: If you’re using adhesives or glue, follow the manufacturer’s instructions and allow sufficient time for it to dry or set. This will ensure a strong and durable bond between the wire and the base.
- Reinforce if necessary: If you feel that additional reinforcement is needed, you can use additional fasteners, such as screws or zip ties, around the base and the wire for added stability and support.
Attaching the wire to the base is a crucial step in finalizing the construction of your DIY digital TV antenna. It ensures that the antenna element is securely mounted, maintaining its position and allowing for optimal reception. With the wire firmly attached to the base, you’re now ready for the next step: connecting the antenna to your TV and enjoying your favorite TV shows!
Step 7: Connect the antenna to your TV
With your DIY digital TV antenna constructed and the wire securely attached to the base, it’s time to connect the antenna to your TV. Follow these steps to complete this crucial step:
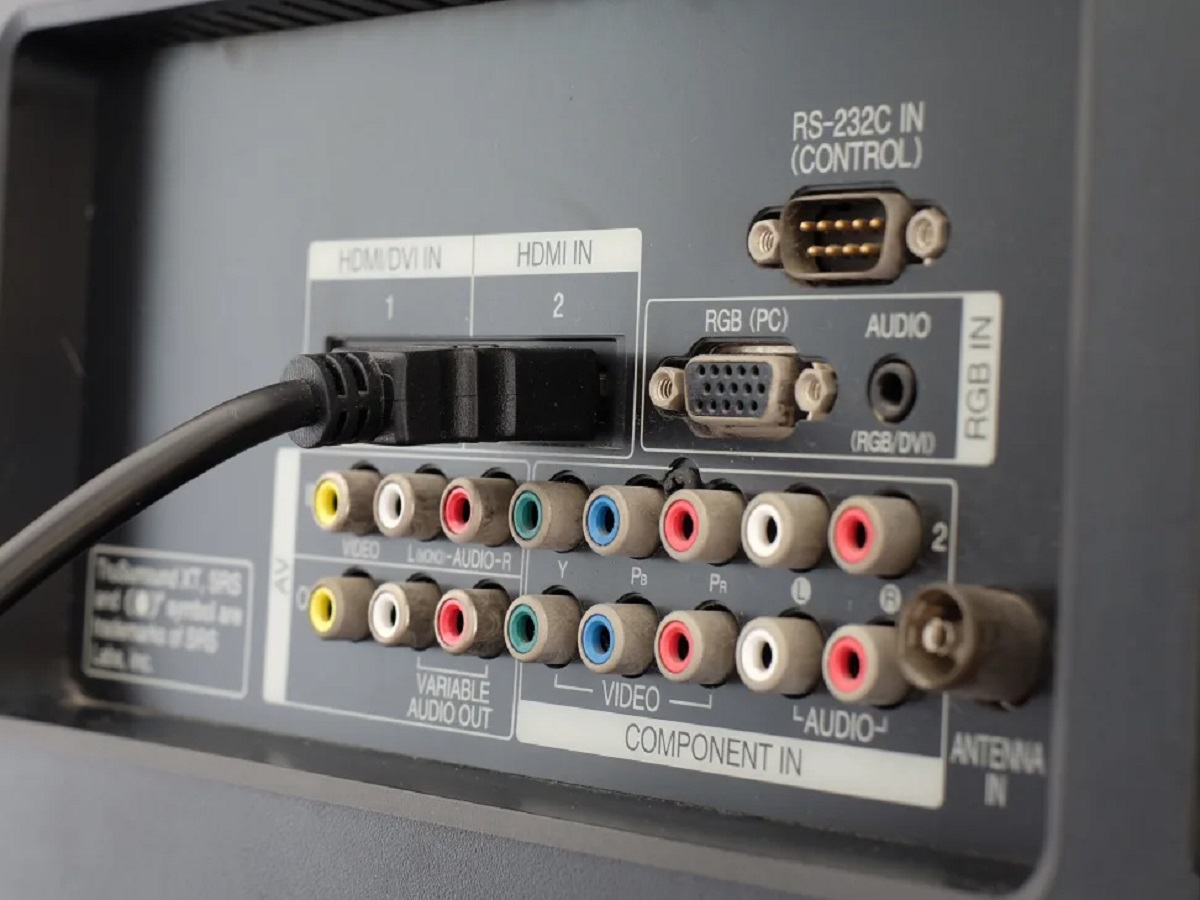
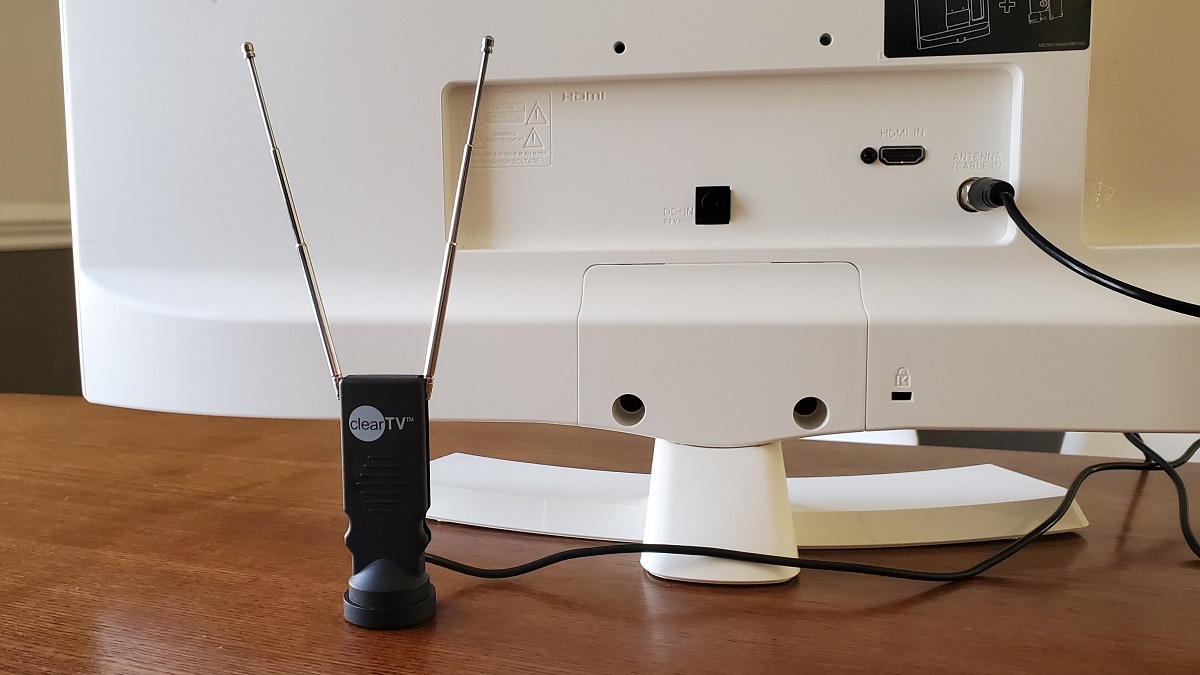
- Locate the antenna input: Take a look at the back of your TV and locate the antenna input. It is usually labeled as “ANT IN” or “ANTENNA”. Make sure your TV is turned off before proceeding.
- Connect the coaxial cable: Take the end of the coaxial cable, opposite the antenna, and insert it into the antenna input on your TV. Twist it clockwise to ensure a secure connection.
- Tighten the connection: Once the cable is inserted, use your hand to tighten the connection by rotating it clockwise. Ensure that the connection is snug but avoid over-tightening to prevent damage.
- Turn on the TV: After connecting the antenna, power on your TV and access the TV’s menu or settings.
- Select antenna input: Use your TV’s remote control to navigate to the input or source selection settings. Choose the antenna or TV mode as the input source.
- Scan for channels: As your TV is in the antenna mode, initiate a channel scan to search for available digital TV channels. This process may vary depending on your TV model, so consult the TV’s user manual for specific instructions.
- Follow on-screen instructions: Once the scan is initiated, follow any on-screen instructions to complete the channel scan process. This may take a few minutes as your TV searches for available channels and saves them into its memory.
- Test the reception: Once the channel scan is complete, test the reception of the channels. Navigate through the channels and check if you have a clear and reliable signal. Adjust the position of your antenna if necessary to optimize the signal reception.
By following these steps, you can successfully connect your DIY digital TV antenna to your TV and start enjoying high-quality over-the-air channels. Make sure to periodically rescan for new channels as they may become available in your area. Sit back, relax, and enjoy your favorite TV shows with your homemade antenna!
Step 8: Position and adjust the antenna
Now that you have connected your DIY digital TV antenna to your TV and completed the initial channel scan, it’s time to position and adjust the antenna for optimal signal reception. Follow these steps to ensure the best possible performance:
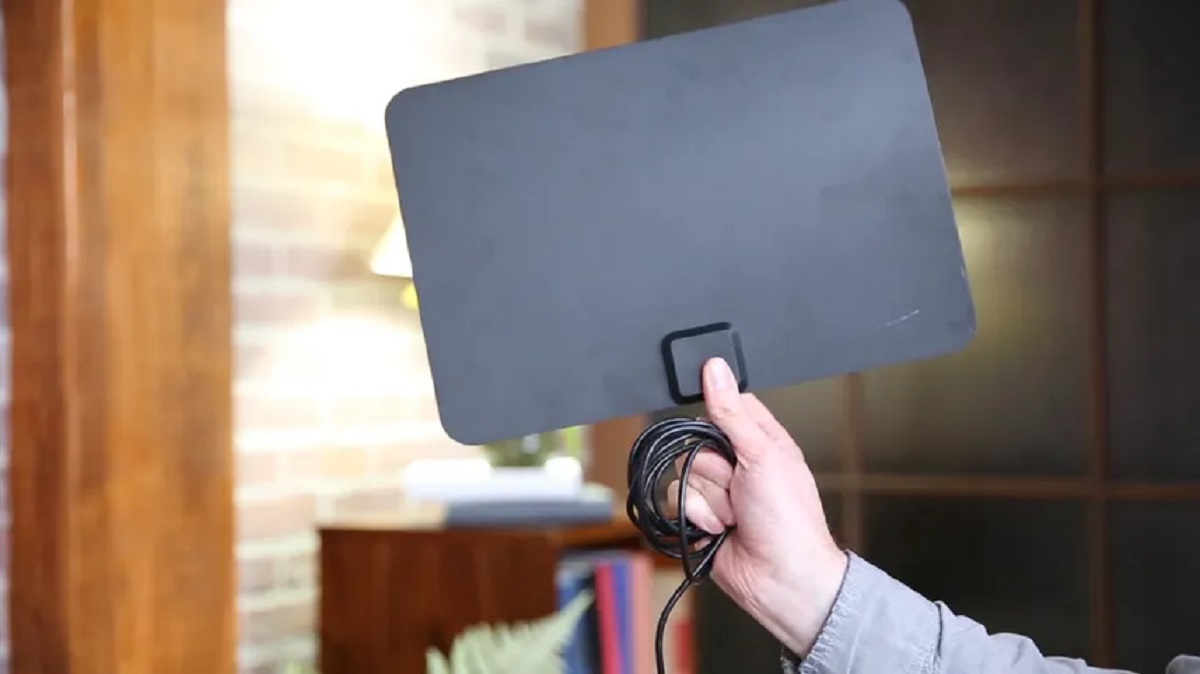
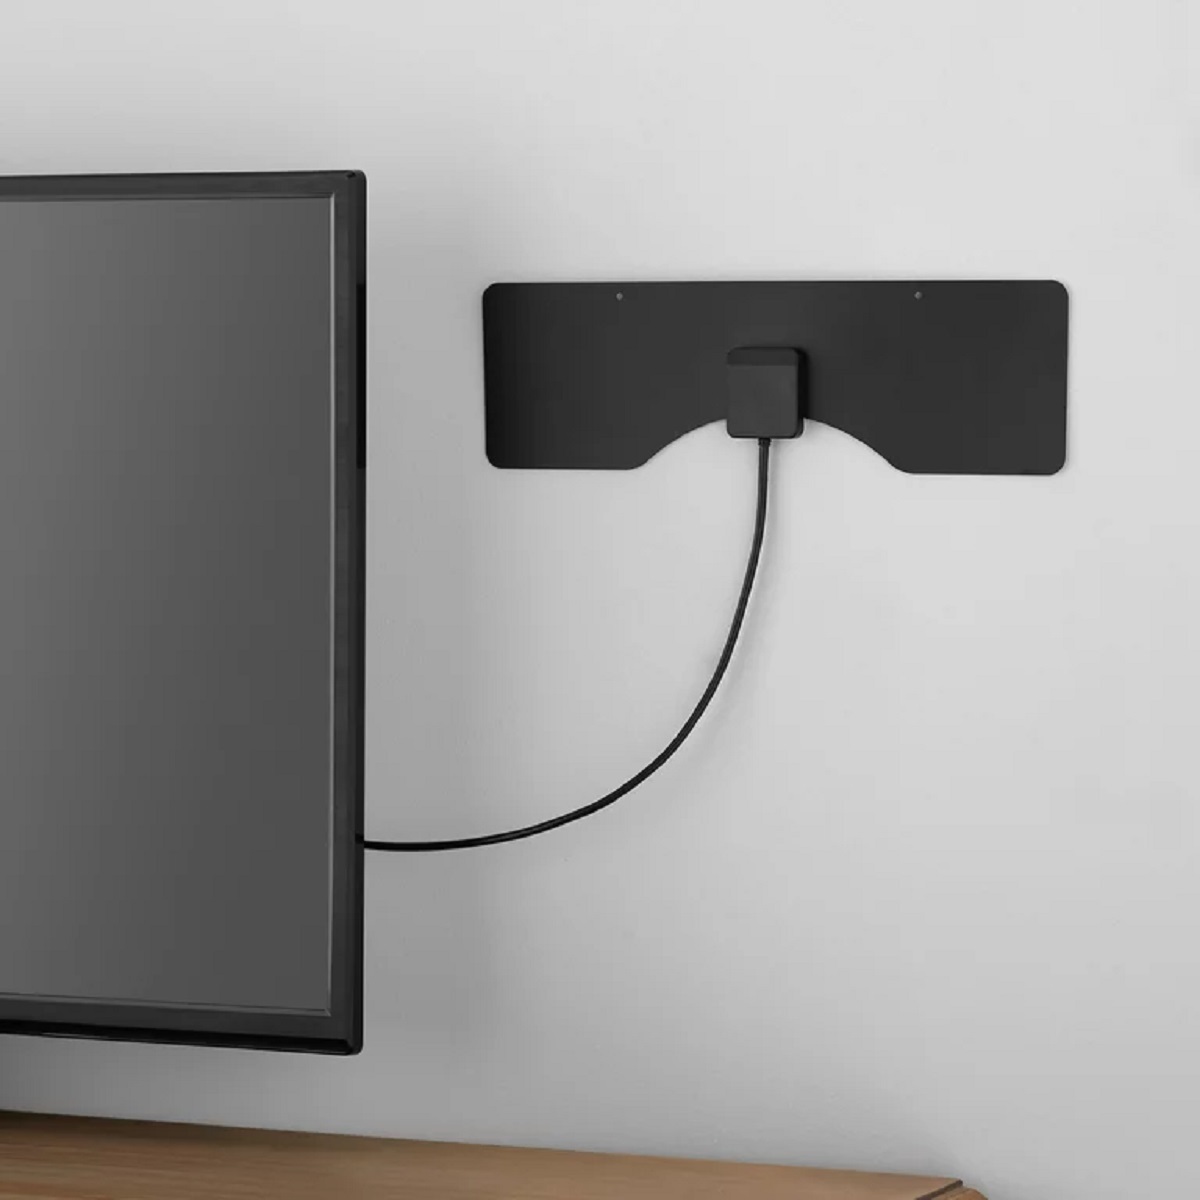
- Choose an ideal location: Look for a suitable location for your antenna, preferably near a window or facing the direction of the broadcast towers. Higher placement can also improve reception.
- Anchor the antenna: Mount or place the antenna securely to prevent it from moving or sliding out of position. A stable and fixed position will help maintain a consistent signal.
- Experiment with antenna orientation: Initially, try positioning the antenna in a horizontal or vertical orientation, as this can sometimes affect signal reception. Adjust the angle or orientation of the antenna to find the best signal strength.
- Rescan for channels: Whenever you reposition or adjust the antenna, it’s important to rescan for channels on your TV. This will allow your TV to detect and save any newly acquired channels.
- Consider using amplifiers: If you’re experiencing weak signal or poor reception, you may want to consider using signal amplifiers or signal boosters. These devices can enhance signal strength and improve overall performance.
- Eliminate signal interference: Minimize and eliminate potential sources of signal interference, such as electronic devices or obstacles blocking the antenna’s line of sight to the broadcast towers.
- Periodically readjust: Over time, environmental conditions or changes in broadcast signals may require you to readjust the antenna. By periodically checking and fine-tuning the antenna’s position and orientation, you can maintain optimal reception.
Remember, finding the perfect position for your digital TV antenna may require some trial and error. Don’t get discouraged if you don’t have optimal reception right away. By experimenting with different positions, orientations, and eliminating signal interference, you can achieve the best possible signal reception for your TV. Enjoy your favorite shows with clear and uninterrupted digital quality!
Conclusion
Congratulations! You have successfully learned how to make a digital TV antenna. By following the step-by-step instructions in this guide, you have created a DIY antenna that can capture high-quality digital TV signals and provide you with access to a variety of over-the-air channels.
Building your own digital TV antenna offers several benefits. It allows you to customize and adapt the antenna’s design to suit your specific needs and reception requirements. Additionally, it can be a cost-effective solution compared to purchasing a pre-made antenna.
Throughout the process, you have gathered the necessary materials, measured and cut the wire, stripped the insulation, attached the wire to the coaxial connector, created the antenna base, connected the antenna to your TV, and positioned and adjusted the antenna for optimal reception.
Remember to periodically rescan for channels, particularly if you adjust or reposition the antenna in the future. This will ensure that your TV detects and saves any newly available channels in your area.
We hope this guide has empowered you to take control of your TV viewing experience and enjoy crystal-clear digital signals with your homemade antenna. Sit back, relax, and enjoy your favorite shows without relying solely on expensive cable or satellite subscriptions.
Thank you for following along, and happy viewing!