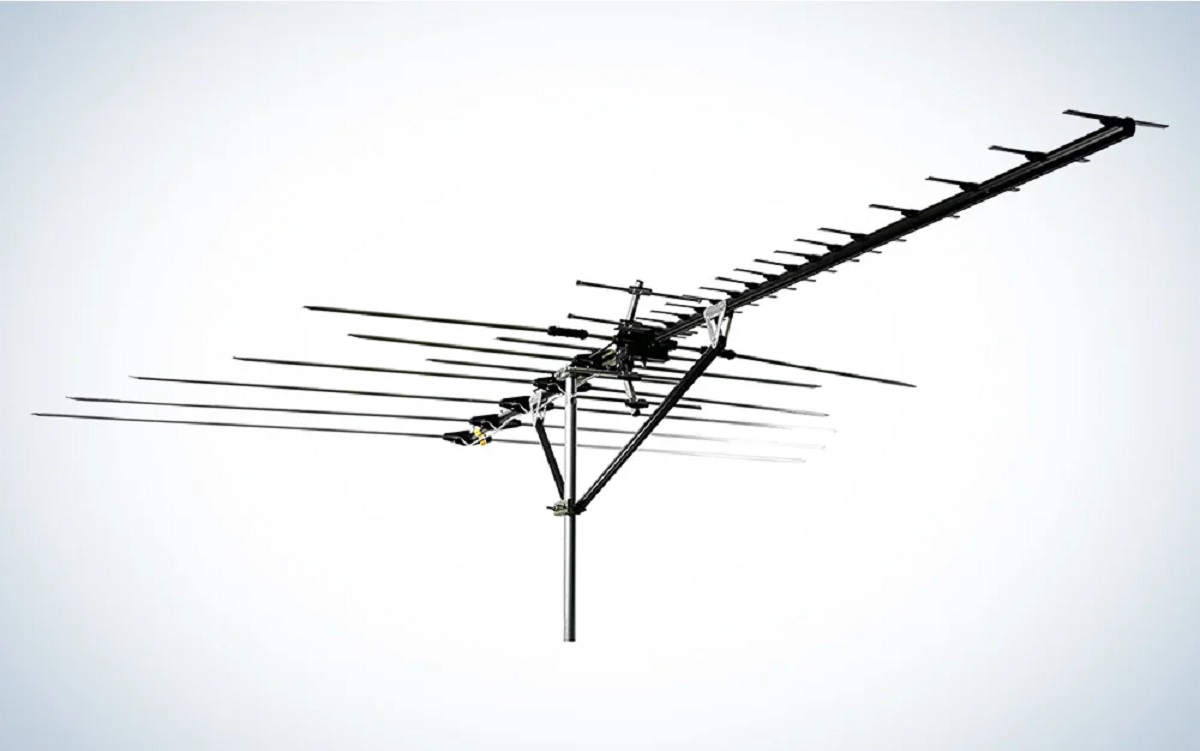
Introduction
Are you tired of paying for cable or satellite TV and looking for a cost-effective solution to enjoy your favorite shows and local channels? Building your own outdoor TV antenna can be a great option. Not only does it save you money, but it also allows you to receive over-the-air signals in high definition, providing clear and crisp picture quality.
In this step-by-step guide, we will walk you through the process of making your own outdoor TV antenna. With just a few simple materials and some basic tools, you can create an antenna that will boost your TV reception and give you access to an array of channels, including local news, sports, and entertainment.
But before we dive into the details, it’s important to understand the benefits of using an outdoor TV antenna. First and foremost, it provides an excellent solution for cord-cutters or individuals who prefer to rely on free, over-the-air broadcasting. By picking up signals directly from local transmission towers, you can enjoy a wide range of channels without any monthly fees.
Additionally, an outdoor TV antenna offers improved signal quality compared to indoor antennas. Being outside, it is less affected by walls, furniture, and other obstructions that can weaken the signal strength. This means you will have a better chance of receiving a strong and reliable signal, resulting in a more enjoyable viewing experience.
Moreover, an outdoor TV antenna is highly versatile. By placing it outdoors, you can capture signals from multiple directions, which is especially beneficial if you live in an area with transmission towers scattered in different locations. This ensures that you have the best chance of receiving all available channels in your area.
While the process may seem daunting at first, building your own outdoor TV antenna is actually quite straightforward. In the following sections, we will outline the materials you’ll need and guide you through each step of the construction process. So, let’s get started on creating your very own outdoor TV antenna that will bring you a world of entertainment right to your fingertips.
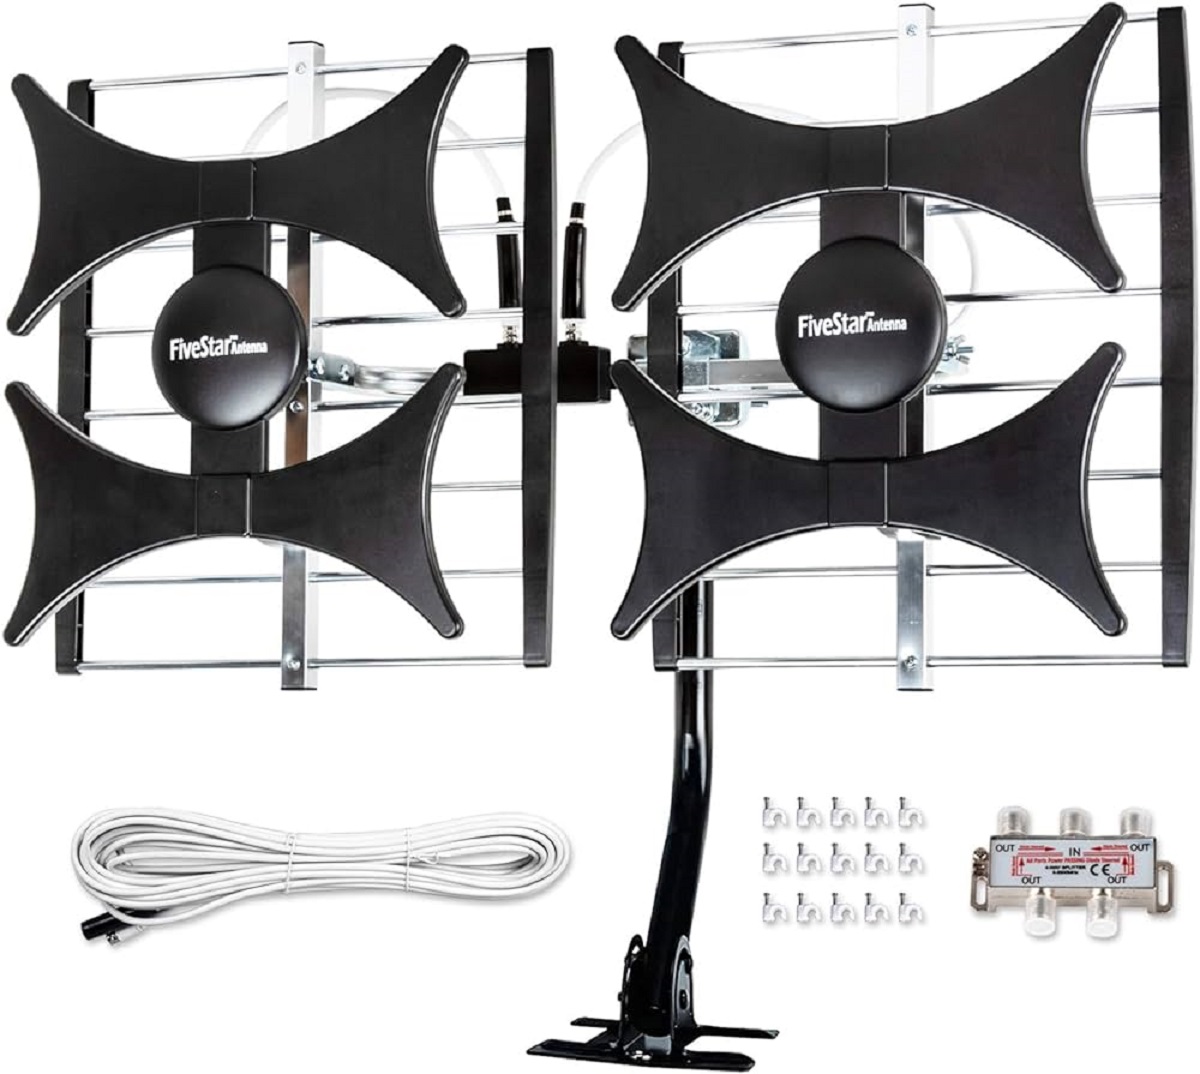
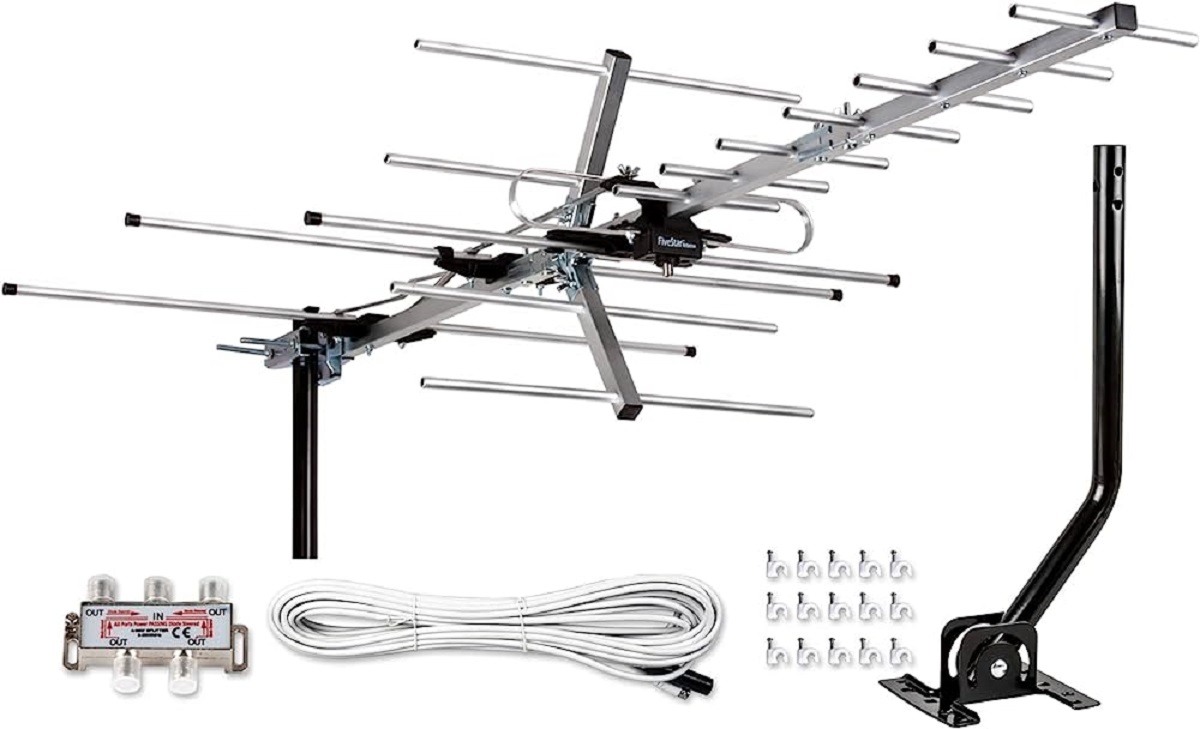
Materials Needed
To build your own outdoor TV antenna, you’ll need the following materials:
- Coat hanger wires: You will need approximately four to six coat hanger wires, depending on the size of the antenna you want to build. These can be easily obtained from your local hardware store.
- PVC pipe: Get a PVC pipe that is long enough to serve as the frame for your antenna. The size of the pipe will depend on the dimensions of your desired antenna.
- Coaxial cable: Purchase a coaxial cable long enough to reach from your TV to the location where you plan to mount the antenna outdoors.
- Antenna balun: This is a device that connects the coaxial cable to the antenna. Make sure to choose a balun that is compatible with the type of antenna you are constructing.
- Connectors and adapters: You will need connectors and adapters to attach the coaxial cable to the balun and to connect the antenna to your TV.
- Mounting hardware: Depending on where you plan to install the antenna, you may need mounting hardware such as brackets, clamps, screws, and a mast.
- Tools: Gather a set of basic tools including a hacksaw or PVC cutter to cut the PVC pipe, pliers to shape the coat hanger wires, a wire cutter to trim the wires, a drill or screwdriver for mounting the antenna, and a wrench or adjustable pliers to tighten connectors.
Before starting the construction process, make sure you have all the necessary materials readily available. This will save you time and ensure a smooth building experience. Once you have everything on hand, you’re ready to move on to the next step: preparing the coat hanger wires.
Step 1: Gather the necessary materials
The first step in building your own outdoor TV antenna is to gather all the necessary materials. Having everything prepared beforehand will make the construction process smoother and more efficient. Here’s a breakdown of the materials you’ll need:
- Coat hanger wires: You will need approximately four to six coat hangers, depending on the size of the antenna you are planning to build. Make sure to select wire coat hangers that are sturdy and easy to shape.
- PVC pipe: Choose a PVC pipe that is long enough to serve as the frame for your antenna. The size of the pipe will depend on the dimensions of your desired antenna. Typically, a 1-inch PVC pipe works well for most DIY outdoor TV antennas.
- Coaxial cable: Purchase a coaxial cable that is long enough to connect your antenna to your TV. Measure the distance from your desired antenna mounting location to your TV and add a few extra feet to ensure you have enough cable length.
- Antenna balun: An antenna balun is a device that connects the coaxial cable to the antenna. It ensures a proper and secure connection between the two. Select a balun that is compatible with the type of antenna you are constructing.
- Connectors and adapters: You will need connectors and adapters to attach the coaxial cable to the balun and to connect the antenna to your TV. Make sure to choose connectors and adapters that are compatible with your coaxial cable and TV.
- Mounting hardware: Depending on where you plan to install the antenna, you may need mounting hardware such as brackets, clamps, screws, and a mast. Consider the type of surface you will be mounting the antenna on and gather the appropriate hardware.
- Tools: Gather a set of basic tools including a hacksaw or PVC cutter to cut the PVC pipe, pliers to shape the coat hanger wires, a wire cutter to trim the wires, a drill or screwdriver for mounting the antenna, and a wrench or adjustable pliers to tighten connectors.
Once you’ve gathered all the necessary materials, you’re ready to move on to the next step: preparing the coat hanger wires. This involves shaping the wires into the necessary elements for your antenna. Stay tuned for the next section for detailed instructions on how to do this.
Step 2: Prepare the coat hanger wires
Now that you have gathered all the necessary materials, it’s time to prepare the coat hanger wires for your outdoor TV antenna. This step involves shaping the wires into the necessary elements that will help capture the TV signals. Here’s how you can do it:
- Start by straightening out the coat hanger wires. Use a pair of pliers to carefully unbend the wires and make them as straight as possible.
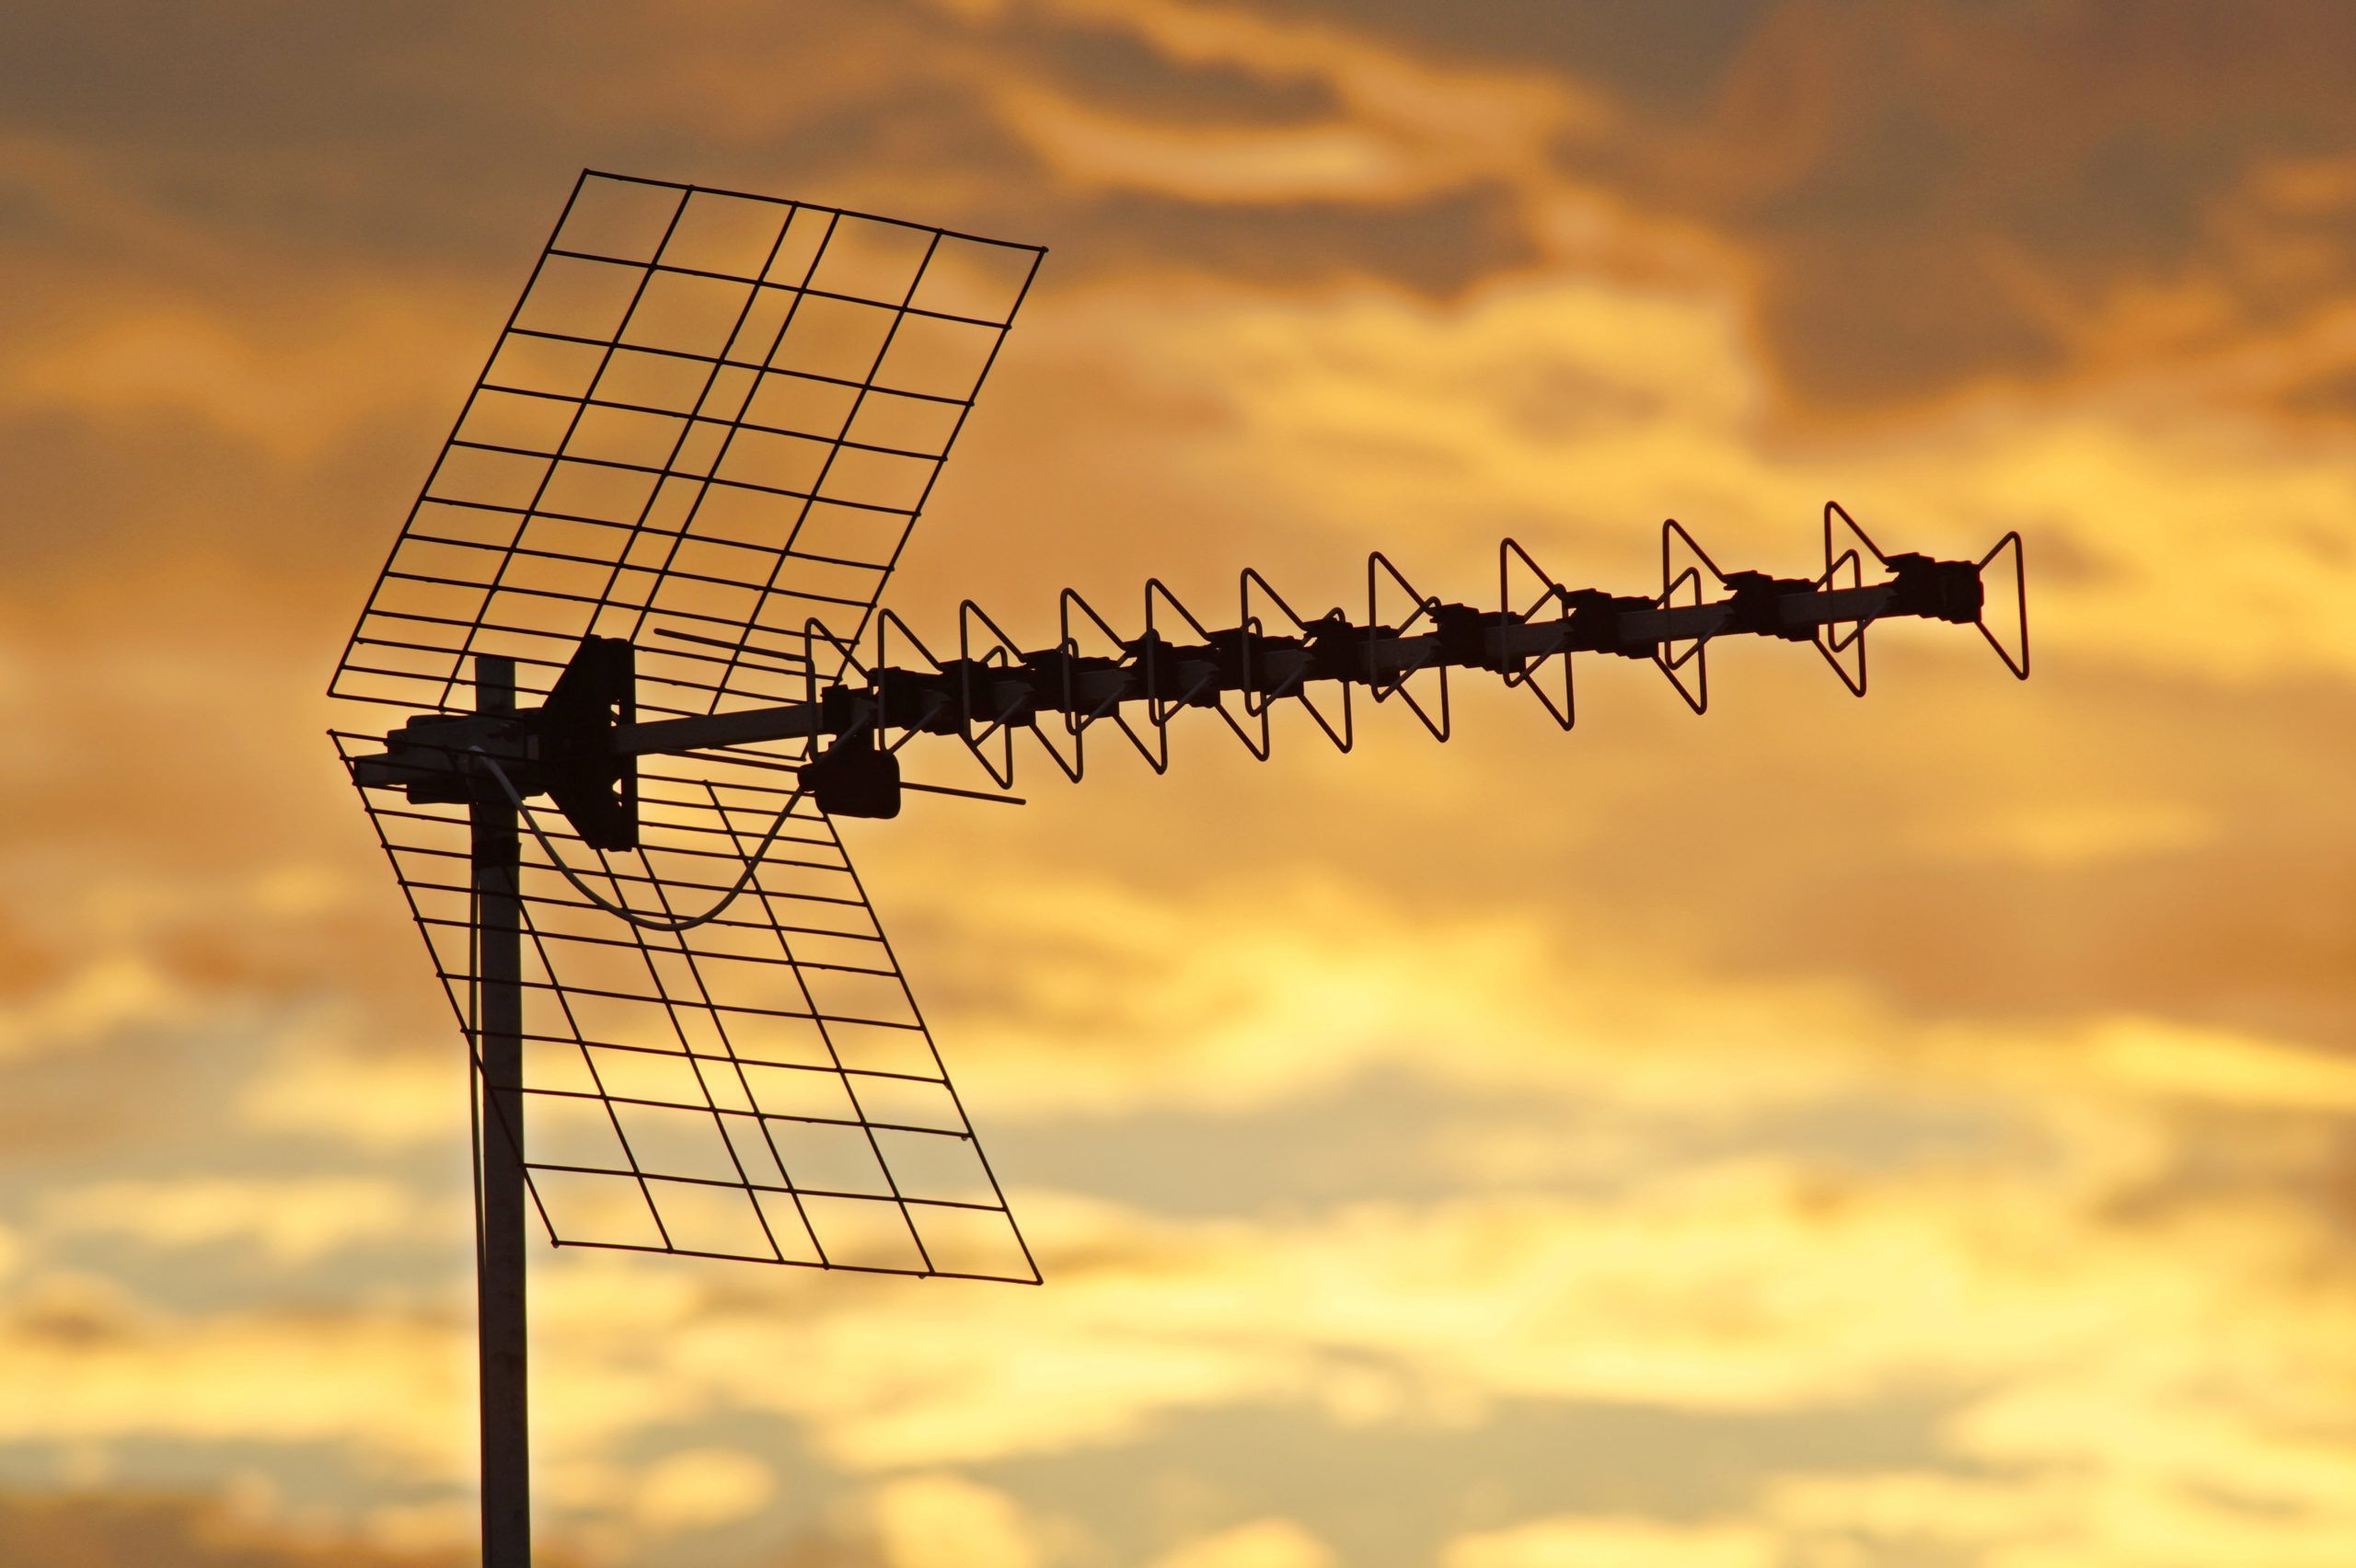
- Next, using the measurements and design specifications for your desired antenna, use the pliers to bend the wires into the required shapes. The exact shapes will depend on the type of antenna you want to build, such as a dipole or a Yagi antenna.
- For a simple dipole antenna, shape one wire into a “V” shape, and another wire into an upside-down “V” shape. The length of each wire should be approximately equal to one-fourth the wavelength of the TV signal you want to capture.
- If you’re building a more complex Yagi antenna, you’ll need to shape multiple coat hanger wires into specific lengths and configurations. Research the design of a Yagi antenna to understand the various elements and their dimensions.
- After shaping the wires, use the pliers to create hooks at the ends of each wire. These hooks will be used to attach the wires to the frame of the antenna in the next step.
It’s important to take your time and ensure that the coat hanger wires are shaped accurately and securely. This will maximize the antenna’s performance and reception capabilities. Once you have prepared the coat hanger wires, you’re ready to move on to the next step: creating the antenna frame.
Step 3: Create the antenna frame
With the coat hanger wires prepared, it’s time to move on to creating the antenna frame for your outdoor TV antenna. The frame provides stability and support for the wires, ensuring that they are in the correct position for optimal signal reception. Follow these steps to create the antenna frame:
- Take the PVC pipe and measure it according to the desired length for your antenna. Use a hacksaw or PVC cutter to cut the pipe to the correct size.
- Next, determine the height of your antenna and mark the PVC pipe accordingly. This will depend on your location and the obstructions in the surrounding area.
- Once you’ve marked the height, use a drill to create holes through the PVC pipe at the marked points. These holes should be large enough to allow the coat hanger wires to pass through.
- Insert the coat hanger wires through the holes in the PVC pipe. Depending on the design of your antenna, you may need to pass the wires through specific holes in a certain order. Refer to the antenna design you are following for guidance.
- Ensure that the coat hanger wires are securely held in place by the PVC pipe. You can use duct tape or zip ties to fasten the wires to the pipe if necessary.
Creating the antenna frame is a critical step in the construction process. The frame provides the structure and stability to hold the coat hanger wires in the correct position, enabling optimal signal reception. It’s essential to position the wires in a way that allows them to capture signals from the desired directions. Once you have successfully created the antenna frame, you’re ready to move on to the next step: attaching the coat hanger wires to the frame.
Step 4: Attach the coat hanger wires to the frame
Now that you have created the antenna frame using the PVC pipe, the next step is to attach the coat hanger wires to the frame. This step is crucial as it ensures that the wires are securely connected and properly positioned for effective signal reception. Follow these steps to attach the coat hanger wires:
- Start by taking one of the coat hanger wires and inserting the hook end through one of the holes in the PVC pipe. Pull the wire until the hook is securely inside the pipe.
- Repeat this process for each of the coat hanger wires, ensuring that they are evenly spaced and positioned around the frame.
- As you attach the wires, be mindful of the antenna design you are following. Some designs may require specific wire lengths and positioning to optimize signal reception.
- Once all the coat hanger wires are attached, gently tug on each wire to ensure they are securely fastened and will not come loose.
- Additionally, check that the wires are evenly tensioned and aligned, as this will help optimize signal reception. Make any necessary adjustments if needed.
Attaching the coat hanger wires to the frame is a vital step in the construction process. It ensures that the wires are properly positioned to receive TV signals and that they are securely attached to the frame for stability. Taking the time to properly attach the wires will contribute to the overall performance of your DIY outdoor TV antenna. Once the wires are securely in place, you’re ready to move on to the next step: connecting the coaxial cable to the antenna.
Step 5: Connect the coaxial cable to the antenna
Now that you have the coat hanger wires securely attached to the antenna frame, the next step is to connect the coaxial cable to the antenna. This connection will allow the TV signals captured by the wires to be transferred to your television. Follow these steps to connect the coaxial cable:
- Locate the balun, which is the device that connects the coaxial cable to the antenna. Ensure that it is compatible with the type of antenna you have constructed.
- Connect one end of the coaxial cable to the balun. This is typically done by screwing the connector onto the threaded port on the balun.
- Next, locate the hook ends of the coat hanger wires on the antenna. Insert the other end of the coaxial cable through one of the hooks, ensuring a tight and secure fit.
- If needed, use zip ties or electrical tape to fasten the coaxial cable to the coat hanger wires, providing additional support and minimizing strain on the connection.
- Double-check that the coaxial cable is securely connected to the balun and the coat hanger wires. Any loose connections can impact the signal quality.
Connecting the coaxial cable is a crucial step as it establishes the link between the antenna and your television. Ensuring a secure and reliable connection is important for receiving high-quality TV signals. Once the coaxial cable is properly connected, you’re ready to move on to the next step: mounting the antenna outdoors.
Step 6: Mount the antenna outdoors
After connecting the coaxial cable to the antenna, the next step is to mount the antenna outdoors. By positioning it in an optimal location, you can maximize the signal reception and ensure a clear and reliable TV viewing experience. Follow these steps to mount the antenna:
- Choose the location for mounting the antenna. Ideally, it should be as high as possible and free from obstructions such as trees, buildings, or other structures that may block the signal.
- If you have a mounting bracket or mast, attach it securely to the chosen location using clamps, screws, or other appropriate hardware. Ensure that the bracket or mast is stable and can support the weight of the antenna.
- Place or slide the PVC pipe with the attached coat hanger wires onto the mounting bracket or mast. Align the antenna frame so that it faces the general direction of the TV transmission tower(s) in your area.
- Using the appropriate hardware, secure the PVC pipe to the mounting bracket or mast, ensuring that it is firmly fixed in place.
- Double-check that the antenna is stable and properly aligned. Make any necessary adjustments to ensure that it is upright and facing the correct direction for optimal signal reception.
Mounting the antenna outdoors is crucial for receiving the best TV signal possible. By positioning it correctly and avoiding obstructions, you can greatly improve signal reception and overall picture quality. Take your time to select the right location and ensure that the antenna is securely mounted. Once the antenna is properly installed, you’re ready to move on to the next step: connecting the antenna to your TV.
Step 7: Connect the antenna to your TV
With the antenna securely mounted outdoors, it’s time to connect it to your TV. This step allows the TV to receive the signals captured by the antenna, giving you access to a wide range of channels. Here’s how you can connect the antenna to your TV:
- Locate the coaxial input on your TV. It is usually labeled as “ANT IN” or something similar.
- Take the other end of the coaxial cable connected to the antenna and insert it into the coaxial input on your TV. Make sure it is securely inserted to avoid any signal loss.
- Hand-tighten the connector by turning it clockwise until it’s snug. Avoid overtightening, as it may damage the connector or the TV’s input.
- If your TV has multiple inputs, use the remote or the input/source button to select the “TV” or “Antenna” input. This will ensure that your TV is tuned to the over-the-air signals received from the antenna.
Connecting the antenna to your TV is a straightforward process. By using the coaxial cable, you establish the necessary connection for signal transmission. It’s important to ensure a secure and snug connection to avoid any signal disruptions. Once the antenna is connected to your TV, we can move on to the next step: scanning for channels.
Step 8: Scan for channels
After connecting the antenna to your TV, the next step is to scan for channels. This process allows your TV to search for and store all the available over-the-air channels that can be received by the antenna. Here’s how you can scan for channels:
- Access the menu or settings on your TV. The method may vary depending on the make and model of your TV. Check the user manual for specific instructions if needed.
- Navigate to the “Channel” or “Broadcast” section in the TV settings. Look for an option called “Auto Program,” “Channel Scan,” or something similar.
- Select the option to start the channel scan. Your TV will then search for available channels and store them in its memory.
- Be patient and let the scan complete. It may take a few minutes for the TV to scan through all the available frequencies and detect the channels.
- Once the scan is complete, your TV will display a list of the channels it has found. Use the remote to navigate through the channels and test their reception.
Scanning for channels is an important step to access the available content. Depending on your location and the signal strength, you may receive numerous channels, including local broadcasts in high definition. It’s recommended to perform a channel scan periodically, especially if you reposition or adjust the antenna to find the best reception. With the scan complete and channels detected, you’re ready to move on to the next step: adjusting the antenna for optimal reception.
Step 9: Adjust the antenna for optimal reception
After completing the channel scan, it’s time to fine-tune the antenna for optimal reception. Adjusting the antenna ensures that you receive the best possible signal strength and quality. Here are some steps to help you adjust the antenna:
- Refer to the TV’s channel signal strength indicator. This feature is usually found in the TV’s settings or signal menu. It provides a visual representation of the signal strength for each channel.
- Ask someone to help you as you adjust the antenna. While you’re inside your home near the TV, have them stand near the outdoor antenna.
- Start by slowly rotating the antenna left or right in small increments, checking the signal strength indicator after each adjustment.
- While you’re adjusting the antenna, have your helper observe the signal strength indicator and give you feedback on the changes. They can inform you when the signal strength improves or weakens.
- Continue making small adjustments to the antenna’s direction until you find the best signal strength for the desired channels. It may be helpful to refer to a TV tower locator website or app to determine the general direction of the transmission towers in your area.
Adjusting the antenna may require some trial and error, but it’s worth the effort to achieve the best reception. Take your time and be patient during this process. Carefully fine-tuning the antenna’s direction can significantly improve signal quality and the number of channels you can receive.
Remember to periodically check and adjust the antenna if you experience any changes in signal quality. Factors such as weather conditions, nearby construction, or changes in the environment can affect the signal. By regularly fine-tuning the antenna, you can continue enjoying optimal TV reception.
Conclusion
Congratulations! You have successfully built and set up your own outdoor TV antenna. By following the step-by-step guide outlined in this article, you have created a cost-effective solution to enjoy a wide range of over-the-air channels without the need for a cable or satellite TV subscription.
Building your own outdoor TV antenna not only saves you money but also allows you to take advantage of the high-definition signals broadcasted in your area. With proper positioning, you can capture clear and crisp TV signals, providing you with an enhanced viewing experience.
Remember, the key components of your DIY outdoor TV antenna are the coat hanger wires, the PVC pipe frame, and the coaxial cable. By gathering the necessary materials and meticulously shaping and attaching the coat hanger wires, you have created a functional antenna that can capture signals from nearby transmission towers.
Mounting the antenna outdoors is essential for optimal performance. By choosing a strategic location and ensuring a sturdy mounting, you can minimize obstructions and maximize signal reception. Connecting the antenna to your TV through the coaxial cable establishes the final link, allowing you to access a wide range of channels.
After completing the initial setup, don’t forget to scan for channels on your TV. This process will detect and store all available channels, giving you access to local news, sports, entertainment, and more. Fine-tuning the antenna for optimal reception is also crucial. By making small adjustments, you can achieve the best possible signal strength and improve the overall quality of the channels you receive.
Now it’s time to sit back, relax, and enjoy your favorite shows and programs with your DIY outdoor TV antenna. Take advantage of the cost savings and the multitude of free channels available to you. Don’t forget to periodically check your antenna and make any necessary adjustments to maintain optimal reception.
So, grab some popcorn, invite your friends and family, and immerse yourself in the world of free over-the-air TV entertainment with your very own outdoor TV antenna!