Introduction
Welcome to the world of Mac computing, where you can effortlessly download and save your favorite images with just a few simple steps! Whether you want to save a beautiful photograph, an inspiring quote, or a funny meme, Mac provides a user-friendly interface that makes the process quick and easy.
In this article, we will guide you through the process of downloading a picture on your Mac. Whether you’re a newbie to the Mac ecosystem or a seasoned user looking for a refresher, this guide will help you navigate through the steps with ease.
With the rise of visual content on the internet, being able to download and save images is essential for numerous purposes. Whether you want to use an image for personal use, create a presentation, or enhance your blog or website, being able to download pictures can truly enrich your digital experience.
The good news is, Mac provides an intuitive interface that allows you to download images from the web effortlessly. You can save these images to your preferred location on your Mac, making them easily accessible whenever you need them.
In the following sections, we will walk you through the step-by-step process of downloading a picture on your Mac. You’ll learn how to find the image, save it to your desired location, and even rename it if needed. So, let’s dive in and get started with downloading pictures on your Mac!
Step 1: Open your web browser
To begin the process of downloading a picture on your Mac, the first step is to open your preferred web browser. Mac offers various web browsers like Safari, Google Chrome, and Mozilla Firefox, among others. You can choose the browser you feel most comfortable using.
To open your web browser, locate the browser icon on your Mac’s dock or in the Applications folder. Click on the icon to launch the browser.
Once the browser is open, you’ll see a search bar at the top of the window where you can enter your desired search query. You can use keywords or specific phrases to find the image you want to download. For example, if you’re looking for a picture of a sunset, you can type “sunset image” into the search bar.
Additionally, you can also use search engines like Google, Bing, or Yahoo to find images. Simply go to the search engine’s homepage, enter your search query, and hit the Enter or Return key.
As you search for images, the search engine will display various results. These results may include images from websites, image databases, or image hosting platforms. Take your time to browse through the results and find the picture that best suits your needs.
Once you find the desired image, you’re ready to move on to the next step, where you’ll learn how to download it to your Mac.
Step 2: Search for the image you want to download
Now that you have your web browser open, it’s time to search for the image you want to download. You can either enter a specific search query in the browser’s search bar or use a search engine to find the image.
If you know what you’re looking for, simply type relevant keywords or a descriptive phrase into the search bar. For example, if you’re searching for a picture of a cute puppy, you can type “cute puppy image” or “adorable puppy picture” in the search bar.
Alternatively, you can use a search engine like Google Images to find the image. Go to the search engine’s homepage and click on the “Images” tab. Enter your search query in the search bar and hit Enter or Return.
As you enter your search query, the search engine will display a page with numerous images related to your search. You can browse through the images to find the one that catches your eye.
When searching for an image, it’s important to keep in mind that not all images on the internet are free to use. Some images may be copyrighted or have specific usage restrictions. To ensure you are downloading images that are free to use, consider using websites that provide free stock photos or images with a Creative Commons license.
Once you have found the image you want to download, proceed to the next step to learn how to save it to your Mac.
Step 3: Right-click on the image
After you have found the image you want to download, it’s time to save it to your Mac. To do this, you’ll need to right-click on the image. Right-clicking on a Mac is slightly different from other operating systems, but it’s just as simple.
Hover your cursor over the image you want to download. Position the cursor directly over the image, ensuring that it’s within the boundaries of the image.
Next, press the Control (Ctrl) key on your Mac’s keyboard while clicking on the image. This will simulate a right-click action on your Mac. Alternatively, if you have a mouse or trackpad with right-click functionality, you can simply right-click on the image without pressing any keyboard keys.
Upon right-clicking, a dropdown menu will appear next to the cursor. This menu contains various options related to the image you right-clicked on.
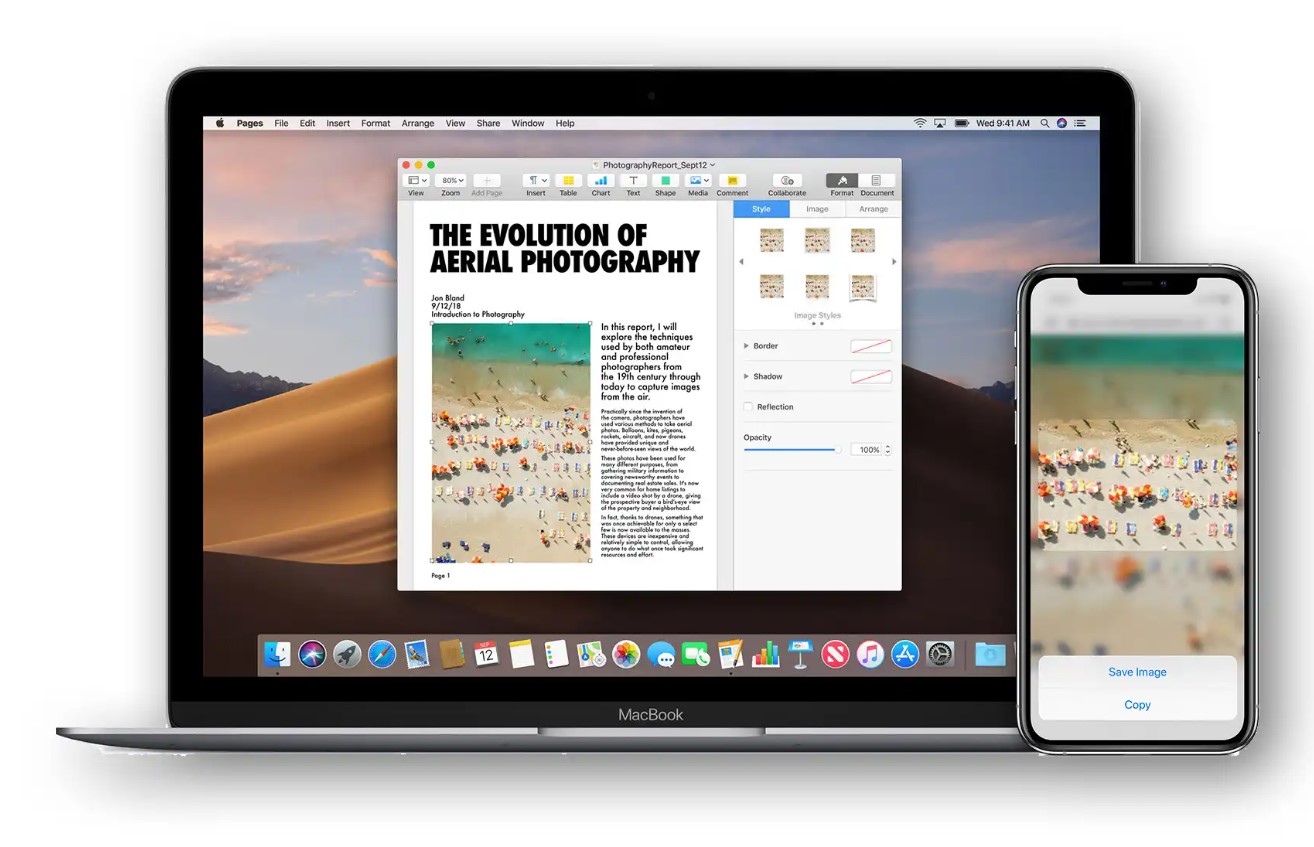
In the dropdown menu, you’ll see the option to “Save Image As” or something similar. This option may vary slightly depending on the browser you’re using, but the concept remains the same. Select the “Save Image As” option to proceed to the next step.
Alternatively, some browsers may offer a direct option to “Save Image” without the need to right-click. If you see this option, you can click on it to save the image directly.
Once you’ve selected the “Save Image As” option, you’re ready to specify the location where you want to save the image on your Mac. Continue to the next step for instructions on how to choose a location to save the image.
Step 4: Select “Save Image As”
After right-clicking on the image, a dropdown menu will appear next to the cursor. In this menu, you’ll see various options related to the image. Look for the option that says “Save Image As” and click on it.
By selecting “Save Image As,” you are indicating to your web browser that you want to save the image to your Mac’s storage.
After clicking on “Save Image As,” a dialog box will appear, allowing you to choose where you want to save the image on your Mac.
The dialog box will display different options, such as the default download location, recent locations, or any custom folders you have previously created on your Mac. You can choose any of these options or click “Choose a Different Folder” to specify a specific location.
If you choose to select a different folder, navigate through your Mac’s file system to find the desired folder. You can open folders by double-clicking on them. Once you’re in the desired folder, click “Choose” to confirm the location.
Before proceeding to save the image, take a moment to ensure that the chosen location is easily accessible and organized. It’s helpful to select a location that you can easily remember, such as the Desktop or a designated “Images” folder.
Additionally, you can rename the image file at this stage if you wish. Simply click on the existing file name and type a new name for the image. This can be useful for keeping your downloaded images organized and easily identifiable.
Once you’ve chosen the location and, if desired, renamed the image, click on the “Save” button to save the image to your specified location on your Mac.
With the image successfully saved, you’re ready to access and enjoy it on your Mac. In the next step, we’ll guide you on how to locate the image in the Downloads folder.
Step 5: Choose a location to save the image
After selecting “Save Image As,” a dialog box will appear on your screen, prompting you to choose a location to save the image on your Mac. This step allows you to specify the folder or directory where you want the image to be saved.
The dialog box will display various options, including the default download location, recent locations, or any custom folders you have created on your Mac. You can choose any of these options or opt for a different folder by clicking on “Choose a Different Folder.”
If you decide to select a different folder, navigate through your Mac’s file system to locate the desired location. You can open folders by double-clicking on them. Once you have reached the desired folder, click on “Choose” to confirm the location.
It is essential to choose a location that is easily accessible and organized. Consider selecting a folder that you frequently use or create a specific folder for saving downloaded images. This practice will help you keep your files organized and make them easier to find in the future.
Before saving the image, take a moment to review the chosen location and ensure it meets your requirements. If you intend to use the image for a specific project or purpose, consider selecting a folder related to that project to keep everything in one place.
In addition to choosing the location, you have the option to rename the image file. Simply click on the existing file name and enter a new name for the image. This step can be useful for categorizing or identifying the image more easily.
Once you are satisfied with the location and, if necessary, the file name, click the “Save” button to save the image to your specified location on your Mac.
By choosing the location, you have successfully completed the fifth step. In the next step, we will guide you on how to rename the downloaded image, should you wish to do so.
Step 6: Rename the image (optional)
Once you have selected the location to save the image, you have the option to rename it before finalizing the download. Renaming the image can be helpful for better organization and easy identification later on.
To rename the image, locate the file name in the save dialog box. Typically, the file name will appear in a text field adjacent to the location selection. Click on the existing file name to activate the text field and type in the new desired name for the image.
When choosing a new name for the image, consider using a descriptive and memorable title that accurately represents the content of the image. This can be helpful when searching for the image or organizing it in folders later on.
You can include relevant keywords in the file name to make searching for the image more efficient. For example, if the image is a picture of a beach at sunset, you could name it “beach-sunset-image” or something similar.
Additionally, ensure that the new file name complies with your Mac’s file naming conventions. Avoid using special characters, symbols, or spaces in the file name, as they may cause compatibility issues or make it difficult to locate the image in the future.
Remember that renaming the image is an optional step, and if you are satisfied with the original file name, you can skip this step and move on to the next one.
Once you have entered the desired new name, review it to ensure accuracy and relevancy. Double-check for any spelling errors or typos that might cause confusion later on.
After you are satisfied with the new name, proceed to the next step to finalize the download process.
Step 7: Click “Save”
After selecting the desired location and, if necessary, renaming the image, it’s time to click the “Save” button to initiate the download process. This step will save the image to the specified location on your Mac.
Once you have reviewed the location and file name, locate the “Save” button within the save dialog box. The button is usually located at the bottom right or left corner of the dialog box.
Before clicking “Save,” take a final moment to ensure that everything is in order and that you have selected the correct location and file name for the image.
Clicking “Save” will initiate the download process, and the image will be saved to the selected location on your Mac. Depending on the size of the image and your internet speed, the download may take only a few seconds or longer.
During the download process, a progress bar may appear to indicate the status of the download. Once the download is complete, a notification may also appear, confirming that the image has been successfully saved to your Mac.
After clicking “Save,” you can choose to close the save dialog box or continue browsing the web. The saved image will be accessible in the chosen location on your Mac, ready for you to use, share, or enjoy as you wish.
With the image successfully saved, you have completed the seventh step of the download process. In the next step, we will guide you on how to access the downloaded image in the Downloads folder.
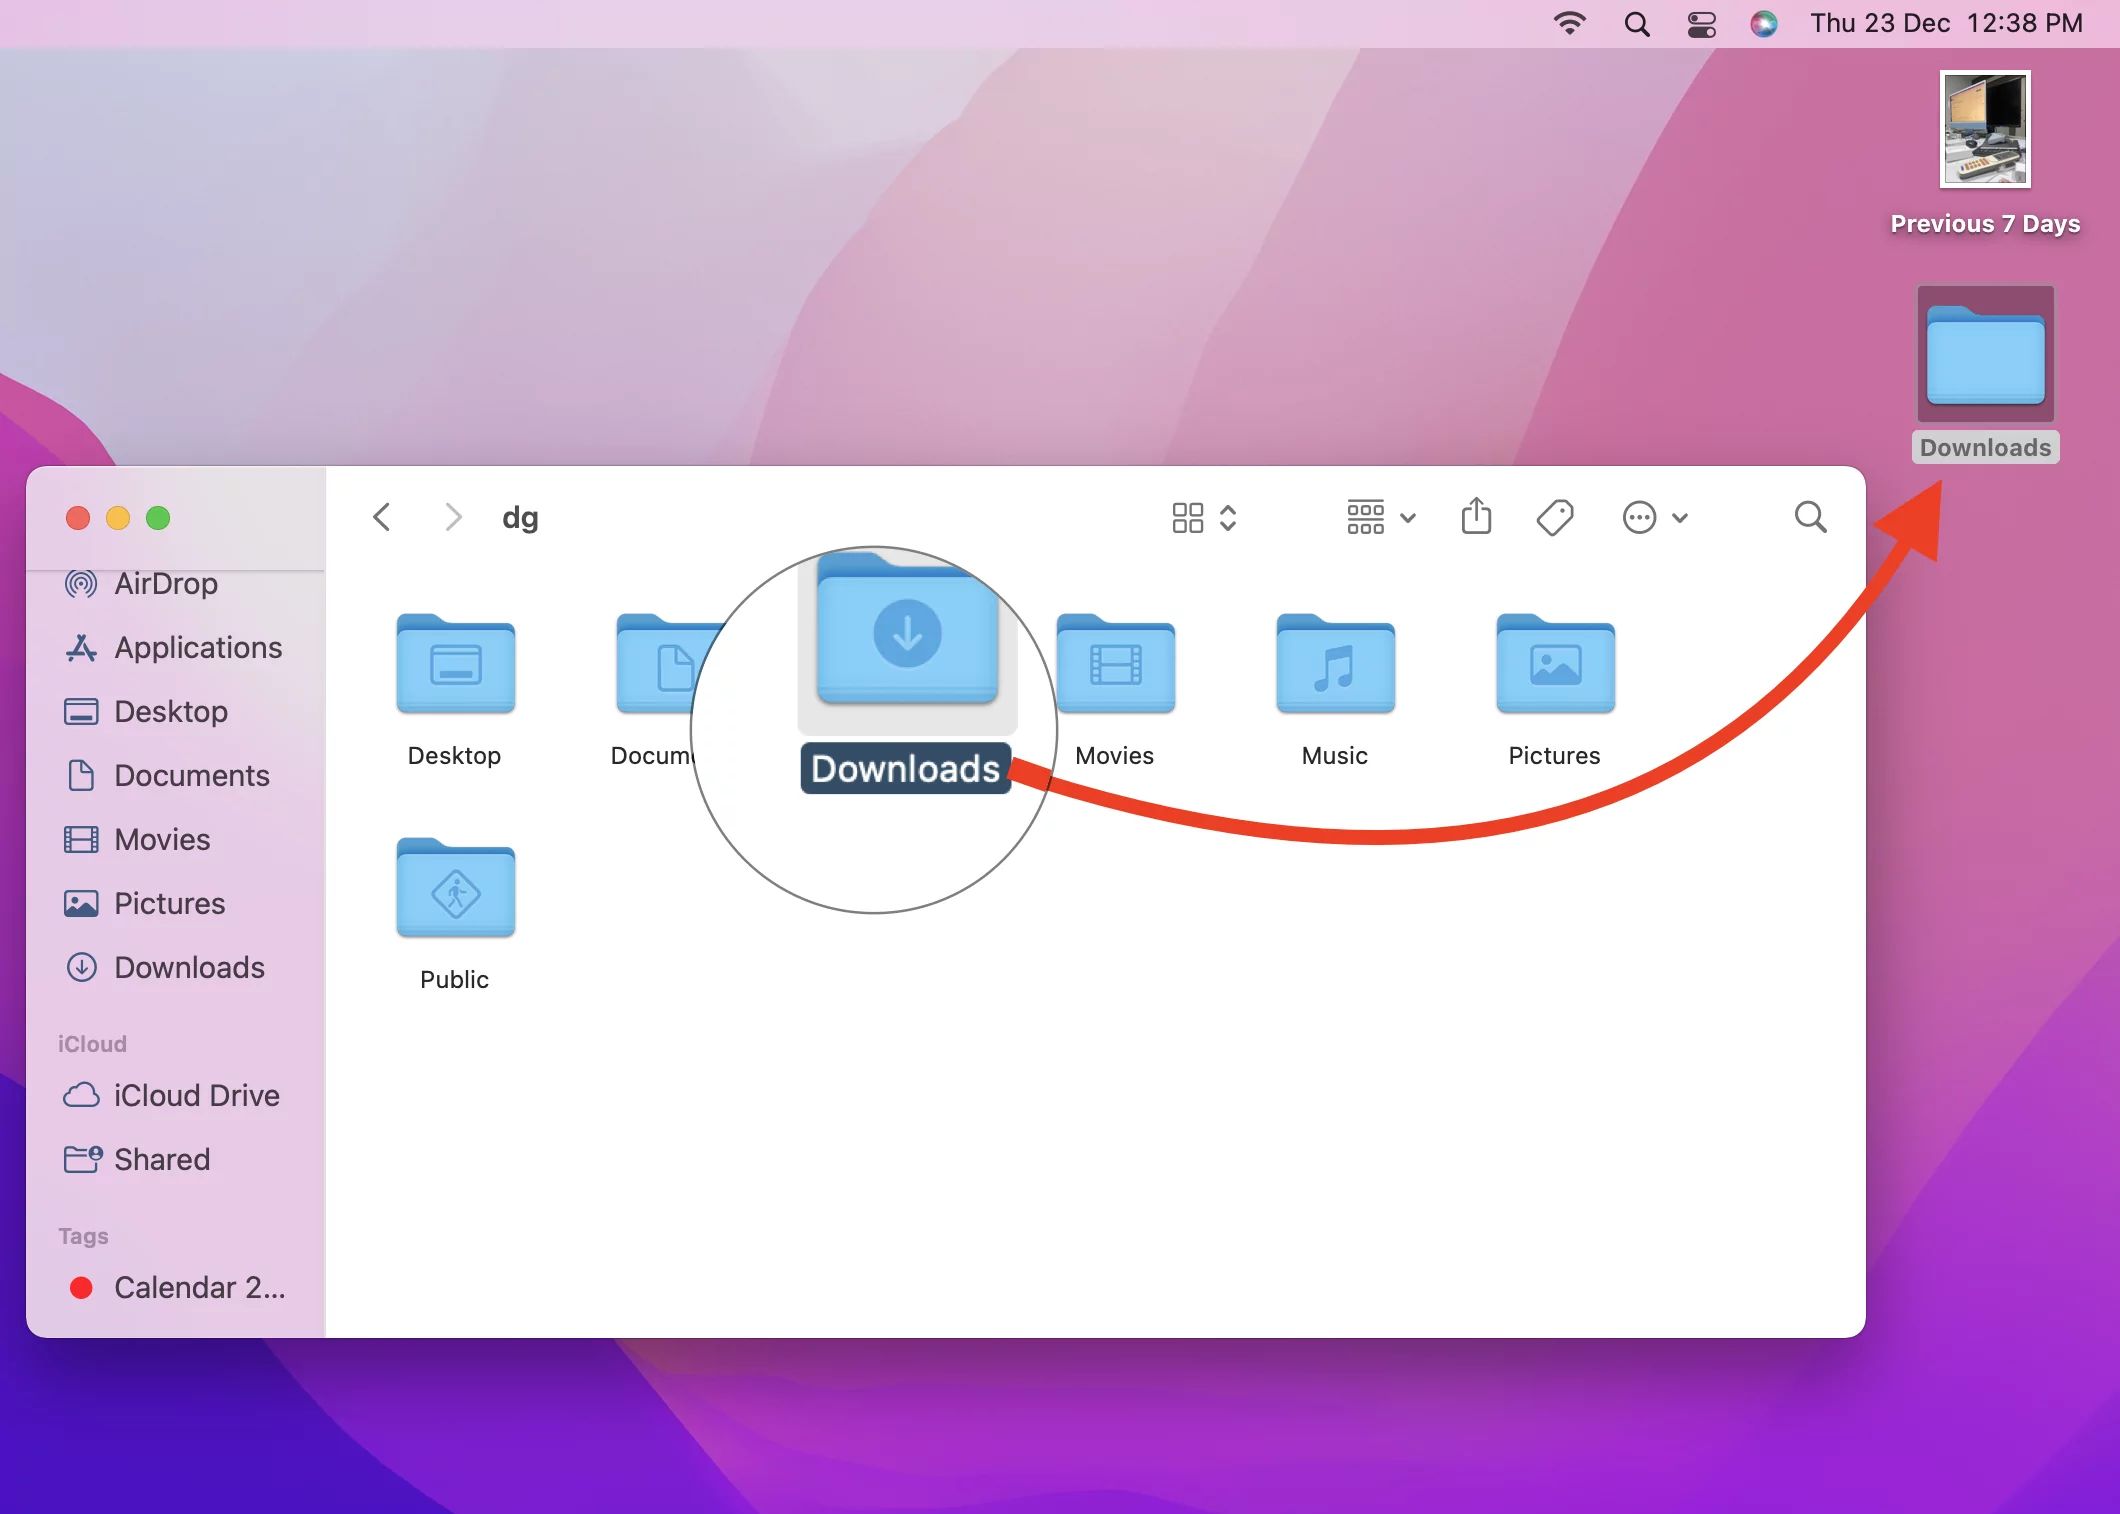
Step 8: Open the Downloads folder to access the image
Once you have clicked “Save” to complete the download process, the image will be saved to the specified location on your Mac. To access the downloaded image, you will need to open the Downloads folder.
To begin, navigate to the Finder application on your Mac. The Finder is represented by a smiling face icon located on the dock at the bottom of your screen. Click on the Finder icon to launch the application.
Once the Finder is open, you will see a sidebar on the left side of the window containing various options. Look for the “Downloads” option under the “Favorites” section and click on it.
Alternatively, if you prefer using keyboard shortcuts, you can press Shift + Command + L on your keyboard to instantly open the Downloads folder.
By clicking on the Downloads option or using the keyboard shortcut, the “Downloads” folder will open and display all the files that were downloaded to your Mac, including the image you recently saved.
Take a moment to locate the image within the Downloads folder. You can browse through the list of files to find the image, or you can use the search bar at the top right corner of the Finder window and enter the file name or relevant keywords to quickly locate the image.
Once you have found the image, you can double-click on it to open and view it using the default image viewer on your Mac. From here, you can also copy, move, or further organize the image as needed.
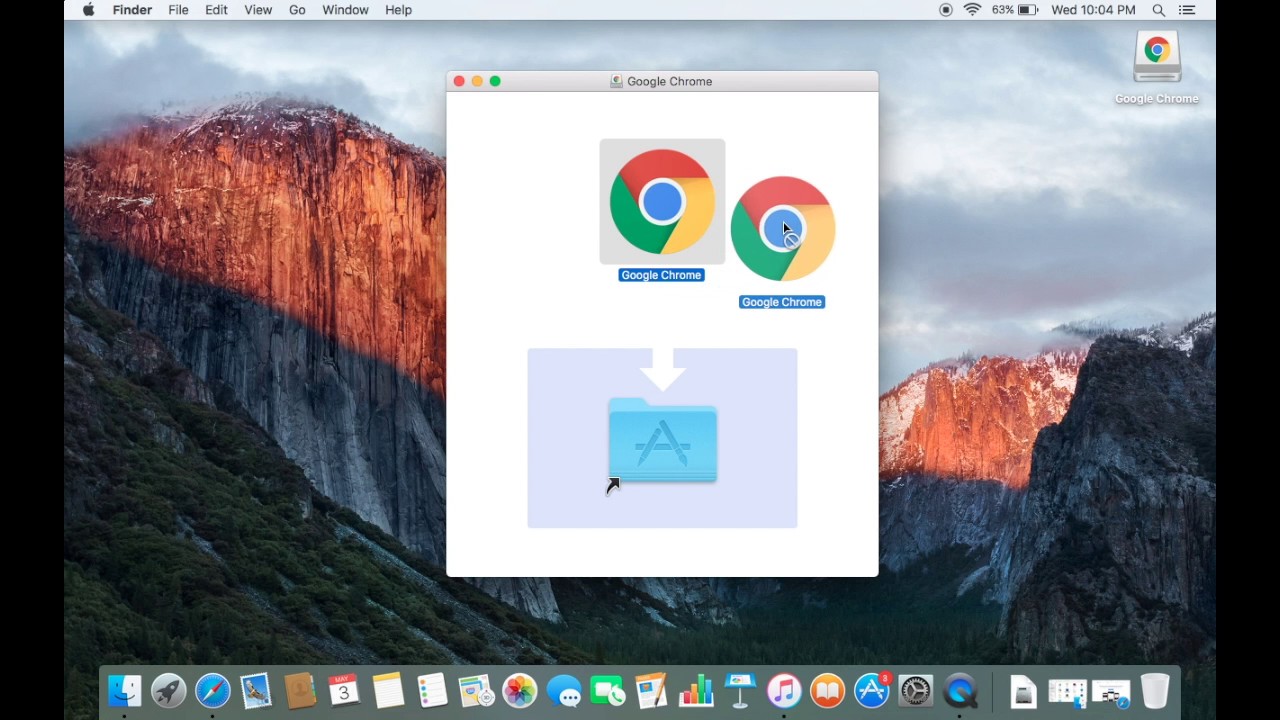
If you prefer to move the image to a different folder or location on your Mac, you can simply click and drag the image to the desired destination within the Finder window.
Congratulations! You have successfully accessed and located the downloaded image in the Downloads folder. You can now use, share, or enjoy the image as you wish.
Conclusion
Congratulations! You have successfully learned how to download a picture on your Mac. By following the simple steps outlined in this guide, you can easily find, save, and access images from the web with just a few clicks.
Downloading pictures on your Mac opens up a world of possibilities. Whether you want to collect inspiring images, create visually appealing presentations, or personalize your desktop background, the ability to download images is a valuable skill to have.
Remember, the process starts by opening your web browser and searching for the image you want. When you find the desired image, right-click on it and select “Save Image As.” Choose the location where you want to save the image on your Mac, and if desired, rename the file for better organization.
Clicking “Save” finalizes the download, and you can then access the image in the Downloads folder. From there, you can open, view, and use the image as needed.
By following these steps, you can enhance your digital experience on your Mac and have easy access to your favorite images whenever you need them.
Now that you have mastered the process, feel free to explore and download a wide range of images to suit your personal or professional needs. Get creative, experiment with different search queries, and enjoy the endless possibilities that downloading pictures on your Mac offers.
We hope this guide has been helpful to you in understanding how to download pictures on your Mac. Enjoy discovering, saving, and utilizing all the amazing images that the internet has to offer!