Introduction
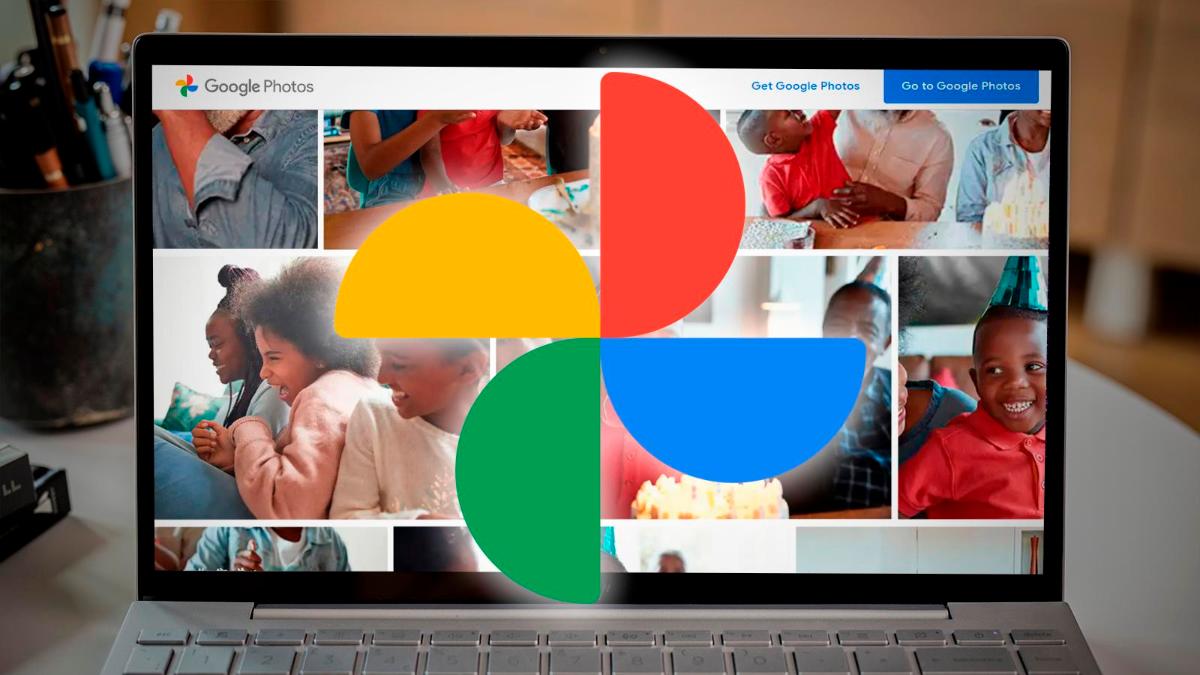
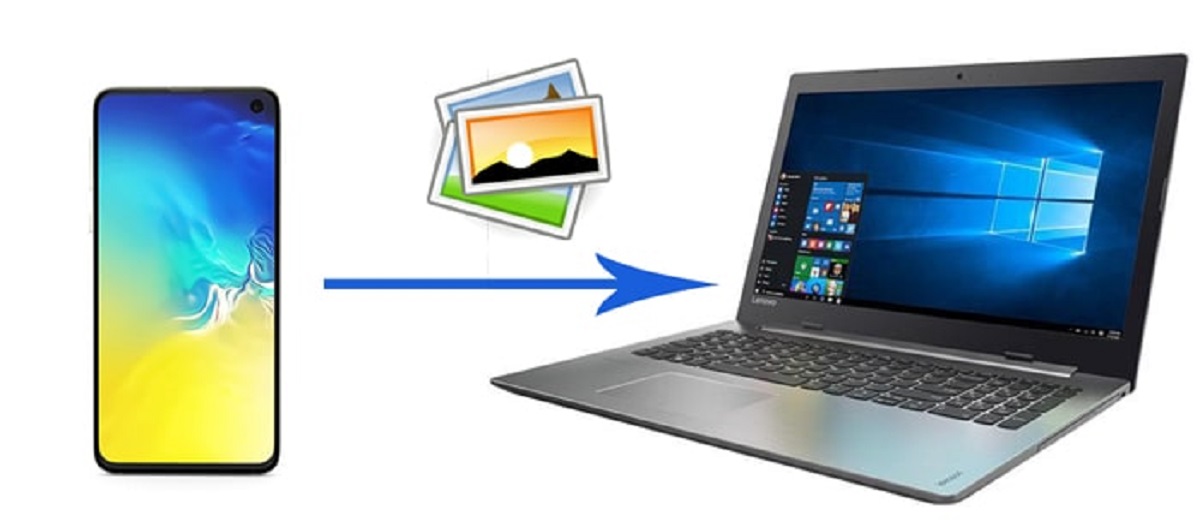
Google Photos has become one of the go-to platforms for storing and organizing our cherished memories captured through photographs. With its user-friendly interface and unlimited storage options, many individuals rely on Google Photos as their primary photo storage solution. However, there may come a time when you need to download all of your photos from Google Photos to your PC for backup purposes or to free up space on your account.
Downloading photos one by one can be a tedious and time-consuming process. Thankfully, Google provides a seamless solution through Google Takeout, which allows you to download all your Google Photos at once.
In this article, we will guide you through the step-by-step process of downloading all your photos from Google Photos to your PC in just a few easy steps. Whether you’re a professional photographer, a casual hobbyist, or simply looking to safeguard your precious memories, this guide will help you efficiently retrieve your entire photo collection from Google Photos.
Ready to get started? Let’s dive in and learn how you can download all your photos from Google Photos to your PC with ease.
Step 1: Login to Your Google Account
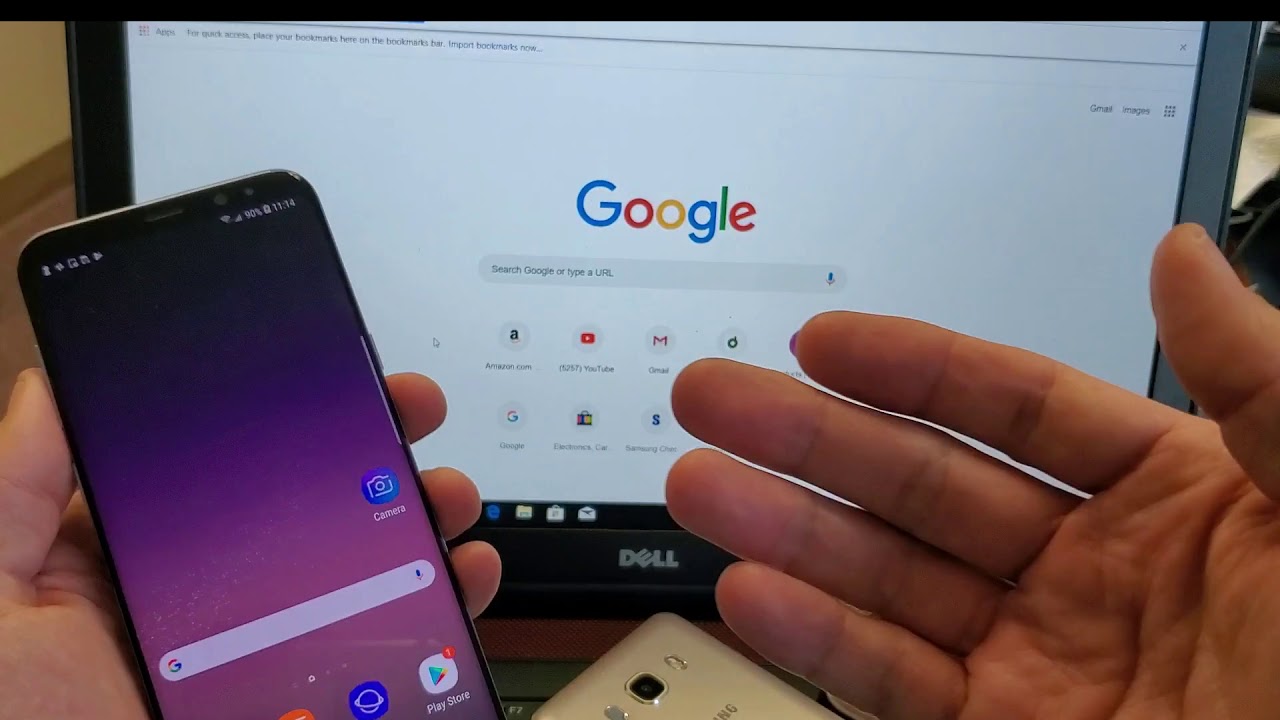
The first step to download all your photos from Google Photos is to log in to your Google account. Open your preferred web browser and navigate to the Google homepage.
If you already have a Google account, enter your email address and password in the designated fields. If you don’t have an account, you can create one by clicking on the “Create account” link and following the prompts.
Once you’re logged in, locate and click on the grid icon in the top-right corner of the page. This will open a drop-down menu with various Google services.
From the menu, find and click on the “Photos” icon. This will take you to the Google Photos homepage where all your uploaded photos and albums are stored.
By logging in to your Google account and accessing Google Photos, you can ensure that you have the necessary permissions to download your photos and that you can access your entire collection.
Now that you’re logged in, let’s move on to the next step and explore how to download all your photos from Google Photos to your PC.
Step 2: Open Google Takeout
Once you have logged in to your Google account and accessed Google Photos, the next step is to open Google Takeout. Google Takeout is a service provided by Google that allows you to export and download your data from various Google services, including Google Photos.
To open Google Takeout, click on the menu icon (represented by three horizontal lines) in the top-left corner of the Google Photos webpage. This will open a side panel with different options.
Scroll down the side panel until you find the “Settings” option and click on it. This will take you to the Google Account Settings page.
On the Settings page, click on the “Data & personalization” tab. This tab contains various options related to your Google account data.
Scroll down the page until you find the section labeled “Download, delete, or make a plan for your data.” Under this section, you will see the “Download your data” option. Click on it to proceed to the Google Takeout page.
Google Takeout will display a list of all the Google services for which you can export your data. Since we want to download our photos from Google Photos, scroll down the list and locate the “Photos” option. Ensure that the checkbox next to it is selected.
At this stage, you can choose to include additional data related to your Google Photos if you wish, such as album data, shared albums, and photo metadata. Simply click on the selection checkboxes to include the desired data.
Once you have made your selections, scroll to the bottom of the page and click on the “Next step” button to proceed to the customization options for your Google Photos download.
Now that you have opened Google Takeout and selected Google Photos as the data you want to download, let’s move on to the next step and customize the download options.
Step 3: Select Google Photos
After opening Google Takeout and reaching the customization options, the next step is to select Google Photos as the specific data you want to download.
On the Google Takeout page, you will see a list of all the Google services for which you can export your data. Locate and click on the “Photos” option to proceed.
When you select Google Photos, you will notice that a panel opens up with additional options for customizing your download.
In this panel, you can choose the file type in which you want to download your photos. Google Takeout offers a variety of formats such as .zip, .tgz, and .tbz. For most users, the default .zip format is widely compatible and recommended.
Additionally, you can specify the maximum size of each exported file. This option is useful if you have limited storage space on your PC or if you prefer to download your photos in smaller, more manageable chunks.
Furthermore, you have the option to select the desired quality for your exported photos. Choose between “Original” and “High quality” based on your preference. Keep in mind that while “High quality” does not count towards your Google storage quota, it may slightly reduce the photo’s resolution compared to the “Original” option.
Once you have reviewed and adjusted these options as per your requirements, click on the “Create export” button to proceed. Google Takeout will now start preparing your data for download.
By selecting Google Photos and customizing the download options, you are ensuring that you export the photos in a format and quality that suits your needs. Now it’s time to move on to the next step and initiate the export process.
Step 4: Customize the Download Options
After selecting Google Photos as the data you want to download in the previous step, it’s time to customize the download options to suit your preferences.
On the customization panel of Google Takeout, you will find several options that allow you to tailor the download process to your specific needs.
Firstly, you can choose the file format in which you want to receive your downloaded photos. The default format is .zip, which is widely supported across different operating systems. However, if you prefer a different format such as .tgz or .tbz, you can select it from the available options.
Next, you have the option to specify the maximum size of each exported file. This can be useful if you have limited storage space on your PC or if you prefer to receive your photos in smaller, more manageable batches. Simply enter the desired maximum file size value, and Google Takeout will automatically split your photos into multiple files to accommodate your preference.
You also have the choice of selecting the quality of your exported photos. You can choose between “Original” and “High quality.” The “Original” option maintains the full resolution and size of your photos, while the “High quality” option compresses them slightly to reduce file size. It’s important to note that the “High quality” option does not count towards your Google storage quota.
Alongside these customization options, you may also see other data related to your Google Photos account that can be exported, such as photo albums, shared albums, and photo metadata. If you wish to include this additional data, make sure the relevant checkboxes are selected.
Once you have customized the download options according to your preferences, click on the “Next step” button to proceed.
By customizing the download options, you can ensure that the downloaded photos are in the desired format, size, and quality. Now, let’s proceed to the next step and initiate the export process.
Step 5: Start the Export Process
Once you have customized the download options for your Google Photos export, it’s time to start the export process. This step will initiate the creation of your photo archive and prepare it for download.
To begin the export process, click on the “Create export” button on the customization panel of Google Takeout.
After clicking the button, Google Takeout will commence the export process, which may take some time depending on the size of your photo library. The progress will be displayed on the screen, and you can monitor the status as the export is being prepared.
It’s important to note that Google Takeout will send you an email notification when your export is ready for download. The email will contain a link that will direct you to the download page. Therefore, it’s crucial to keep an eye on your email inbox or check your spam folder if you don’t receive the notification in a timely manner.
The time required to complete the export process will vary depending on the size and complexity of your Google Photos library. Large photo collections may take several hours or even days to prepare for download. Patience is key during this step, and it’s advisable to plan the download for a time when you can leave your computer connected to the internet for an extended period.
While the export process is in progress, you can continue to use your Google account and access other services unaffected. The export will happen in the background, making it convenient for you to perform other tasks on your account.
Now that you have initiated the export process, it’s time to wait for Google to prepare your data. Once you receive the notification email, we can move on to the next step and download your photos to your PC.
Step 6: Wait for Google to Prepare Your Data
After initiating the export process in the previous step, you will need to patiently wait for Google to prepare your data for download. This step involves Google completing the necessary tasks to create an archive of your Google Photos that can be downloaded to your PC.
The time it takes for Google to prepare your data depends on various factors, including the size of your photo library and the current processing load on Google’s servers. It’s important to note that for large photo collections, the preparation process may take a significant amount of time, ranging from several hours to even a few days.
While you wait for Google to prepare your data, it’s advisable to keep an eye on your email inbox. Google Takeout will send you a notification email once your export is ready for download. It’s essential to check your inbox regularly and also check your spam folder in case the email gets filtered.
During this waiting period, you can continue using your Google account and access other services as usual. The export process occurs in the background, allowing you to carry out your regular activities without interruption.
It’s important to remain patient and resist the urge to interrupt or restart the export process. Disrupting the process may lead to incomplete or corrupted data, resulting in an unsuccessful download. It’s best to let Google complete the preparation tasks at its own pace to ensure a successful and smooth retrieval of your photos.
Now that you have completed the necessary steps and initiated the export process, it’s time to be patient and wait for Google to finish preparing your data. Once you receive the notification email, we can proceed to the final step and download your photos to your PC.
Step 7: Download Your Photos as a ZIP File
After receiving the notification email from Google Takeout stating that your export is ready, you can proceed to download your photos as a ZIP file. This step allows you to retrieve your entire Google Photos collection and save it to your PC for safekeeping or further usage.
Open the email notification received from Google Takeout and click on the provided link. This will take you to the Google Takeout download page specific to your export.
On the download page, you will see a list of the data you requested to export. Locate the “Photos” section and click on the “Download” button next to it.
Google Takeout will then compress all your Google Photos into a ZIP file. The time it takes to create the ZIP file may vary depending on the size of your photo library. Larger collections may require more time, so it’s important to be patient during this process.
Once the ZIP file is ready, a download prompt will appear on your screen. You can choose to save the file directly to your preferred location on your PC or specify a different directory if desired.
It’s advisable to choose a location on your PC where there is sufficient storage space to accommodate the ZIP file. Also, ensure that you have a stable internet connection during the download to avoid any interruptions or incomplete downloads.
Click on the “Save” or “Download” button to commence the download process. The time it takes to download the ZIP file will depend on your internet connection speed and the size of the file. Larger collections may take some time, so it’s essential to be patient and let the download complete.
Once the download is finished, you will have successfully obtained a ZIP file containing all your Google Photos. This ZIP file serves as a backup of your entire photo collection from Google Photos and can be accessed anytime on your PC.
Now that you have completed the download process, it’s time to move on to the final step and extract the contents of the ZIP file on your PC.
Step 8: Extract the ZIP File on Your PC
After successfully downloading the ZIP file containing your Google Photos, the final step is to extract its contents on your PC. By extracting the ZIP file, you will have access to all your photos in their original format.
Locate the downloaded ZIP file on your PC. Depending on your browser settings, it may be saved in the default Downloads folder or in the location you specified during the download process.
Right-click on the ZIP file and select an extraction option from the context menu. You can choose to “Extract Here” to extract the files in the current location, or you can select “Extract to…” and specify a different folder of your choice.
Once you have selected the extraction option, the ZIP file contents will be extracted, and you will see the individual photo files appear in the designated folder. The extraction process may take a few moments, especially if the ZIP file contains a large number of photos.
After the extraction is complete, you can open the folder containing the extracted photos and browse through your entire Google Photos collection on your PC. The photos will be saved in their original file format and resolution, allowing you to access and use them as needed.
It’s worth noting that the extracted photos will retain the same file names as they had in your Google Photos library. This can be helpful for organizing and searching for specific photos, as you may already be familiar with their original file names.
With the photos extracted on your PC, you can now easily manage, edit, or back them up using your preferred photo management software or storage solutions.
Congratulations! You have successfully downloaded and extracted all your photos from Google Photos to your PC. Your beloved memories are now safely stored and easily accessible on your local device.
Conclusion
Downloading all your photos from Google Photos to your PC is a straightforward process that ensures you have a backup of your cherished memories and gives you the flexibility to access and manage your photo collection offline. Through the use of Google Takeout, you can export your entire Google Photos library in just a few simple steps.
In this article, we have guided you through the step-by-step process of downloading all your photos from Google Photos to your PC. We started by logging in to your Google account and accessing Google Photos. Then, we opened Google Takeout and selected Google Photos as the data to export. After customizing the download options, we initiated the export process and patiently waited for Google to prepare our data. Once the export was ready, we downloaded our photos as a ZIP file and extracted the contents on our PC.
By following these steps, you have successfully retrieved all your photos from Google Photos and stored them on your local device. This gives you peace of mind knowing that your precious memories are securely backed up and readily available for future use.
Remember, it’s always a good practice to regularly create backups of your digital assets, including your photo collection. By having a local copy of your photos, you can protect against accidental deletions, account issues, or unexpected data loss.
Now that you have completed the process of downloading and extracting your photos, you can enjoy the convenience and control of managing your collection offline. Whether you want to organize your photos into folders, edit them using specialized software, create photo albums, or share them with loved ones, having the entire collection on your PC gives you the freedom to do so.
Continue capturing beautiful moments, and remember to regularly update your local photo backups to ensure that your collection remains safe and accessible. By taking these proactive steps, you can preserve your memories for years to come.


![20 Best Productivity Apps to Get Things Done [PC & Mac]](https://robots.net/wp-content/uploads/2020/05/write-593333_1920-300x177.jpg)