Introduction
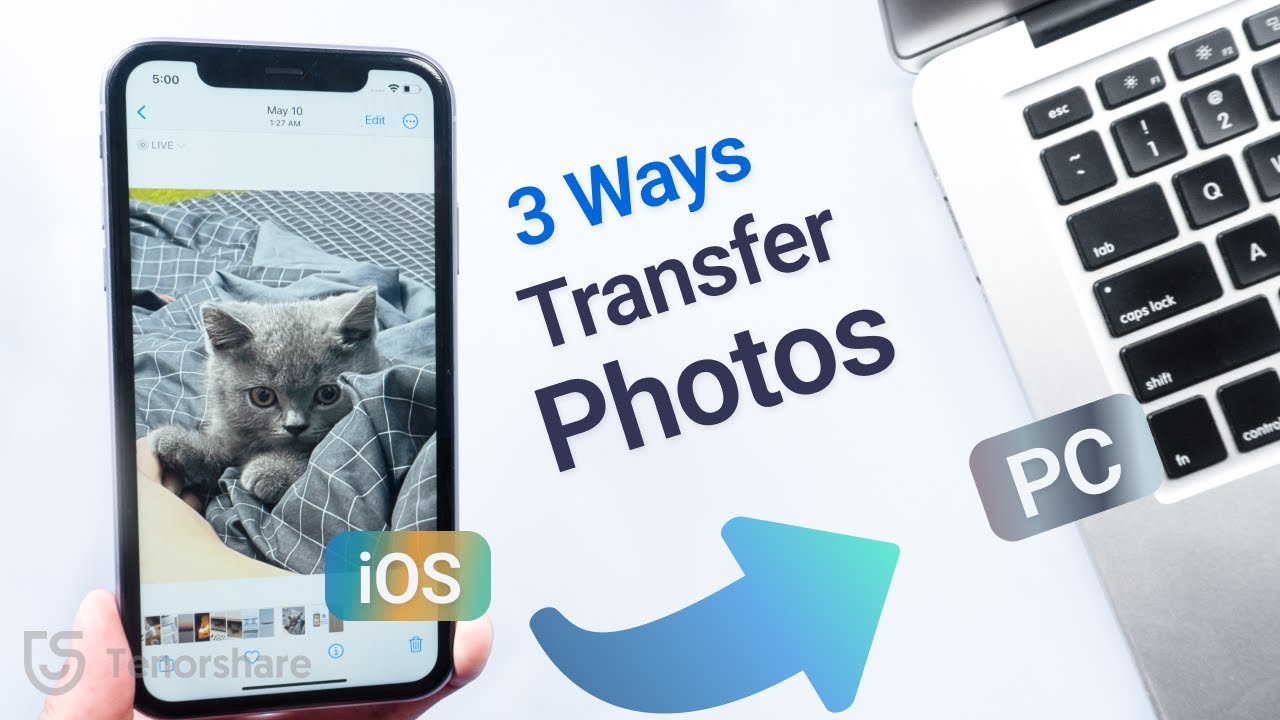
Downloading pictures from your phone to your computer is a common task that many of us need to do. Whether you want to save precious memories, transfer photos for editing, or simply clear up space on your phone, knowing how to download pictures efficiently can be incredibly useful. In this article, we will explore various methods to download pictures from your phone to your computer.
With advancements in technology, there are multiple options available for transferring pictures between devices. The most common methods include using a USB cable, Bluetooth, cloud services, and memory cards. Each method has its own set of advantages and requirements. By understanding the different options, you can choose the most suitable method that aligns with your needs and preferences.
The process of downloading pictures will vary depending on the operating system of your phone and computer. Whether you have an iPhone or an Android device, a Windows PC or a Mac, the methods discussed in this article can be adapted to work with your specific setup.
In the following sections, we will walk you through each method step-by-step, outlining the necessary connections, software or apps required, and any additional tips or troubleshooting advice. By the end of this article, you will be equipped with the knowledge to effortlessly download pictures from your phone to your computer, regardless of the devices you own.
So, let’s dive in and explore these different methods to download pictures from your phone to your computer, and find the one that suits you best!
Connecting Your Phone to Your Computer
Before you can start downloading pictures from your phone to your computer, you need to establish a connection between the two devices. There are a few different ways to accomplish this, depending on the type of phone and computer you have:
- USB Cable: The most common method is to use a USB cable to connect your phone to your computer. Most modern smartphones come with a USB cable that can be plugged into a USB port on your computer. Once connected, your phone should prompt you to select a USB connection mode. Choose the “File Transfer” or “MTP” option to enable file transfer between your phone and computer.
- Bluetooth: If your computer has built-in Bluetooth capability and your phone supports Bluetooth file transfer, you can connect the two devices wirelessly. Enable Bluetooth on both your phone and computer, and pair them by following the on-screen instructions. Once connected, you can transfer pictures between your devices using the Bluetooth file transfer feature.
- Cloud Services: Another option is to use cloud services like Google Drive, Dropbox, or iCloud to transfer pictures from your phone to your computer. Install the respective cloud service app on your phone and computer, and sign in with the same account. Upload the pictures from your phone to the cloud service, and access them on your computer through the cloud service’s website or desktop app.
- Memory Card: If your phone has a removable memory card (SD card), you can remove it from your phone and insert it into a card reader on your computer. Most computers have built-in card readers, but if yours doesn’t, you can easily find external card readers that connect via USB. Once the memory card is inserted, your computer should recognize it as a removable storage device and allow you to access the pictures.
Choose the method that is most convenient for you based on the available resources and compatibility of your devices. With the connection established, you are now ready to download pictures from your phone to your computer using the method of your choice.
How to Download Pictures Using a USB Cable
Using a USB cable is one of the most straightforward and reliable methods for transferring pictures from your phone to your computer. Follow these steps to download pictures using a USB cable:
- Connect your phone to your computer using the USB cable that came with your phone. Plug one end of the cable into the USB port on your computer and the other end into the charging port of your phone.
- On your phone, you should see a notification related to USB connection. Swipe down from the top of the screen to access the notification panel and tap on the notification that says, “USB charging this device”.
- A menu will appear on your phone screen with options for USB connection modes. Choose the option that says, “File Transfer”, “Media device (MTP)”, or something similar. This will enable your computer to access and transfer files from your phone.
- On your computer, open the “File Explorer” (Windows) or “Finder” (Mac) application. Your phone should appear as a connected device, displayed with its name or model number.
- Double-click on the phone’s icon or name to open it and navigate to the folder where your pictures are stored. This could be the “DCIM” folder or a “Pictures” folder.
- Select the pictures you want to download by clicking and dragging a selection box around them or holding down the Ctrl (Windows) or Command (Mac) key and clicking on each picture individually.
- Right-click on the selected pictures and choose the “Copy” option. Alternatively, you can use the Ctrl+C (Windows) or Command+C (Mac) keyboard shortcut.
- Navigate to the desired location on your computer where you want to save the pictures, such as the “Pictures” folder.
- Right-click in the destination folder and choose the “Paste” option. Alternatively, you can use the Ctrl+V (Windows) or Command+V (Mac) keyboard shortcut. The selected pictures will be copied from your phone to your computer.
- Once the transfer is complete, you can safely disconnect your phone from the USB cable by unplugging it from both ends.
By following these steps, you can easily download pictures from your phone to your computer using a USB cable. This method allows for direct and efficient file transfer, making it a popular choice for many users.
How to Download Pictures Using Bluetooth
If your phone and computer both support Bluetooth file transfer, you can transfer pictures wirelessly without the need for a USB cable. Here’s how to download pictures using Bluetooth:
- Make sure that Bluetooth is enabled on both your phone and computer. On your phone, go to the settings and look for the Bluetooth option. On your computer, find the Bluetooth settings in the system preferences or control panel.
- Pair your phone and computer by following the on-screen instructions. Typically, you’ll need to select your computer from the list of available devices on your phone, and enter a passcode or confirm a pairing request on your computer.
- Once paired, open the gallery or photos app on your phone and select the pictures you want to transfer. Look for a “Share” or “Send” option, and then choose the “Bluetooth” option when prompted.
- Your phone will now search for nearby Bluetooth devices. Select your computer from the list of available devices. If you don’t see your computer, make sure that Bluetooth is enabled and that your computer is visible to other Bluetooth devices.
- On your computer, you may receive a notification asking for permission to receive files via Bluetooth. Accept the request to initiate the file transfer.
- In the file transfer window that appears on your computer, choose the destination folder where you want to save the pictures. You can create a new folder or select an existing one.
- Click on the “Receive” or “Accept” button to start receiving the pictures from your phone. The pictures will be transferred wirelessly via Bluetooth.
- Once the transfer is complete, you can disconnect the Bluetooth connection between your phone and computer.
It’s important to note that Bluetooth file transfer may not be as fast as using a USB cable, especially when transferring a large number of pictures or files. However, it provides convenience and eliminates the need for physical connections. Keep in mind that the range of Bluetooth is limited, usually up to about 30 feet, so ensure that your phone and computer are within the Bluetooth range during the transfer process.
By following these steps, you can successfully download pictures from your phone to your computer using Bluetooth. This method is particularly useful when you don’t have a USB cable readily available or prefer a wireless transfer option.
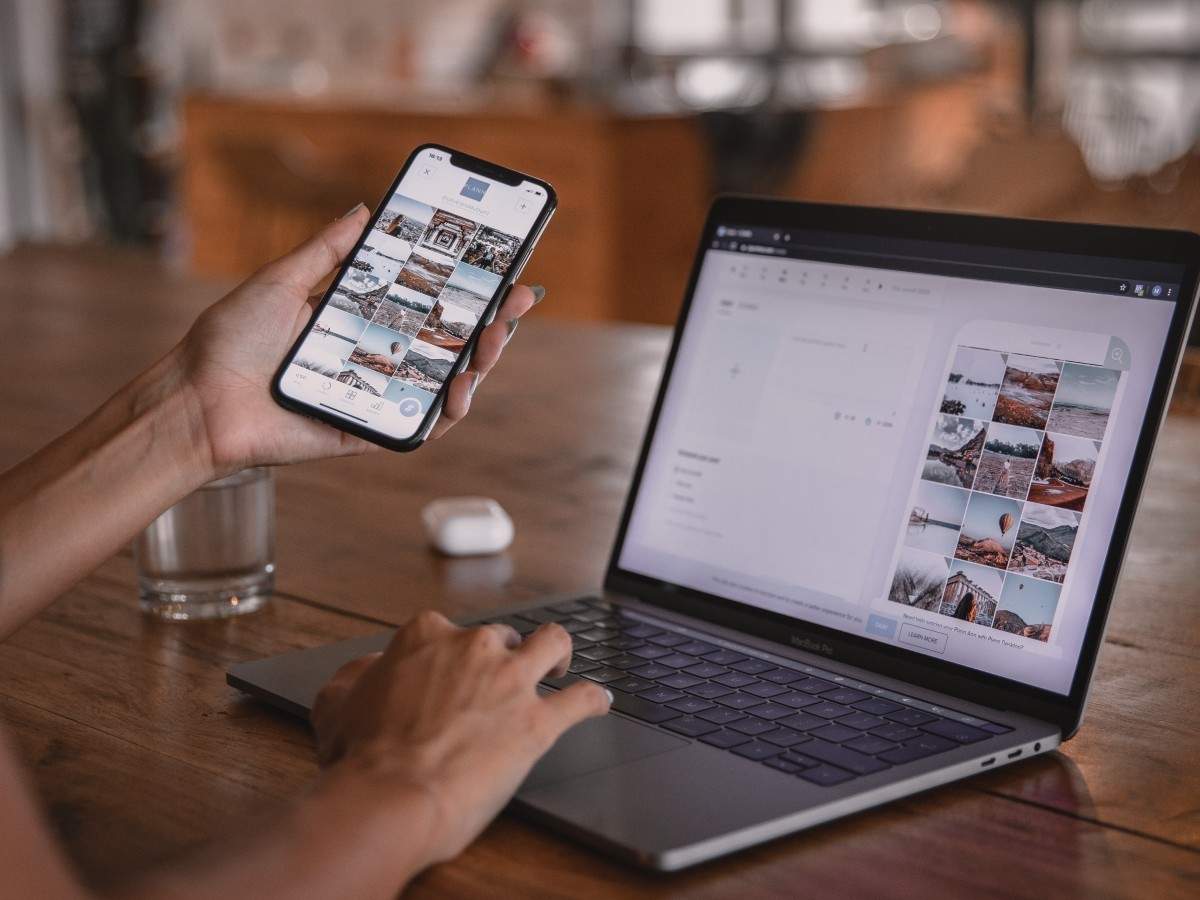
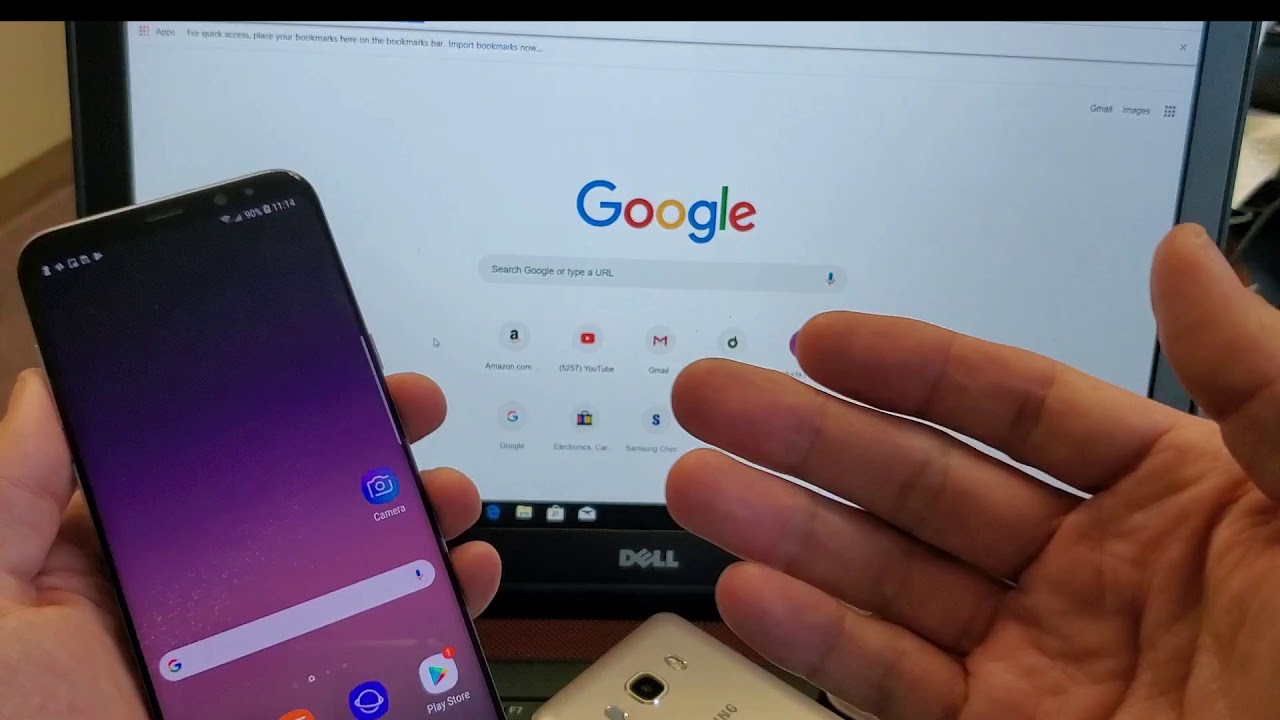
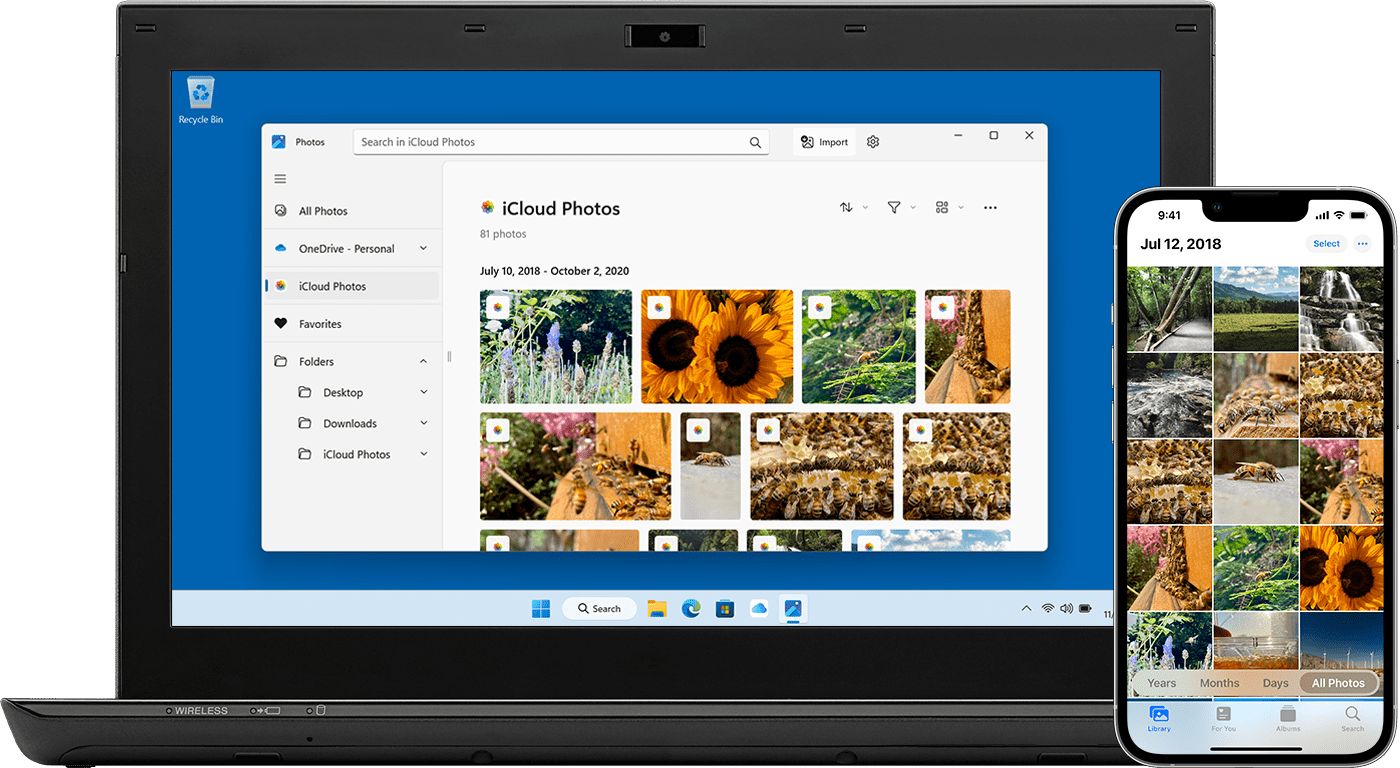
How to Download Pictures Using a Cloud Service
Cloud services offer a convenient way to download pictures from your phone to your computer, as they provide storage and syncing capabilities across multiple devices. Here’s how to download pictures using a cloud service:
- Sign up for a cloud service of your choice, such as Google Drive, Dropbox, or iCloud. Install the respective app on your phone from the app store and create an account. Also, ensure that you have the desktop app or access to the cloud service’s website on your computer.
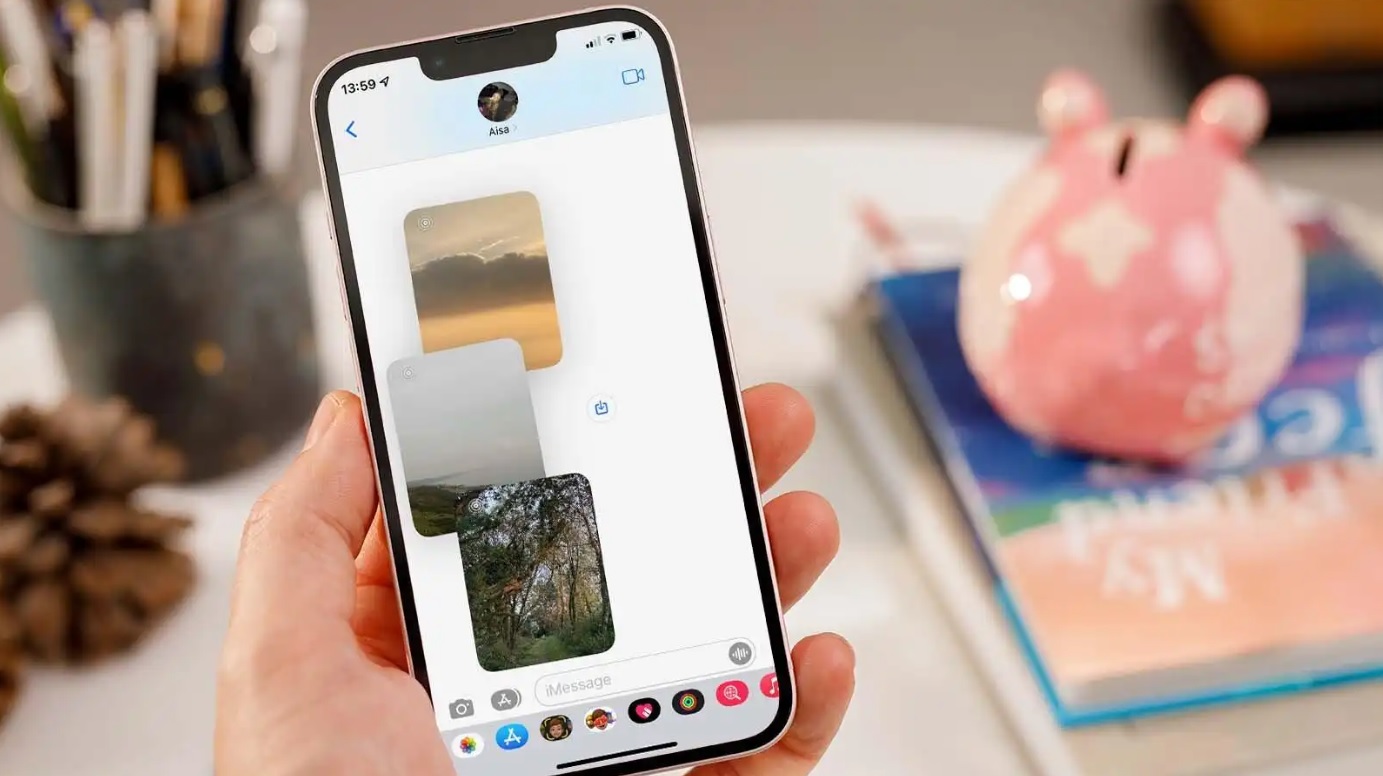
- On your phone, open the gallery or photos app and select the pictures you want to download. Look for the “Share” or “Send” option, and then choose the cloud service app from the available options.
- Depending on the app you’re using, you may have the option to upload the pictures directly or share them as a link. Choose the appropriate upload option to transfer the pictures to your cloud storage.
- Once the upload is complete, open the cloud service app or website on your computer and sign in using the same account you used on your phone.
- Navigate to the folder where you uploaded the pictures and select the pictures you want to download. You can typically use a download or save option within the cloud service app or website to save the pictures to your computer.
- Choose the destination folder on your computer where you want to save the pictures. This can be your “Downloads” folder or a specific folder of your choice.
- Start the download process, and the pictures will be downloaded from the cloud service to your computer.
Using a cloud service allows for seamless synchronization between your phone and computer, making it easy to access your pictures from anywhere. Additionally, it offers the advantage of storing your pictures in the cloud, providing backup and ensuring that your valuable memories are safe.
Remember to consider the storage limitations of your cloud service provider, as well as any potential fees for exceeding storage limits. Regularly review and manage your cloud storage to ensure that you have enough space for new uploads.
By following these steps, you can effectively download pictures from your phone to your computer using a cloud service. This method offers flexibility, accessibility, and data backup, making it a popular choice for many users.
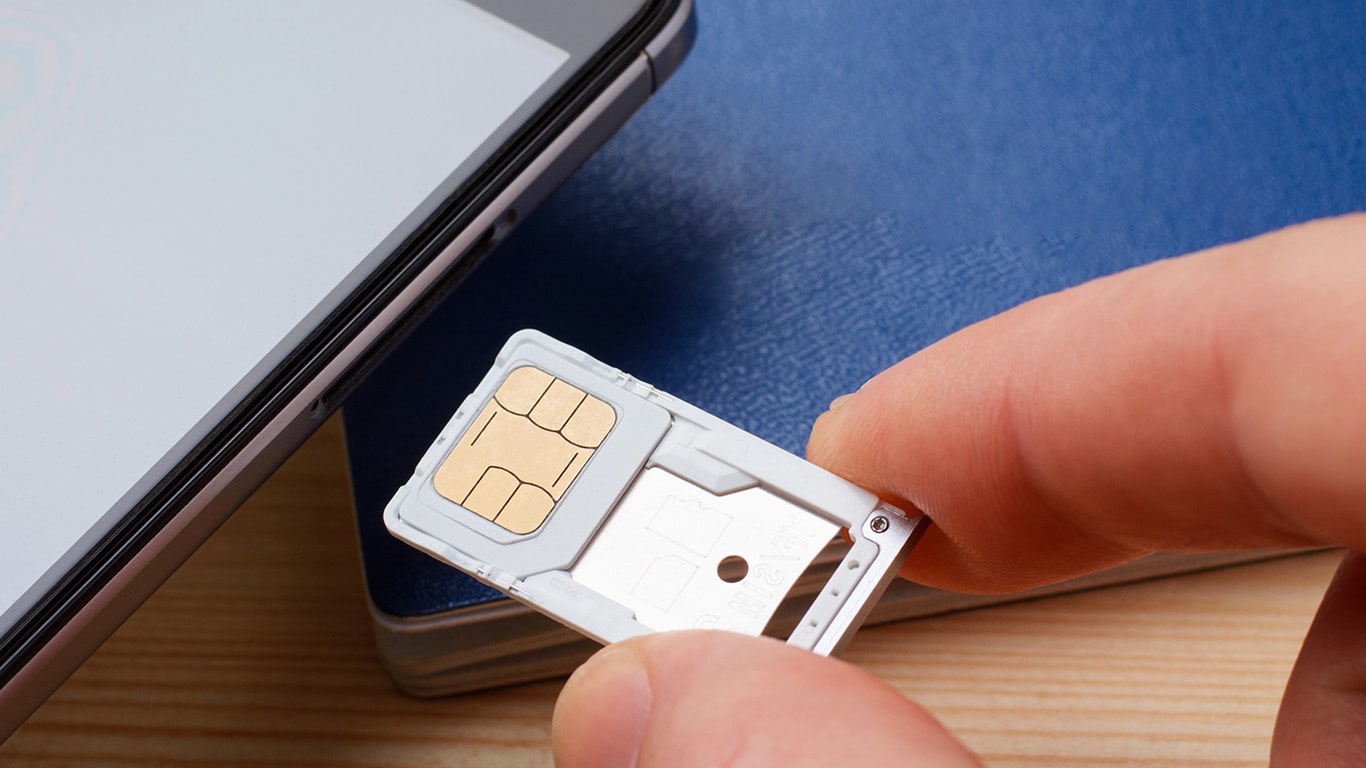
How to Download Pictures Using a Memory Card
If your phone has a removable memory card (SD card), you can easily download pictures from your phone to your computer using a memory card. Here’s how:
- Turn off your phone and locate the memory card slot. This is usually located on the side or back of the phone and may be covered by a small flap.
- Remove the memory card from your phone by gently pushing it in and then pulling it out of the slot. Be careful not to apply excessive force or damage the card.
- Insert the memory card into the card reader slot on your computer. Most computers have built-in card readers, but if yours doesn’t, you can use an external card reader that connects via USB.
- Your computer should recognize the memory card as a removable storage device. Open the “File Explorer” (Windows) or “Finder” (Mac) application to access the files on the memory card.
- Navigate to the folder where your pictures are stored. This can vary depending on your phone’s file structure, but commonly, the pictures are located in a “DCIM” or “Pictures” folder.
- Select the pictures you want to download by clicking and dragging a selection box around them or holding down the Ctrl (Windows) or Command (Mac) key and clicking on each picture individually.
- Right-click on the selected pictures and choose the “Copy” option. You can also use the Ctrl+C (Windows) or Command+C (Mac) keyboard shortcut.
- Navigate to the desired location on your computer where you want to save the pictures, such as the “Pictures” folder.
- Right-click in the destination folder and choose the “Paste” option. Alternatively, you can use the Ctrl+V (Windows) or Command+V (Mac) keyboard shortcut. The selected pictures will be copied from the memory card to your computer.
- Once the transfer is complete, you can safely remove the memory card from the card reader slot on your computer. Eject it properly to avoid any data corruption.
Using a memory card for transferring pictures allows for quick and direct access to your photos without the need for cables or wireless connections. It is a reliable method, especially if you have a large number of pictures to transfer or if your phone does not support other transfer options.
Remember to handle the memory card with care, keep it in a safe place, and ensure that you properly insert and remove it to prevent any physical damage or data loss.
By following these steps, you can effortlessly download pictures from your phone to your computer using a memory card. This method is ideal for users who prefer a straightforward and reliable transfer method.
Troubleshooting Common Issues
While downloading pictures from your phone to your computer is generally a straightforward process, there are a few common issues that you may encounter. Here are some troubleshooting tips to help you overcome these challenges:
- USB connection issues: If your computer does not recognize your phone when connected via USB, try using a different USB cable or port. Ensure that you have selected the appropriate USB connection mode on your phone, such as “File Transfer” or “MTP”. Also, make sure that your computer has the necessary drivers installed for your phone.
- Bluetooth pairing problems: If you are unable to pair your phone and computer via Bluetooth, make sure both devices have Bluetooth enabled and are within close proximity to each other. Restarting both devices and clearing the Bluetooth cache on your phone can also help resolve pairing issues.
- Cloud service sync errors: If your pictures are not syncing properly between your phone and computer through a cloud service, ensure that you have a stable internet connection. Check the settings of the cloud service app to ensure that it is set to sync or upload pictures automatically. Restarting the app or signing out and signing back in may also resolve sync errors.
- Memory card read errors: If your computer does not recognize the memory card or is unable to read the files on it, try cleaning the card and the card reader slot. Inspect the card for any physical damage, and if necessary, try inserting it into a different card reader or computer. In some cases, formatting the memory card may be required, but be aware that this will erase all data on the card.
- Insufficient storage space: If you are unable to transfer pictures due to low storage space on your phone or computer, delete unnecessary files or transfer them to an external storage device. You can also free up space by optimizing your photo library, removing duplicate or blurry pictures.
If you encounter any other issues or errors during the download process, refer to the user manual of your phone or computer, or seek support from the manufacturer or service provider.
Remember to always keep your devices updated with the latest software versions, as updates often include bug fixes and improvements that can resolve compatibility issues.
By following these troubleshooting tips, you can overcome common issues and ensure a smooth and hassle-free experience when downloading pictures from your phone to your computer.
Conclusion
Downloading pictures from your phone to your computer is a simple yet essential task that can help you preserve your precious memories, free up space on your phone, and edit your photos more conveniently. Throughout this article, we have explored various methods for transferring pictures, including using a USB cable, Bluetooth, cloud services, and memory cards.
By following the instructions outlined in this article, you can choose the method that best suits your needs and the devices you own. Whether you prefer the direct connection of a USB cable, the wireless convenience of Bluetooth, the seamless synchronization of cloud services, or the simplicity of a memory card, each method offers its own benefits and capabilities.
Remember to consider the compatibility of your phone and computer, ensure that you have the necessary cables and drivers, and take care to properly connect and disconnect your devices to prevent any damage.
In addition, troubleshooting common issues such as USB connection problems, Bluetooth pairing errors, sync issues with cloud services, memory card read errors, and insufficient storage space can help you overcome any obstacles that may arise during the download process.
By mastering the art of downloading pictures from your phone to your computer, you gain greater control over your digital assets and enjoy the freedom to organize, edit, and share your photos with ease.
So, go ahead and start downloading those cherished moments from your phone to your computer using the method of your choice. With these methods and troubleshooting tips at your disposal, you’ll be able to effortlessly transfer your pictures and keep your digital memories safe and accessible.