Introduction
When it comes to personalizing your iPhone, a custom ringtone can make all the difference. Instead of sticking with the default tones, why not choose a unique sound that reflects your personality or favorite song? With a few simple methods, you can easily download and create your own ringtones for your iPhone.
In this article, we will explore five different methods to download and create ringtones for your iPhone. Whether you prefer pre-made tones from the iTunes Store, want to create custom ringtones using iTunes, or are looking to download ringtones from websites, we’ve got you covered. Additionally, we’ll show you how to use ringtone maker apps and sync ringtones using GarageBand.
With these methods at your disposal, you’ll have a wide range of options to choose from and find the perfect ringtone that suits your style and preferences. No more hearing the same generic sound as everyone else – stand out from the crowd with your own unique ringtone!
Before we dive into the different methods, it’s important to note that all the methods mentioned in this article are compatible with the latest versions of iOS and iTunes. So, whether you have the latest iPhone or are using an older model, you can still follow along and customize your ringtone.
Now, let’s get started and explore the various ways to download and create ringtones for your iPhone!
Method 1: Downloading Ringtones from the iTunes Store
If you’re looking for a quick and hassle-free way to get ringtones for your iPhone, the iTunes Store is a great option. Here’s how you can download ringtones directly from the iTunes Store:
- Launch the iTunes Store app on your iPhone.
- Tap on the “More” tab at the bottom and select “Tones”.
- Browse through the available ringtone options or use the search function to find a specific song or artist.
- Once you’ve found a ringtone you like, tap on it to preview it. If you’re satisfied, tap the price button to purchase and download the ringtone. Some ringtones are free, while others may have a cost associated with them.
- After the download is complete, the ringtone will be automatically added to your iPhone’s ringtone library.
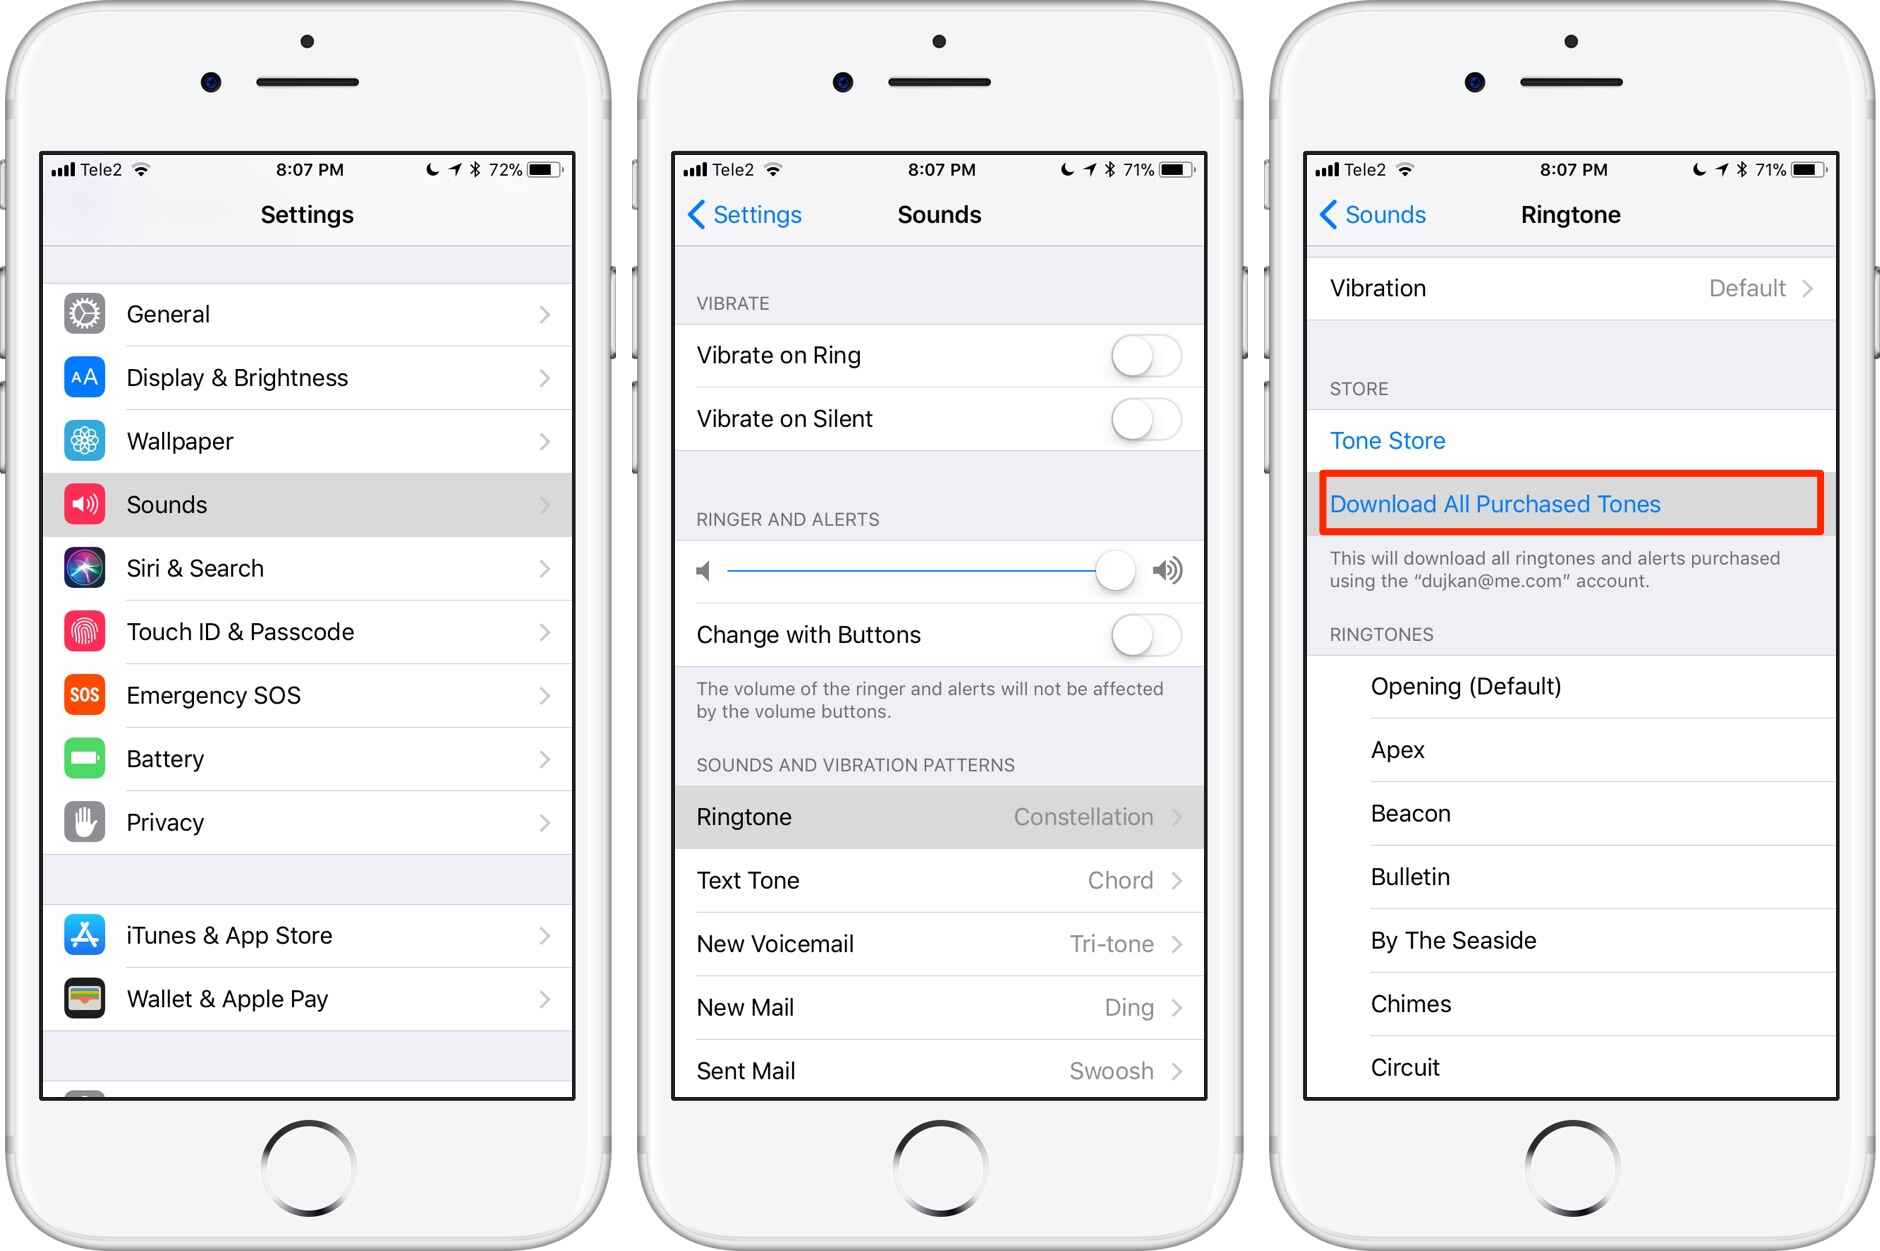
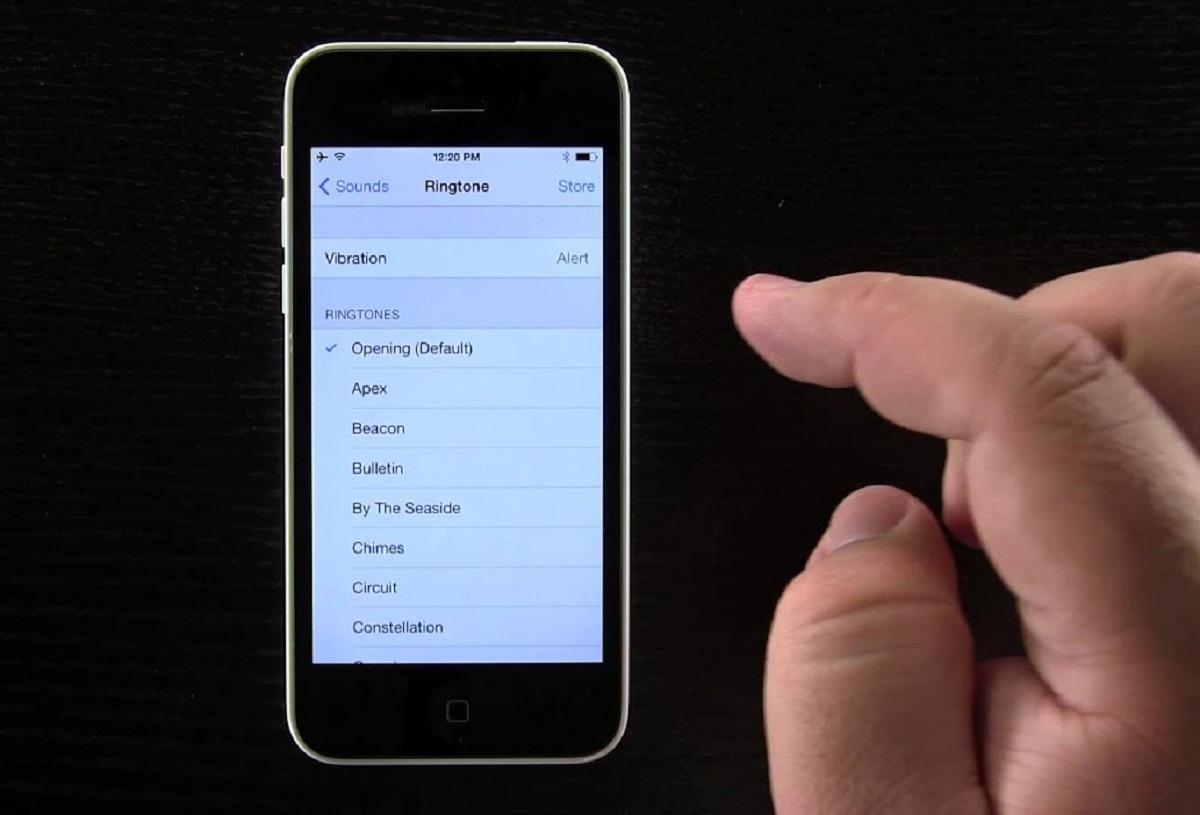
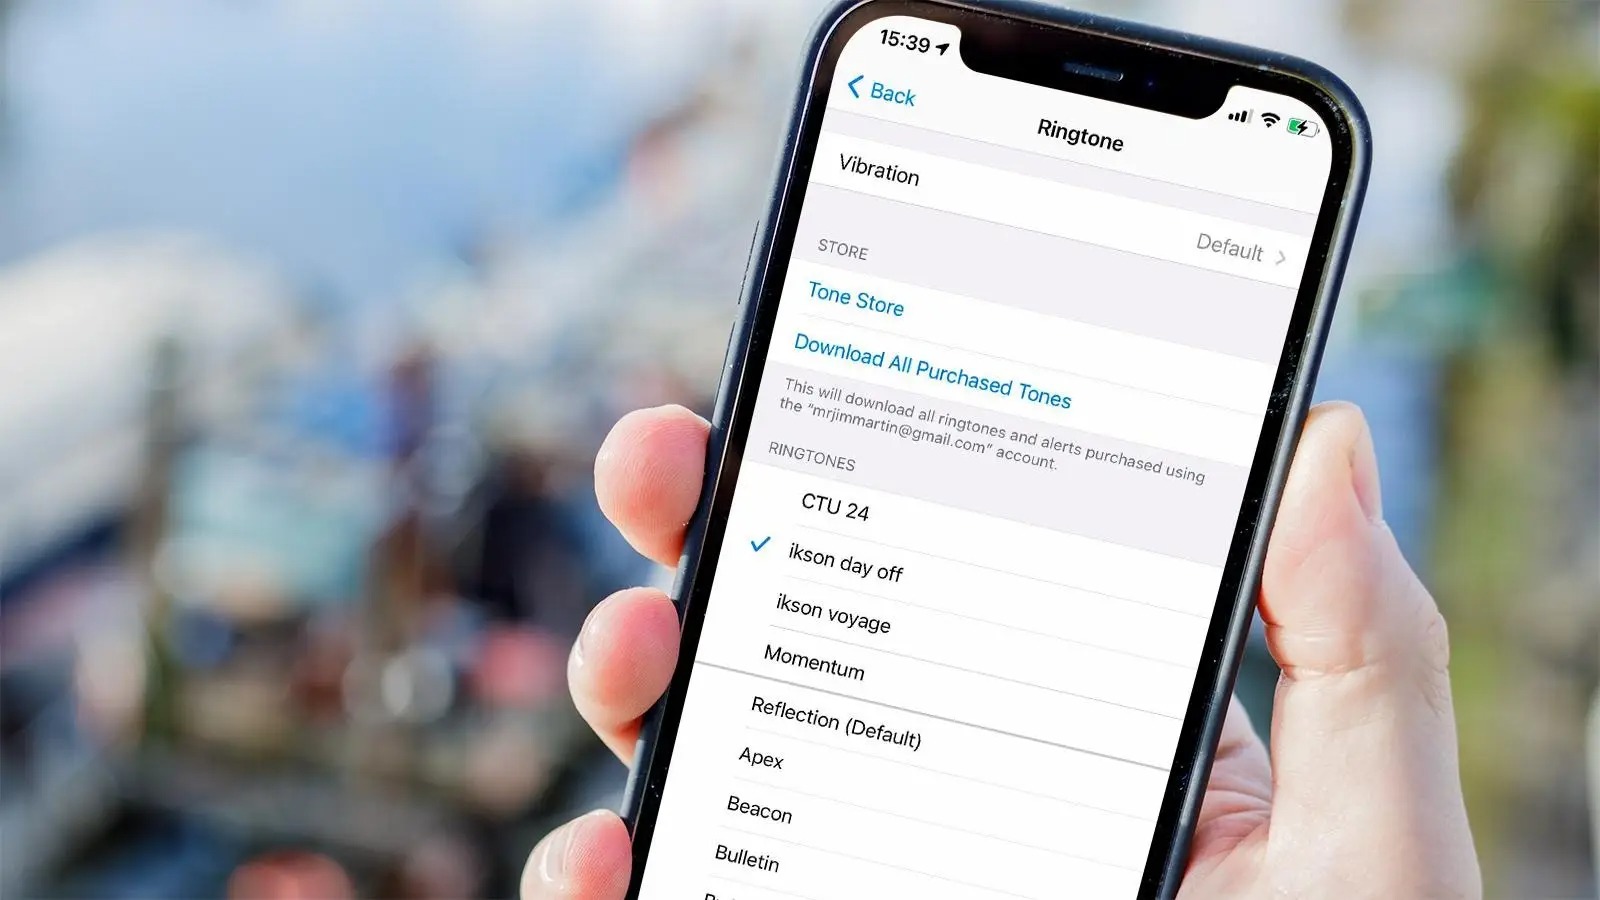
- To set the downloaded ringtone as your default ringtone, go to Settings > Sounds & Haptics > Ringtone and select the desired ringtone from the list.
Downloading ringtones from the iTunes Store is a convenient option as it allows you to easily access a variety of tones without the need for additional apps or software. However, keep in mind that the selection may be limited, and you may not find the exact ringtone you’re looking for.
Additionally, some ringtones may have a cost associated with them, so make sure to check the price before purchasing. If you’re looking for free options, you can filter the search results to show only the free ringtones.
Overall, downloading ringtones from the iTunes Store is a straightforward method that provides a wide range of options for customizing your iPhone’s ringtone. Whether you prefer popular songs or unique tones, you’re bound to find something that suits your style.
Method 2: Creating Custom Ringtones using iTunes
If you have a specific song or audio clip that you’d like to turn into a ringtone, you can easily create custom ringtones using iTunes. Follow these steps to create your own personalized ringtones:
- Launch iTunes on your computer and select the song or audio file you want to use as a ringtone.
- Right-click on the selected file and choose “Get Info” from the drop-down menu.
- In the pop-up window, navigate to the “Options” tab.
- Specify the start time and end time for the segment of the song you want to use as your ringtone. Keep in mind that iPhone ringtones are limited to 30 seconds in length.
- Click “OK” to save the changes.
- Once you’ve set the start and end times for your ringtone, go to “File” in the iTunes menu and select “Convert” or “Create New Version”. From the options that appear, choose “AAC Version”.
- A copy of the song with the specified time segment will be created in your iTunes library.
- Right-click on the newly created song and select “Show in Finder” (Mac) or “Show in File Explorer” (Windows).
- Rename the file extension from .m4a to .m4r. This converts the audio file to the required ringtone format.
- Double-click on the renamed file to add it back to your iTunes library under the Tones section.
- Connect your iPhone to your computer and sync it with iTunes.
- Go to the Tones section of your iPhone in iTunes and check the box next to “Sync Tones”.
- Click “Sync” to transfer the custom ringtone from iTunes to your iPhone.
- On your iPhone, go to Settings > Sounds & Haptics > Ringtone and select your newly created custom ringtone.
Creating custom ringtones using iTunes allows you to personalize your iPhone with your favorite songs or audio clips. You have full control over the specific segment of the song you want to use, giving you a unique and tailored ringtone experience.
Remember that you need to keep the ringtone length under 30 seconds. Also, ensure that you have the latest version of iTunes and that your iPhone is synced with your computer to successfully transfer the custom ringtone.
With iTunes, you can unleash your creativity and make your iPhone stand out with custom ringtones that perfectly match your style and preferences.
Method 3: Downloading Ringtones from Websites
If you’re looking for a wide selection of ringtones, downloading from websites can provide you with a plethora of options. Here’s how you can download ringtones from websites and add them to your iPhone:
- Open your web browser on your computer and search for websites that offer free or paid ringtones for iPhones.
- Choose a reputable website that offers a variety of ringtones and navigate to the desired ringtone category or search for a specific ringtone.
- Once you’ve found a ringtone you like, click on the download button. The ringtone file should be saved to your computer.
- Connect your iPhone to your computer using a USB cable.
- Open iTunes on your computer and select your iPhone from the device list.
- Go to the “Tones” section of your iPhone in iTunes.
- Drag and drop the downloaded ringtone file from your computer into the “Tones” section in iTunes. Alternatively, you can also use the “File” > “Add File to Library” option to add the ringtone.
- Once the ringtone is added to the “Tones” section, click on the “Sync” button to transfer the ringtone to your iPhone.
- On your iPhone, go to Settings > Sounds & Haptics > Ringtone and select the downloaded ringtone from the list.
Downloading ringtones from websites gives you a vast selection of options, including popular songs, sound effects, and even TV show or movie theme tunes. However, it’s important to be cautious when downloading from websites and ensure that they are trustworthy to avoid any potential security risks.
Keep in mind that some websites may offer both free and paid ringtones. If you choose a paid ringtone, make sure to follow the necessary payment procedures as guided by the website. On the other hand, free ringtones may require you to create an account or go through additional steps before downloading.
With the ease of downloading ringtones from websites, you can find unique and personalized tones that truly represent your preferences and add a touch of individuality to your iPhone’s ringtone library.
Method 4: Using Ringtone Maker Apps
If you prefer a more hands-on approach to creating custom ringtones, using ringtone maker apps can be a fun and convenient option. These apps allow you to select and edit specific sections of songs or audio files to create personalized ringtones. Here’s how you can use ringtone maker apps to create your own unique tones:
- Go to the App Store on your iPhone and search for “ringtone maker” or “ringtone creator” apps.
- Choose a popular and reputable app that suits your preferences and download it to your iPhone.
- Open the ringtone maker app and grant any necessary permissions for accessing your music library or microphone.
- Select the song or audio file you want to use as a ringtone from your iPhone’s music library or record a new audio clip using the app’s built-in recording feature.
- Using the app’s interface, adjust the start and end times of the segment you want to use as a ringtone. Some apps provide additional features like fade-in, fade-out, and volume adjustments to further customize your ringtone.
- Once you’re satisfied with the selected segment, save the edited audio file as a ringtone within the app.
- The ringtone will be automatically added to your iPhone’s ringtone library.
- Go to Settings > Sounds & Haptics > Ringtone and select the newly created custom ringtone from the list.
Ringtone maker apps offer a user-friendly and intuitive interface that makes it convenient to create custom ringtones directly on your iPhone. Whether you want to use a snippet of your favorite song or a unique audio recording, these apps provide the tools to make it happen.
It’s important to note that some ringtone maker apps may have additional features, such as downloading pre-made ringtones from their library or sharing your created ringtones with others. Explore the various options available in the app to discover even more customization possibilities.
With ringtone maker apps, you can unleash your creativity and have full control over your iPhone’s ringtone. Create personalized tones that reflect your taste and stand out from the crowd.
Method 5: Syncing Ringtones using GarageBand
If you’re looking for a more advanced way to create custom ringtones and have more control over the editing process, using GarageBand can be a great option. GarageBand is a powerful music production tool that allows you to create and edit audio files. Here’s how you can use GarageBand to sync custom ringtones to your iPhone:
- Download and install the GarageBand app from the App Store if you don’t already have it on your iPhone.
- Open GarageBand and create a new project by selecting an instrument or choosing an empty project.
- Tap the “+” button to create a new track. Choose the “Audio Recorder” option.
- Select the “Microphone” option and tap “Create” to start a new recording.
- Record the audio you want to use as a ringtone or import an existing audio file by tapping the loop icon at the top right corner and selecting “Files”.
- Trim and edit the audio file as desired using the editing tools in GarageBand. You can cut, crop, adjust volume, and add effects to create your unique ringtone.
- Once you’re satisfied with the editing, tap the arrow icon in the top left corner to go back to the main screen.
- Tap and hold on the audio region you just created and select “Share” from the menu.
- Choose the “Ringtone” option in the sharing menu.
- Enter a name for your custom ringtone and tap “Export”.
- GarageBand will generate the ringtone file and save it to your iPhone’s ringtone library.
- Go to Settings > Sounds & Haptics > Ringtone and select your newly created custom ringtone from the list.
Syncing ringtones using GarageBand gives you complete control over the editing process, allowing you to create highly customized and professional-sounding ringtones. With the wide range of editing tools available, you can experiment with different effects and compositions to bring your creativity to life.
GarageBand also provides additional features like virtual instruments, loops, and MIDI support, allowing you to create complex and unique ringtones using various sounds and samples.
It’s important to note that GarageBand offers many advanced features and may take some time to navigate through the app and get familiar with its functionalities. However, once you’re comfortable with the app, it opens up endless possibilities for creating personalized ringtones that truly reflect your style.
With GarageBand, you can take your ringtone customization to the next level and create truly remarkable sounds for your iPhone!
Conclusion
Customizing your iPhone’s ringtone is a simple and fun way to add a personal touch to your device. In this article, we explored five different methods to download and create ringtones for your iPhone.
We started by discussing how to download ringtones from the iTunes Store, which provides a convenient option with a wide range of pre-made tones to choose from. We then explored the process of creating custom ringtones using iTunes, giving you the freedom to select specific segments of songs or audio files.
Next, we discussed the option of downloading ringtones from websites, which offers a vast selection, including popular songs and sound effects. We also explored the use of ringtone maker apps, which allow you to create personalized ringtones directly on your iPhone, giving you full control over the editing process.
Lastly, we introduced GarageBand as a more advanced method for creating and syncing custom ringtones. With its powerful editing tools and features, GarageBand provides endless possibilities for crafting unique and professional-sounding tones.
Remember to consider the pros and cons of each method and choose the one that best suits your needs and preferences. Whether you prefer simplicity or want to delve into more advanced editing, there’s a method that will allow you to customize your iPhone’s ringtone to reflect your style.
Now that you’re equipped with the knowledge and tools to download and create ringtones for your iPhone, unleash your creativity and make your device truly your own with a unique and personalized ringtone!