Introduction
Have you ever wanted to set a unique song as your ringtone on your iPhone? While Apple provides a range of default ringtones, they may not always reflect your personal style or taste. Thankfully, with a few simple steps, you can easily download a song and convert it into a custom ringtone for your iPhone. In this guide, we will walk you through the process to help you set the perfect song as your iPhone ringtone.
Setting a custom ringtone allows you to personalize your iPhone and make it stand out from the crowd. Whether it’s your favorite song, a catchy tune, or a sound effect, having a unique ringtone can add a touch of personality to your device. However, keep in mind that copyright laws restrict the use of copyrighted music for ringtones. Therefore, ensure that you either own the rights to the song or download royalty-free or creative commons-licensed music for this purpose.
In the following steps, we will guide you through the process of choosing a song, trimming it to the desired length, converting it to the required format, and transferring it to your iPhone. Before we proceed, make sure you have the latest version of iTunes installed on your computer and that your iPhone is connected to it. So, let’s get started and customize your iPhone ringtone to your heart’s content!
Step 1: Choose a Song
The first step in creating a custom ringtone for your iPhone is to choose the song you want to use. You have a few options here:
- Select a song from your iTunes library: If you already have a song in your iTunes library that you want to use as a ringtone, you’re one step ahead. Simply browse through your library and choose the song you’d like to set as your ringtone.
- Download a song from the iTunes Store: If you don’t have a suitable song in your library, you can browse and purchase a song from the iTunes Store. Look for a song that captures your attention and matches your taste.
- Transfer a song from your computer: If you have a song saved on your computer, you can transfer it to your iTunes library by clicking on “File” and then selecting “Add File to Library.” Once it’s in your library, you can proceed with the next steps.
- Download a song from a reliable website: There are numerous websites where you can find free or royalty-free music. Make sure to download from a reputable source to avoid copyright issues. Websites like SoundCloud, Free Music Archive, and Jamendo offer a wide range of songs that you can legally use as ringtones.
Take your time to choose a song that resonates with you and reflects your style. It could be a catchy pop tune, a soothing instrumental piece, or even a motivational track. Remember, the aim is to select a song that you’ll be excited to hear every time your iPhone rings.
Step 2: Trim the Song
Once you’ve selected the song you want to use as your ringtone, the next step is to trim it to the desired length. Apple limits ringtone durations to a maximum of 30 seconds. Follow these steps to trim your chosen song:
- Open the song in iTunes: Launch iTunes and locate the song in your library. Right-click on the song and select “Get Info.”
- Set the start and end time: In the “Get Info” window, navigate to the “Options” tab. Under the “Start Time” and “Stop Time” sections, specify the start and end time of the segment you want to use for your ringtone. Remember to keep it within the 30-second limit.
- Apply the changes: Click on “OK” to save the changes you made to the song. Note that this will not create a separate ringtone file just yet.
- Create an AAC version: Right-click on the trimmed song in your iTunes library and select “Create AAC Version.” This will create a new version of the song with the specified start and stop times.
- Find the trimmed song: Locate the new AAC version of the song in your iTunes library. It should have the same name as the original song, but with a shorter duration.
You’ve successfully trimmed the song to the desired length. In the next step, we’ll convert this trimmed song into the required format for an iPhone ringtone. It’s time to give your ringtone a unique sound!
Step 3: Convert the Song to AAC Format
Now that you have trimmed the selected song to the desired length, it’s time to convert it to the AAC format, which is required for iPhone ringtones. Follow these steps to convert the song:
- Select the trimmed song: In your iTunes library, locate the AAC version of the song you trimmed in the previous step.
- Convert the song: Right-click on the song and select “Convert” followed by “Create AAC Version.” This will create a duplicated AAC version of the trimmed song.
- Check the converted file: Once the conversion is complete, you should see both the original AAC version and the newly created AAC version of the trimmed song in your iTunes library. The converted file should have the same name as the original but with a shorter duration.
- Locate the converted file: Right-click on the duplicated AAC version of the trimmed song and select “Show in Finder” (for Mac) or “Show in File Explorer” (for Windows). This will open the location of the converted file on your computer.
Great! You have successfully converted the trimmed song to the required AAC format. In the next step, we’ll rename the file to make it compatible with iPhone ringtones. Let’s move on and give your ringtone the perfect name!
Step 4: Rename the .m4a file to .m4r
After converting the trimmed song to the AAC format, the next step is to rename the file with the .m4r extension, as this is the required format for iPhone ringtones. Follow these steps to rename the file:
- Locate the converted file: Open the folder where the converted AAC file is saved on your computer.
- Change the file extension: Right-click on the AAC file and select “Rename.” Change the file extension from .m4a to .m4r. Make sure you only change the extension and not the file name, as the file name should remain the same for the ringtone to work properly.
- Confirm the rename: A popup message might appear, warning you about changing the file extension. Click “Yes” or “OK” to proceed with the change.
By renaming the file with the .m4r extension, you have now prepared the trimmed song to be recognized by iTunes as an iPhone ringtone. In the next step, we will add the ringtone to iTunes so that it can be synced to your iPhone. Let’s move on and finalize the process!
Step 5: Add the Ringtone to iTunes
Now that you have renamed the file with the .m4r extension, it’s time to add the ringtone to iTunes. Follow these steps to add the ringtone:
- Open iTunes: Launch iTunes on your computer if it’s not already open.
- Click on “File” and select “Add File to Library”: In the iTunes menu, click on “File” and then choose “Add File to Library” or “Add Folder to Library” if you have multiple ringtones to add.
- Select the .m4r file: Navigate to the folder where you saved the renamed .m4r file, and then select the file. Click “Open” to add it to your iTunes library.
- Find the ringtone: In your iTunes library, the ringtone will appear under the “Tones” section. You can access the “Tones” section by clicking on “Music” and then selecting “Tones” from the dropdown menu.
- Verify the ringtone properties: Right-click on the ringtone and select “Get Info” to ensure that the ringtone’s information, such as artist name and song title, is correctly displayed.
Congratulations! You have successfully added the custom ringtone to your iTunes library. In the next step, we will sync the ringtone to your iPhone, so that you can start using it as your personalized ringtone. Let’s proceed and make your iPhone sound unique!
Step 6: Sync the Ringtone to your iPhone
Now that you have added the custom ringtone to your iTunes library, it’s time to sync it to your iPhone. Follow these steps to sync the ringtone:
- Connect your iPhone: Use the appropriate USB cable to connect your iPhone to your computer. Launch iTunes if it doesn’t open automatically.
- Select your iPhone: In the top-left corner of the iTunes window, you will see an icon resembling an iPhone. Click on it to select your iPhone.
- Go to the “Tones” section: In the left sidebar of the iTunes interface, click on “Tones” under your iPhone’s name. This will display all the ringtones available in your iTunes library.
- Select the ringtone: Locate the custom ringtone you added in the previous step, and check the box next to it.
- Apply the sync: Click on the “Apply” or “Sync” button in the bottom-right corner of the iTunes window. This will initiate the synchronization process and transfer the selected ringtone to your iPhone.
- Disconnect your iPhone: Once the sync is complete, safely disconnect your iPhone from your computer.
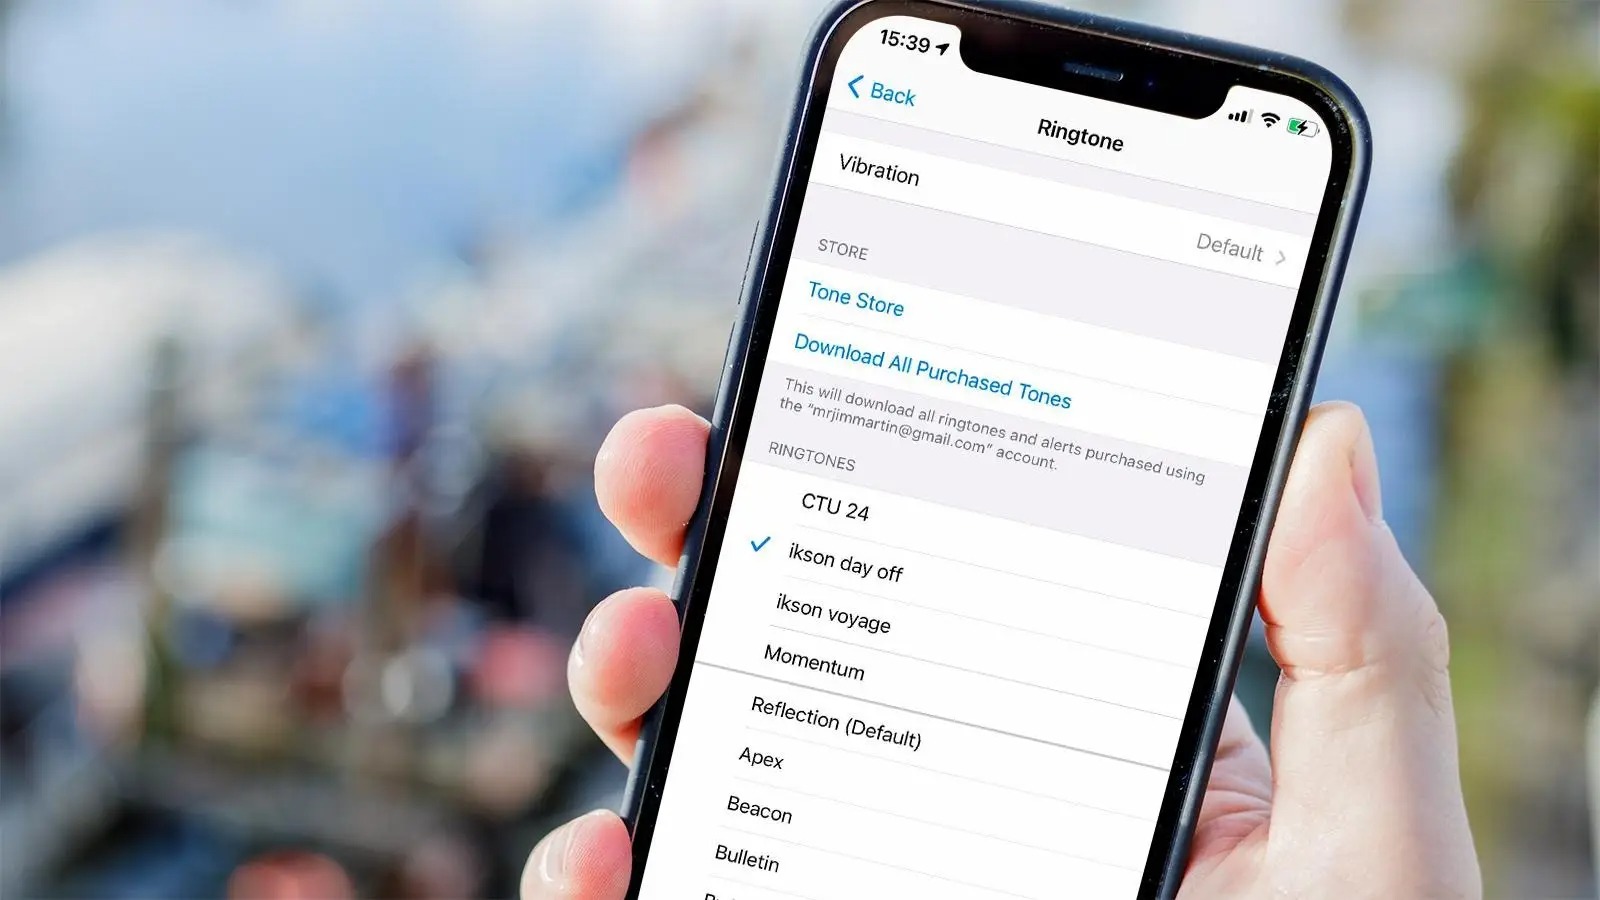
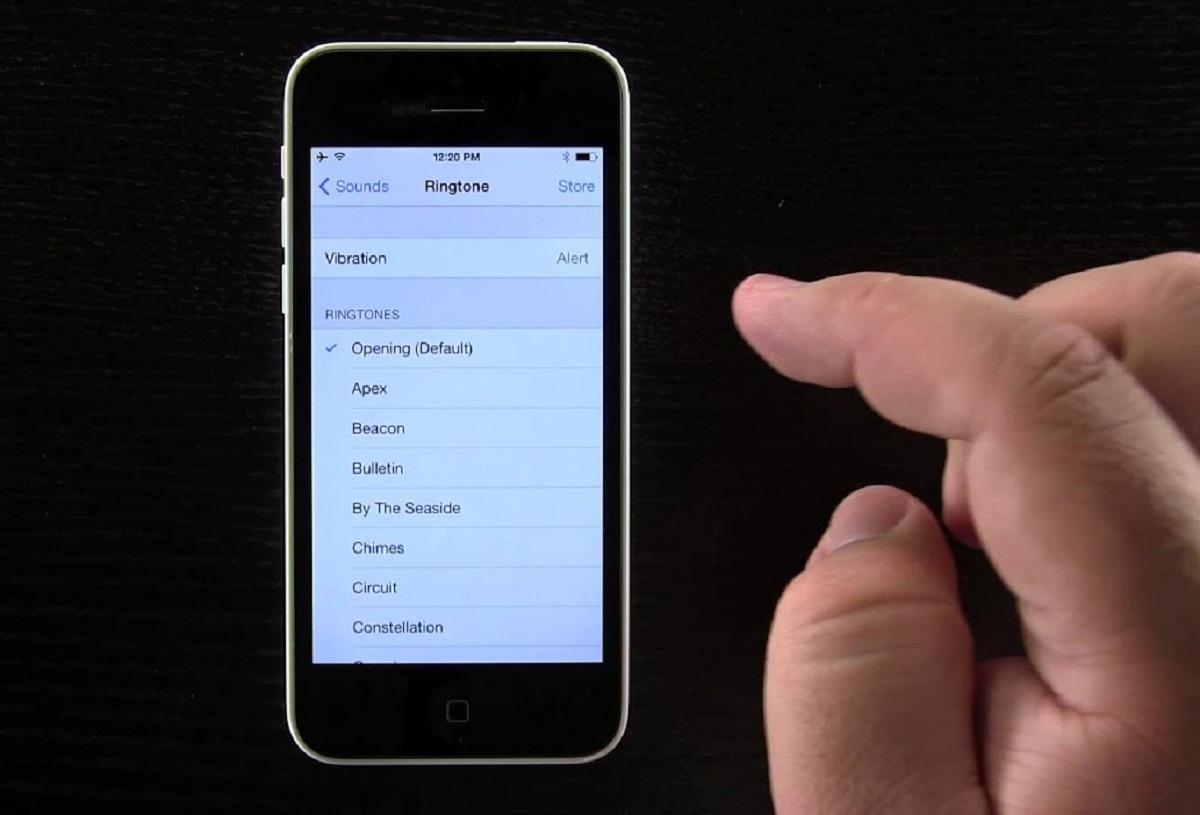
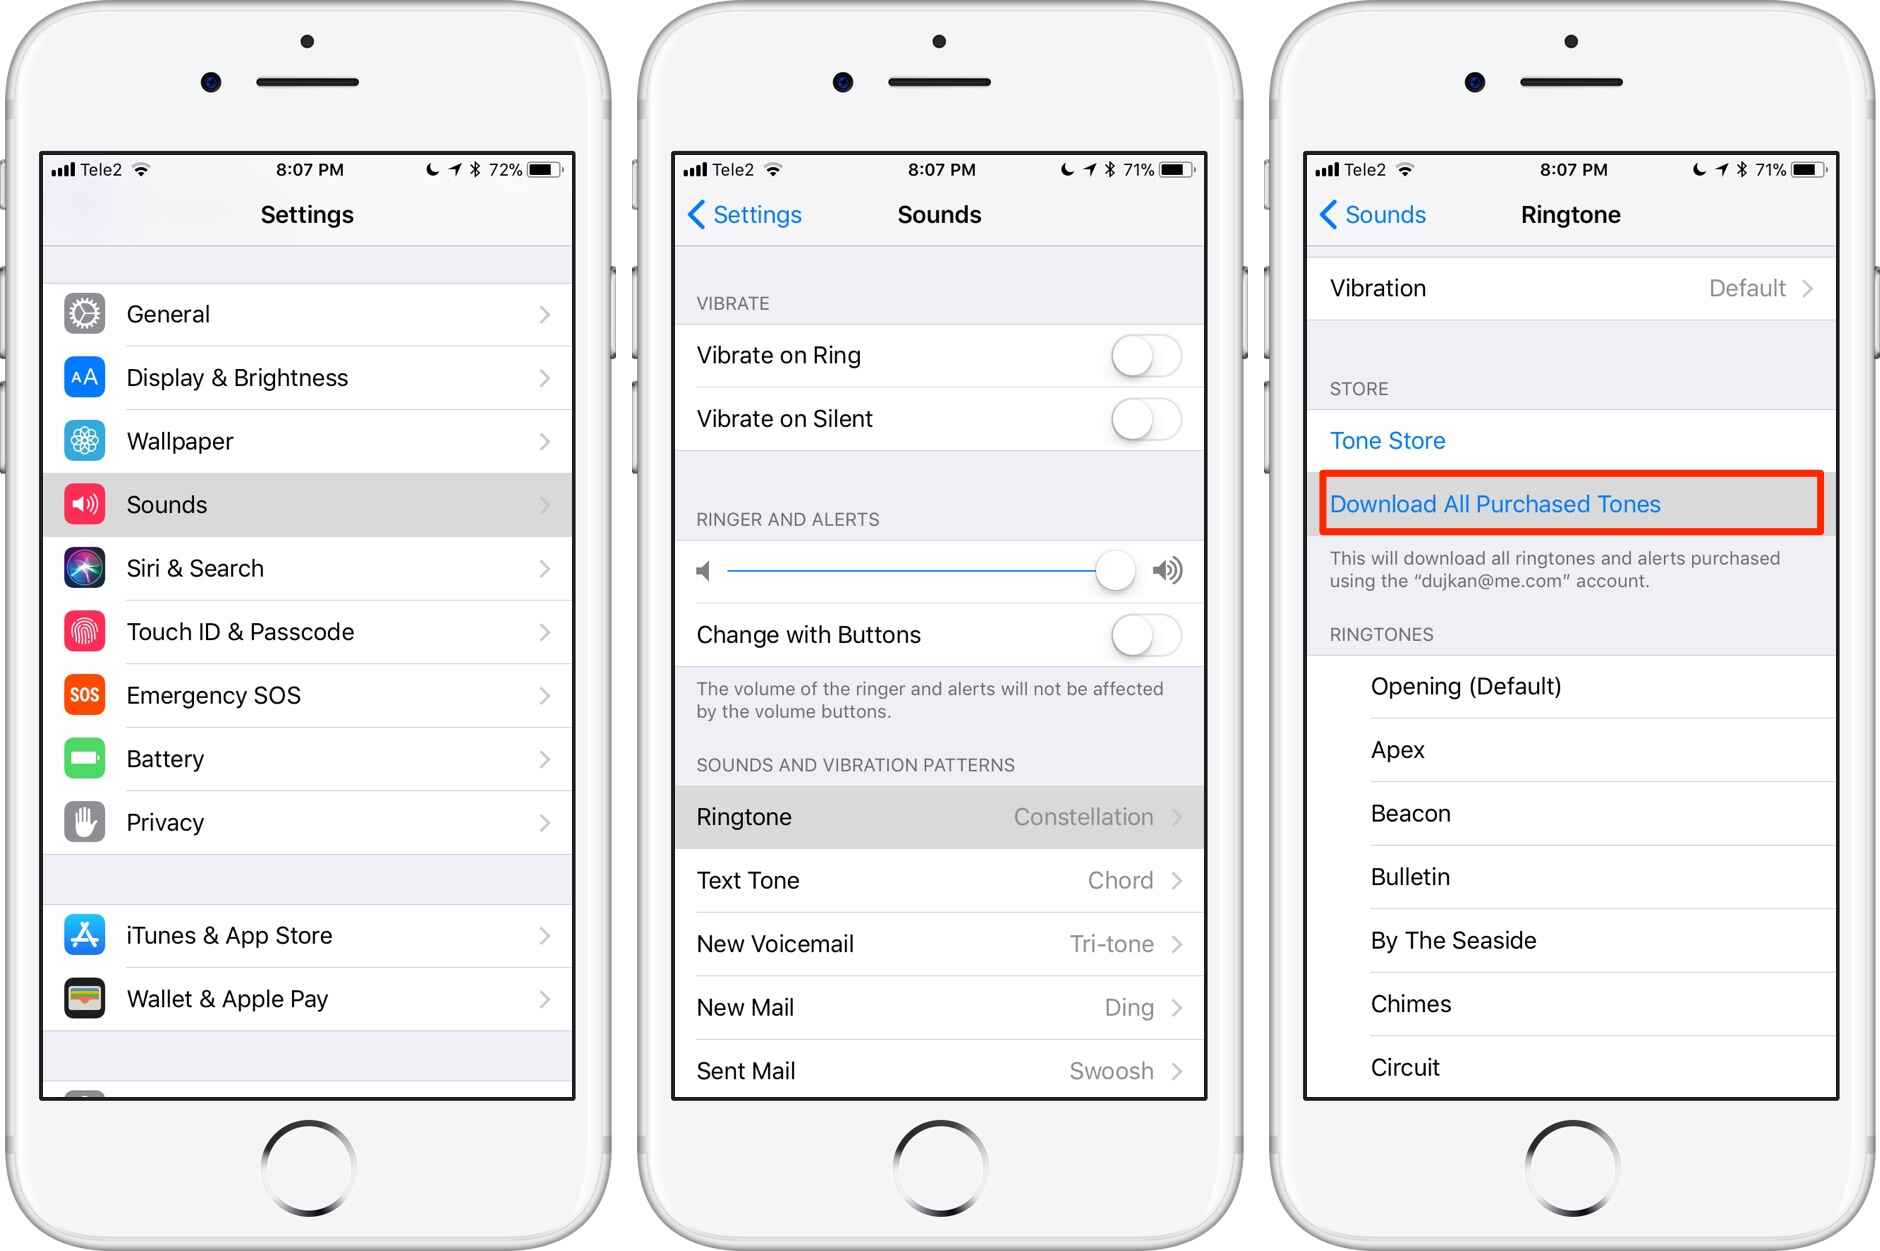
- Set the ringtone on your iPhone: On your iPhone, go to “Settings” > “Sounds & Haptics” > “Ringtone.” You will find the new custom ringtone listed under the “Ringtones” section. Tap on it to set it as your default ringtone for incoming calls.
Well done! You have successfully synced the custom ringtone to your iPhone. Now, whenever someone calls, you’ll hear your unique and personalized ringtone. Enjoy the new level of customization and make your iPhone stand out with its distinctive sound!
Conclusion
Setting a custom ringtone on your iPhone allows you to express your personality and add a personal touch to your device. By following the steps mentioned above, you can easily download a song, trim it to the desired length, convert it to AAC format, and add it to iTunes as a ringtone. Finally, you can sync the ringtone to your iPhone and set it as your default ringtone.
Remember to ensure that you have the necessary rights to use the song as a ringtone, whether it’s a song from your personal collection, a purchase from the iTunes Store, or royalty-free music from a reliable source. Respecting copyright laws is essential when creating custom ringtones.
With a unique ringtone, you’ll stand out from the crowd and make a statement every time your phone rings. Whether it’s your favorite song, a catchy tune, or a motivational track, the choice is yours to set the tone for incoming calls.
Now that you have the tools and knowledge to create custom ringtones, unleash your creativity and make your iPhone ring with your personal touch. Enjoy the unique sound and let your phone reflect your style!