Introduction
Setting a song as your ringtone is a fun and personalized way to make your phone stand out. Instead of the standard ringtones that come pre-installed on your device, you can choose a song that truly reflects your style and personality. Whether it’s your favorite song, a catchy tune, or a meaningful melody, having it play every time someone calls or messages you can bring a smile to your face.
In this article, we will guide you through the steps to download a song and set it as your ringtone on your phone. It’s a simple process that can be done on most devices, whether you use an Android or iOS phone. By following our instructions, you’ll be able to customize your phone in no time.
We’ll cover everything from selecting the right song to converting it into the required format and transferring it to your phone. You’ll also learn how to set the song as your default ringtone so that it plays whenever someone calls you.
So, if you’re ready to add a personal touch to your phone and turn heads whenever it rings, let’s get started and learn how to download a song as a ringtone!
Step 1: Choose a Song
The first step in downloading a song as a ringtone is to choose the perfect track that you want to hear whenever your phone rings. This could be a song from your favorite artist, a catchy tune that always puts you in a good mood, or a meaningful melody that holds a special place in your heart.
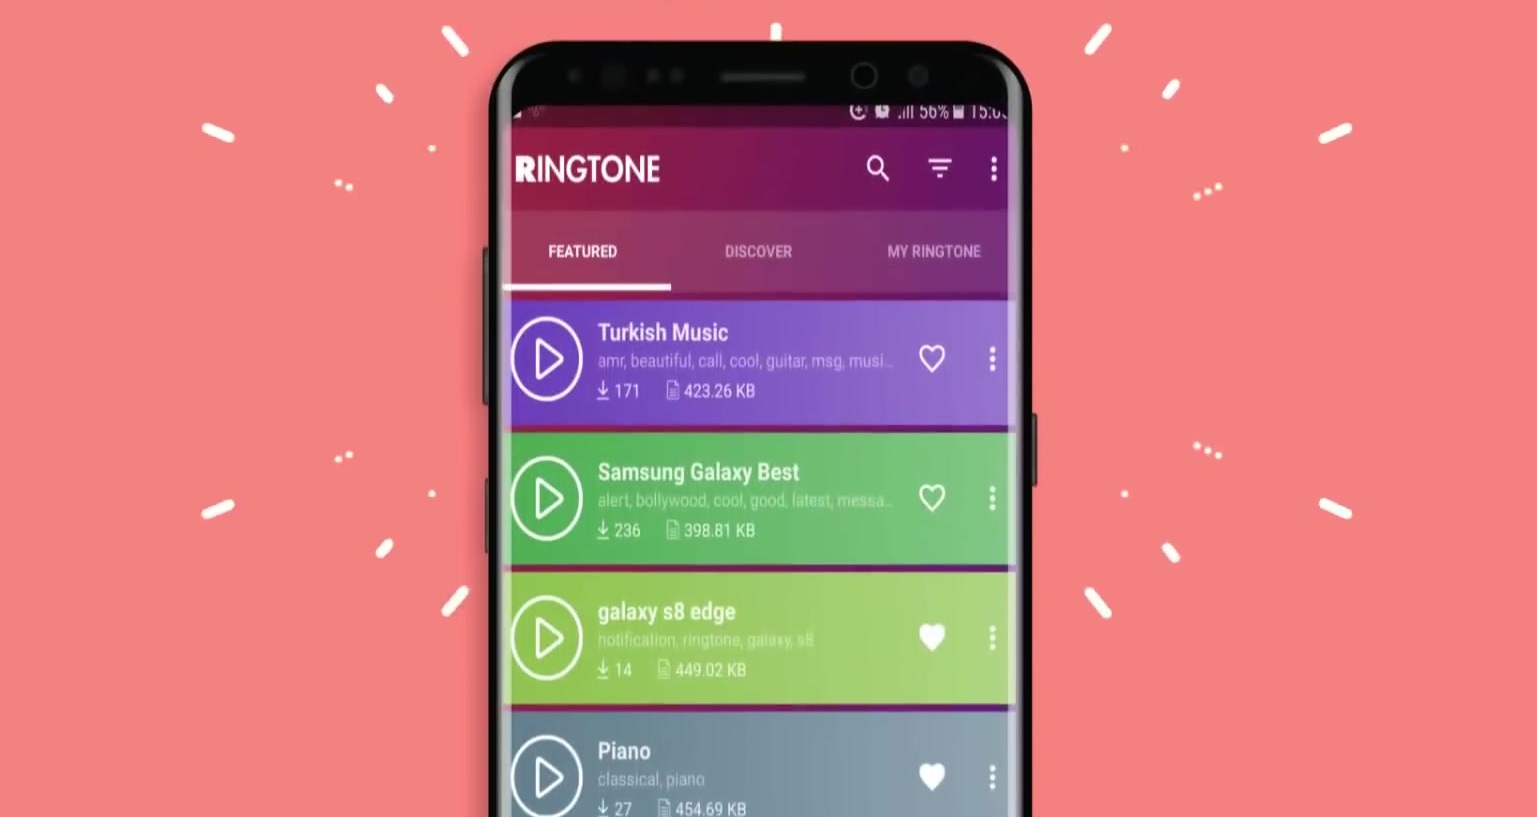
You have a few options when it comes to selecting a song for your ringtone. You can choose a song that is already saved on your device or explore music streaming platforms to find the perfect track. Some music streaming apps even have built-in features that allow you to directly set a song as your ringtone.
If you already have a specific song in mind, simply navigate to the music player on your device or open the music streaming app. Browse through your music library or search for the song using the search function provided. Once you have found the song, make a note of its title or keep the song open for future reference.
If you’re unsure about which song to choose, you can explore different genres and artists to find something that resonates with you. You may even discover new music that you hadn’t heard before, making the process even more exciting.
Keep in mind that not all songs may be suitable for use as ringtones. Some songs may have a slow tempo or contain lyrics that don’t match the vibe you want for your ringtone. It’s best to choose a song with a catchy and recognizable melody that will be easily identifiable when your phone rings.
Once you have chosen the perfect song, you’re ready to move on to the next step: converting the song to the required format.
Step 2: Convert the Song to the Required Format
After selecting the song you want to use as your ringtone, the next step is to convert it into the required format. Different types of devices and operating systems have specific file format requirements for ringtones. By converting the song to the correct format, you ensure compatibility and a seamless experience when setting it as your ringtone.
The most common file formats for ringtones are MP3 and M4R. MP3 is widely supported and compatible with various devices, including Android phones. On the other hand, M4R is the preferred format for iOS devices like iPhones.
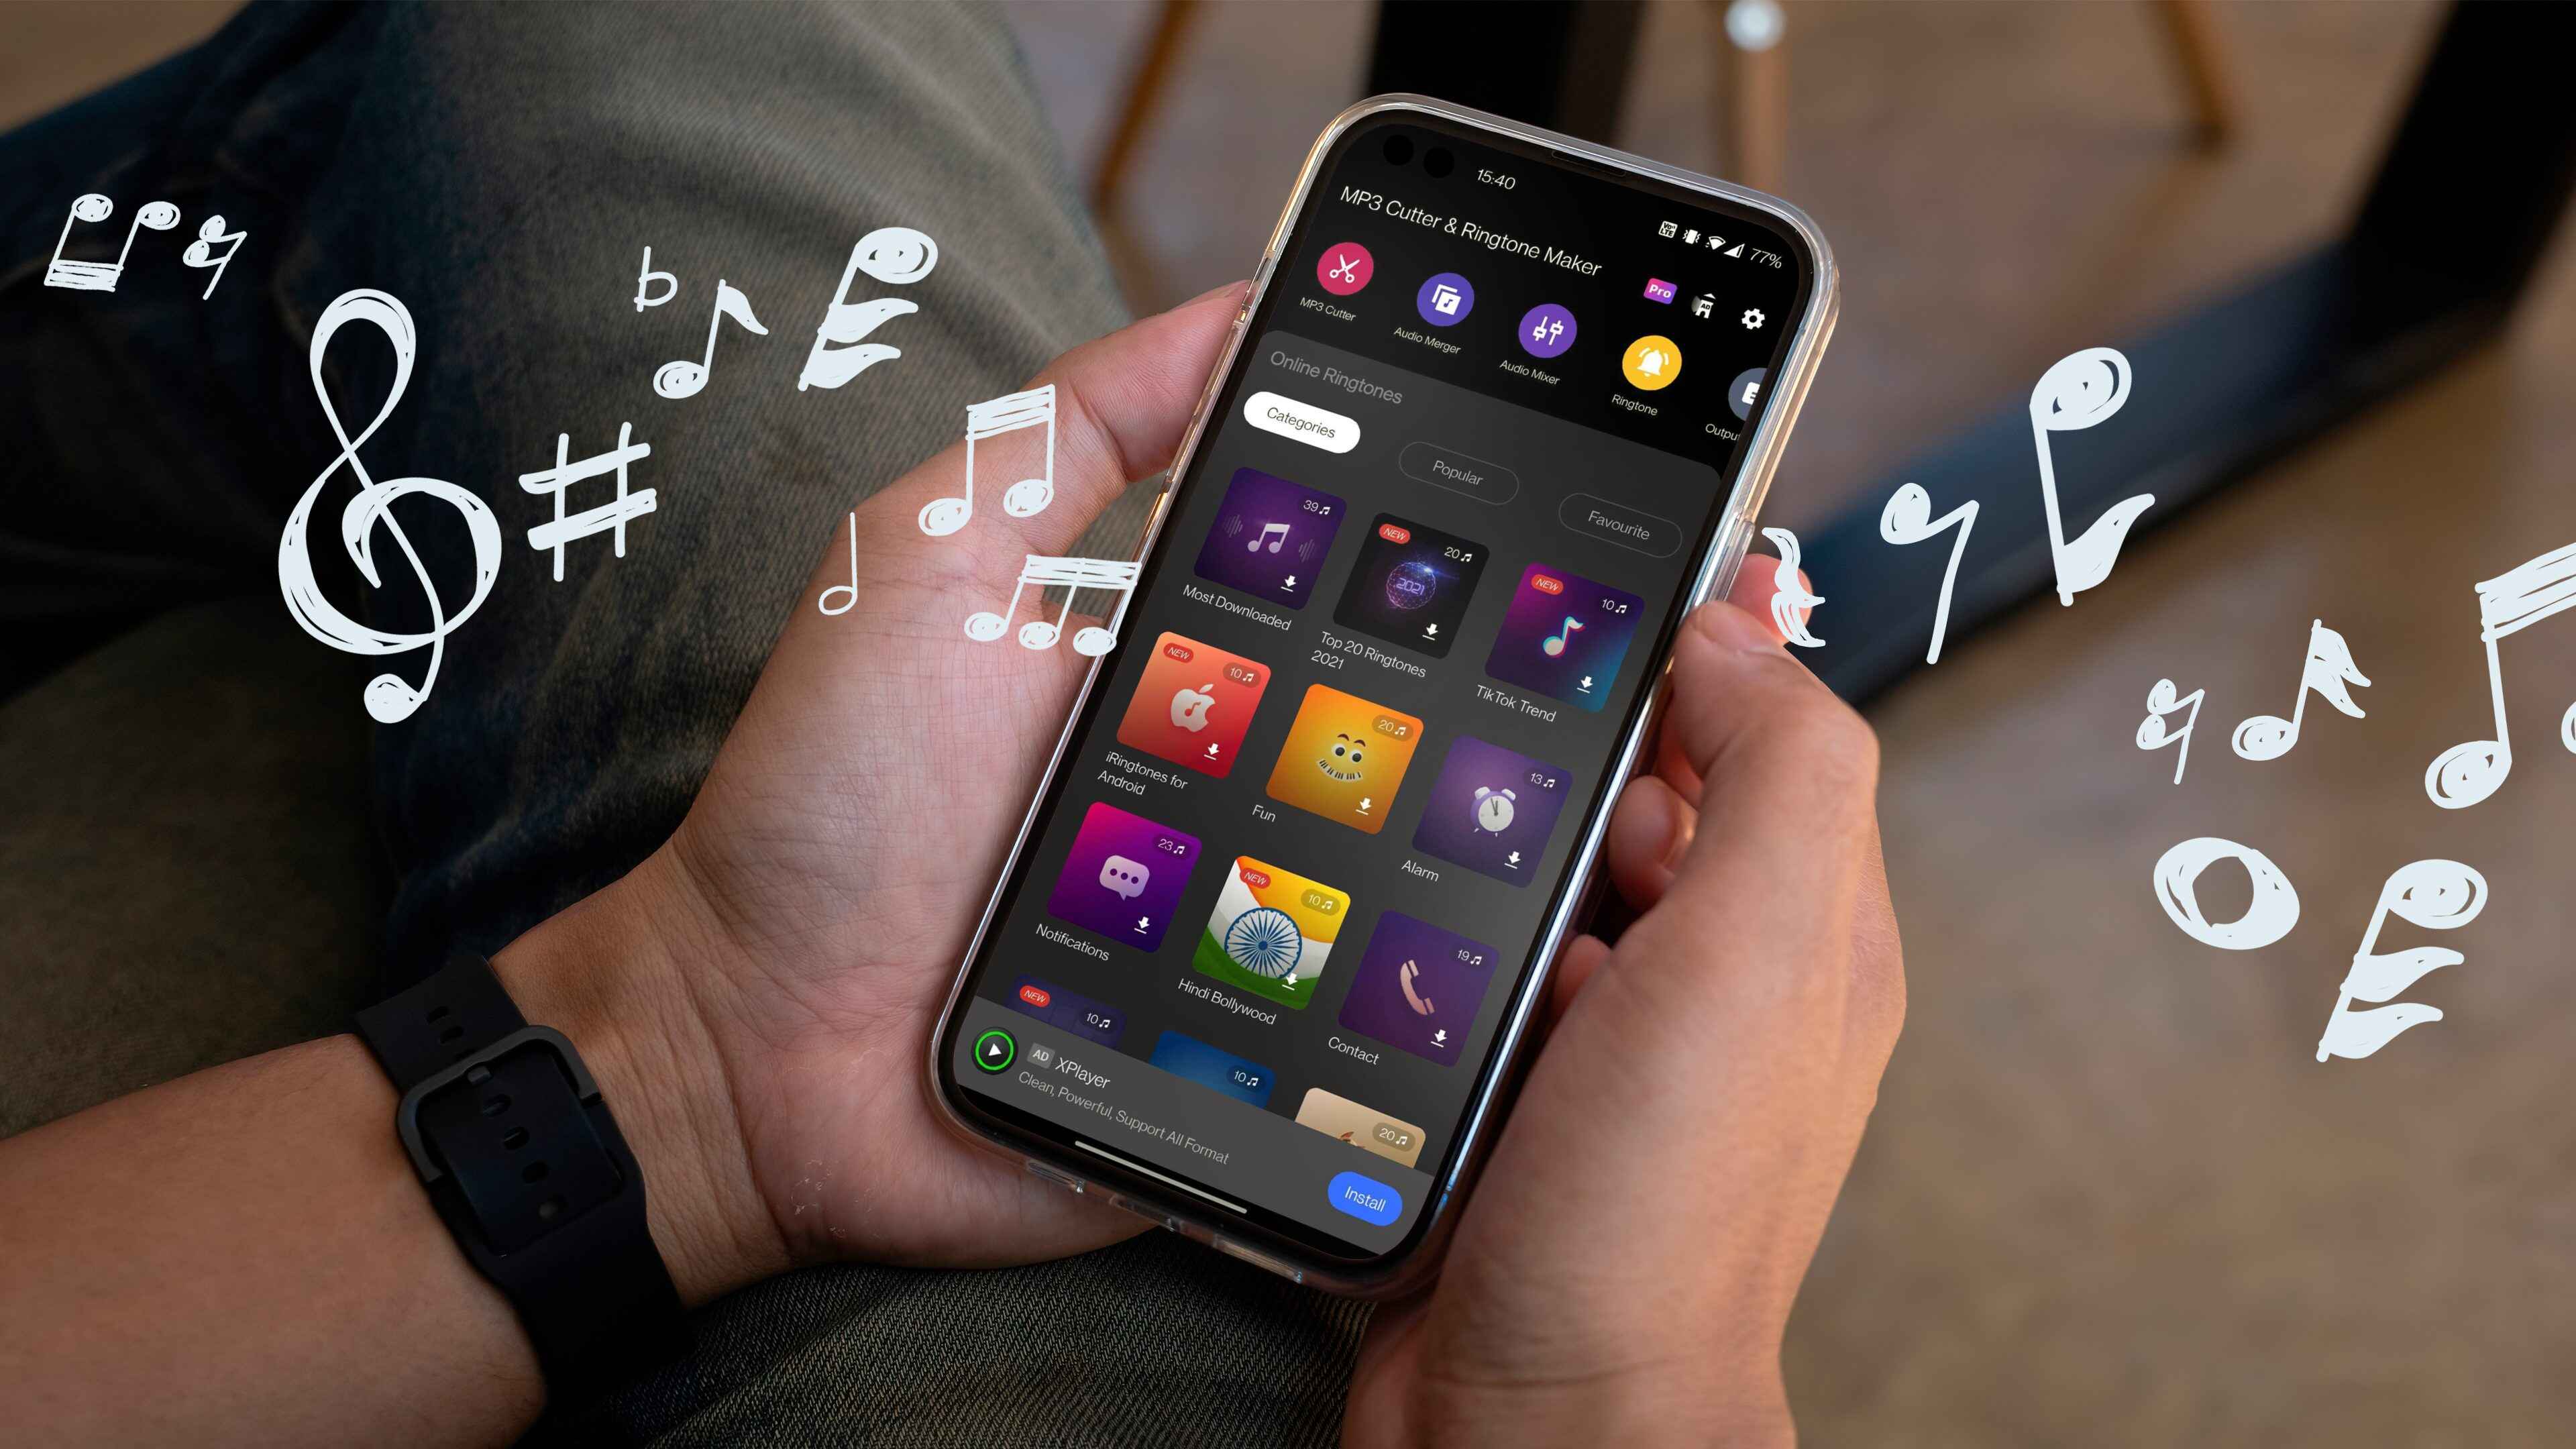
To convert your chosen song to the required format, you can use various online audio converter tools. These tools allow you to upload your song and convert it to the desired format. Simply follow the instructions provided by the converter tool, select the output format as MP3 or M4R, and initiate the conversion process. Once the conversion is complete, download the converted file to your device.
If you prefer to use desktop software for the conversion, there are several options available as well. Look for reputable audio converter software that supports the conversion of audio files to MP3 or M4R formats. Install the software on your computer, import the song into the software, and choose the desired output format. Execute the conversion process and save the converted file to a convenient location on your device.
Remember to keep the converted file accessible as you will need it in the next step when transferring the song to your phone.
Now that you have successfully converted the song to the required format, it’s time to move on to the next step: transferring the song to your phone.
Step 3: Transfer the Song to Your Phone
Once you have converted your selected song to the appropriate format, the next step is to transfer it to your phone. There are a few methods you can use to accomplish this, depending on your device and personal preferences.
If you have an Android phone, there are multiple ways to transfer the song. One simple method is to connect your phone to your computer using a USB cable. Once connected, your phone will appear as a removable storage device on your computer. Simply locate the converted song on your computer and copy it to the “Ringtones” folder on your phone. If the “Ringtones” folder does not exist, you can create one manually. Once the song is successfully copied, disconnect your phone from the computer.
Alternatively, you can use cloud storage services like Google Drive or Dropbox to transfer the song. Upload the converted file to your cloud storage account from your computer, and then access the same account from your phone. Download the file to your phone’s internal storage or SD card. Once downloaded, you can move the file to the “Ringtones” folder.
If you are using an iPhone, the process is slightly different. You will need to use iTunes, the default management software for iOS devices. Connect your iPhone to your computer using the USB cable and open iTunes. Select your device from the iTunes interface, navigate to the “File Sharing” section, and choose the “Ringtone” tab. Click on the “Add File” button and locate the converted song file on your computer. Once added, sync your iPhone with iTunes to transfer the song to your device.
If you prefer a wireless method, you can also use AirDrop (available on iPhones and Macs) or third-party file transfer apps to send the song directly to your iPhone.
After successfully transferring the song to your phone, it’s time for the final step: setting the song as your ringtone.
Step 4: Set the Song as Your Ringtone
Now that you have transferred the song to your phone, the final step is to set it as your ringtone. The method for setting a song as your ringtone may vary depending on your device’s operating system.
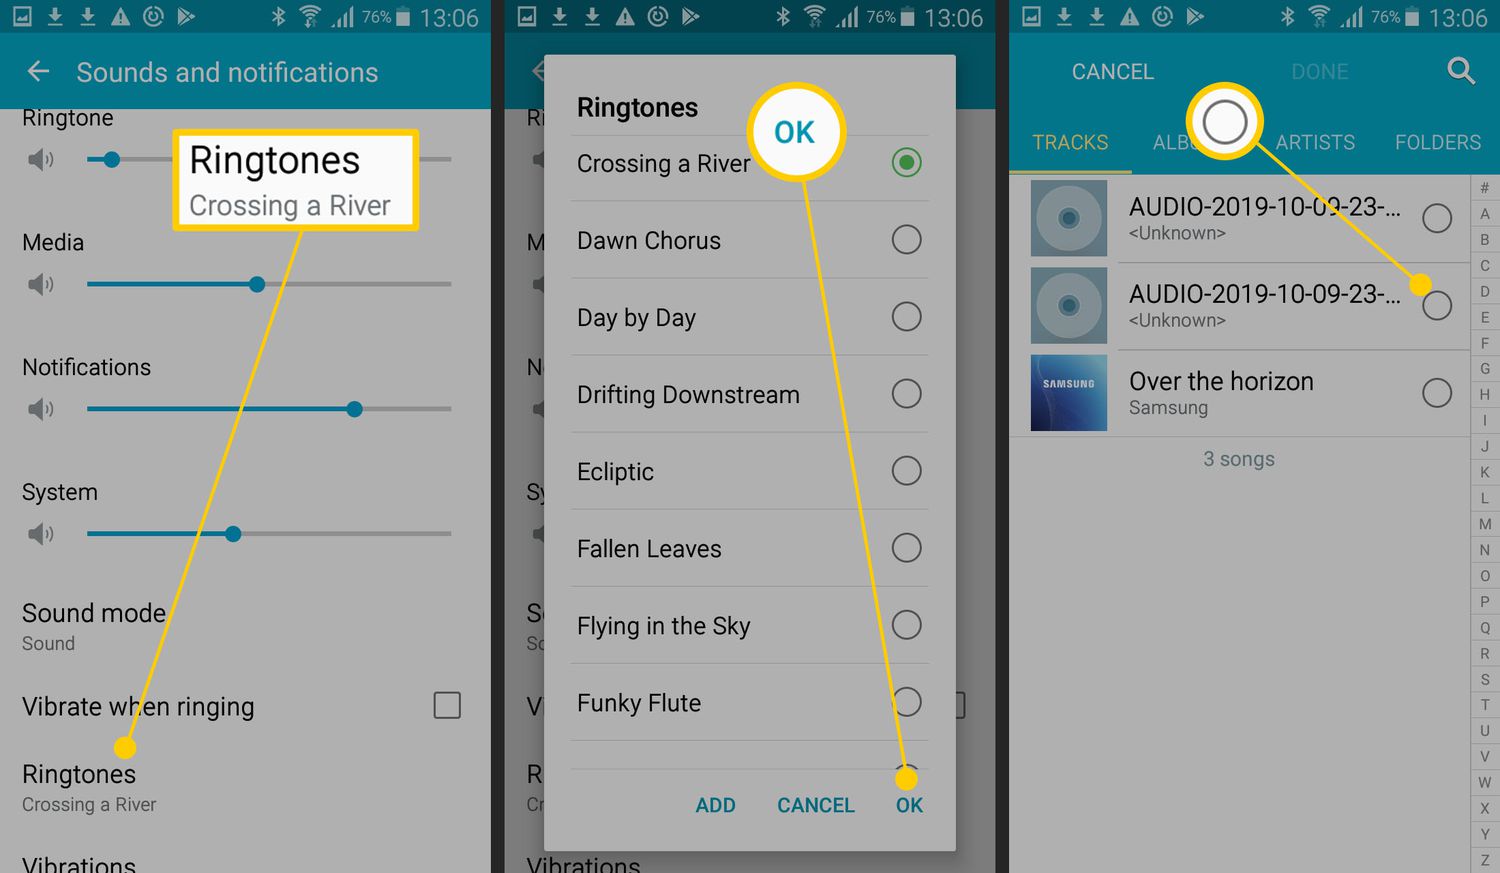
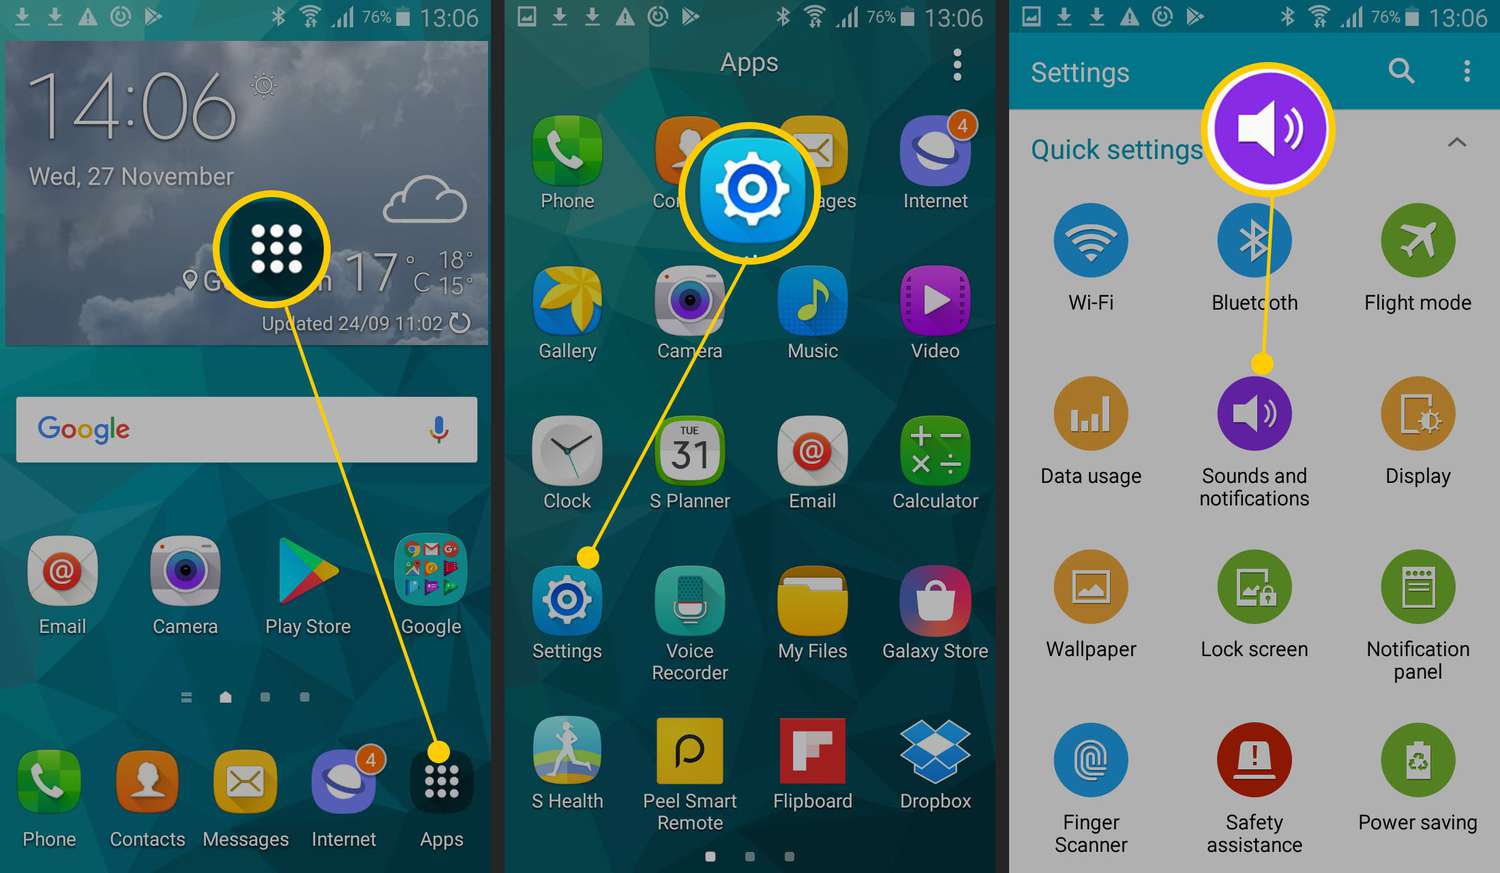
If you have an Android phone, follow these steps to set the song as your ringtone:
- Open the “Settings” app on your phone.
- Select “Sound” or “Sound & notification.”
- Look for the “Phone Ringtone” or “Default Ringtone” option and tap on it.
- A list of available ringtones will appear, including the song you transferred.
- Select the song from the list and confirm your selection.
- Your chosen song is now set as your ringtone.
For iPhone users, the process is slightly different:
- Open the “Settings” app on your iPhone.
- Select “Sounds & Haptics.”
- Tap on “Ringtone” to access the list of available ringtones.
- Scroll down the list and look for the custom ringtones section.
- Your transferred song should appear in this section.
- Select the song and exit the settings.
- Voila! Your selected song is now your ringtone.
It’s important to note that some devices may have additional options for setting specific songs as ringtones for certain contacts or specific applications. Explore your phone’s settings to discover these customization options and make your ringtone even more personalized.
With your chosen song successfully set as your ringtone, you’ll now enjoy a unique and personalized ringtone every time your phone rings.
Conclusion
Setting a song as your ringtone is a simple yet effective way to personalize your phone and add a touch of your own style. By following the steps outlined in this guide, you can easily download a song and set it as your ringtone on your phone.
From choosing the perfect song to converting it to the required format and transferring it to your device, each step is essential in the process. Remember to select a song that resonates with you and has a catchy melody that will be easily recognizable as your ringtone.
If you have an Android phone, you can transfer the song using a USB cable or through cloud storage services. For iPhone users, iTunes is the preferred method for transferring and managing your custom ringtones.
Finally, set the song as your ringtone through your device settings, ensuring that you’ll hear your favorite tune whenever someone calls. Feel free to explore additional customization options to make your ringtone even more unique, such as assigning specific songs to certain contacts.
Now, it’s time to customize your phone and make it truly yours. Download your favorite song as a ringtone and enjoy a more personalized calling experience!