Introduction
Are you tired of the default ringtone on your Android device? Do you want to personalize your phone by using your favorite song or sound as a ringtone? Well, you’re in luck! In this article, we will guide you on how to make a custom ringtone for your Android device. Whether it’s a catchy tune, a funny sound effect, or a snippet from your favorite song, you can easily create a unique ringtone that reflects your personality.
Customizing your ringtone not only allows you to stand out from the crowd, but it also adds a personal touch to your device. The process may seem daunting at first, but with our simple step-by-step instructions, you’ll be able to create and set your own ringtone in no time. So, let’s get started!
In the following sections, we will explain how to choose a song or sound, crop the audio, convert the audio format (if necessary), transfer the ringtone to your Android device, and finally, set it as your default ringtone. Whether you’re a tech-savvy individual or a beginner, we’ve got you covered.
Before we dive into the steps, it’s important to note that the exact steps and options may vary slightly depending on your Android device’s make and model, as well as the version of the operating system you’re using. However, the general process should remain the same, and we’ll provide alternative methods where applicable.
Now, without further ado, let’s start creating a custom ringtone that will make your Android device truly yours!
Step 1: Choose a song or sound
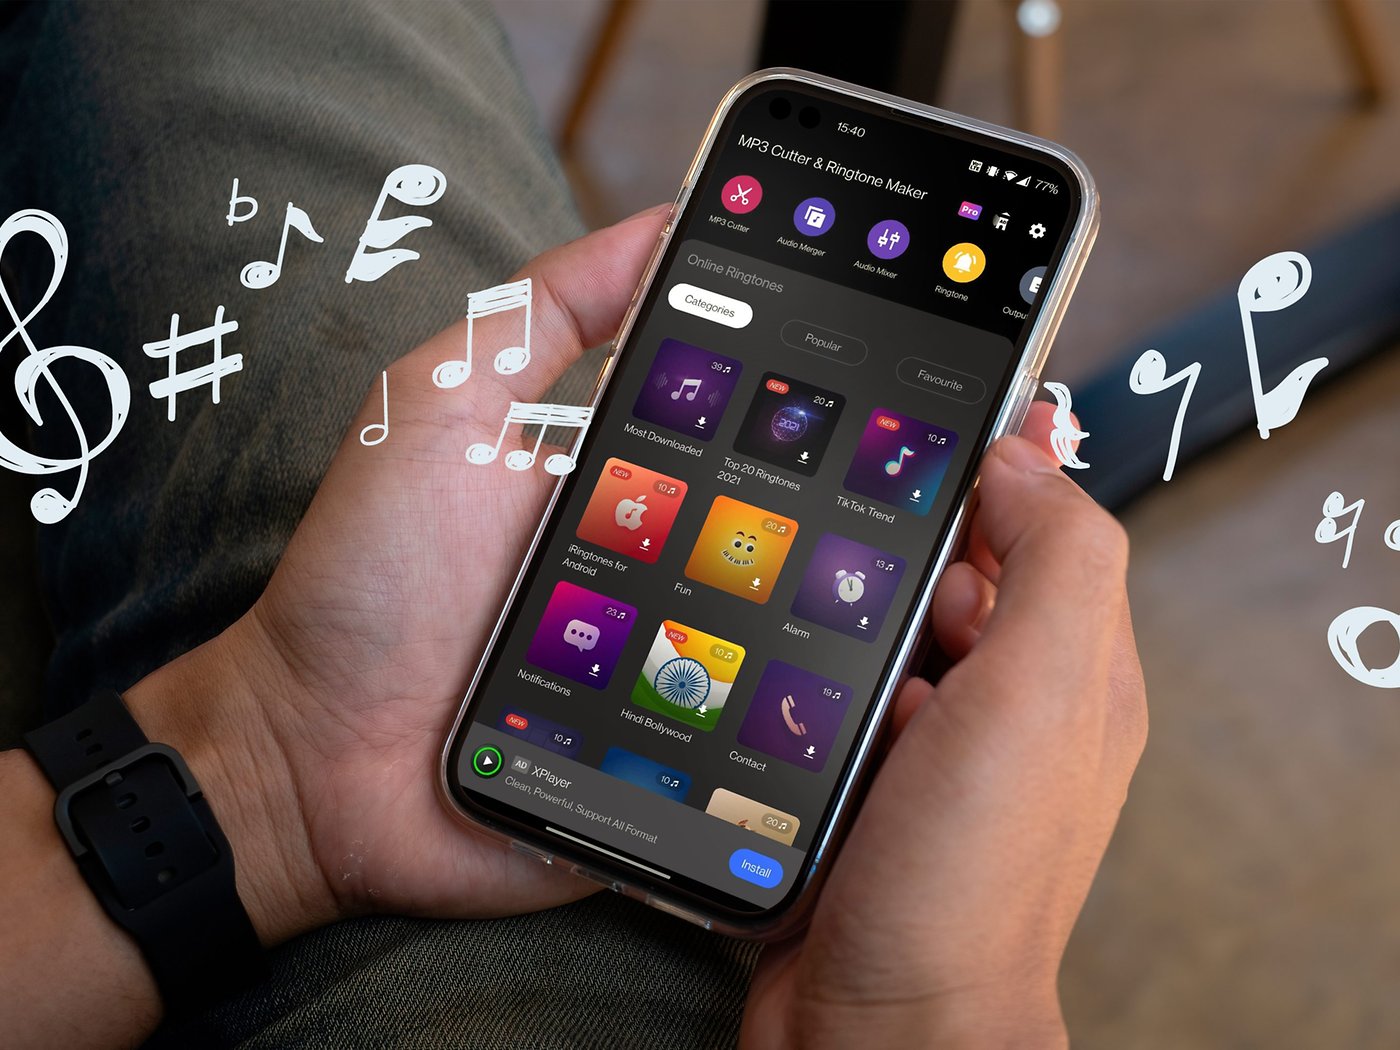
The first step in making a custom ringtone for your Android device is to choose a song or sound that you want to use. You can select any audio file, whether it’s a popular song from your favorite artist, a theme song from a TV show, or even a funny sound effect.
Here are a few things to consider when choosing your ringtone:
- Length: Keep in mind that most ringtone durations are typically between 15 and 30 seconds. Choose a section of the song or sound that you want to hear when you receive calls or notifications.
- Clarity: Make sure the audio file is of high quality and clear, without any distortions or background noise. It’s best to choose a file with a bitrate of 256 kbps or higher for optimal sound quality.
- Legal considerations: Ensure that you have the necessary rights to use the audio file as a ringtone. Avoid using copyrighted material without permission to avoid any legal issues.
Once you have selected the audio file you want to use, make a note of its location on your computer or online storage service. This will help you easily access the file when you need to transfer it to your Android device in the later steps.
Remember, the choice of the song or sound is entirely up to you. Pick something that resonates with your personality and preferences, as you’ll be hearing it on your phone frequently. Now that you have your chosen audio file in mind, let’s move on to the next step: cropping the audio to the desired length.
Step 2: Crop the audio
After selecting the audio file for your custom ringtone, the next step is to crop it to the desired length. This ensures that the ringtone plays only the section you want, rather than the entire song or sound. The process of cropping audio can be done using various software or online tools. Below, we’ll outline two popular methods:
1. Using Audio Editing Software:
- Open the audio file in your preferred audio editing software, such as Audacity (available for free download) or Adobe Audition.
- Identify the specific part of the song or sound that you want to use as your ringtone.
- Select the section of the audio you want to keep and delete the rest.
- Preview the cropped audio to ensure it sounds how you want it.
- Save the cropped audio file in a format supported by Android devices, such as MP3 or WAV.
2. Using Online Audio Cropping Tools:
- Search for reliable online audio cropping tools like MP3Cut or Aconvert.
- Upload the audio file to the cropping tool of your choice.
- Use the provided controls or drag the sliders to select the desired section of the audio.
- Preview the cropped audio to ensure it’s what you want.
- Download the cropped audio file in a format compatible with Android devices.
Once you have successfully cropped the audio file to the desired length, you’re ready to move on to the next step: converting the audio format (if necessary) to ensure compatibility with your Android device.
Step 3: Convert the audio format (if necessary)
Now that you have cropped the audio file for your custom ringtone, the next step is to convert it to a compatible audio format if needed. While most Android devices support common audio formats like MP3 and WAV, it’s always a good idea to ensure that the format is compatible to avoid any playback issues. Here’s how you can convert the audio file format:
1. Using Audio Conversion Software:
- Open your preferred audio conversion software, such as Format Factory or Freemake Audio Converter (both available for free download).
- Import the cropped audio file into the conversion software.
- Select the desired output audio format, typically MP3 or WAV for Android devices.
- Choose the preferred audio quality/bitrate. Higher bitrates generally result in better sound quality.
- Start the conversion process and wait for it to complete.
- Save the converted audio file to a location on your computer for easy access in the next steps.
2. Using Online Audio Conversion Tools:
- Search for reliable online audio conversion tools like Online Audio Converter or Zamzar.
- Upload the cropped audio file to the conversion tool.
- Select the output audio format, such as MP3 or WAV.
- Choose the desired audio quality/bitrate.
- Start the conversion process and wait for the tool to convert the audio file.
- Download the converted audio file to your computer.
Once you’ve successfully converted the audio file to a compatible format, you’re ready to transfer the ringtone to your Android device. In the next step, we’ll guide you through the process of transferring the ringtone file.
Step 4: Transfer the ringtone to your Android device
Now that you have your custom ringtone in the appropriate audio format, it’s time to transfer it to your Android device. There are several methods you can use to transfer the ringtone file, depending on your preferences and available tools. Here are three common methods:
- USB Cable: Connect your Android device to your computer using a USB cable. Your device should appear as a removable storage device on your computer. Open the device’s storage folder and locate the “Ringtones” or “Notifications” folder. Drag and drop the ringtone file into the respective folder.
- Cloud Storage: If you have a cloud storage service like Google Drive or Dropbox, upload the ringtone file to your cloud storage account. On your Android device, download the file from your cloud storage app and move it to the “Ringtones” or “Notifications” folder using a file manager app.
- Email or Messaging: Attach the ringtone file to an email or create a message with the attachment. Send it to your own email address or phone number. Access the email or message on your Android device and download the attachment. Once downloaded, move it to the “Ringtones” or “Notifications” folder using a file manager app.
After transferring the ringtone file to your Android device, disconnect it from your computer if using the USB cable method. Ensure that the file is now stored in the appropriate “Ringtones” or “Notifications” folder on your device’s internal storage or SD card.
Now that the ringtone file is on your Android device, let’s move on to the final step: setting the ringtone as the default for your device.
Step 5: Set the ringtone on your Android device
Now that you have successfully transferred the custom ringtone to your Android device, it’s time to set it as the default ringtone. The process may slightly vary depending on the make and model of your device, but the general steps remain the same. Here’s how to set your custom ringtone:
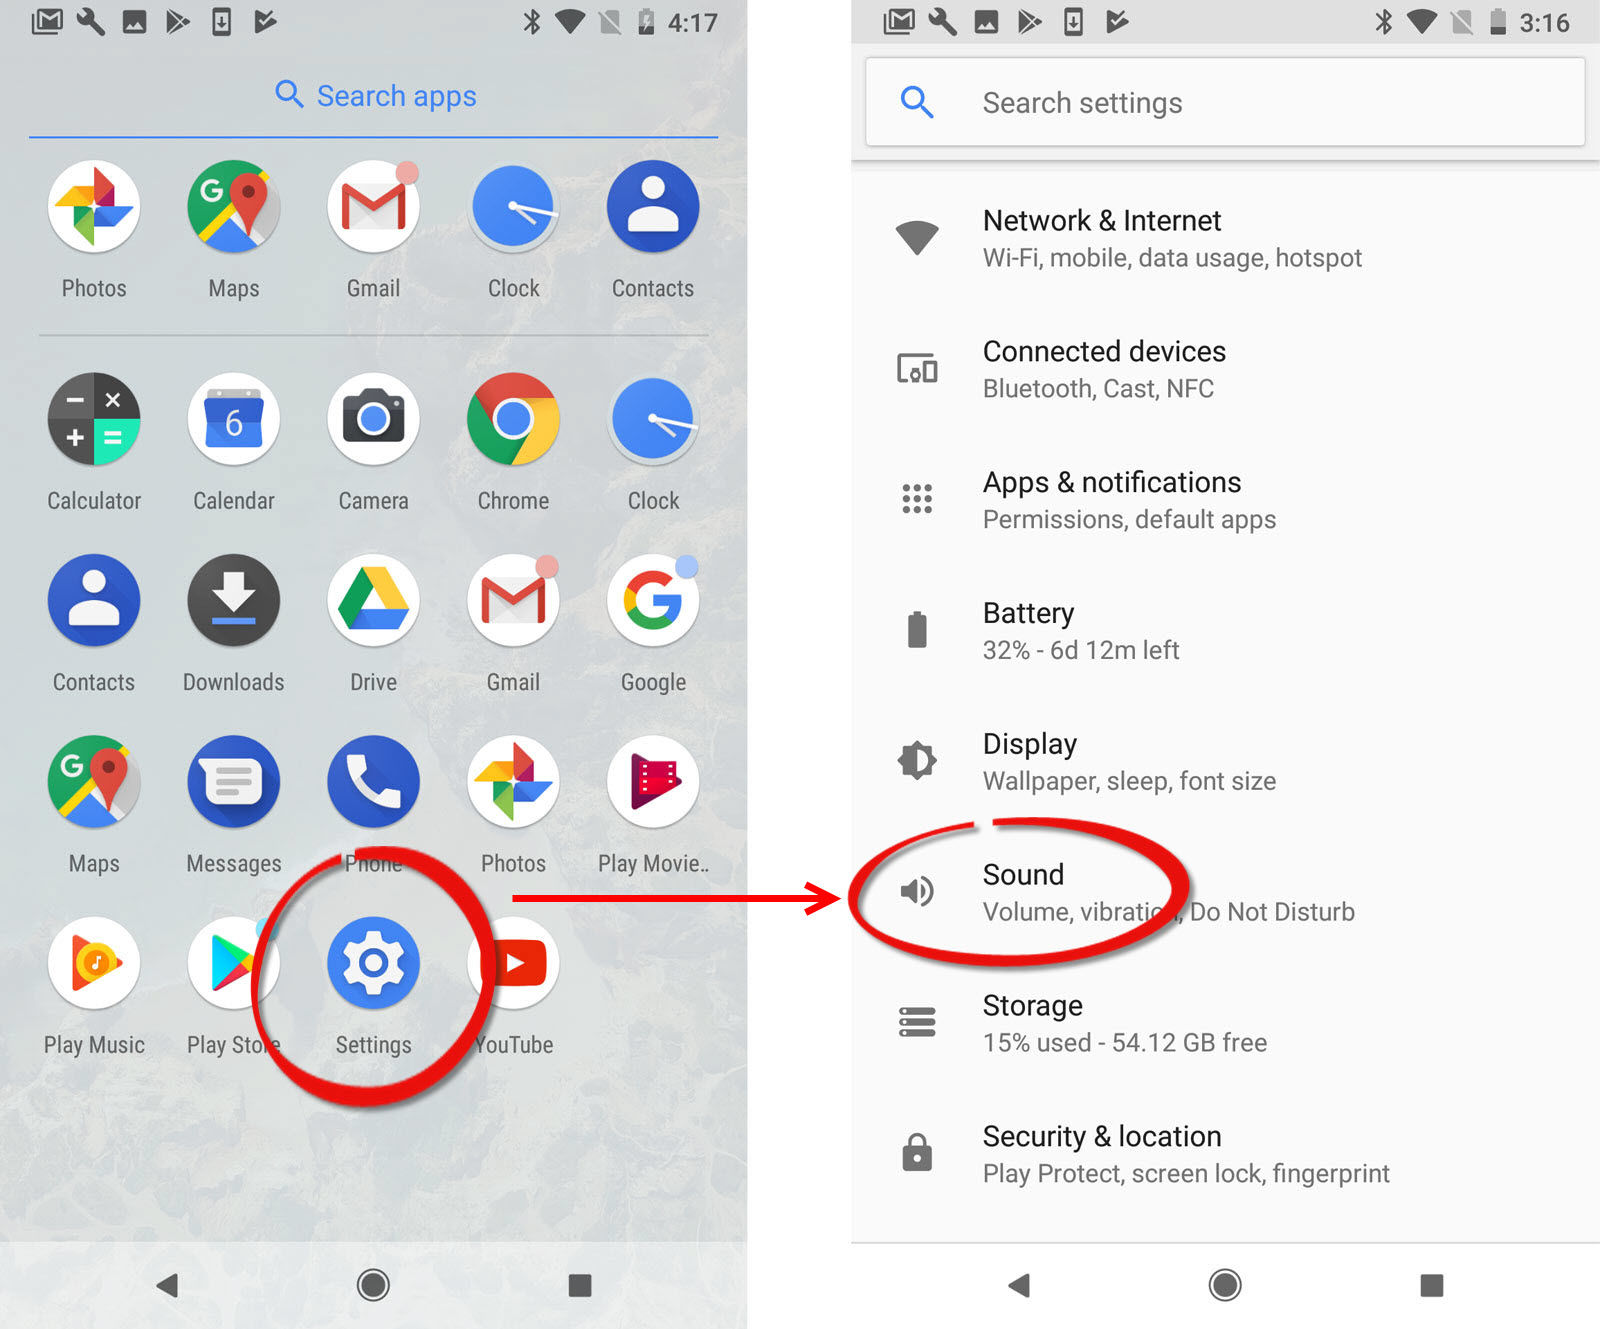
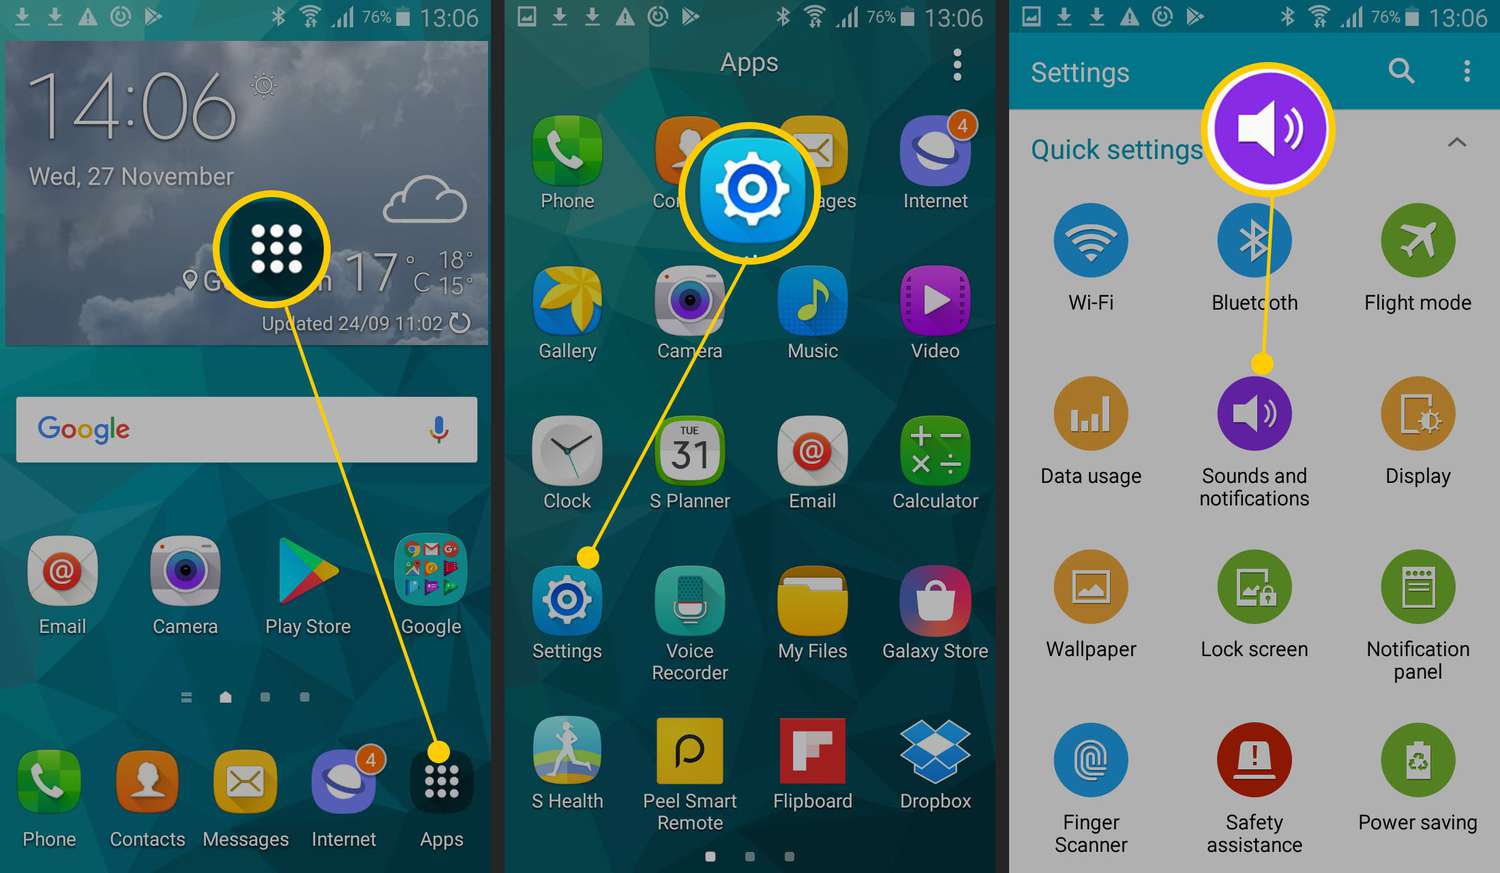
- Open the “Settings” app on your Android device. This can usually be found in the app drawer or accessed by swiping down from the top of the screen and tapping the gear-shaped icon.
- In the “Settings” menu, scroll down and find the “Sound” or “Sound & vibration” option. Tap on it to access the sound settings.
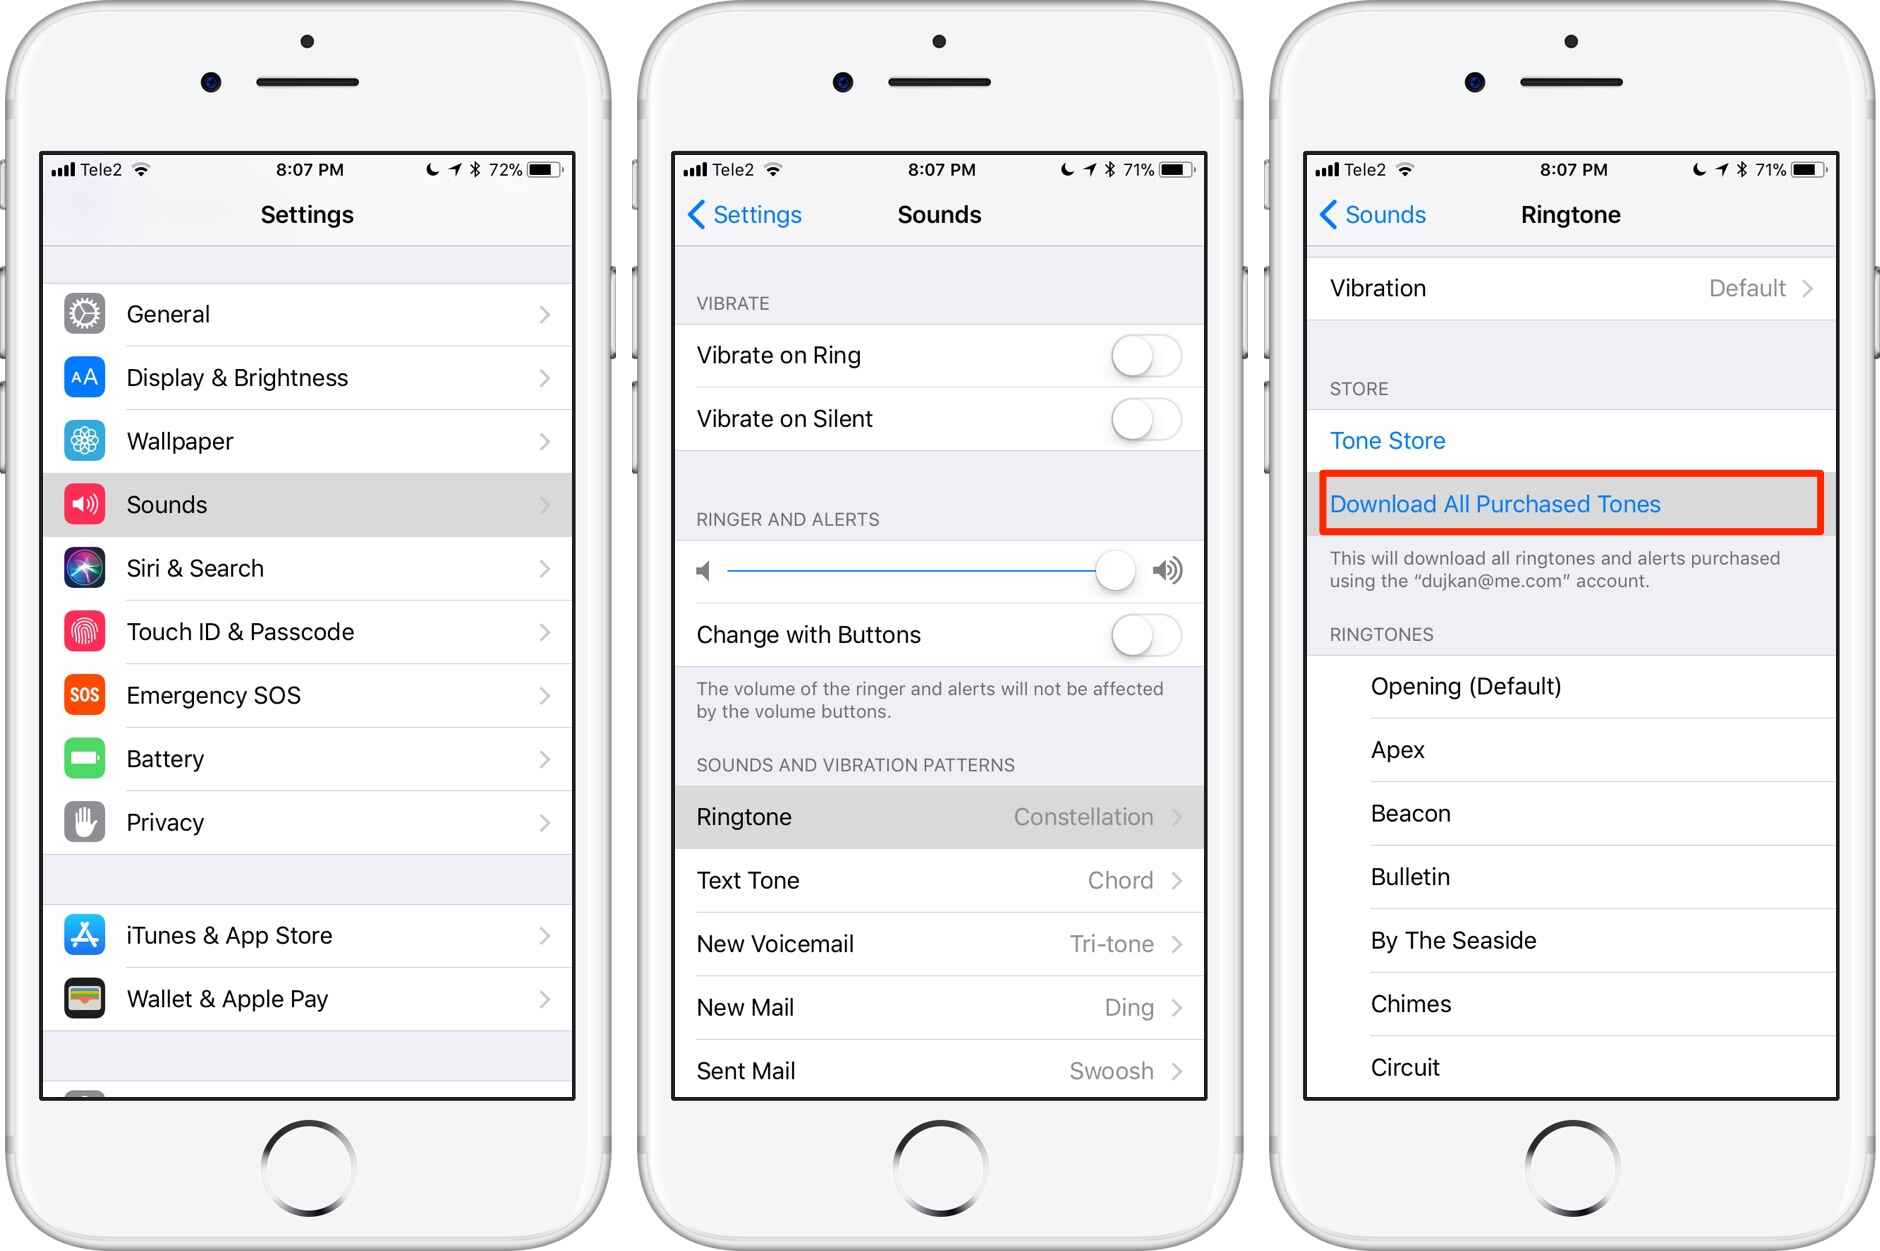
- Look for the “Ringtone” or “Phone ringtone” option and tap on it.
- A list of available ringtones will appear. Scroll down or locate the “Add” or “Custom” option and select it.
- You will be prompted to choose between using a pre-installed file explorer or a third-party file manager. Select your preferred option.
- Navigate to the location where you transferred the custom ringtone file and select it.
- Once selected, you will see a preview of the ringtone. Tap “OK” or “Done” to save the changes.
After saving the changes, your custom ringtone will be set as the default ringtone for incoming calls on your Android device. You can also repeat these steps to set the custom ringtone as your notification or alarm sound.
Congratulations! You have successfully created and set a custom ringtone on your Android device. Enjoy hearing your favorite song or sound whenever you receive calls or notifications.
Conclusion
Customizing your Android device with a unique ringtone can add a personal touch and make it truly yours. By following the step-by-step guide provided in this article, you can easily create and set a custom ringtone that reflects your style and preferences.
From choosing a song or sound to cropping and converting the audio, we’ve covered the essential steps needed to make a custom ringtone. Additionally, we explored different methods for transferring the ringtone file to your Android device, such as using a USB cable, cloud storage, or email messaging. Finally, we walked you through the process of setting the custom ringtone as the default on your device.
It’s important to remember that the specific steps and options may vary slightly depending on your device’s make, model, and operating system version. However, the general process should remain the same, and alternative methods are often available.
Now it’s time for you to get creative and make your Android device stand out with a personalized ringtone. Choose a song or sound that resonates with you, crop it to the desired length, convert the format if needed, transfer the file to your device, and set it as your default ringtone. Express your unique style every time your phone rings!
Enjoy the process of creating your custom ringtone and have fun personalizing your Android device to make it truly yours.