Introduction
When it comes to personalizing your iPhone, setting a unique ringtone can add a touch of personal flair. While there are plenty of paid options available on the App Store, many people are looking for ways to download free ringtones to their iPhones. Thankfully, there are reputable websites that offer a wide selection of high-quality free ringtones that you can easily download and set as your iPhone’s default ringtone.
In this article, we will guide you through the process of downloading free ringtones to your iPhone. Whether you’re a music lover, a movie enthusiast, or just want something fun as your ringtone, we’ve got you covered. Follow the steps below, and soon you’ll be enjoying a unique ringtone that reflects your style.
Before we dive into the process, it’s important to note that downloading free ringtones should always be done from reputable websites to ensure the safety and legality of the content. Additionally, ensure that you have a stable internet connection and enough storage space on your iPhone for the downloaded ringtone. Now, let’s get started!
Step 1: Find a reputable website
The first step in downloading free ringtones to your iPhone is to find a reputable website that offers a wide selection of ringtones. With numerous websites available, it’s essential to choose a reliable source to ensure the quality and legality of the ringtones you download.
Start by conducting a quick search on popular search engines or browse through online forums and discussions to find recommendations from other iPhone users. Look for websites that have positive reviews, a user-friendly interface, and a wide variety of ringtones to choose from.
Once you’ve identified a few potential websites, take some time to explore their collections. Make sure they offer a diverse range of genres and categories, such as pop, rock, hip-hop, movie themes, or even sound effects. This will allow you to find a ringtone that suits your personal preferences and style.
Additionally, pay attention to the website’s reputation and security measures. Look for indications that the site is safe and trustworthy, such as a secure HTTPS connection and verified badges or certifications. Reading user reviews and checking for any known security issues can also help you gauge the website’s reliability.
Remember, the goal is to find a reputable website that offers free ringtones without compromising on quality or safety. By finding a trustworthy source, you can ensure that the ringtones you download are both legal and free from any potentially harmful content.
Step 2: Search for the desired ringtone
Once you have found a reputable website for downloading free ringtones to your iPhone, the next step is to search for your desired ringtone. Most websites offer a search function that allows you to quickly find specific ringtones based on keywords or categories.
Start by thinking about the type of ringtone you want. Do you have a favorite song, artist, or movie theme in mind? Enter relevant keywords into the search bar to narrow down your options. If you’re unsure, you can also browse through the website’s categories or popular ringtone lists to discover new and popular options.
When searching, it’s important to keep in mind that different websites may have their own naming conventions or variations of the same song. So, be open to trying different search terms or variations to increase your chances of finding the exact ringtone you’re looking for.
Additionally, take advantage of any sorting or filtering options available on the website. You may be able to sort the search results by relevance, popularity, or date added. This can make it easier to find the most suitable ringtone based on your preferences.
As you explore the available options, listen to the preview of each ringtone. This will help you assess the quality and ensure that it matches your expectations. Pay attention to the length and clarity of the ringtone, as well as any additional effects or variations.
If you can’t find a specific ringtone on one website, don’t be discouraged. Try searching on other reputable websites or consider reaching out to the website’s customer support for assistance in locating the desired ringtone.
Once you have identified the perfect ringtone, the next step is to download it to your computer so that you can transfer it to your iPhone.
Step 3: Download the ringtone to your computer
After finding the desired ringtone on a reputable website, it’s time to download it to your computer. This step is necessary to transfer the ringtone to your iPhone later on. Most websites offer a straightforward download process that allows you to save the ringtone as a file on your computer.
To begin the download, locate the download button or link near the ringtone preview. It is usually labeled with a “Download” or “Download Now” option. Click on this button to initiate the download process.
Depending on your browser settings, you may be prompted to choose a download location or the ringtone might automatically save to your default Downloads folder. If given the option, consider choosing a specific folder to organize your downloaded ringtones for easier access in the future.
While downloading the ringtone, be patient and avoid clicking multiple download buttons. Some websites may display ads or misleading buttons that can redirect you to other pages. Always ensure you click on the genuine download button offered by the website.
Once the download is complete, you can verify the downloaded ringtone file on your computer. It should be saved with a compatible audio file format, such as .mp3 or .m4r. These are the preferred file formats for iPhone ringtones.
Remember to scan the downloaded file with an antivirus program to ensure it is safe and free of any malware or viruses. This extra precaution will help protect your computer and prevent any security issues.
Now that you have successfully downloaded the ringtone to your computer, it’s time to proceed to the next step: connecting your iPhone to your computer to transfer the ringtone.
Step 4: Connect your iPhone to your computer
To transfer the downloaded ringtone from your computer to your iPhone, you need to establish a connection between the two devices. This can be done by using a USB cable to connect your iPhone to your computer. Follow the steps below to connect your iPhone:
- Locate the USB cable that came with your iPhone. It usually has a Lightning connector on one end and a USB connector on the other.
- Plug the USB connector into an available USB port on your computer. Make sure it is securely connected.
- Take the Lightning connector and plug it into the charging port on your iPhone. Again, ensure a firm connection.
- Your iPhone should now be connected to your computer via the USB cable.
Once the connection is established, your computer may prompt you to trust the connected device. If you see a pop-up message on your iPhone asking if you trust the computer, tap “Trust” to proceed.
It’s worth noting that your computer may also launch iTunes automatically when the iPhone is connected. If this happens, you can minimize or close iTunes for now – we will open it later to transfer the ringtone.
Now that your iPhone is connected to your computer, proceed to the next step: opening iTunes and selecting your iPhone.
Step 5: Open iTunes and select your iPhone
To transfer the downloaded ringtone from your computer to your iPhone, you will need to use iTunes, Apple’s multimedia management software. Follow the steps below to open iTunes and select your iPhone:
- If iTunes is not already open, locate and launch the iTunes application on your computer. It is usually represented by a musical note icon.
- Once iTunes is open, ensure that you have the latest version installed. You can check for updates under the “Help” or “iTunes” menu.
- Next, connect your iPhone to your computer using the USB cable. Ensure that your iPhone is still connected and recognized by iTunes.
- In iTunes, look for the small device icon located in the upper-left corner of the iTunes window. Click on the icon to access your iPhone’s settings.
- A new window will appear, displaying information about your iPhone, including its name, storage capacity, and software version.
- On the left sidebar of the iTunes window, you will find various sections, such as “Library,” “Playlists,” and “Devices.” Look for your iPhone’s name under the “Devices” section and click on it.
By selecting your iPhone in iTunes, you are telling the software that you want to manage the content on your device. This will allow you to transfer the downloaded ringtone from your computer to your iPhone.
Now that you have successfully opened iTunes and selected your iPhone, proceed to the next step: clicking on “Tones” in the left sidebar.
Step 6: Click on “Tones” in the left sidebar
Now that you have selected your iPhone in iTunes, it’s time to navigate to the “Tones” section where you can manage and transfer ringtones. Follow the steps below to click on “Tones” in the left sidebar:
- In iTunes, locate the left sidebar. It contains various sections such as “Library,” “Playlists,” and “Devices.” Look for the section labeled “Tones.”
- Click on “Tones” to access the tones management page. This page will display the list of ringtones currently synced to your iPhone.
- If you have not previously synced any ringtones or this is your first time managing ringtones in iTunes, the “Tones” section might be empty. Don’t worry, as we will soon transfer the downloaded ringtone to your iPhone.
Clicking on “Tones” in the left sidebar is an important step as it allows you to view and manage the existing ringtones on your iPhone. It is also the section where you will be able to add the downloaded ringtone to your device.
Now that you have successfully clicked on “Tones” in the left sidebar, proceed to the next step: dragging and dropping the downloaded ringtone file into iTunes.
Step 7: Drag and drop the downloaded ringtone file into iTunes
Now that you’re in the “Tones” section of iTunes, it’s time to transfer the downloaded ringtone file from your computer to iTunes. Follow the steps below to drag and drop the ringtone file:
- Open the folder where you saved the downloaded ringtone file on your computer.
- In iTunes, locate the ringtone file in your computer’s folder.
- Click and hold the ringtone file, then drag it over to the iTunes window.
- While dragging the ringtone file, position it over the “Tones” section of iTunes.
- Release the mouse button to drop the ringtone file into iTunes.
- Once dropped, iTunes will automatically add the ringtone to the “Tones” section.
After the ringtone file has been successfully added to iTunes, it will appear in the list of tones within the “Tones” section. You can now see the newly added ringtone alongside any other ringtones that were previously synced to your iPhone.
Dragging and dropping the downloaded ringtone file into iTunes is a simple and convenient way to transfer the ringtone from your computer to the iTunes library. It allows you to manage and sync ringtones with ease, ensuring that they will be available for selection on your iPhone.
Now that you have successfully added the downloaded ringtone file to iTunes, proceed to the next step: syncing your iPhone with iTunes to transfer the ringtone.
Step 8: Sync your iPhone with iTunes
After successfully adding the downloaded ringtone file to iTunes, the next step is to sync your iPhone with iTunes. Syncing will transfer the ringtone from iTunes to your iPhone, making it available for use as your default ringtone. Follow the steps below to sync your iPhone with iTunes:
- Ensure that your iPhone is still connected to your computer via the USB cable.
- In iTunes, locate the synchronization options for your iPhone. This can usually be found in the bottom-right corner of the iTunes window.
- Click on the “Sync” button to initiate the synchronization process.
- During the sync process, iTunes will transfer the downloaded ringtone file from the “Tones” section to your iPhone’s ringtone library.
- Wait for the sync process to complete. This may take a few moments, depending on the size of the ringtone file and the amount of other data being synced.
- Once the sync is complete, you will receive a notification confirming that the process was successful.
Syncing your iPhone with iTunes ensures that the downloaded ringtone is transferred to your device and available for use. This step establishes a connection between the iTunes library and your iPhone, allowing for seamless management and synchronization of your media files.
It’s important to note that during the sync process, iTunes may also update other content on your iPhone, such as apps, music, or photos. Keep this in mind as it may affect the duration of the sync process.
Now that you have successfully synced your iPhone with iTunes, proceed to the final step: setting the downloaded ringtone as your iPhone’s default ringtone.
Step 9: Set the downloaded ringtone as your iPhone’s default ringtone
After successfully syncing your iPhone with iTunes, it’s time to set the downloaded ringtone as your iPhone’s default ringtone. Follow the steps below to complete this final step:
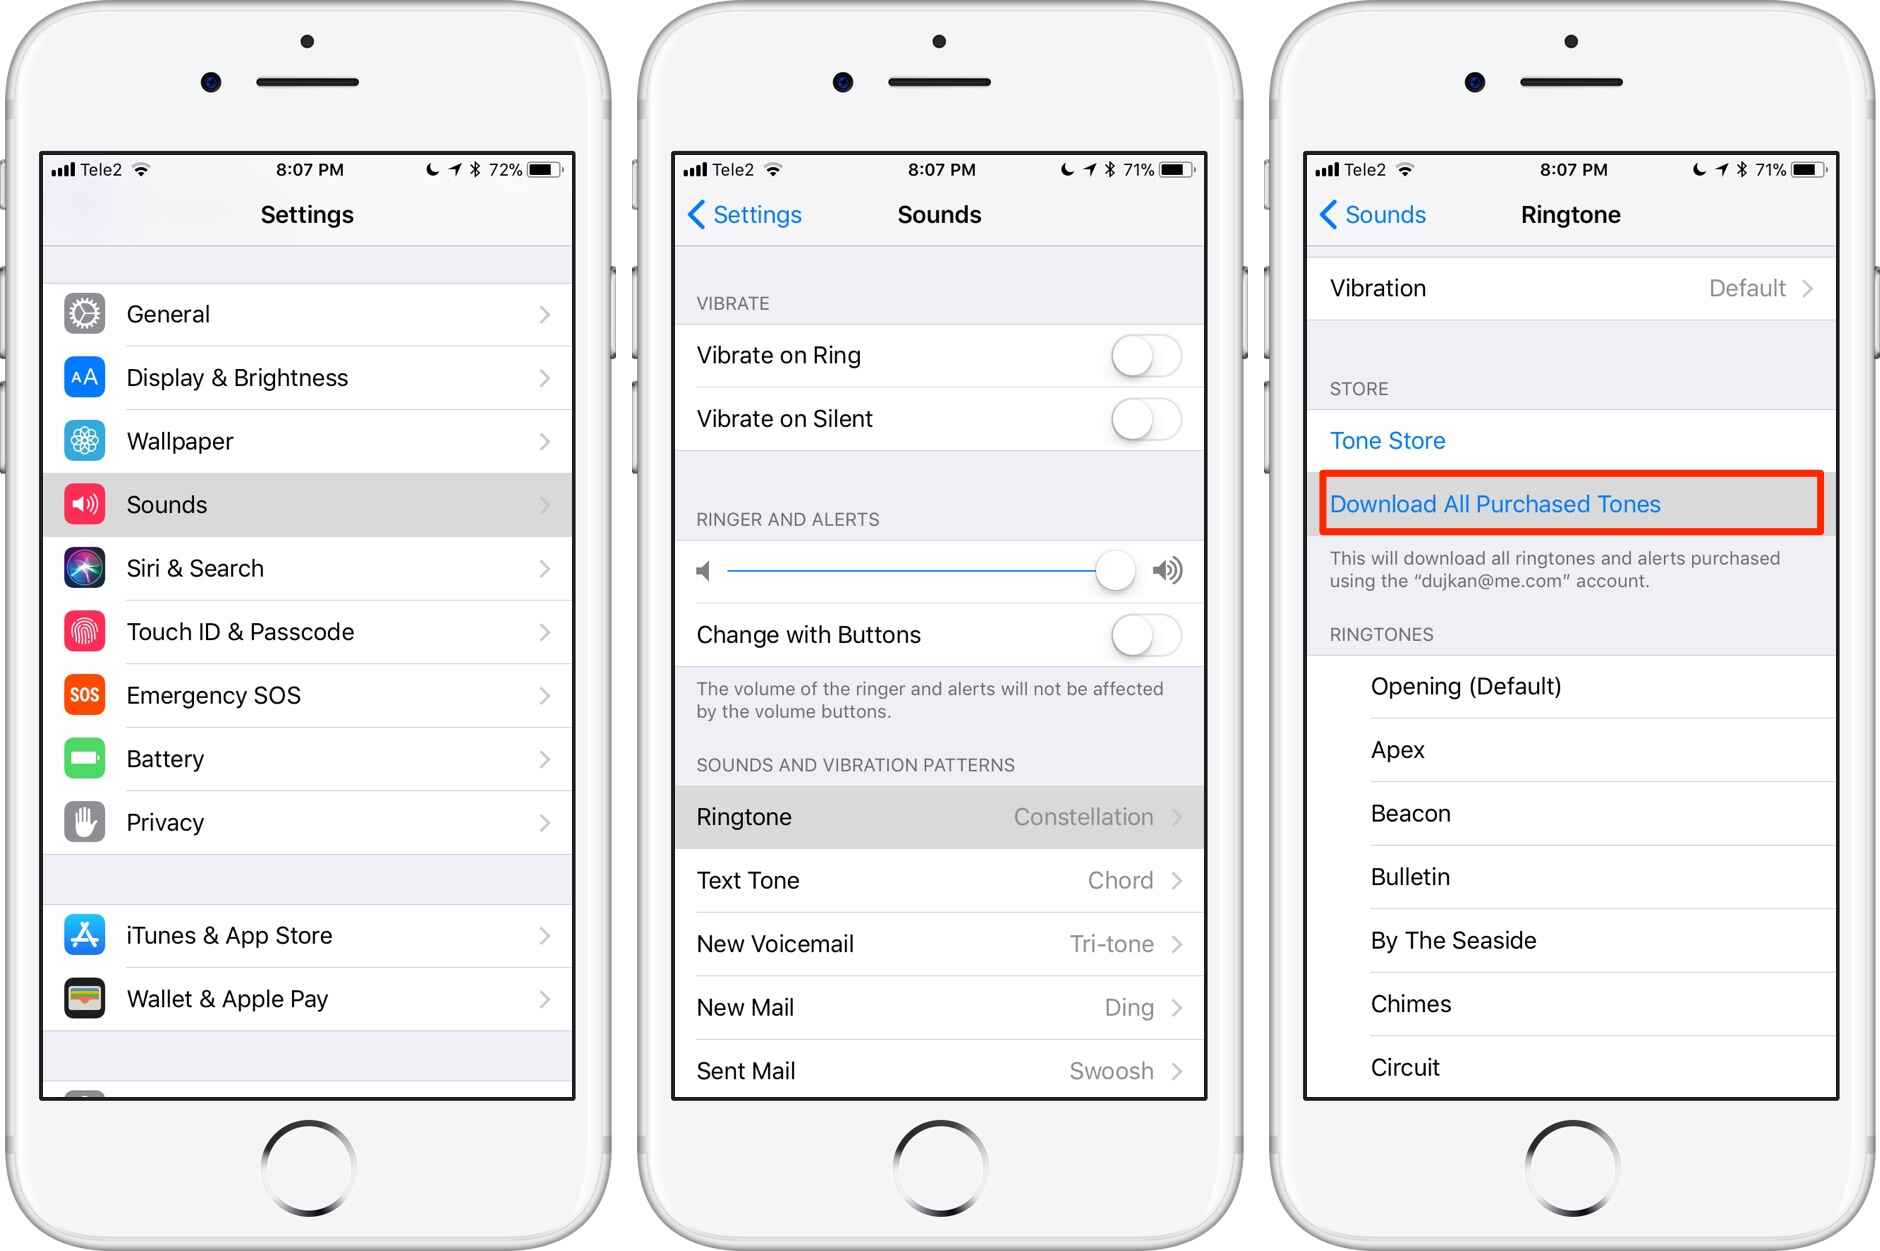
- On your iPhone, navigate to the “Settings” app. It is represented by a gear icon and can usually be found on your home screen.
- In the “Settings” app, scroll down and tap on “Sounds & Haptics” (or just “Sounds” depending on your device’s iOS version).
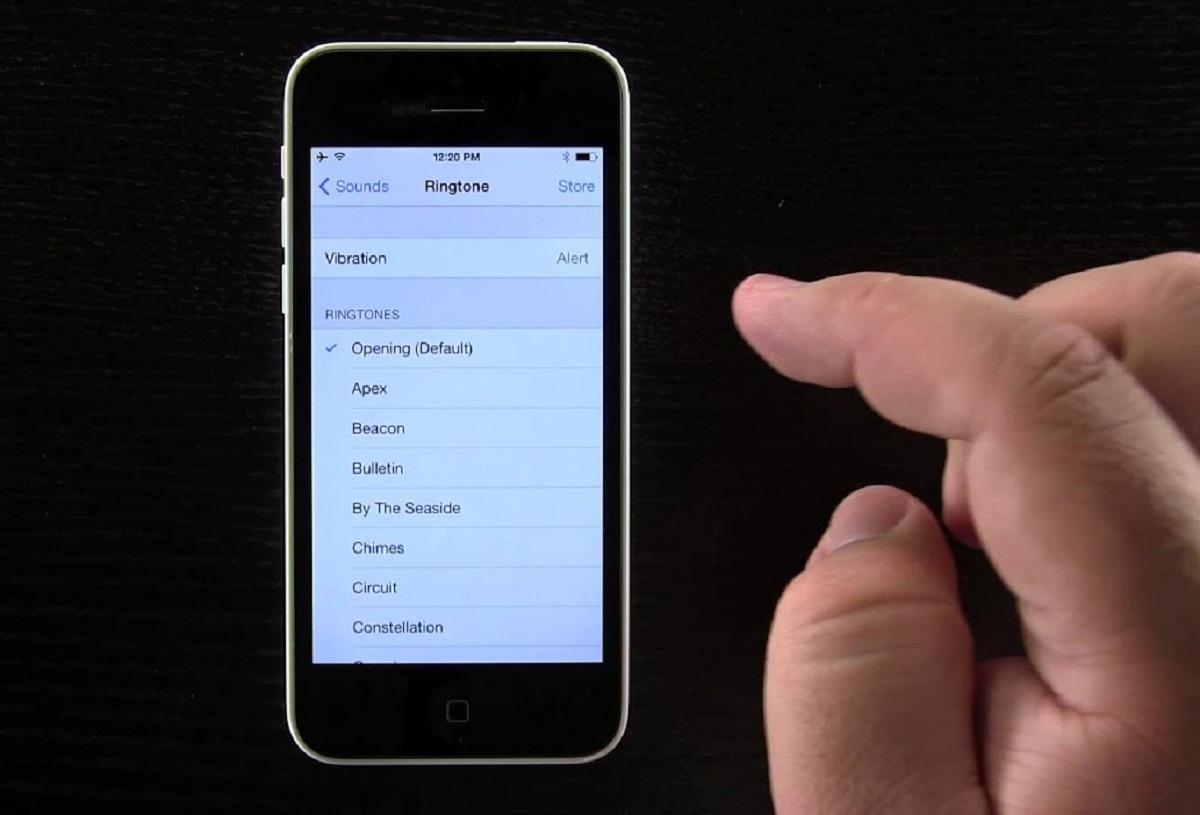
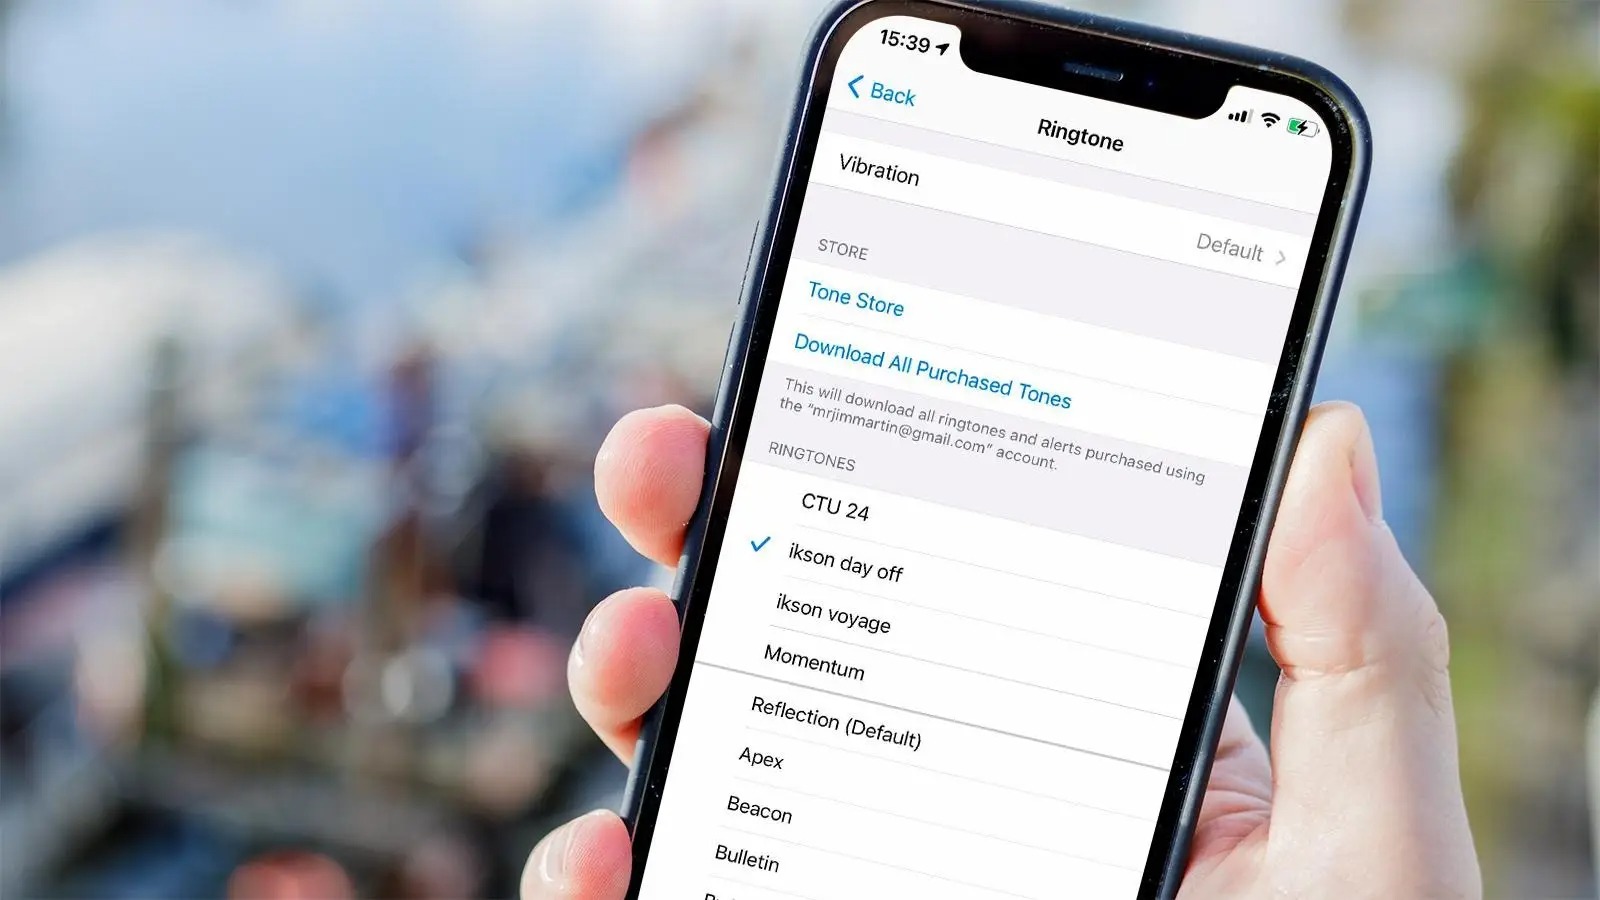
- Within the “Sounds & Haptics” section, tap on “Ringtone.” This will display a list of available ringtones on your device.
- Scroll through the list to locate the downloaded ringtone. It should be listed among the other ringtones available on your iPhone.
- Tap on the downloaded ringtone to select it as your default ringtone. A checkmark should appear next to the selected ringtone to indicate that it is now your default choice.
By following these steps, you have successfully set the downloaded ringtone as your iPhone’s default ringtone. This means that whenever you receive a call, your iPhone will now play the selected ringtone.
You can also customize other sound settings in the “Sounds & Haptics” section, such as setting custom ringtones for specific contacts or adjusting the volume and vibration preferences.
Congratulations! You have now successfully downloaded a free ringtone and set it as your iPhone’s default ringtone. Enjoy the unique and personalized sound whenever your phone rings.
Conclusion
Customizing your iPhone’s ringtone with a unique and personal touch can add a fun and personalized element to your device. In this article, we have guided you through the process of downloading free ringtones to your iPhone and setting them as your default ringtone. By following the steps outlined, you can easily find reputable websites, search for desired ringtones, download them to your computer, connect your iPhone to iTunes, and sync the ringtones to your device.
Remember to always choose reputable websites for downloading free ringtones to ensure the safety and legality of the content. Take advantage of the search features on these websites to find the perfect ringtone that reflects your individual style and preferences. Following the proper steps to connect your iPhone to iTunes and syncing the ringtones will ensure that they are successfully transferred and available for use on your device.
Lastly, don’t forget to set the downloaded ringtone as your iPhone’s default ringtone in the Settings app. This will allow you to enjoy the unique sound whenever your phone rings, putting a smile on your face and making your iPhone stand out from the crowd.
Now that you have the knowledge and tools to download and set free ringtones to your iPhone, go ahead and explore the wide range of options available. Have fun personalizing your device and enjoy the melodic tunes that accompany your incoming calls.