Introduction
Welcome to the world of GTA on Mac! Grand Theft Auto is a popular video game franchise known for its exciting gameplay and immersive open-world experience. While originally developed for Windows, it is possible to play GTA on your Mac by following a few simple steps.
With the help of Wine and PlayOnMac, you can run Windows applications on your Mac and enjoy playing GTA without having to switch to a different operating system. In this guide, we will walk you through the process of downloading and installing GTA on your Mac, so you can dive into the thrilling virtual world of crime and adventure.
Before we get started, there are a few requirements you need to meet:
- A Mac computer running macOS (OS X) 10.8 or later
- A reliable internet connection to download the necessary files
- At least 65 GB of free hard drive space to install GTA
- A copy of GTA (purchased legally) or the game files
Once you have met these requirements, you are ready to embark on your GTA journey on your Mac. Let’s get started!
Requirements
Before you can download and install GTA on your Mac, there are a few essential requirements that you need to fulfill:
- Mac computer: You will need a Mac computer running macOS (OS X) 10.8 or later to install and play GTA. Ensure that your Mac meets the minimum system requirements for the game.
- Internet connection: A stable and reliable internet connection is necessary to download the necessary files for running GTA on your Mac.
- Free hard drive space: Make sure that you have at least 65 GB of free hard drive space available for the installation of GTA.
- GTA copy or game files: You will need a legal copy of GTA or the game files to install and play the game on your Mac. Make sure you have a purchased copy or access to the necessary files.
It is important to ensure that your Mac meets these requirements to ensure smooth gameplay and avoid any compatibility issues. Additionally, it is recommended to update your Mac to the latest version of macOS to ensure optimal performance.
Once you have confirmed that your Mac meets these requirements, you can proceed with the steps to download and install GTA on your Mac. In the following sections, we will guide you through the process step by step, so that you can start enjoying the thrilling world of Grand Theft Auto on your Mac computer.
Step 1: Purchase and Download GTA from a trusted source
The first step to downloading and playing GTA on your Mac is to purchase and download the game from a trusted source. There are several platforms where you can legally purchase and download the game, such as Steam or the official Rockstar Games website. Follow these steps:
- Choose a trusted source: Visit the official website of Rockstar Games or a reputable online platform like Steam to purchase and download GTA. Ensure that you are purchasing the game from a legitimate source to avoid any issues or piracy concerns.
- Create an account: If you don’t already have an account on the platform you chose, create one by providing the necessary details and following the registration process.
- Browse and purchase GTA: Once your account is set up, search for GTA in the platform’s game library. Select the edition/version you want to purchase and add it to your cart.
- Complete the purchase: Go to your cart, review your order, and proceed to the payment page. Follow the instructions to make the payment using a valid payment method.
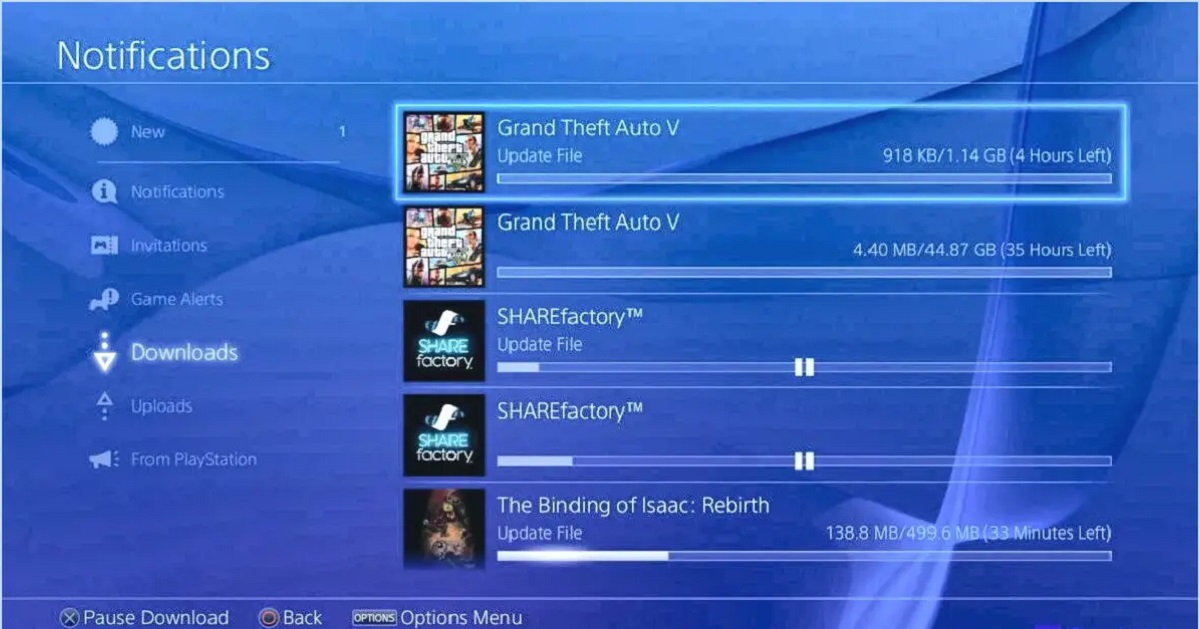
- Download the game: After completing the purchase, you will typically be provided with a download link or access to your game library. Click on the download link or find the game in your library, then start the download process.
- Wait for the download to complete: The download time may vary depending on your internet connection speed and the size of the game. Ensure that you have sufficient space on your hard drive for the download.
Once the download is complete, you are now ready to move on to the next step of installing GTA on your Mac. In the following sections, we will guide you through the necessary steps to set up your system and run GTA smoothly using Wine and PlayOnMac.
Step 2: Install Wine on your Mac
In order to run Windows applications on your Mac, including GTA, you will need to install a compatibility layer called Wine. Here’s how you can install Wine on your Mac:
- Visit the WineHQ website: Open your web browser and go to the official WineHQ website.
- Navigate to the Downloads page: On the WineHQ website, navigate to the “Downloads” section, where you will find the latest stable release of Wine for macOS.
- Download the Wine package: Look for the macOS version of Wine and click on the download link to start downloading the package. Make sure to choose the correct version for your operating system.
- Open the downloaded package: Once the download is complete, locate the downloaded package on your Mac and double-click on it to open it.
- Follow the installation prompts: The installation process of Wine is similar to any other macOS software installation. Follow the on-screen prompts, agree to the terms and conditions, and proceed with the installation.
- Wait for the installation to complete: Depending on your Mac’s performance and the size of the Wine package, the installation process may take a few minutes. Allow the installation to finish.
After the installation of Wine is complete, you will have the necessary software to run Windows applications on your Mac. Now, it’s time to move on to the next step and install PlayOnMac, a graphical front-end for Wine that will make it easier to run GTA.
Step 3: Install PlayOnMac
Now that you have Wine installed on your Mac, the next step is to install PlayOnMac, a graphical front-end for Wine that provides a user-friendly interface for managing Windows applications. Follow these steps to install PlayOnMac:
- Visit the PlayOnMac website: Open your web browser and go to the official PlayOnMac website.
- Navigate to the Downloads page: On the PlayOnMac website, navigate to the “Downloads” section, where you will find the latest version of PlayOnMac for macOS.
- Download the PlayOnMac package: Look for the macOS version of PlayOnMac and click on the download link to start downloading the package.
- Open the downloaded package: Once the download is complete, locate the downloaded package on your Mac and double-click on it to open it.
- Follow the installation prompts: The installation process of PlayOnMac is straightforward. Simply follow the on-screen prompts, agree to the terms and conditions, and proceed with the installation.
- Wait for the installation to complete: PlayOnMac will be installed on your Mac, creating a shortcut in your Applications folder. Depending on your Mac’s performance and the size of the package, the installation may take a few minutes.
Once the installation of PlayOnMac is complete, you now have the necessary tools to run GTA on your Mac. In the following steps, we will guide you through the process of configuring PlayOnMac and installing GTA using Wine.
Step 4: Configure PlayOnMac
After installing PlayOnMac on your Mac, it’s important to configure it properly before proceeding with the installation of GTA. Follow these steps to configure PlayOnMac:
- Launch PlayOnMac: Locate the PlayOnMac shortcut in your Applications folder and double-click on it to launch the program.
- Install additional packages: PlayOnMac may prompt you to install additional packages like XQuartz or Wine Mono. Follow the on-screen prompts to install these necessary components.
- Create a new virtual drive: In the PlayOnMac interface, click on the “Configure” button and select the option to create a new virtual drive.
- Select the appropriate Wine version: Choose the Wine version that is compatible with GTA. Ideally, select the latest stable version available. PlayOnMac will automatically download and install the chosen Wine version.
- Configure the virtual drive settings: Specify the name and location of the virtual drive where GTA will be installed. Ensure that you have sufficient disk space available for the game’s installation.
- Install necessary components: PlayOnMac may prompt you to install additional components required by GTA. Follow the instructions to install these components, if prompted.
- Finish the configuration: Once the necessary settings are configured, click on the “Close” button to finish the configuration process.
With PlayOnMac properly configured, you are now ready to proceed with the installation of GTA. In the next step, we will guide you through the process of starting the GTA installation process using PlayOnMac and Wine.
Step 5: Start the GTA installation process
Now that you have PlayOnMac and Wine configured, it’s time to start the GTA installation process. Follow these steps to begin installing GTA on your Mac:
- Launch PlayOnMac: Locate the PlayOnMac shortcut in your Applications folder and double-click on it to launch the program.
- Access the virtual drive: In the PlayOnMac interface, click on the virtual drive you created in the previous steps to access its settings.
- Click on the “Install” button: Within the virtual drive settings, click on the “Install” button to start the installation process.
- Navigate to the GTA setup file: Locate the GTA setup file that you downloaded in Step 1. This may be in your Downloads folder or wherever you saved the file.
- Follow the installation prompts: PlayOnMac will now guide you through the installation process. Follow the on-screen prompts and provide any necessary information as required by the GTA installation wizard.
- Complete the installation: Once the installation process is complete, PlayOnMac will notify you. Make sure to check the box to create a desktop shortcut for GTA, if desired.
Note that the installation process may take some time, depending on your Mac’s performance and the size of the game’s installation file. Be patient and allow the installation to complete.
With GTA successfully installed on your Mac, you are now ready to move on to the final step – launching GTA and experiencing the exciting gameplay firsthand. We will guide you through launching GTA on your Mac in the next section.
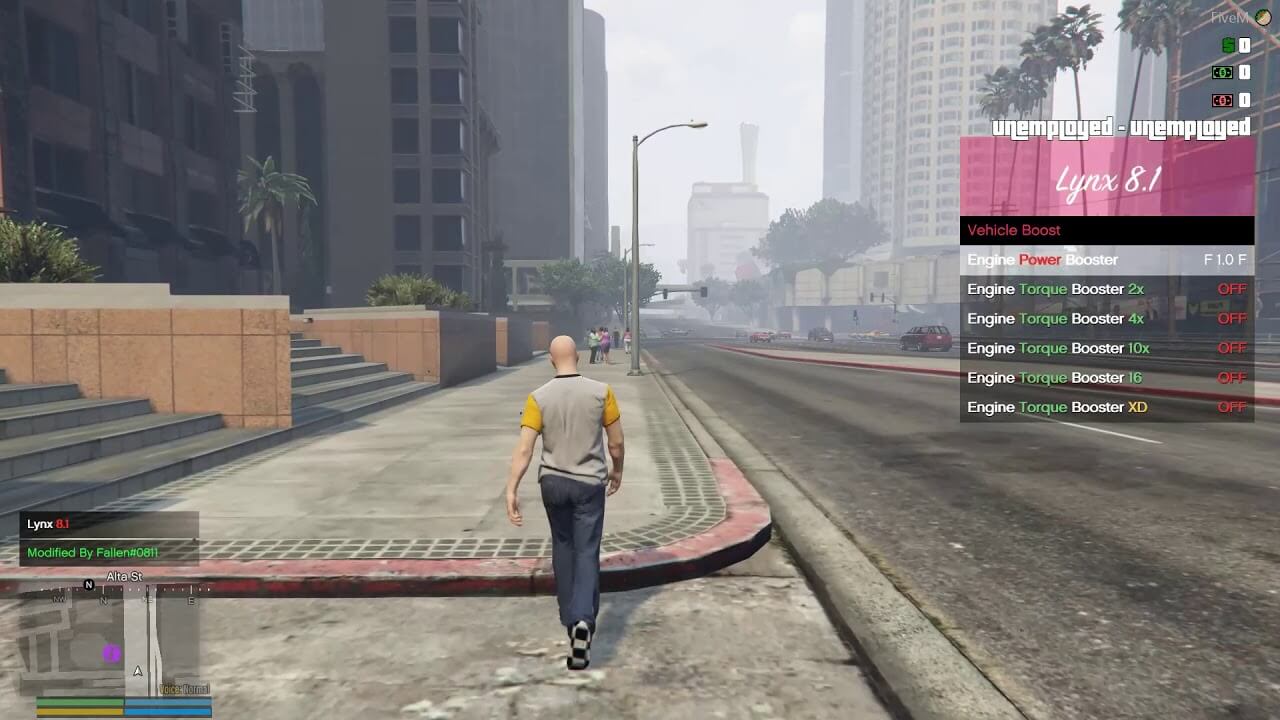
Step 6: Launch GTA on your Mac
Congratulations! You have successfully installed GTA on your Mac using Wine and PlayOnMac. Now, let’s go ahead and launch the game so you can start enjoying the thrilling virtual world of Grand Theft Auto. Here’s how:
- Launch PlayOnMac: Locate the PlayOnMac shortcut in your Applications folder and double-click on it to launch the program.
- Access the virtual drive: In the PlayOnMac interface, click on the virtual drive where GTA is installed to access its settings.
- Click on the “Browse” button: Within the virtual drive settings, click on the “Browse” button and navigate to the folder where GTA is installed.
- Find the GTA executable file: Look for the GTA executable file, usually named “GTA.exe” or “GTA5.exe”, depending on the version of the game you installed.
- Double-click on the executable file: Once you have located the GTA executable file, double-click on it to launch the game using PlayOnMac and Wine.
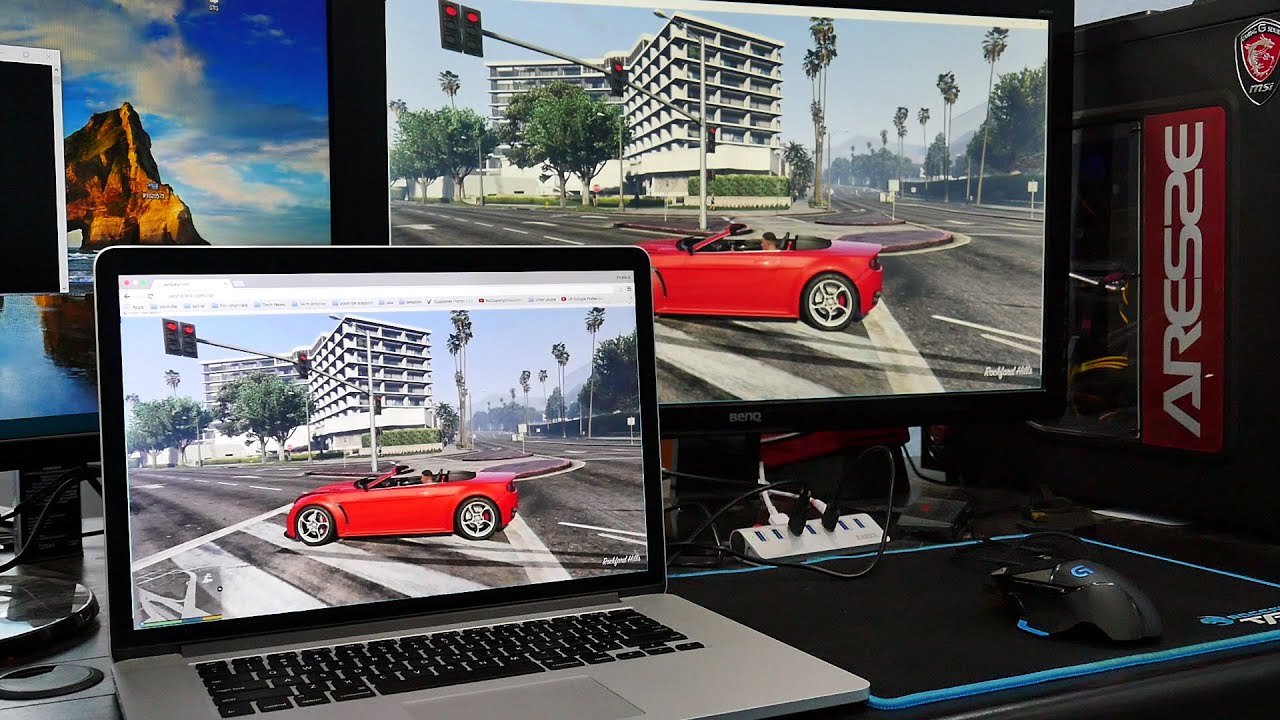
- Enjoy playing GTA on your Mac: After a brief loading process, the game will launch, and you can start playing GTA on your Mac!
It is important to note that the performance of GTA on your Mac may vary depending on the specifications of your machine. Adjust the game settings as needed to optimize the gameplay experience.
Now that you have successfully launched GTA on your Mac, you can dive into the immersive gameplay, complete challenging missions, explore the vast open world, and enjoy all the excitement that Grand Theft Auto has to offer.
Remember to save your progress regularly and have fun as you embark on this thrilling virtual adventure on your Mac!
Conclusion
Congratulations on successfully downloading, installing, and launching GTA on your Mac using Wine and PlayOnMac! Throughout this guide, we have walked you through the step-by-step process of getting GTA up and running on your Mac computer, allowing you to enjoy the thrilling world of Grand Theft Auto.
By following the requirements, purchasing GTA from a trusted source, installing Wine and PlayOnMac, and configuring the necessary settings, you have unlocked the ability to play this popular game on your Mac. Remember, it’s important to ensure that your Mac meets the system requirements and that you have enough free hard drive space for the installation process.
With GTA successfully installed, you can now dive into the immersive gameplay, completing daring missions, exploring the vast open world, and experiencing all the excitement that the game offers. Adjust the game settings to optimize the gameplay experience and have fun exploring the virtual world of crime and adventure.
Should you encounter any issues during the installation or while playing the game, refer to the official documentation, forums, or support resources available for GTA, Wine, and PlayOnMac. These resources can provide valuable troubleshooting tips and solutions to common problems.
Remember to stay up to date with updates and patches for GTA, as well as any updates for Wine and PlayOnMac. By keeping your software versions current, you can ensure optimal performance and compatibility.
Thank you for following this guide, and we hope you enjoy your GTA gaming experience on your Mac. Prepare yourself for hours of adventurous gameplay and have a great time exploring the virtual world of Grand Theft Auto!