Introduction
Backing up your Picasa library to an external hard drive is a wise decision that can provide you with peace of mind and protect your precious memories. Picasa is a popular image management software developed by Google, which allows you to organize, edit, and share your photos with ease. However, relying solely on your computer’s hard drive to store your valuable photos can be risky. Hard drives can fail, computers can crash, and accidents can happen. That’s why it’s important to create a backup of your Picasa library on an external hard drive.
By backing up your Picasa library to an external hard drive, you can ensure that your photos are protected in case of any unforeseen failures or data losses. In addition, an external hard drive provides you with the flexibility to access your photos on multiple devices and easily share them with others. Whether you’re a professional photographer or simply an avid photo enthusiast, taking the time to backup your Picasa library will give you the confidence that your memories are safe and secure.
In this guide, we’ll walk you through the steps to backup your Picasa library to an external hard drive. We’ll also discuss important considerations before starting the backup process and provide additional tips to ensure a successful backup. Whether you’re using Picasa on a Windows PC or a Mac, this guide will help you preserve your photos for years to come.
Why backup Picasa to an external hard drive?
There are several compelling reasons why you should consider backing up your Picasa library to an external hard drive:
- Data Protection: Computers are not immune to hardware failures or software glitches. In the event that your computer’s hard drive crashes or your Picasa software becomes corrupted, having a backup on an external hard drive ensures that your photos remain safe and accessible. It provides an additional layer of protection for your precious memories.
- Extra Storage: Picasa allows you to create and edit albums, add tags and captions, and organize your photos in various ways. As you continue to use Picasa, your photo library grows, and it’s important to have enough storage space to accommodate it. By backing up Picasa to an external hard drive with ample capacity, you can free up space on your computer’s hard drive and continue to enjoy the benefits of Picasa without running out of storage.
- Portability and Accessibility: An external hard drive offers the advantage of portability, allowing you to access your Picasa library on multiple devices. Whether you’re traveling, visiting family and friends, or simply working on a different computer, you can easily connect your external hard drive and access your photos. This accessibility ensures that your memories are always within reach, no matter where you are.
- Sharing and Collaboration: With Picasa, you can easily share your photos with others through email, social media, or by generating web albums. However, relying solely on online platforms for storing and sharing your photos comes with its own risks. By backing up your Picasa library to an external hard drive, you have control over your photos and can easily share them with others without depending on an internet connection or the availability of online platforms.
- Long-Term Preservation: Your photos hold significant emotional and sentimental value. It’s important to ensure their long-term preservation. By keeping a backup of your Picasa library on an external hard drive, you can safeguard your photos from potential data loss due to technological advancements or changes in software compatibility. This way, you can ensure that your photos will be accessible not just for your own enjoyment, but also for future generations to appreciate and cherish.
By backing up your Picasa library to an external hard drive, you can address these concerns and enjoy a sense of security knowing that your photos are protected, easily accessible, and preserved for the future.
Things to consider before backing up Picasa
Before you start the process of backing up your Picasa library to an external hard drive, there are a few important things to consider:
- Storage Capacity: Ensure that the external hard drive you plan to use has enough storage capacity to accommodate your Picasa library. Take into account the size of your existing library and consider future growth. It’s always a good idea to invest in a larger capacity hard drive to avoid running out of space in the near future.
- File Format: Picasa supports a wide range of image file formats including JPEG, PNG, GIF, and more. However, it’s important to understand the file formats you have in your library and make sure that the external hard drive you choose supports those formats as well. This will ensure that your photos can be easily accessed and viewed in the future without any compatibility issues.
- File Organization: Picasa allows you to organize your photos into albums, add tags, and create collections. Before you back up your Picasa library, take some time to review and organize your files. Consider whether you want to maintain the same organization structure on your external hard drive or if you prefer a different organization method. Taking care of this beforehand will make it easier to navigate and find your photos in the future.
- Backup Frequency: Decide on a backup schedule that works for you. Depending on how frequently you add new photos to your Picasa library or make edits to existing ones, you may want to set up a regular backup routine. Whether it’s a monthly, weekly, or daily backup, having a consistent schedule will ensure that your Picasa library is always up to date on your external hard drive.
- Data Security: Consider the security of your backup. Password-protecting your external hard drive or using encryption software can provide an extra layer of security to your backed-up Picasa library. It’s important to keep your backup drive in a safe and secure location to protect it from physical damage or theft.
By taking these factors into account before proceeding with the backup process, you’ll be better prepared to ensure a smooth and successful backup of your Picasa library to an external hard drive. The time spent in careful planning and consideration will pay off in the long run, providing you with a reliable and easily accessible backup of your invaluable photos.
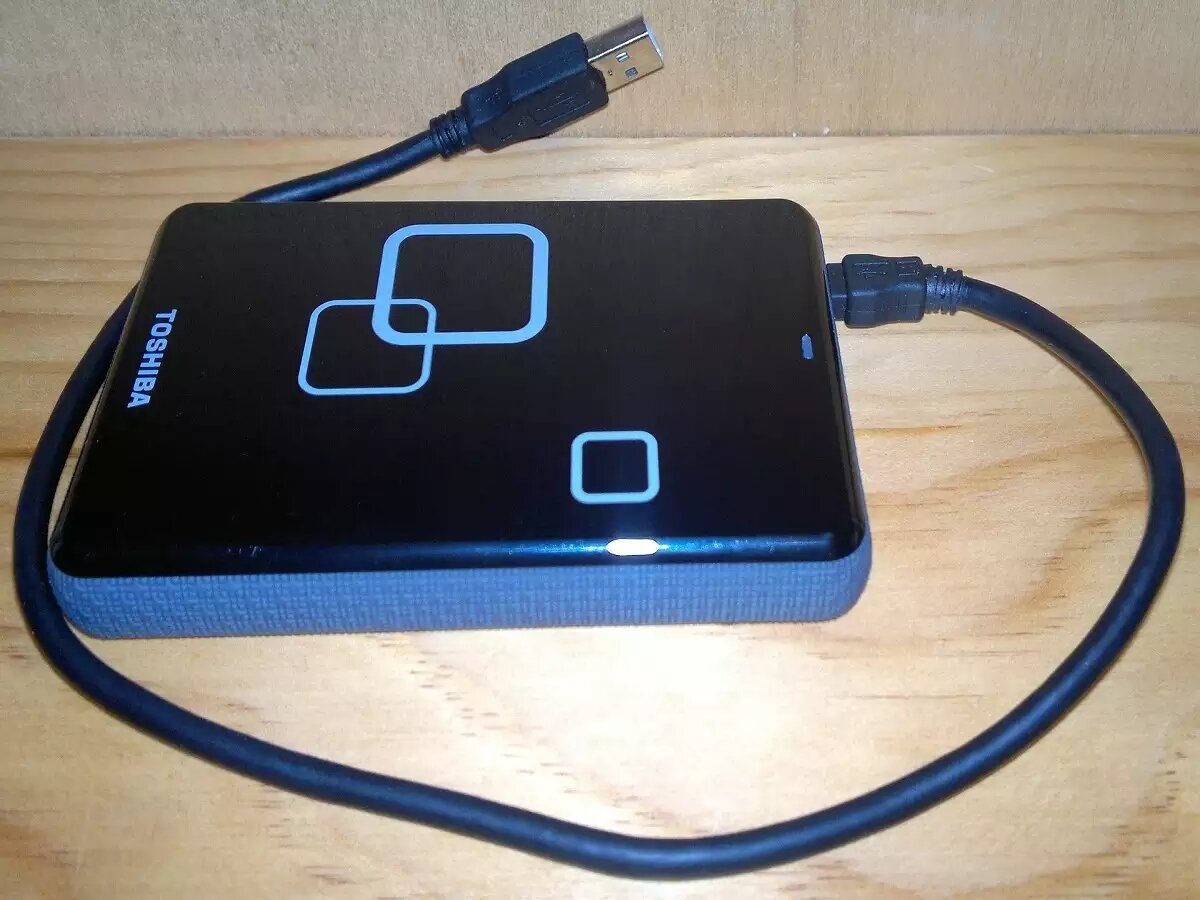
Step 1: Connect the external hard drive
The first step in backing up your Picasa library is to connect the external hard drive to your computer. Follow these simple steps to ensure a successful connection:
- Choose the right port: Locate an available USB port on your computer and ensure it is compatible with the connector on your external hard drive. Most external hard drives use a USB 3.0 or USB-C connector, but depending on the age and model of your computer, you may also have USB 2.0 ports. Use the appropriate cable to connect the external hard drive to your computer.
- Plug it in: Gently insert one end of the cable into the external hard drive and the other end into the USB port on your computer. Make sure the connectors are snugly inserted to ensure a reliable connection.
- Power up the hard drive: Some external hard drives require a separate power source, while others draw power directly from the computer through the USB cable. If your external hard drive has an additional power cable, ensure it is connected to a power outlet. If it is a self-powered hard drive, it should automatically power up once it is connected to your computer.
- Wait for recognition: Give your computer a few moments to recognize and detect the external hard drive. Depending on the speed of your computer, this may take a few seconds. Once the connection is established, you should see a notification or an icon on your computer indicating the presence of the external hard drive.
- Confirm connection: Open File Explorer (Windows) or Finder (Mac) to confirm that the external hard drive is recognized and displayed as a new storage device. You should be able to see its name listed along with the other drives connected to your computer.
Once you have successfully connected the external hard drive to your computer, you are ready to proceed to the next step of backing up your Picasa library. Ensuring a secure and stable connection is crucial, as it will allow for a reliable data transfer and prevent any interruptions during the backup process.
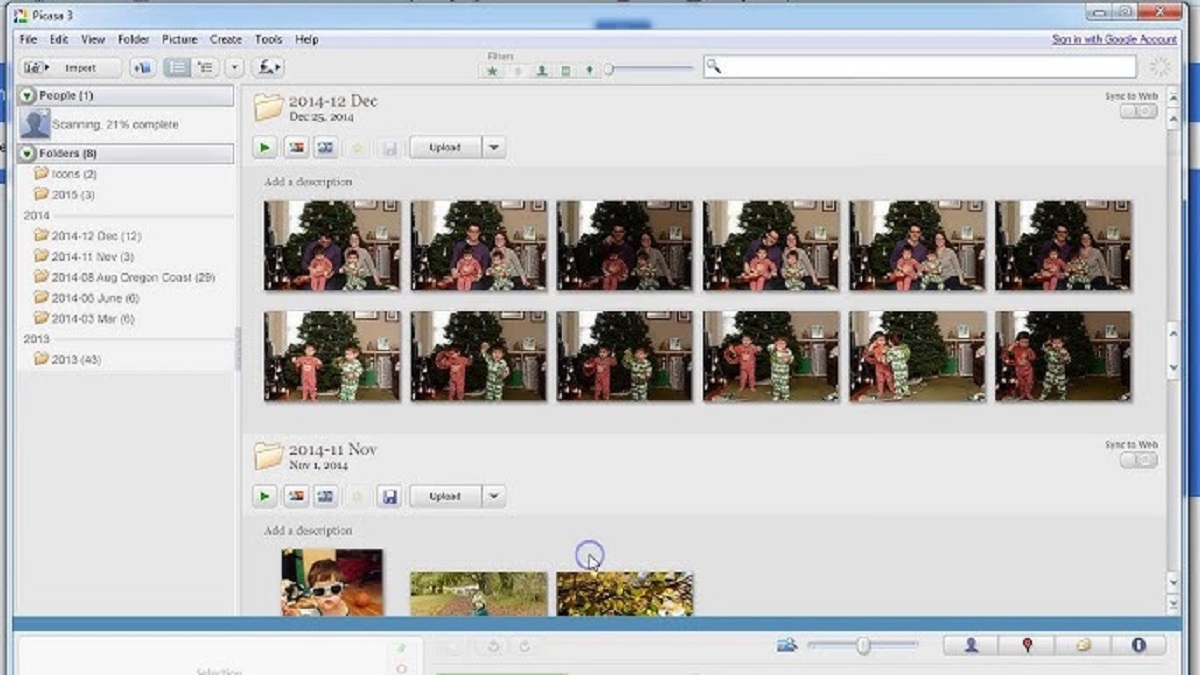
Step 2: Locate the Picasa folder on your computer
Now that you have connected the external hard drive to your computer, it’s time to locate the Picasa folder on your computer. Follow these steps to find the folder:
- Open Picasa: Launch the Picasa software on your computer. You can typically find it in your list of installed applications or search for it in your Start menu or Applications folder, depending on your operating system.
- Locate the storage location: In the Picasa software, click on the “Tools” menu at the top and select “Options” from the drop-down menu. This will open the Picasa Options window.
- Select the “General” tab: Within the Picasa Options window, navigate to the “General” tab. In this tab, you will find the location where Picasa stores your photos on your computer.
- Note the folder path: In the “General” tab, look for the “Local Picasa” area. Here, you will see the location path of the Picasa folder on your computer. Take note of this folder path or copy it to your clipboard for the next step.
- Close Picasa: Once you have noted the folder path, close the Picasa software to proceed to the next step of the backup process.
By following these steps, you will be able to locate the Picasa folder on your computer. This folder contains all your photos and albums managed by Picasa. Remember to take note of the folder path, as you will need this information in the next step when copying the Picasa folder to the external hard drive. With the folder path at hand, you are now ready to move forward with the backup process and ensure the safety of your Picasa library.
Step 3: Copy the Picasa folder to the external hard drive
Now that you have located the Picasa folder on your computer, it’s time to copy it to the external hard drive. Follow these steps to ensure a successful backup:
- Open File Explorer (Windows) or Finder (Mac): Navigate to the file management application on your computer. You can usually find it in the taskbar (Windows) or the dock (Mac). Alternatively, you can press the Windows key + E (Windows) or Command key + Spacebar and type “Finder” (Mac) to open the file explorer.
- Locate the Picasa folder: Using the folder path you noted in the previous step, navigate to the location of the Picasa folder. This folder typically contains subfolders for each photo album, as well as the original copies and edited versions of your photos.
- Select the Picasa folder: Once you have located the Picasa folder in the file explorer, click on it to select it. You can also use the Ctrl key (Windows) or Command key (Mac) to select multiple folders if needed.
- Copy the folder: With the Picasa folder selected, right-click on it (Windows) or control-click (Mac), then choose the “Copy” option from the context menu. Alternatively, you can use the Ctrl+C keyboard shortcut (Windows) or Command+C (Mac) to copy the folder.
- Navigate to the external hard drive: Using the file explorer, navigate to the location where you want to store the backup on the external hard drive. Create a new folder if needed to keep the backup organized.
- Paste the folder: Right-click in the destination folder on the external hard drive (Windows) or control-click (Mac), then choose the “Paste” option from the context menu. Alternatively, you can use the Ctrl+V keyboard shortcut (Windows) or Command+V (Mac) to paste the folder.
- Wait for the transfer to complete: The copying process may take some time, depending on the size of your Picasa folder and the speed of your computer and external hard drive. Avoid interrupting the process or disconnecting the external hard drive until the transfer is complete.
By following these steps, you will be able to copy the entire Picasa folder, along with all its subfolders and photos, to the external hard drive. Make sure to maintain the folder structure during the transfer to ensure that your albums and organization remain intact. Once the transfer is complete, you can proceed to verify the backup and ensure the successful preservation of your Picasa library.
Step 4: Verify the backup was successful
After copying the Picasa folder to the external hard drive, it’s important to verify that the backup was successful. Follow these steps to ensure the integrity of your backed-up Picasa library:
- Eject the external hard drive: Safely remove the external hard drive from your computer by right-clicking on its icon in the file explorer (Windows) or dragging it to the Trash (Mac). This step ensures that any pending transfers are completed before disconnecting the drive.
- Disconnect the external hard drive: Once the external hard drive is safely ejected, unplug it from your computer to physically disconnect it from the system.
- Reconnect the external hard drive: Reconnect the external hard drive to your computer using the same USB port and cable as before.
- Open the external hard drive: Open the file explorer (Windows) or Finder (Mac) and navigate to the external hard drive’s location.
- Locate the copied Picasa folder: Look for the Picasa folder that you copied earlier. Ensure that the folder structure and file names are preserved, indicating a successful backup.
- Inspect a few photos: Open a few photos from different albums within the Picasa folder to ensure they are viewable and intact. Check for any visible errors or corruption in the images.
- Compare file sizes: If possible, compare the file sizes of a few randomly selected photos from both the original Picasa library on your computer and the backed-up Picasa folder on the external hard drive. The file sizes should be similar, indicating that the photos were successfully copied.
By following these steps, you can verify that the backup of your Picasa library was successful. It’s important to ensure that the copied folder is complete and that the photos remain intact during the transfer process. By inspecting a few photos and comparing file sizes, you can confirm that your valuable memories are safely preserved on the external hard drive. Now that you have successfully backed up and verified your Picasa library, you can rest assured knowing that your photos are secure and can be easily accessed in case of any unforeseen data loss or computer issues.
Additional tips for backing up Picasa
Here are some additional tips to enhance your Picasa backup process:
- Automate the backup: Consider setting up an automated backup system to ensure that your Picasa library is regularly backed up without manual intervention. Use backup software or cloud storage solutions that offer scheduled backups, so you don’t have to worry about remembering to back up your photos.
- Keep multiple copies: It’s always a good idea to maintain multiple copies of your Picasa library for added security. Consider creating backups on more than one external hard drive or a combination of external drives and cloud storage. This way, you have redundancy and protection in case of a failure.
- Label and organize your backups: Clearly label your external hard drives or backup folders to identify the date and contents of each backup. This will make it easier for you to locate specific versions of your Picasa library in the future, especially if you need to retrieve specific photos or revert to an earlier backup.
- Regularly update your backup: As you continue to use Picasa and add new photos or make edits, make it a habit to periodically update your backup. Schedule regular backup sessions to keep your Picasa library on the external hard drive up to date.
- Verify the integrity of your backups: Just like you verified the successful backup in Step 4, it’s important to periodically check the integrity of your backups. This involves reconnecting the external hard drive and checking a few randomly selected photos to ensure they are accessible and not corrupted.
- Consider off-site storage: While external hard drives are a convenient backup solution, it’s worth considering off-site storage options such as cloud storage services. Storing a copy of your Picasa library in the cloud provides an additional layer of protection against physical damage or theft of your external hard drive.
- Regularly maintain and update your Picasa software: Keep your Picasa software updated to the latest version to ensure compatibility and enhance security. Regular updates can address any bugs or vulnerabilities that may impact the functionality of your Picasa library.
- Consider migrating to a different photo management software: Picasa has been discontinued by Google, and while it still functions, it may no longer receive updates or support. Consider transitioning to a different photo management software that offers robust backup options and ongoing technical support.
By following these additional tips, you can optimize your backup process and ensure the long-term preservation of your Picasa library. Keeping multiple copies, labeling and organizing your backups, and staying updated with your software will provide you with a reliable and secure backup solution. Remember to regularly verify the integrity of your backups, and consider exploring other photo management software options to suit your needs. With these tips in mind, you can ensure that your valuable photos are protected and accessible for years to come.
Conclusion
Backing up your Picasa library to an external hard drive is a crucial step in safeguarding your cherished photos for the long term. By following the steps outlined in this guide, you can ensure that your Picasa library is protected from unexpected hardware failures, software glitches, or data loss. The process of connecting the external hard drive, locating the Picasa folder, copying it to the external hard drive, and verifying the backup provides you with the confidence that your memories are safely preserved.
In addition to the step-by-step instructions, we have also provided valuable tips to enhance your backup process. Automating your backups, maintaining multiple copies, labeling and organizing your backups, and regularly verifying their integrity are all essential practices to ensure the reliability of your backups.
Furthermore, considering off-site storage options, staying updated with your software, and exploring alternative photo management solutions can further enhance your backup strategy. By embracing these additional tips, you can adapt to evolving technologies and protect your photos from the risks associated with outdated software and physical storage limitations.
Remember, the process of backing up your Picasa library to an external hard drive is not a one-time task but an ongoing commitment. Make it a habit to regularly update your backups to include new photos and changes in your Picasa library. With dedication and careful attention to maintaining your backups, you can ensure the long-term preservation of your invaluable photos.
By taking the time to back up your Picasa library, you are protecting your memories and ensuring they can be enjoyed and cherished for many years to come. Don’t wait until it’s too late—start the backup process now and give yourself the peace of mind that comes with knowing your photos are safe and secure.