Introduction
Backing up your precious memories and important documents is an essential step in today’s digital age. One of the most popular platforms for storing and organizing photos is Google Photos. With its user-friendly interface and generous storage options, Google Photos has become a go-to for millions of users worldwide.
However, there may be instances when you need to access your backed-up photos, whether it’s to view, download, or restore them. In this article, we will guide you step-by-step on how to access your backed-up Google Photos and make the most out of this powerful tool.
Whether you have lost access to your device, accidentally deleted photos, or simply want to browse through your old memories, Google Photos provides a convenient solution. By following the steps outlined in this article, you’ll be able to access your backed-up Google Photos effortlessly.
We will cover various methods to access your backed-up Google Photos, including signing in to your Google Account, accessing Google Photos, navigating through the menu, browsing the Trash folder, and even utilizing Google Drive for backup purposes.
Let’s dive right in and discover how you can easily access your backed-up Google Photos to ensure that your cherished memories are always within reach.
Step 1: Sign in to your Google Account
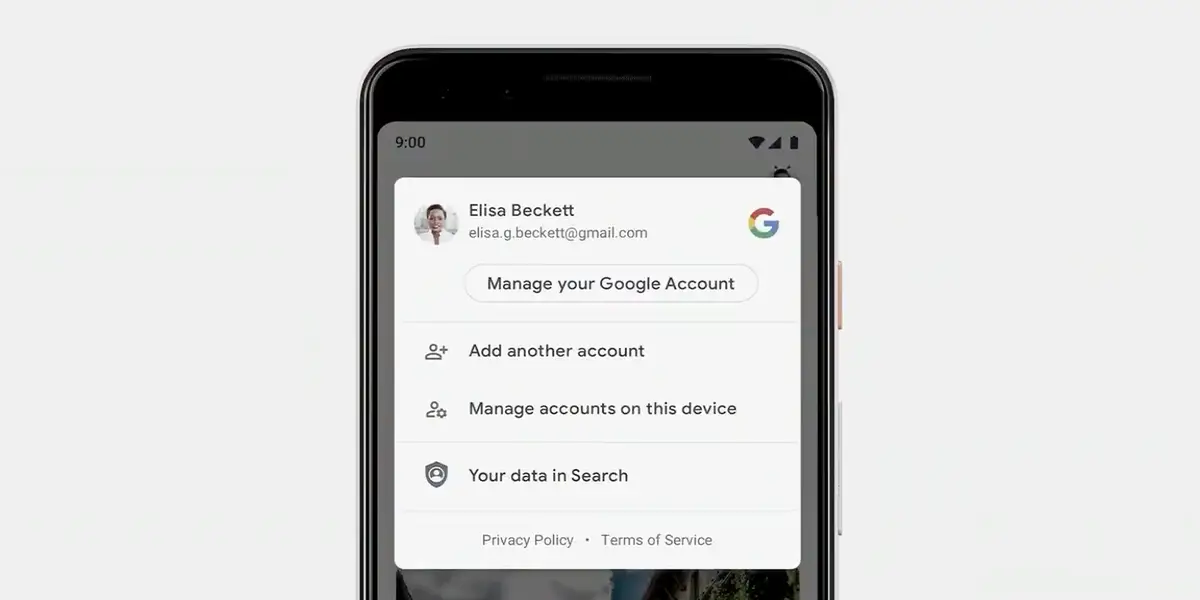
The first step to accessing your backed-up Google Photos is to sign in to your Google Account. If you already have a Google Account, skip to the next step. If not, you can easily create a new account by following the instructions on the Google Account sign-up page.
To sign in, open your favorite web browser and go to the Google homepage. Click on the “Sign in” button located in the top right corner of the page. Enter your email address or phone number associated with your Google Account and click “Next.”
On the next screen, enter your password and click “Next” to proceed. If you have two-factor authentication set up, you may be prompted to enter a verification code sent to your mobile device for added security.
Once you have successfully signed in to your Google Account, you will have access to a wide range of Google services, including Google Photos.
If you prefer accessing your Google Account and Google Photos through the mobile app, you can easily download the Google Photos app from your device’s app store. Sign in to the app using your Google Account credentials to proceed to the next steps.
Now that you’re signed in to your Google Account, it’s time to move on to the next step and access your Google Photos.
Step 2: Access Google Photos
Once you have signed in to your Google Account, accessing Google Photos is a breeze. There are multiple ways to access it, depending on your preferred method.
If you are using a web browser, simply type “photos.google.com” in the address bar and press Enter. This will take you directly to the Google Photos webpage. Alternatively, you can go to the Google homepage and click on the grid icon located in the top right corner. From the dropdown menu, click on “Photos.”
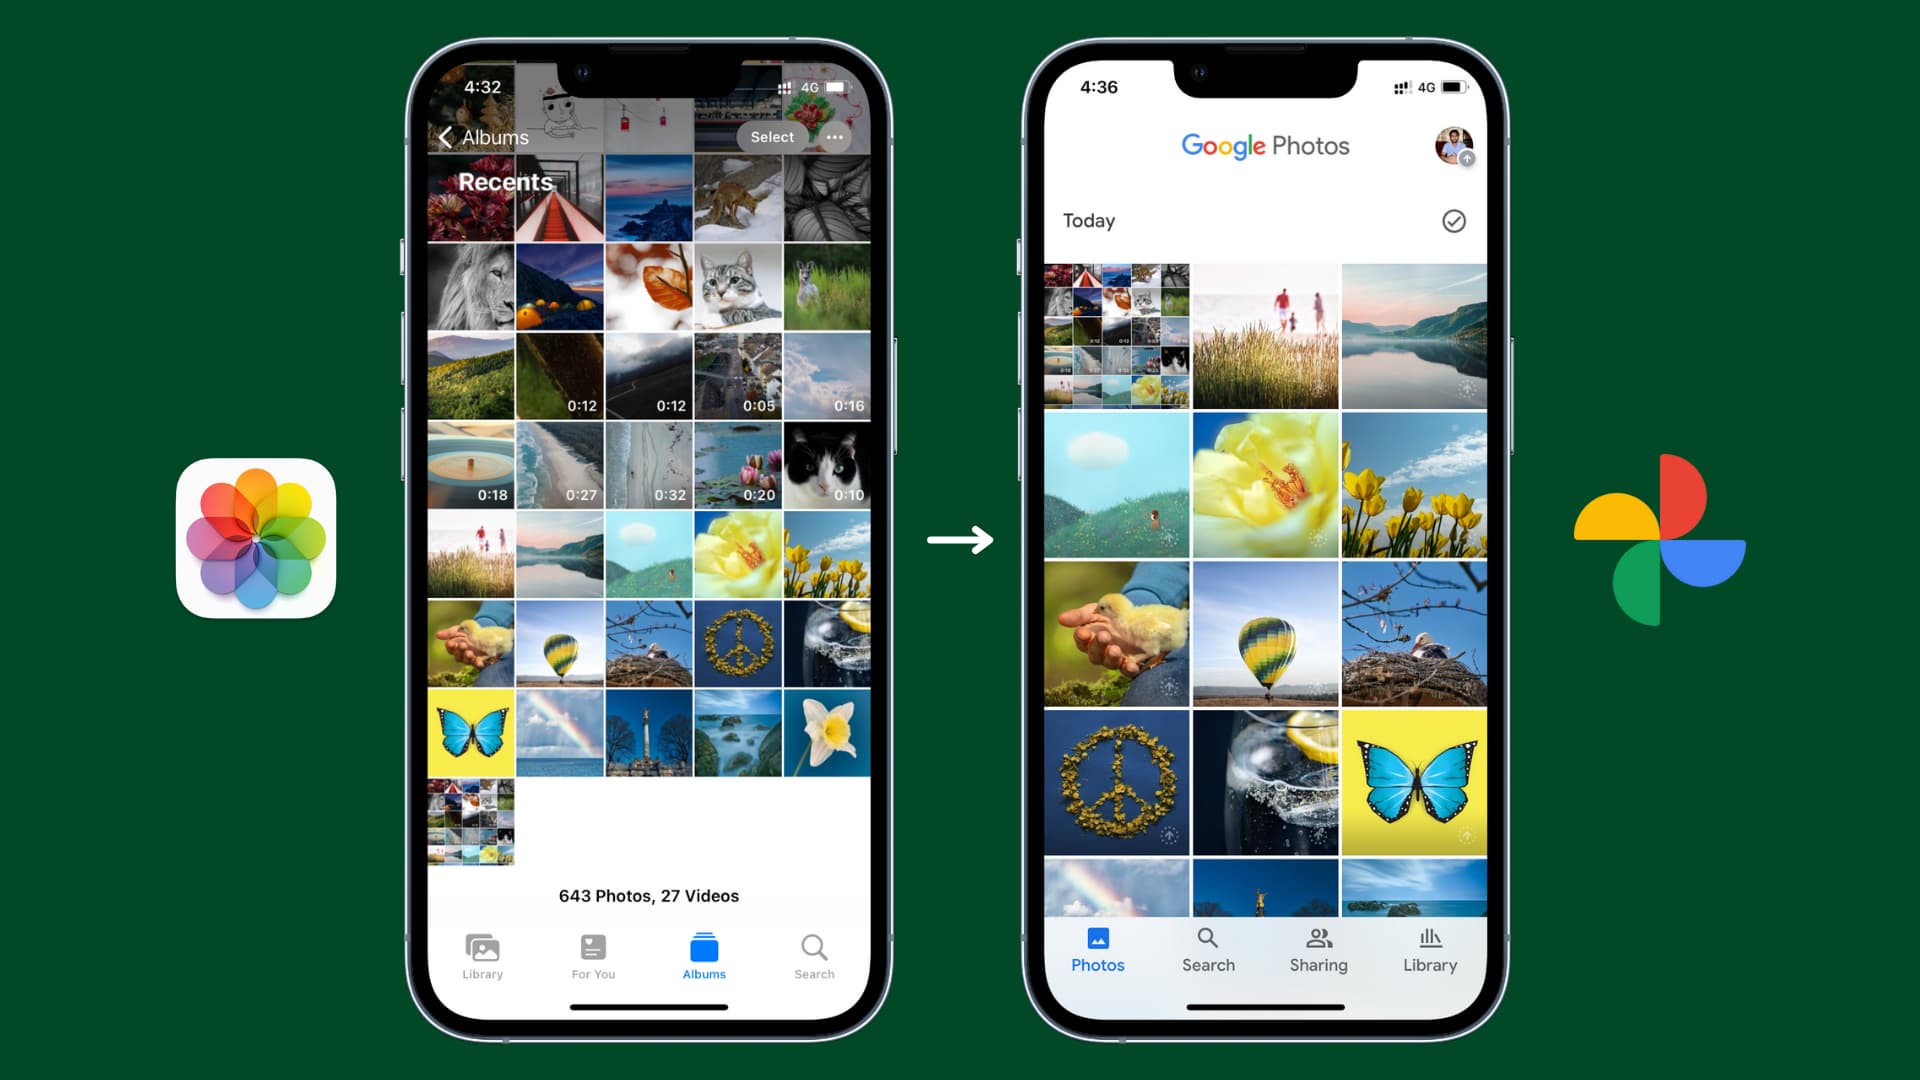
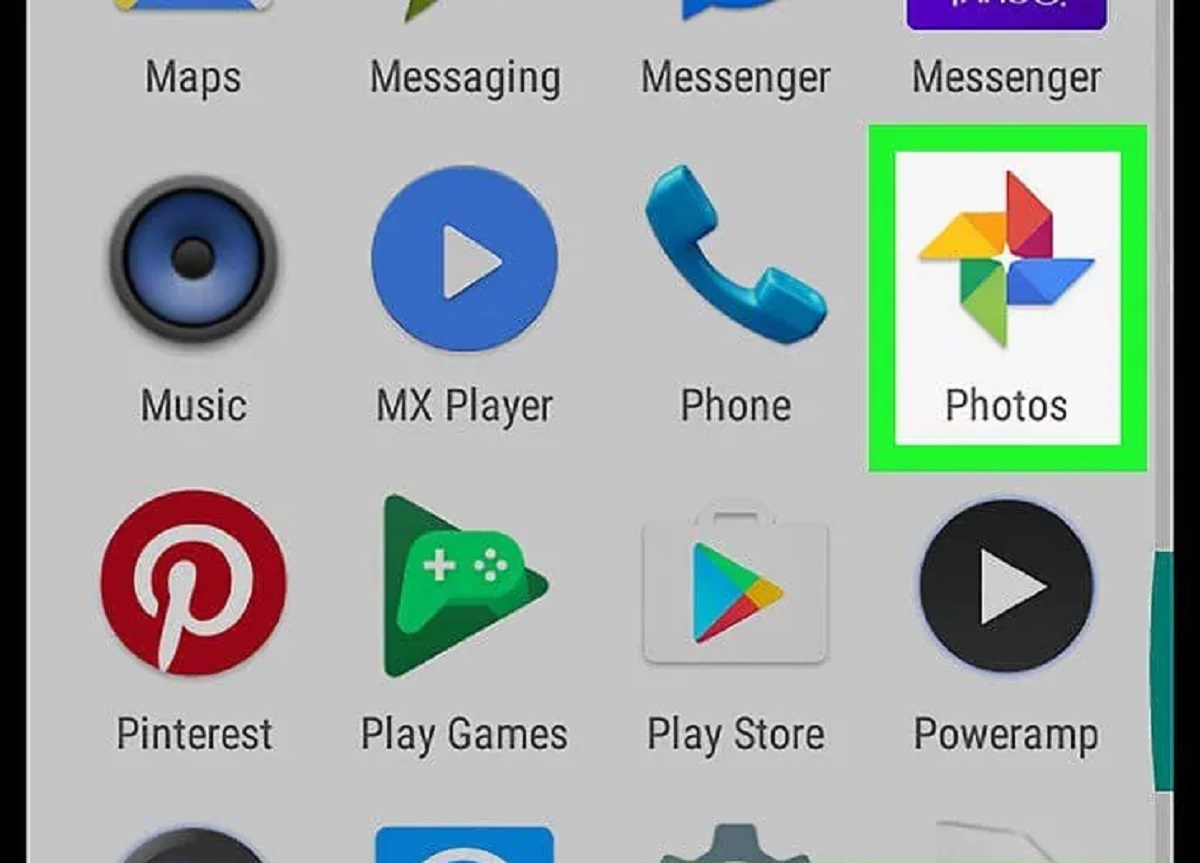
If you have the Google Photos app installed on your mobile device, open the app to access your photos directly. The app is available for both Android and iOS devices, and you can find it in the respective app stores.
Once you have accessed Google Photos through your preferred method, you will be greeted with a visually appealing interface that showcases your photos and albums. Take a few moments to navigate through the different sections and get familiar with the layout.
On the web version, you will see the different tabs on the left-hand side, including “Photos,” “Albums,” “Sharing,” and “Trash.” These tabs allow you to explore and manage your photos effectively.
On the mobile app, you will find similar tabs at the bottom of the screen, along with a search bar and a “+” button to create new albums or add photos to existing ones.
Now that you have successfully accessed Google Photos, let’s move on to the next step and learn how to navigate through the menu to access your backed-up photos.
Step 3: Open the Navigation Menu
To access your backed-up photos and explore the various options available in Google Photos, you need to open the navigation menu. This menu provides easy access to different features and settings within the platform.
If you are using the web version of Google Photos, you will find the navigation menu on the left-hand side of the screen. Look for the three horizontal lines (also known as the “hamburger menu”) in the top left corner. Click on it to expand the menu.
On the Google Photos mobile app, the navigation menu can be accessed by tapping on the three horizontal lines at the top left corner of the screen. A sliding panel will appear with the menu options.
Once the navigation menu is open, you will see a range of options available to you. These may include “Photos,” “Albums,” “Sharing,” “Trash,” and more.
Click or tap on the desired option to navigate to that section. For example, if you want to access your backed-up photos, click or tap on the “Photos” option. This will take you to the main photos page, where you can view and manage all your backed-up pictures.
Don’t be afraid to explore the different options in the navigation menu. Each section offers unique features and tools that can enhance your Google Photos experience. From creating albums to sharing photos with friends and family, the possibilities are endless.
Now that you have successfully opened the navigation menu, let’s move on to the next step and learn how to access the “Trash” folder to recover any deleted photos.
Step 4: Tap on “Trash”
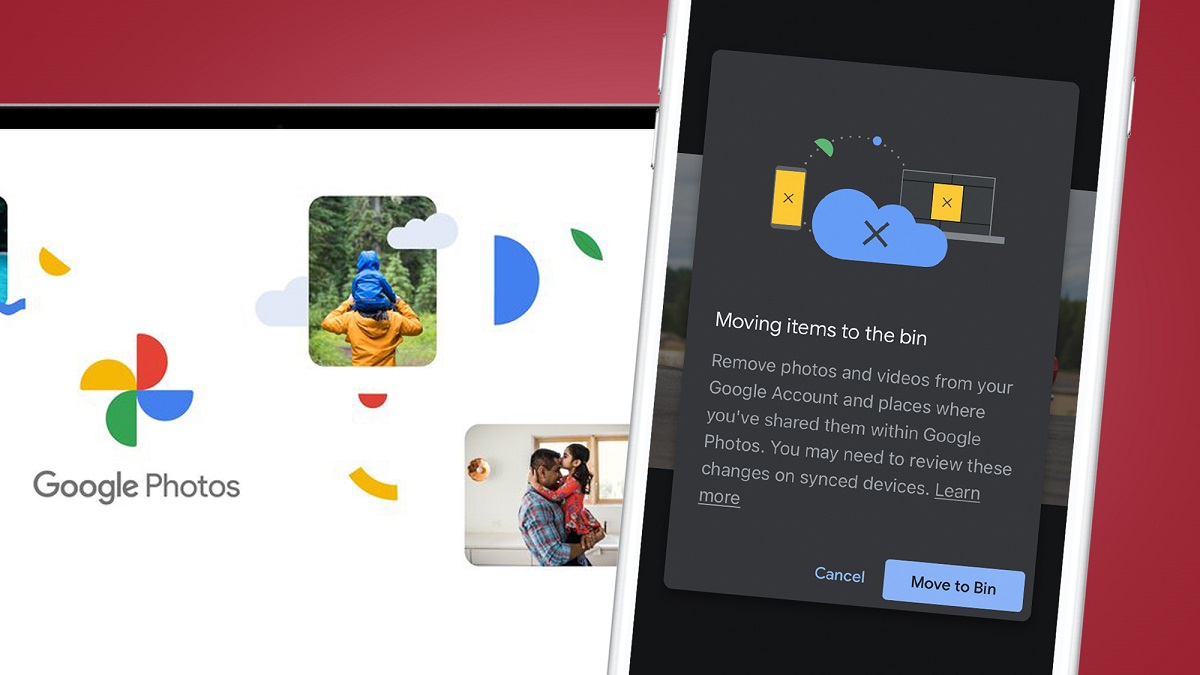
If you’ve accidentally deleted photos and want to recover them, accessing the “Trash” folder in Google Photos is the next step. The “Trash” folder acts as a safety net, allowing you to recover photos that have been deleted within a certain period of time.
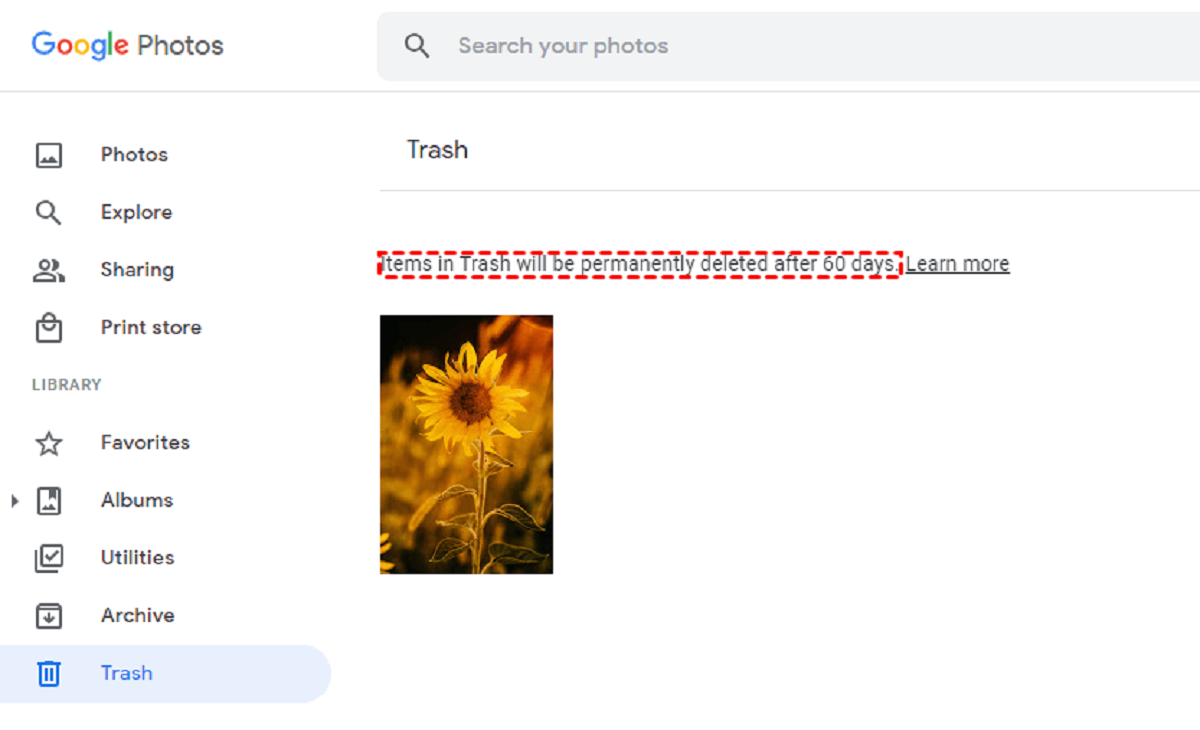
On the web version of Google Photos, you can find the “Trash” folder in the navigation menu on the left-hand side. Simply click on the “Trash” option to open it. This will display all the photos that have been recently deleted.
On the Google Photos mobile app, you can access the “Trash” folder by tapping on the three horizontal lines at the top left corner to open the navigation menu. From there, select the “Trash” option. You will be taken to the “Trash” folder, where you can view and restore your deleted photos.
Once you are in the “Trash” folder, you will see a collection of deleted photos. Browse through the files and locate the ones you want to recover. You will also notice that each photo has a checkbox next to it. Select the checkbox for the photos you wish to restore.
After selecting the photos you want to recover, look for the “Restore” option. On the web version, you can find it at the top of the screen. Just click on “Restore” to move the selected photos back into your main Google Photos library.
On the mobile app, the “Restore” button is usually located at the bottom of the screen. Tap on it to restore the selected photos.
Keep in mind that photos in the “Trash” folder are only stored for a limited time before being permanently deleted. Therefore, it’s important to recover them as soon as possible if you want to retain them.
Now that you know how to access the “Trash” folder and restore deleted photos, let’s move on to the next step and learn how to browse and restore photos directly from the main Google Photos library.
Step 5: Browse and Restore Photos
If you want to browse through your backed-up photos directly from the main Google Photos library and selectively restore them, follow these steps:
1. Open Google Photos through your preferred method, either the web version or the mobile app.
2. Navigate to the “Photos” section, which is usually accessible through the navigation menu.
3. Here, you will see a grid layout of all your backed-up photos. You can browse through them by scrolling down or using the arrow keys.
4. If you remember the approximate time period or event when the desired photos were taken, you can use the search bar to filter your photos based on keywords or dates.
5. Once you have located the photos you want to restore, select them by clicking or tapping on them. You will notice a checkmark or highlight indicating that the photos are selected.
6. After selecting the photos, look for the “Restore” option. On the web version, it is typically located at the top of the screen. Click on “Restore” to move the selected photos back to your main Google Photos library.
7. On the mobile app, the “Restore” option is commonly available at the bottom of the screen. Tap on it to restore the selected photos.
8. Depending on the number of photos you are restoring and your internet connection speed, the process may take a few moments.
9. Once the restoration process is complete, you can find the restored photos in your main Google Photos library, either in the “Photos” section or in the respective albums that they were originally saved in.
By following these steps, you can easily browse and selectively restore your backed-up photos in Google Photos. Whether you accidentally deleted photos or simply want to revisit old memories, this method allows you to have full control over the photos you choose to restore.
Now that you know how to browse and restore photos, let’s explore an alternative method using Google Drive for backup.
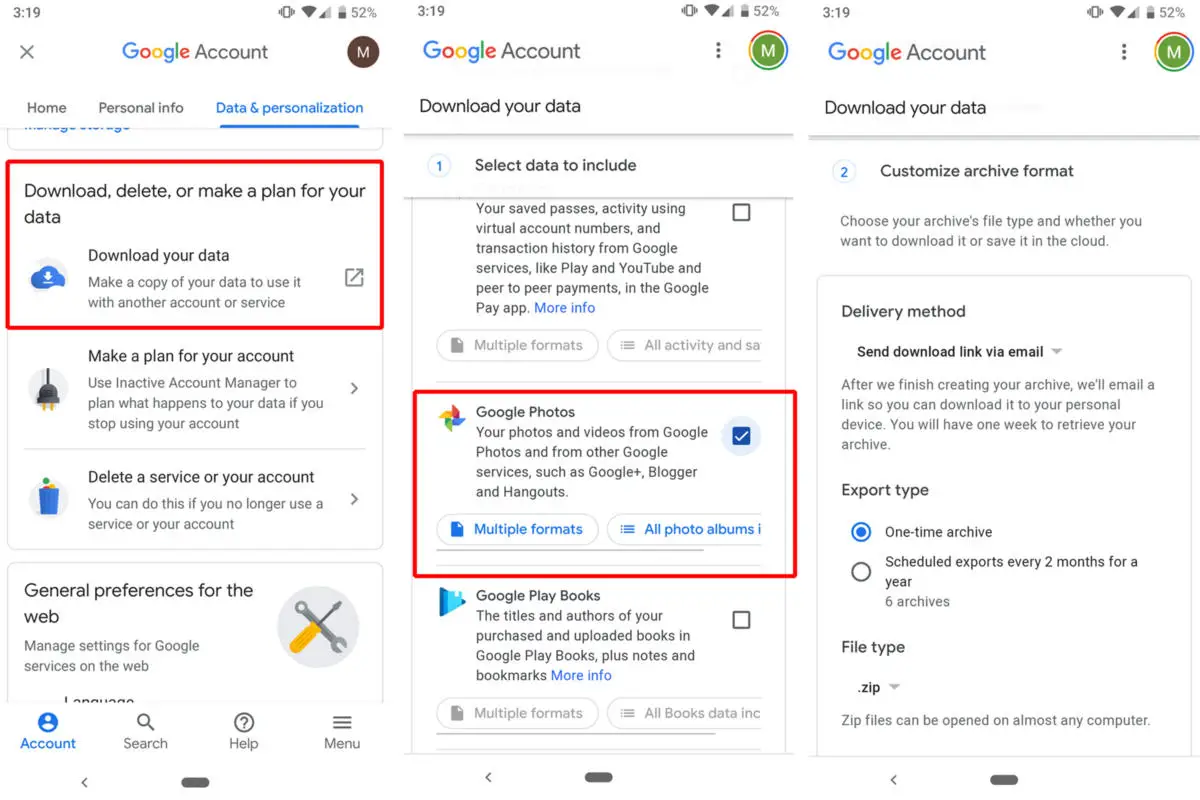
Step 6: Use Google Drive for Backup
In addition to backing up your photos in Google Photos, you can also utilize Google Drive to ensure an extra layer of backup for your precious memories. Google Drive provides a secure and convenient way to store and access your photos from any device.
Follow these steps to use Google Drive for photo backup:
1. Sign in to your Google Account and go to Google Drive. If you don’t have the Google Drive app installed on your device, you can download it from the app store.
2. Once you’re in Google Drive, create a new folder specifically for your photo backup. Right-click or tap on the “+” symbol to create a new folder.
3. Give your folder a descriptive name, such as “Photo Backup” or “My Photos.”
4. Open the newly created folder and select the photos you want to back up. You can either drag and drop the photos into the folder or use the upload button to manually select the photos from your device.
5. As the photos are uploading, you will see a progress bar indicating the status of the upload process. Once the upload is complete, your photos are safely stored in Google Drive.
6. To access your backed-up photos, simply open the Google Drive app or go to drive.google.com on your web browser. Navigate to the photo backup folder you created.
7. From here, you can browse through your backed-up photos, organize them into subfolders, or download them to your device whenever you need to access them offline.
Using Google Drive for photo backup provides an additional backup option, giving you peace of mind knowing that your photos are stored in multiple locations. It also enables you to easily transfer your photos to a new device or share them with others.
Now that you have learned how to use Google Drive for photo backup, let’s move on to the final step and access Google Drive to retrieve your backed-up photos.
Step 7: Access Google Drive
Accessing your Google Drive to retrieve your backed-up photos is a straightforward process. By following these steps, you’ll be able to find and access your photos in no time:
1. Sign in to your Google Account and go to Google Drive. If you are using a web browser, enter “drive.google.com” in the address bar. Alternatively, open the Google Drive app on your mobile device.
2. Once you are signed in and on the Google Drive homepage, you will see a list of files and folders. Look for the folder where you have backed up your photos. It might have the same name as the folder you created in Step 6.
3. Click on the folder to open it and view its contents. You should see the backed-up photos that you uploaded earlier.
4. To access a specific photo, click on it to open a preview. From there, you can download the photo, share it, or move it to another folder if needed.
5. If you want to download multiple photos at once, select the photos by clicking the checkbox next to each one. Then, click the download button or use the right-click option to download them in bulk.
6. On the Google Drive mobile app, the process is similar. In the app, navigate to the folder where your backed-up photos are stored. Tap on the folder to open it, and you will find your photos inside. You can then preview, download, or share the photos as desired.
7. Remember to keep your Google Drive organized by creating separate folders for different categories of backed-up photos. This will make it easier to find specific photos in the future.
By following these steps, you can conveniently access your backed-up photos stored on Google Drive. Whether you want to retrieve photos for personal use or share them with others, Google Drive provides a reliable and accessible platform.
Now that you know how to access Google Drive and retrieve your backed-up photos, you are fully equipped to manage your photo backups effectively.
Conclusion
Backing up your photos is an essential practice to ensure their safety and accessibility. Google Photos offers a convenient platform for storing and organizing your photos, allowing you to access them from various devices. By following the steps outlined in this article, you can easily access your backed-up Google Photos and make the most out of this powerful tool.
We covered various methods to access your backed-up Google Photos, starting with signing in to your Google Account and accessing Google Photos. We then explored how to open the navigation menu, tap on the “Trash” folder to recover deleted photos, and browse and restore photos directly from the main Google Photos library. Additionally, we discussed using Google Drive for photo backup and how to access your backed-up photos through Google Drive.
Remember to regularly back up your photos to ensure their safety and avoid potential loss. By following the steps mentioned in this article, you can easily access your backed-up Google Photos whenever needed, whether you want to browse through old memories or recover accidentally deleted photos.
Take advantage of the powerful features offered by Google Photos, such as creating albums, sharing photos with others, and searching for specific images using keywords or dates. Explore the options available to enhance your photo browsing and organization experience.
With Google Photos and Google Drive, you can rest assured knowing that your precious memories are safely stored and easily accessible whenever you need them. Now go ahead and enjoy the convenience and peace of mind that come with accessing your backed-up Google Photos!