Introduction
With the advancement of technology, smartphones have become an integral part of our lives, enabling us to capture and store countless precious memories through photos. Google Photos is a popular cloud-based platform that offers convenient storage and organization of photos and videos. However, if you’ve recently made the switch to an iPhone and want to transfer your photos from Google Photos to your new device, you may be wondering how to do it.
In this article, we will explore different methods to help you seamlessly move your photos from Google Photos to your iPhone. Whether you prefer utilizing the Google Photos app, using the Google Takeout service, utilizing a computer, or employing a third-party app, we have you covered. By following these step-by-step instructions, you can ensure that all your precious memories are safely and effortlessly transferred to your iPhone.
It’s important to note that no matter which method you decide to use, it’s always a good idea to make sure your photos are backed up before proceeding with the transfer. This way, you can avoid any potential loss of data during the process.
Now, let’s dive into the various methods that will help you move your photos from Google Photos to your iPhone.
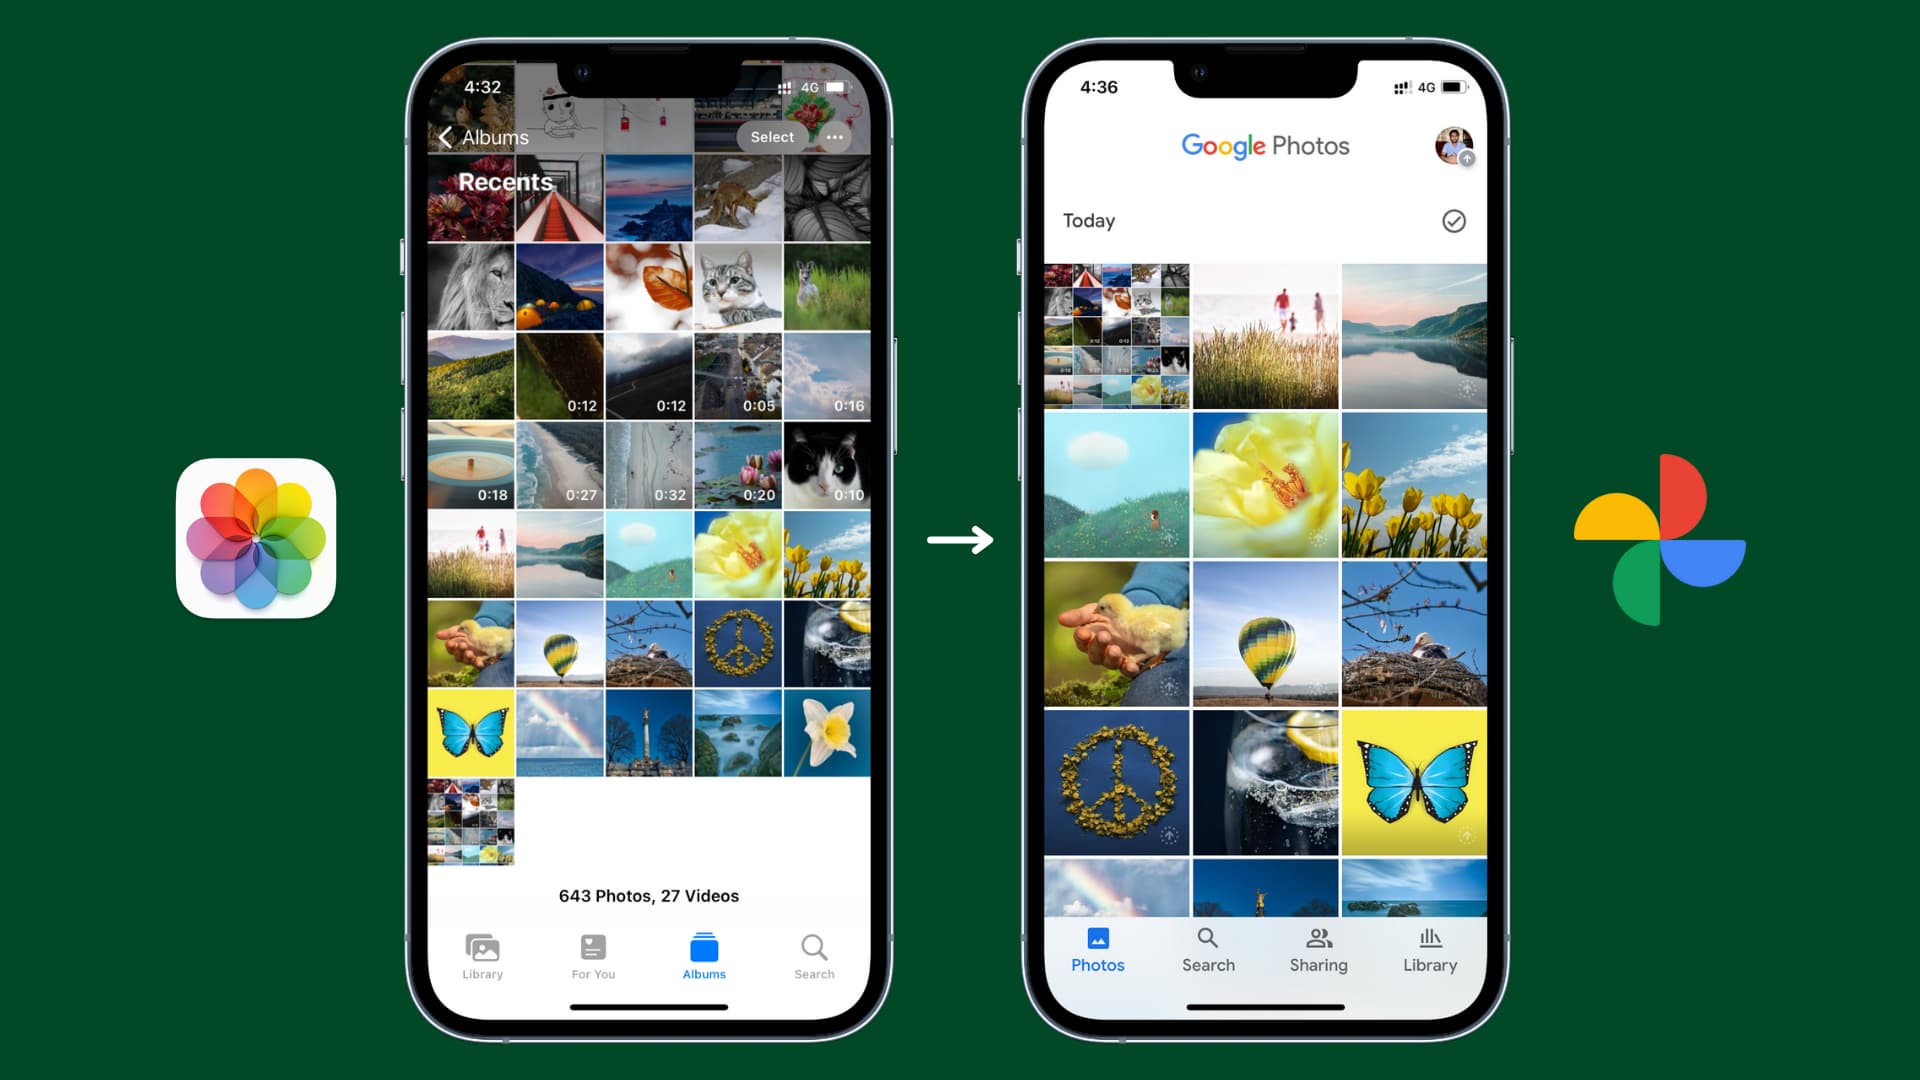
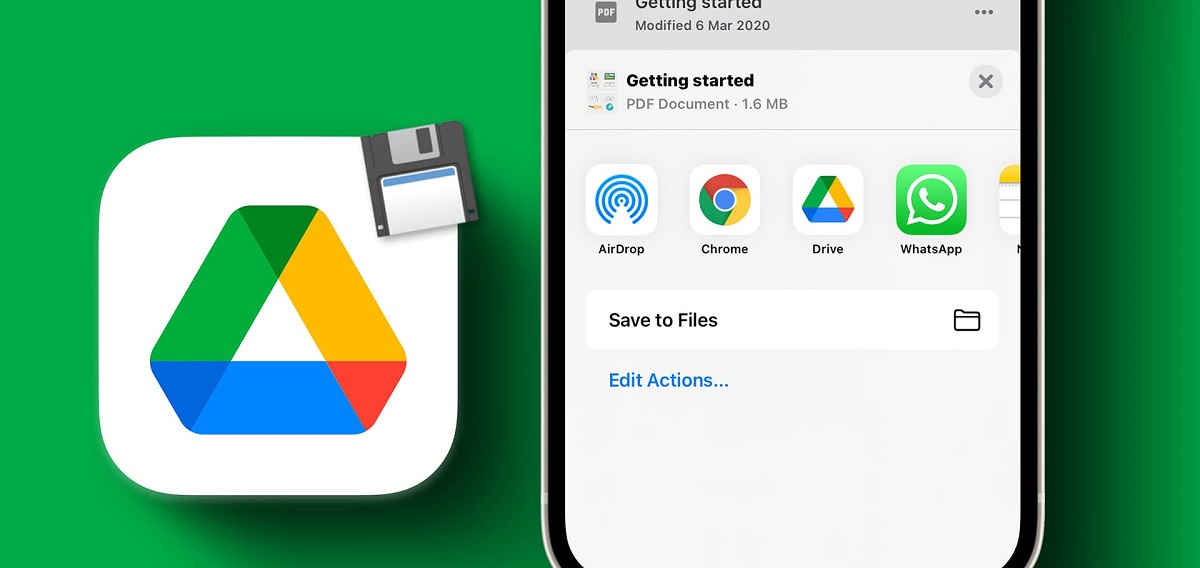
Method 1: Using the Google Photos App
If you already have the Google Photos app installed on your iPhone, transferring your photos is a breeze. Here’s how you can do it:
- Start by opening the Google Photos app on your iPhone. If you don’t have it installed, you can download it from the App Store.
- Sign in to your Google account associated with your Google Photos.
- Once signed in, tap on the Photos tab at the bottom of the screen to access all your photos.
- Navigate to the album or individual photo that you want to transfer to your iPhone.
- Open the photo and tap on the More option (represented by three dots) located at the top-right corner of the screen.
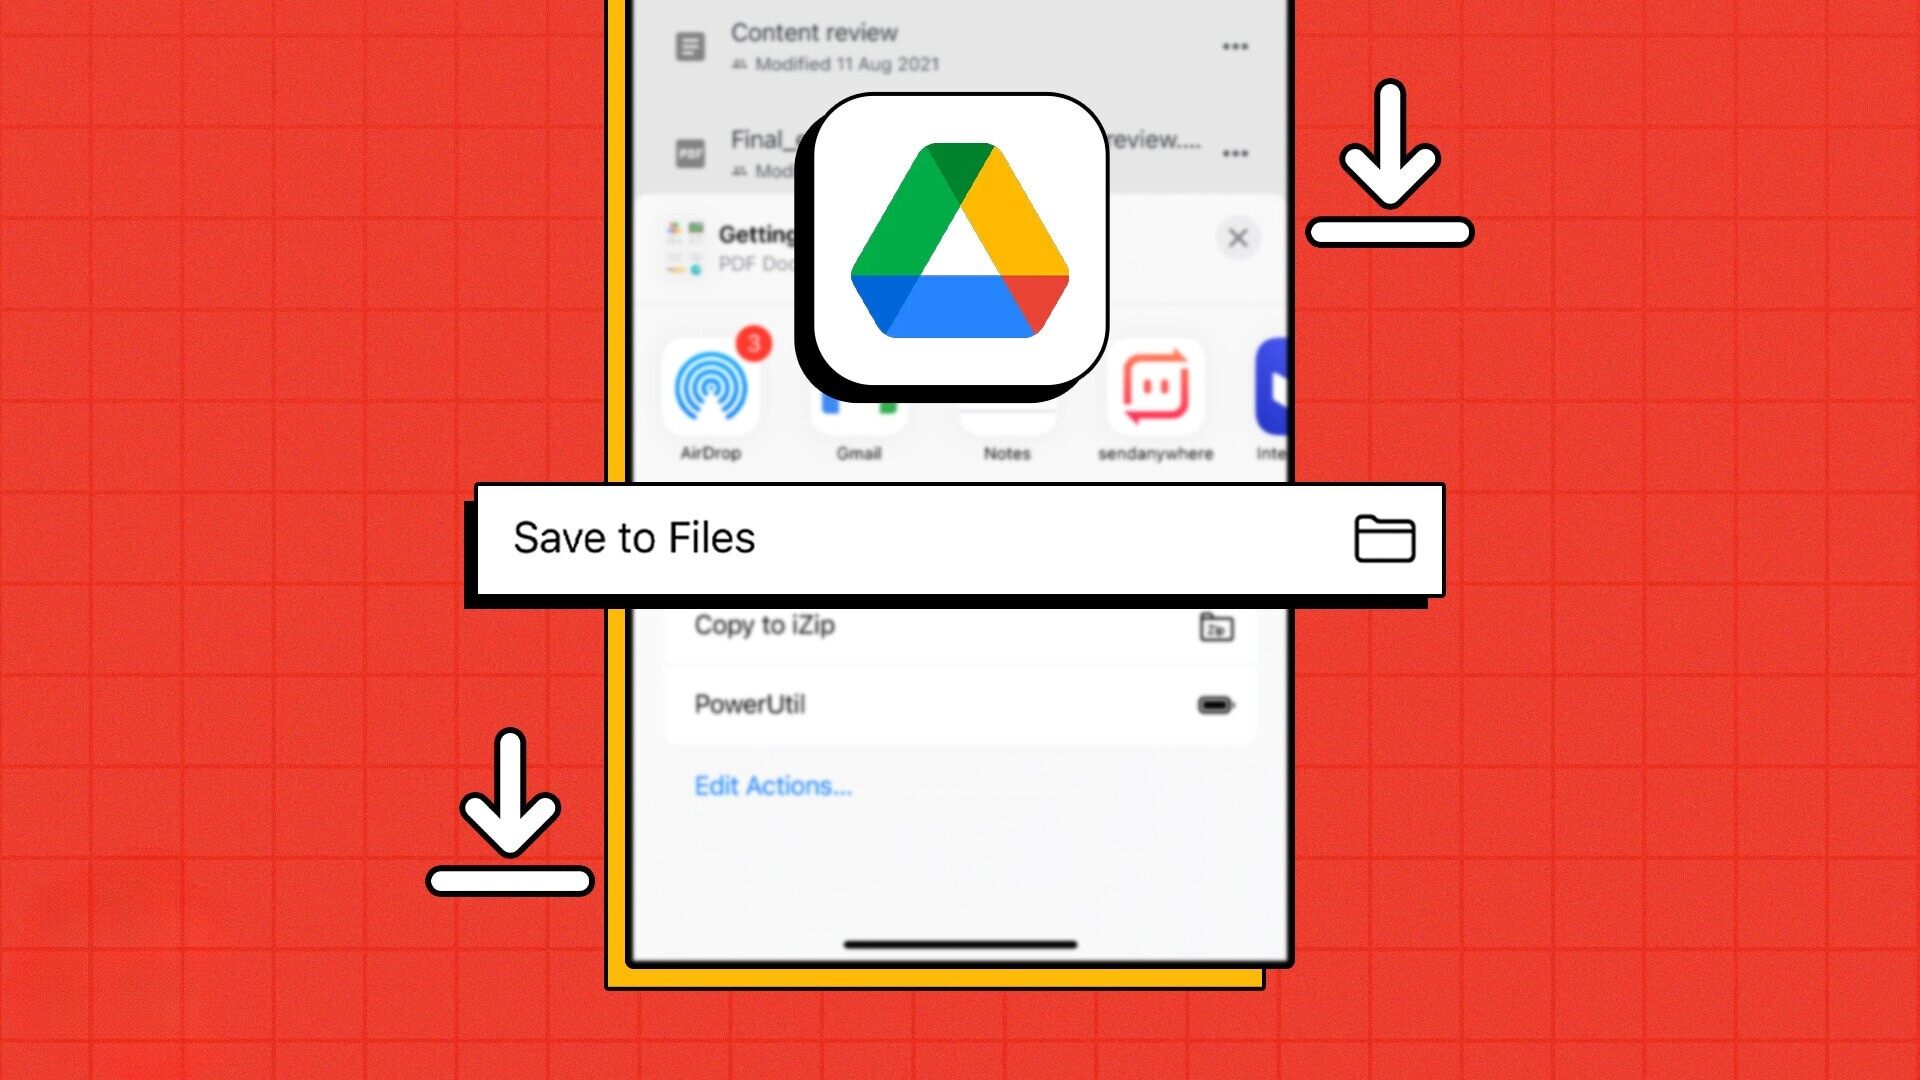
- From the menu that appears, select the option to Save to device.
- The photo will now be saved directly to your iPhone’s camera roll, making it easily accessible through the Photos app.
This simple and straightforward method allows you to transfer your photos from Google Photos to your iPhone in just a few taps. It’s a convenient option if you only need to transfer a few specific photos or albums.
Keep in mind that by using this method, the photos will be saved to your iPhone’s local storage, meaning they will take up space on your device. If storage is a concern, it’s a good idea to periodically transfer and backup your photos to a cloud-based storage service or external storage device.
Method 2: Using the Google Takeout Service
If you have a large number of photos in your Google Photos library or prefer to download all your photos at once, the Google Takeout service is a reliable option. Follow these steps to transfer your photos using Google Takeout:
- Open a web browser on your computer and visit the Google Takeout page.
- Sign in to your Google account associated with your Google Photos.
- Scroll down the list of products and make sure the Google Photos checkbox is selected. You can also customize the settings to include specific albums or date ranges if desired.
- Click on the Next button at the bottom of the screen.
- Choose the desired file type, frequency, and size of the exported files. For photos, the recommended format is .zip, and you can select the maximum file size that suits your needs.
- Click on the Create export button to initiate the export process.
- Google Takeout will begin preparing your photos for download. The time it takes will depend on the size of your library.
- Once the export process is complete, click on the Download button to save the photos to your computer.
- Connect your iPhone to your computer using a USB cable and open iTunes.
- Click on the device icon in iTunes and navigate to the Photos tab.
- Check the Sync Photos box and choose the folder where you saved your Google Takeout photos.
- Click on the Apply or Sync button to begin transferring the photos to your iPhone.
Using the Google Takeout service gives you the flexibility to download and transfer your entire Google Photos library to your iPhone. However, keep in mind that this method requires you to have access to a computer and may take some time depending on the size of your photo collection.
Method 3: Using a Computer
If you prefer using a computer to transfer your photos from Google Photos to your iPhone, you can follow these steps:
- On your computer, open a web browser and visit the Google Photos website.
- Sign in to your Google account associated with your Google Photos.
- Navigate to the album or individual photo that you want to transfer.
- Select the photos you want to transfer by clicking on them. You can select multiple photos by holding down the Ctrl key (Windows) or Command key (Mac) while clicking on the photos.
- Once you have selected the desired photos, click on the More option (represented by three vertical dots) at the top of the page.
- From the drop-down menu, select the Download option.
- Your selected photos will now be downloaded to your computer.
- Connect your iPhone to your computer using a USB cable.
- Open iTunes on your computer and click on the device icon.
- Navigate to the Photos tab in iTunes.
- Check the Sync Photos box and choose the folder where you downloaded your Google Photos.
- Click on the Apply or Sync button to begin transferring the photos to your iPhone.
Using a computer to transfer your photos provides you with more control and flexibility, especially when dealing with a large number of photos. This method allows you to select specific photos or albums and transfer them directly to your iPhone without the need for additional apps or services.
Method 4: Using a Third-Party App
If you prefer a more streamlined and user-friendly approach to transfer your photos from Google Photos to your iPhone, you can make use of third-party apps specifically designed for this purpose. Here’s how you can do it:
- Visit the App Store on your iPhone and search for a third-party app that allows you to transfer photos from Google Photos to your iPhone. Some popular options include “Fotolr Photo Album” and “PhotoSync.”
- Download and install the app of your choice onto your iPhone.
- Launch the app and follow the on-screen instructions to connect it to your Google Photos account.
- Once the app is connected to your Google Photos, you will be able to browse through your albums and select the photos you want to transfer.
- After selecting the desired photos, look for an option to save them to your iPhone’s camera roll or photo library.
- Tap on the save button, and the app will begin transferring the selected photos from Google Photos to your iPhone.
- Depending on the app you are using, you may have additional features such as automatic syncing, album organization, or bulk transfers.
Using a third-party app can offer an intuitive and efficient way to transfer your photos from Google Photos to your iPhone. These apps are specifically designed for this purpose and often provide additional features to enhance your photo management experience.
Ensure that you choose a reputable and well-reviewed app from the App Store to protect your data and ensure a smooth transfer process. It’s always a good idea to read user reviews and check the app’s ratings before downloading and using it.
Remember to review the app’s privacy policy and terms of service to understand how your data will be handled and ensure it aligns with your preferences and privacy concerns.
Conclusion
Transferring your photos from Google Photos to your iPhone doesn’t have to be a daunting task. By following the methods outlined in this article, you can easily move your photos and preserve your precious memories on your new device.
If you want a quick and straightforward method, using the Google Photos app on your iPhone allows you to save individual photos directly to your device’s camera roll. This method is ideal for transferring a few specific photos or albums.
For those with a large photo library or a preference for downloading all their photos at once, the Google Takeout service is a reliable option. It allows you to download your entire Google Photos library and transfer them to your iPhone using iTunes.
If you prefer using a computer, you can visit the Google Photos website and download selected photos to your computer. Afterwards, you can transfer them to your iPhone using iTunes.
Alternatively, you can make use of third-party apps available on the App Store to streamline the transfer process. These apps offer an intuitive and user-friendly interface, allowing you to selectively transfer and manage your photos from Google Photos to your iPhone.
Remember to back up your photos before proceeding with any transfer method to avoid potential data loss. It’s also recommended to periodically back up your photos to a cloud-based storage service or an external storage device to ensure their safety.
Choose the method that suits your preferences and requirements, and enjoy your photos on your new iPhone!