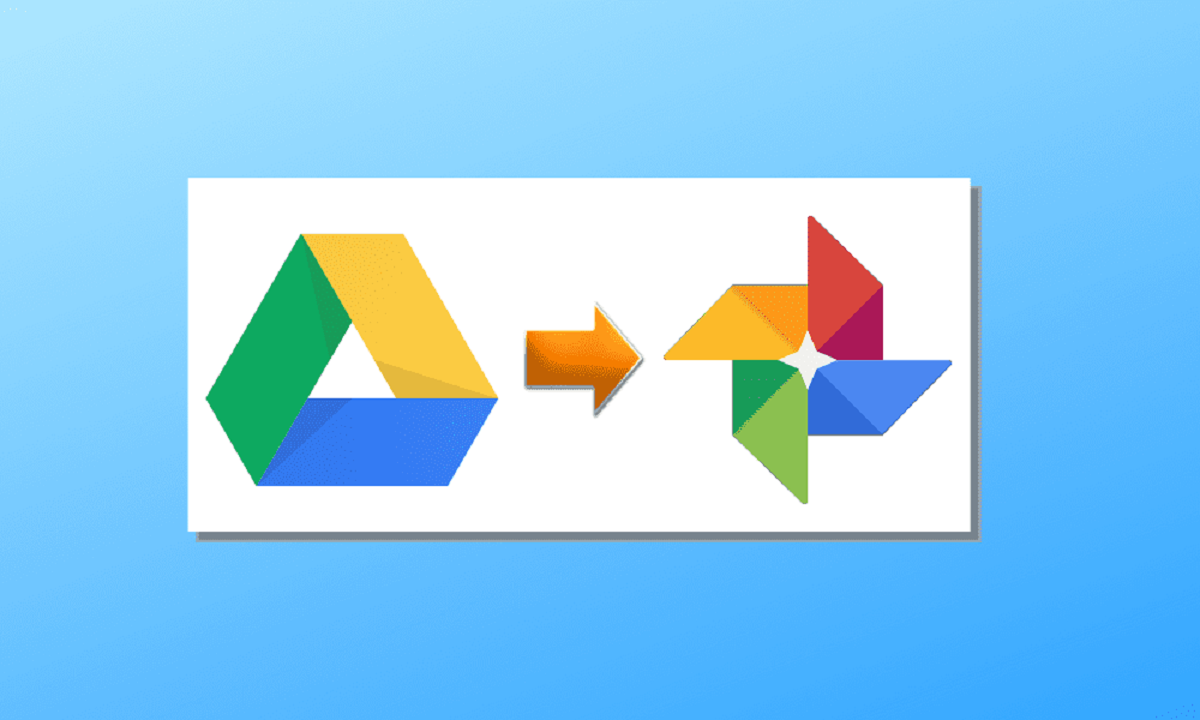
Introduction
Welcome to the world of Google Photos and Google Drive! These two powerful services provided by Google have revolutionized the way we store, organize, and access our photos and files. However, if you’re wondering how to efficiently transfer your precious memories from Google Photos to Google Drive, you’ve come to the right place.
In this article, we will explore multiple methods that will allow you to seamlessly transfer your Google Photos to Google Drive. Whether you want to create a backup of your photos, free up space on Google Photos, or simply have a centralized location for all your files, we’ve got you covered.
Each method offers its own unique approach and benefits, allowing you to choose the one that best suits your needs. From using Google Takeout to manually downloading and uploading photos, utilizing the Google Drive desktop app, or leveraging the power of Google Photos Backup and Sync, there’s a solution for everyone.
So, whether you’re a photography enthusiast with thousands of photos, a business professional with important work files, or just someone who wants to keep their precious memories safe, let’s dive into the different methods and find the perfect one for you.
Before we delve into the methods, it’s important to mention that these steps apply to the web version of Google Photos and Google Drive. Make sure you’re using the latest version of both services for the best results.
Now, let’s get started and discover how you can effortlessly transfer your Google Photos to Google Drive!
Method 1: Using Google Takeout
If you’re looking for a straightforward and comprehensive way to transfer your Google Photos to Google Drive, Google Takeout is the perfect solution. Google Takeout allows you to export and download a copy of all your data from various Google services, including Google Photos.
Here’s how you can use Google Takeout to transfer your Google Photos to Google Drive:
- Open your web browser and navigate to the Google Takeout website. Sign in to your Google account if prompted.
- On the main page, you’ll see a list of Google services. Scroll down and locate “Google Photos”. Click on the “Deselect All” button to uncheck all other services and ensure that only Google Photos is selected.
- Scroll down to the bottom of the page and click on the “Next step” button.
- On the next page, you’ll see various options to customize your Google Photos export. You can choose the file type, size, and delivery method. Make your selections based on your preferences.
- Click on the “Create export” button to start the transfer process. Google will prepare your data and notify you via email when it’s ready to be downloaded.
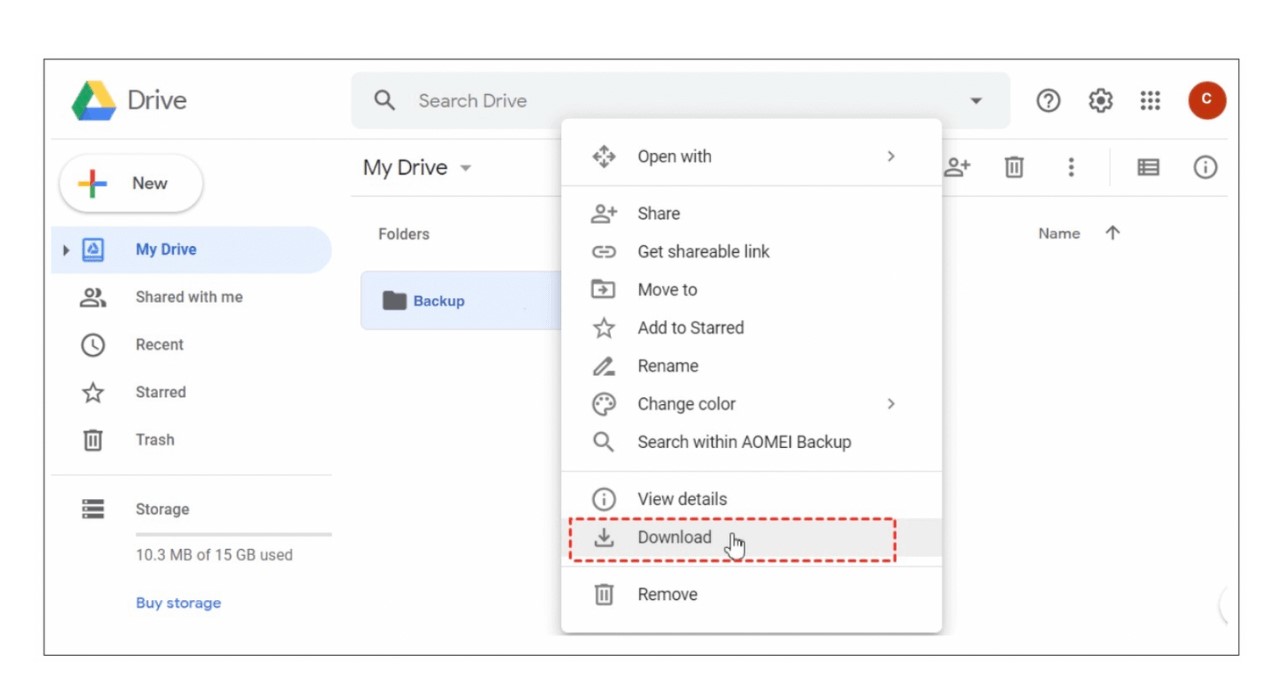
- Once you receive the email notification, return to the Google Takeout website and click on the “Manage exports” button. Here, you’ll find your completed export and the options to download it.
- Click on the “Download” button next to your export to download the ZIP file containing your Google Photos. Depending on the size of your collection, this process may take a while.
- Once the ZIP file is downloaded, extract its contents to a folder on your computer.
- Now, open your Google Drive and create a new folder where you want to store your transferred photos.
- Drag and drop the extracted photos from your computer into the newly created folder in Google Drive.
And voila! Your Google Photos have been successfully transferred to your Google Drive using Google Takeout. You now have a backup of your photos in an organized folder in your Google Drive account.
This method is particularly useful if you want to have a local copy of your Google Photos or if you’re planning to migrate to a different cloud storage service. However, keep in mind that the transfer process may take some time depending on the size of your photo collection.
Method 2: Manually Downloading and Uploading Photos
If you prefer a more hands-on approach, manually downloading and uploading your photos is another viable method to transfer your Google Photos to Google Drive. While it may take a bit more time and effort, it provides you with greater control over the transfer process.
Follow the steps below to manually download and upload your photos:
- Open your web browser and navigate to the Google Photos website. Sign in to your Google account if prompted.
- Navigate to the album or photos you want to transfer to Google Drive.
- Select the photos you want to transfer by clicking on them. You can hold down the Shift key to select multiple photos or use the Ctrl/Cmd key for individual selections.
- Once you’ve selected the desired photos, click on the three-dot menu icon in the top-right corner of the screen.
- From the drop-down menu, select the “Download” option. Google Photos will prepare the selected photos for download.
- Once the ZIP file is ready, click on the “Download” button to save it to your computer.
- Once the ZIP file is downloaded, extract its contents to a folder on your computer.
- Now, open your Google Drive and navigate to the desired folder where you want to store your transferred photos.
- Drag and drop the extracted photos from your computer into the folder in Google Drive.
That’s it! You’ve manually downloaded your photos from Google Photos and uploaded them to Google Drive. Your photos are now safely stored in your Google Drive account.
While this method requires more manual effort, it allows you to have full control over which photos to transfer and how they are organized in your Google Drive. It is ideal for those who prefer a more hands-on approach or want to selectively transfer specific photos.
However, keep in mind that this method can be time-consuming, especially if you have a large collection of photos. It is best suited for transferring smaller batches of photos or if you want greater control over the organization during the transfer process.
Method 3: Using Google Drive Desktop App
If you prefer a more automated and seamless approach to transfer your Google Photos to Google Drive, using the Google Drive desktop app is a great solution. This method allows you to sync your Google Photos library directly to your computer, which can then be easily uploaded and organized in Google Drive.
Here’s how you can use the Google Drive desktop app to transfer your Google Photos:
- Download and install the Google Drive desktop app on your computer. It is available for both Windows and Mac operating systems.
- Launch the Google Drive app and sign in to your Google account.
- During the setup process, choose the folders and files you want to sync to your computer. Make sure to select the “Google Photos” folder or any specific albums you want to transfer.
- Once you’ve completed the setup, the Google Drive desktop app will start syncing your selected Google Photos to your computer. This process may take some time depending on the size of your photo library and your internet connection speed.
- Once the syncing is complete, open your Google Drive in a web browser.
- Create a new folder in Google Drive where you want to store your transferred photos.
- Navigate to the folder on your computer where the synced Google Photos are stored.
- Drag and drop the photos from your computer’s folder into the newly created folder in Google Drive. The photos will now be uploaded to your Google Drive account.
That’s it! You’ve successfully transferred your Google Photos to Google Drive using the Google Drive desktop app. Your photos are now easily accessible and organized in your Google Drive account.
This method offers the advantage of automatic synchronization, ensuring that any changes you make to your Google Photos library reflect in your Google Drive folder on your computer. It provides a seamless and convenient way to transfer and access your photos across multiple devices.
However, keep in mind that the syncing process may take some time, especially if you have a large photo library or a slower internet connection. Additionally, make sure your computer has enough storage space to accommodate the synced photos.
Method 4: Using Google Photos Backup and Sync
If you’re looking for a seamless and automatic method to transfer your Google Photos to Google Drive, utilizing the power of Google Photos Backup and Sync is a fantastic option. This method allows you to easily backup and sync your entire Google Photos library to your Google Drive account.
Here’s how you can use Google Photos Backup and Sync to transfer your Google Photos:
- Download and install the Google Photos Backup and Sync desktop application on your computer. It is available for both Windows and Mac operating systems.
- Launch the application and sign in to your Google account.
- During the setup process, choose the folders and files you want to backup and sync. Make sure to select the “Google Photos” folder or any specific albums you want to transfer.
- Configure the settings according to your preferences. You can choose to backup photos at their original quality or allow Google to compress them to save storage space.
- Once the setup is complete, Google Photos Backup and Sync will start syncing your Google Photos to your Google Drive. This process may take some time depending on the size of your photo library and your internet connection speed.
- Once the syncing is complete, open your Google Drive in a web browser.
- Create a new folder in Google Drive where you want to store your transferred photos.
- Navigate to the folder in your computer’s file system where the synced Google Photos are stored.
- Drag and drop the photos from your computer’s folder into the newly created folder in Google Drive. The photos will now be uploaded to your Google Drive account.
That’s it! Your Google Photos have been successfully transferred to Google Drive using Google Photos Backup and Sync. Your photos are now securely stored and easily accessible in your Google Drive account.
This method offers the advantage of automatic and continuous syncing, ensuring that any changes or additions you make to your Google Photos library are reflected in your Google Drive folder on your computer. This ensures that your photos are always up to date and accessible across devices.
However, it is important to note that the syncing process may take some time, especially if you have a large photo library or a slower internet connection. Additionally, make sure your computer has enough storage space to accommodate the synced photos.
Conclusion
Transferring your Google Photos to Google Drive can be a straightforward and efficient process using the methods outlined in this article. Whether you choose to use Google Takeout, manually download and upload your photos, utilize the Google Drive desktop app, or leverage Google Photos Backup and Sync, you have options that cater to different preferences and requirements.
By using Google Takeout, you can export and download a copy of all your Google Photos, providing you with a local backup of your memories. Manually downloading and uploading photos gives you more control over the transfer process, allowing you to selectively choose the photos you want to move. Using the Google Drive desktop app automates the syncing process, ensuring that any changes you make in Google Photos are reflected in Google Drive. Lastly, Google Photos Backup and Sync simplifies the transfer by continuously syncing your entire Google Photos library to your Google Drive account.
No matter which method you choose, it is important to consider the size of your photo library, internet connection speed, and available storage on your computer and Google Drive. These factors can impact the time it takes to transfer your photos and the feasibility of each method.
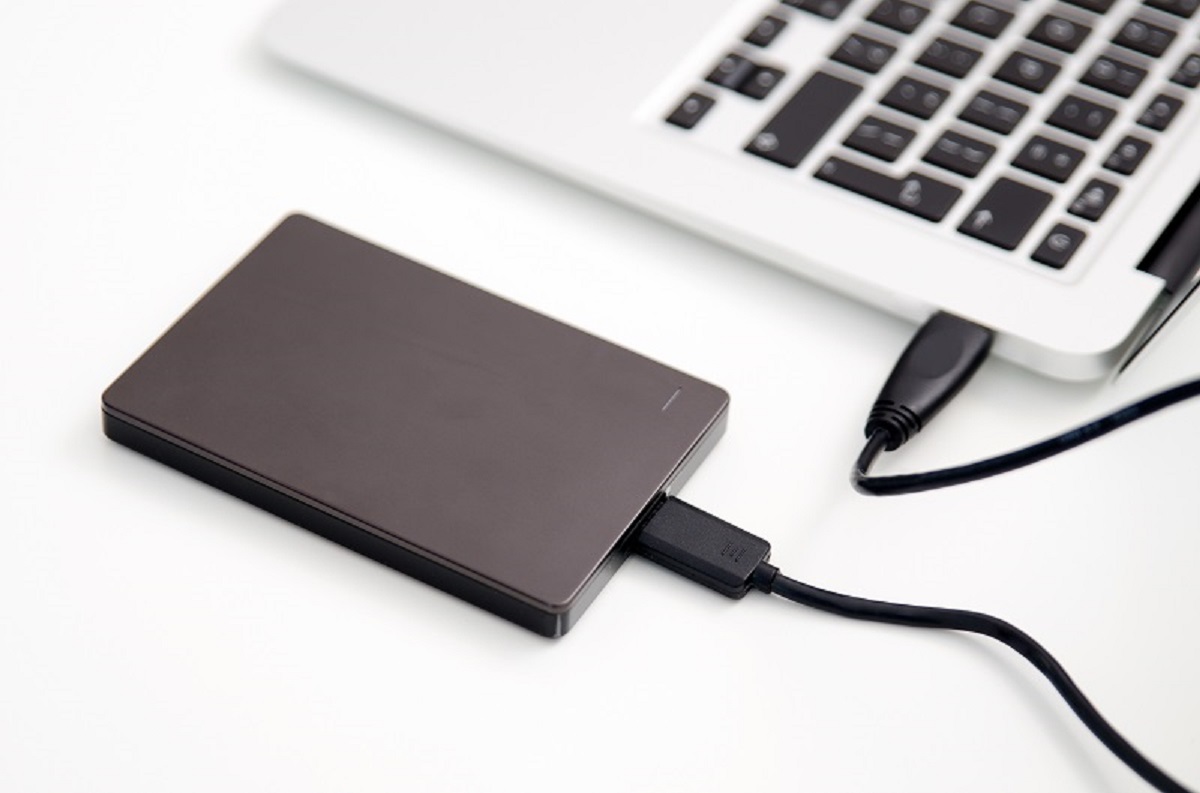
Remember to regularly backup your photos as a precaution against data loss. Having your photos stored in multiple locations, such as Google Drive and an external hard drive, adds an extra layer of security.
We hope this article has provided you with valuable insights into the different methods you can use to transfer your Google Photos to Google Drive. Select the method that aligns best with your needs and preferences, and enjoy having your precious memories safely stored and easily accessible in your Google Drive account.