Introduction
Welcome to the digital era, where our memories are beautifully captured and stored in the cloud. Google Photos, one of the most popular photo storage platforms, offers a convenient way to back up and access our precious moments anytime, anywhere.
However, you may find yourself in a situation where you want to download all your photos from Google Photos to your iPhone. Whether you’re switching to a new device, need to free up storage space, or simply want a local backup, this guide will walk you through the steps to make it happen.
Downloading all your photos from Google Photos to your iPhone may seem like a daunting task, but fear not – it’s easier than you think. In this article, we’ll provide a step-by-step guide to help you get your photos safely onto your device.
So, without further ado, let’s dive into the process of downloading all your precious memories from Google Photos to your iPhone.
Step 1: Install the Google Photos app
The first step in downloading all your photos from Google Photos to your iPhone is to install the Google Photos app from the App Store. Follow the steps below to get started:
- Open the App Store on your iPhone.
- Tap on the search icon at the bottom of the screen and type “Google Photos” in the search bar.
- Tap on the “Get” button next to the Google Photos app icon.
- Wait for the app to download and install on your device.
- Once the installation is complete, tap on the “Open” button to launch the Google Photos app.
Installing the Google Photos app is essential to access all your photos stored in the cloud and to download them to your iPhone. Make sure you have a stable internet connection during the installation process to ensure a smooth download.
Now that you have the Google Photos app installed on your iPhone, you’re ready to move on to the next step – signing in to your Google account.
Step 2: Sign in to your Google account
To access and download your photos from Google Photos, you need to sign in to your Google account within the Google Photos app. Follow the steps below to sign in:
- Open the Google Photos app on your iPhone.
- If you’ve already installed the app but haven’t signed in, you’ll be prompted to do so. Tap on the “Sign in” button.
- Enter your Google account email address or phone number and tap “Next”.
- Enter your Google account password and tap “Next” again.
- If you have two-factor authentication enabled for your Google account, you may need to follow additional steps to verify your identity.
- Once you’ve successfully signed in, you’ll be taken to the main screen of the Google Photos app, where you can access all your backed-up photos and albums.
Signing in to your Google account ensures that you have access to all your photos and allows you to download them to your iPhone. Make sure you enter the correct account details to avoid any login issues.
With your Google account signed in, you’re now ready to move on to the next step – enabling “Backup & Sync” in the app settings.
Step 3: Enable “Backup & Sync” in the app settings
Enabling “Backup & Sync” in the Google Photos app settings ensures that your photos are constantly backed up to the cloud and can be accessed on multiple devices. Follow the steps below to enable this feature:
- Open the Google Photos app on your iPhone.
- Tap on the three horizontal lines in the top-left corner of the screen to open the app menu.
- Scroll down and tap on “Settings”.
- In the “Settings” menu, tap on “Backup & Sync”.
- Toggle the switch next to “Backup & Sync” to the ON position.
- You may see additional options, such as choosing the upload size and whether to include videos in the backup. Adjust these settings according to your preferences.
- Wait for the app to start syncing your photos to the cloud. This process may take some time, especially if you have a large photo library.
Enabling “Backup & Sync” ensures that every photo you capture or import on your iPhone is automatically backed up to your Google Photos account. This way, you can access your photos from any device with internet access.
With “Backup & Sync” enabled, you’re now ready to move on to the next step – selecting the photos you want to download.
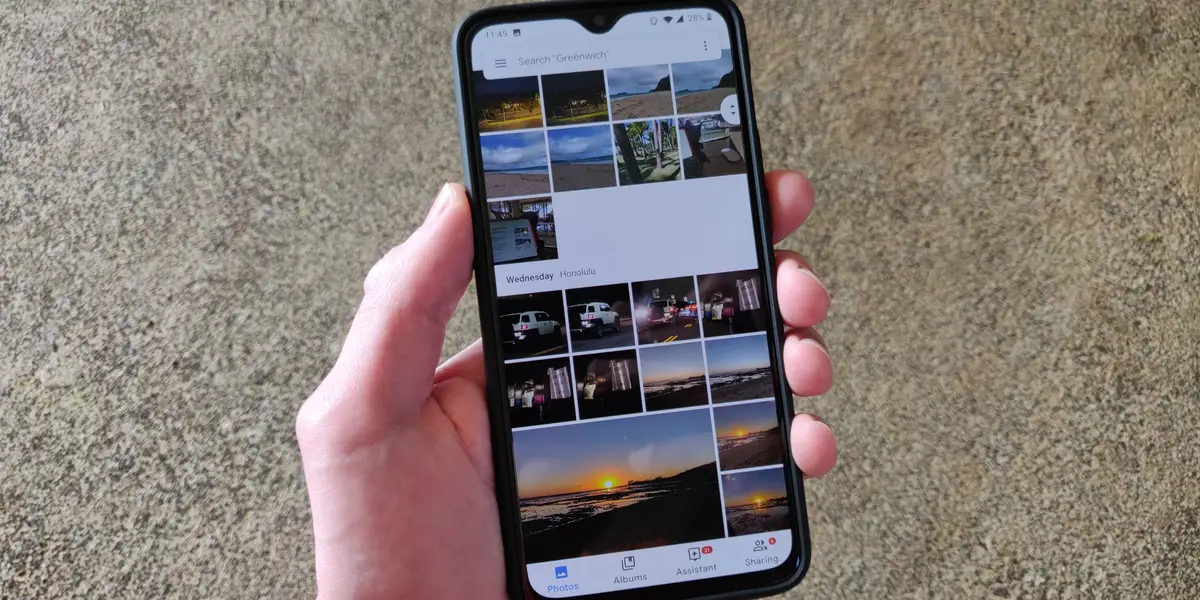
Step 4: Select the photos you want to download
Now that your photos are backed up to Google Photos, you can start selecting the specific photos you wish to download to your iPhone. Follow the steps below to begin:
- Open the Google Photos app on your iPhone.
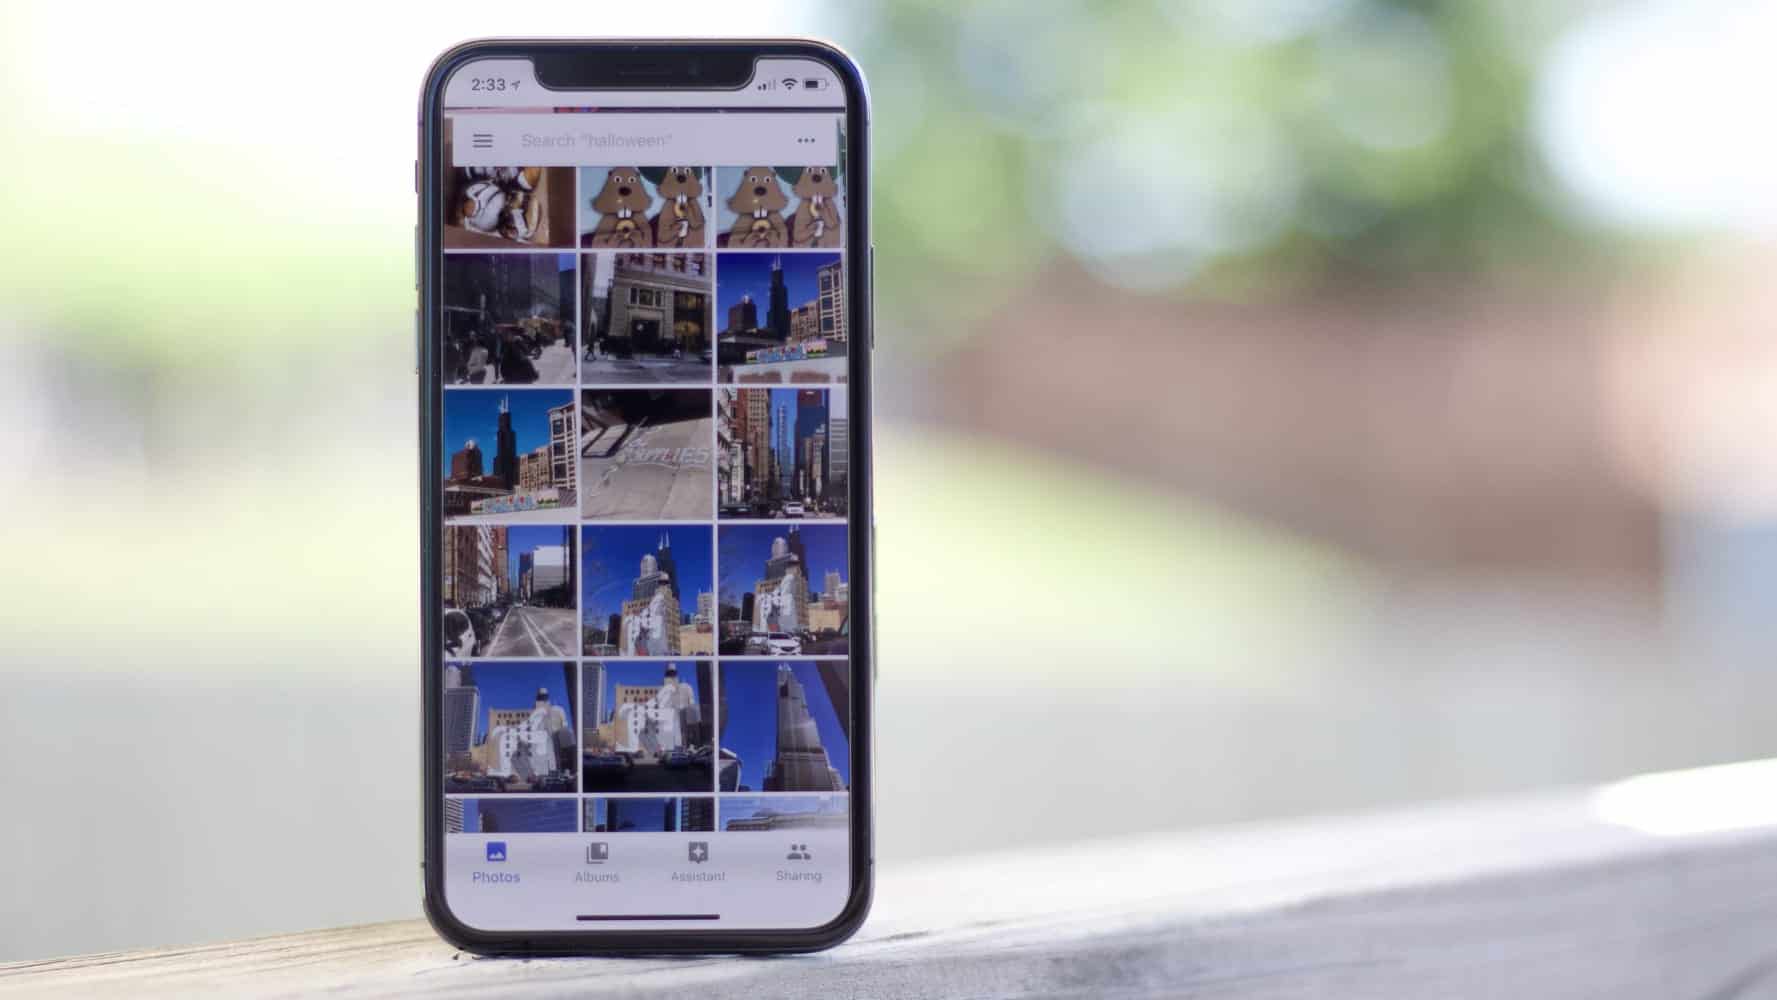
- Navigate to the “Photos” tab at the bottom of the screen.
- Scroll through your photo library to find the photos you want to download.
- Tap on a photo to select it. You can also tap and hold to select multiple photos at once.
- If you want to select all the photos in a particular album, tap on the album from the “Albums” tab and then tap on the three dots at the top-right corner of the screen. Select “Select all” to choose all the photos in the album.
- Once you have selected the desired photos, you will notice a blue checkmark appearing on each selected photo.
Take your time to review and carefully select the photos you want to download. This step allows you to have control over which photos are transferred to your iPhone, ensuring that you have only the ones you want.
Once you have made your selections, you can proceed to the next step – tapping on the “Share” icon to initiate the downloading process.
Step 5: Tap on the “Share” icon
After selecting the photos you want to download from Google Photos, the next step is to tap on the “Share” icon to initiate the downloading process. Follow these steps to proceed:
- Open the Google Photos app on your iPhone.
- Navigate to the “Photos” tab and make sure you have selected the desired photos or albums.
- Tap on the “Share” icon, which is represented by a square with an upward-pointing arrow.
- A sharing menu will appear with various options for sharing the selected photos.
By tapping on the “Share” icon, you’re activating the sharing menu, which allows you to access additional features and actions for your selected photos.
With the sharing menu open, you can now proceed to the next step – choosing the “Save to Files” option.
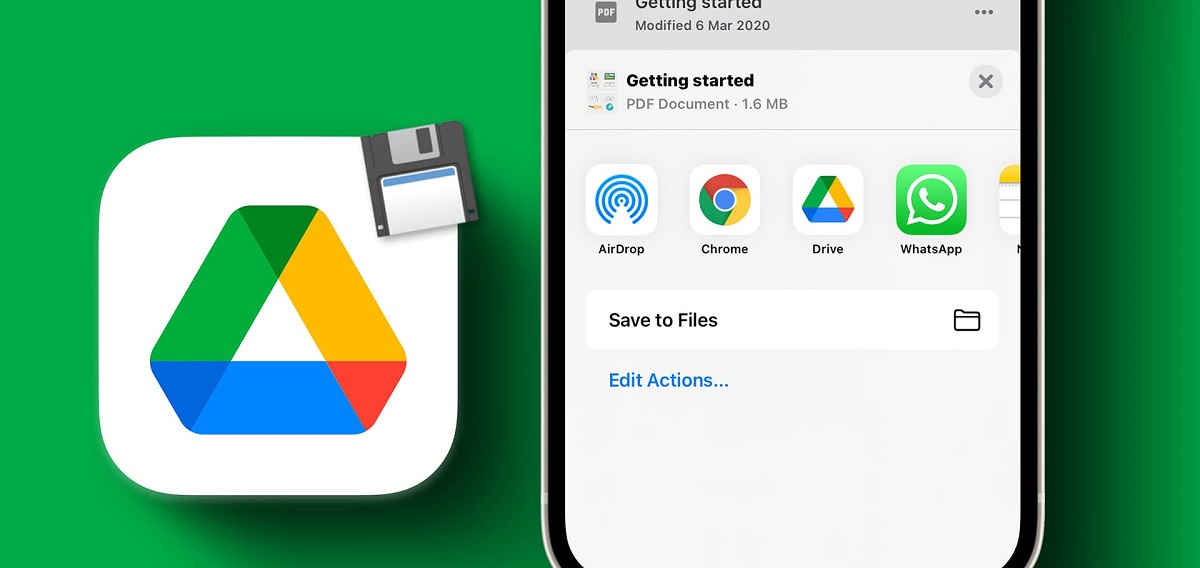
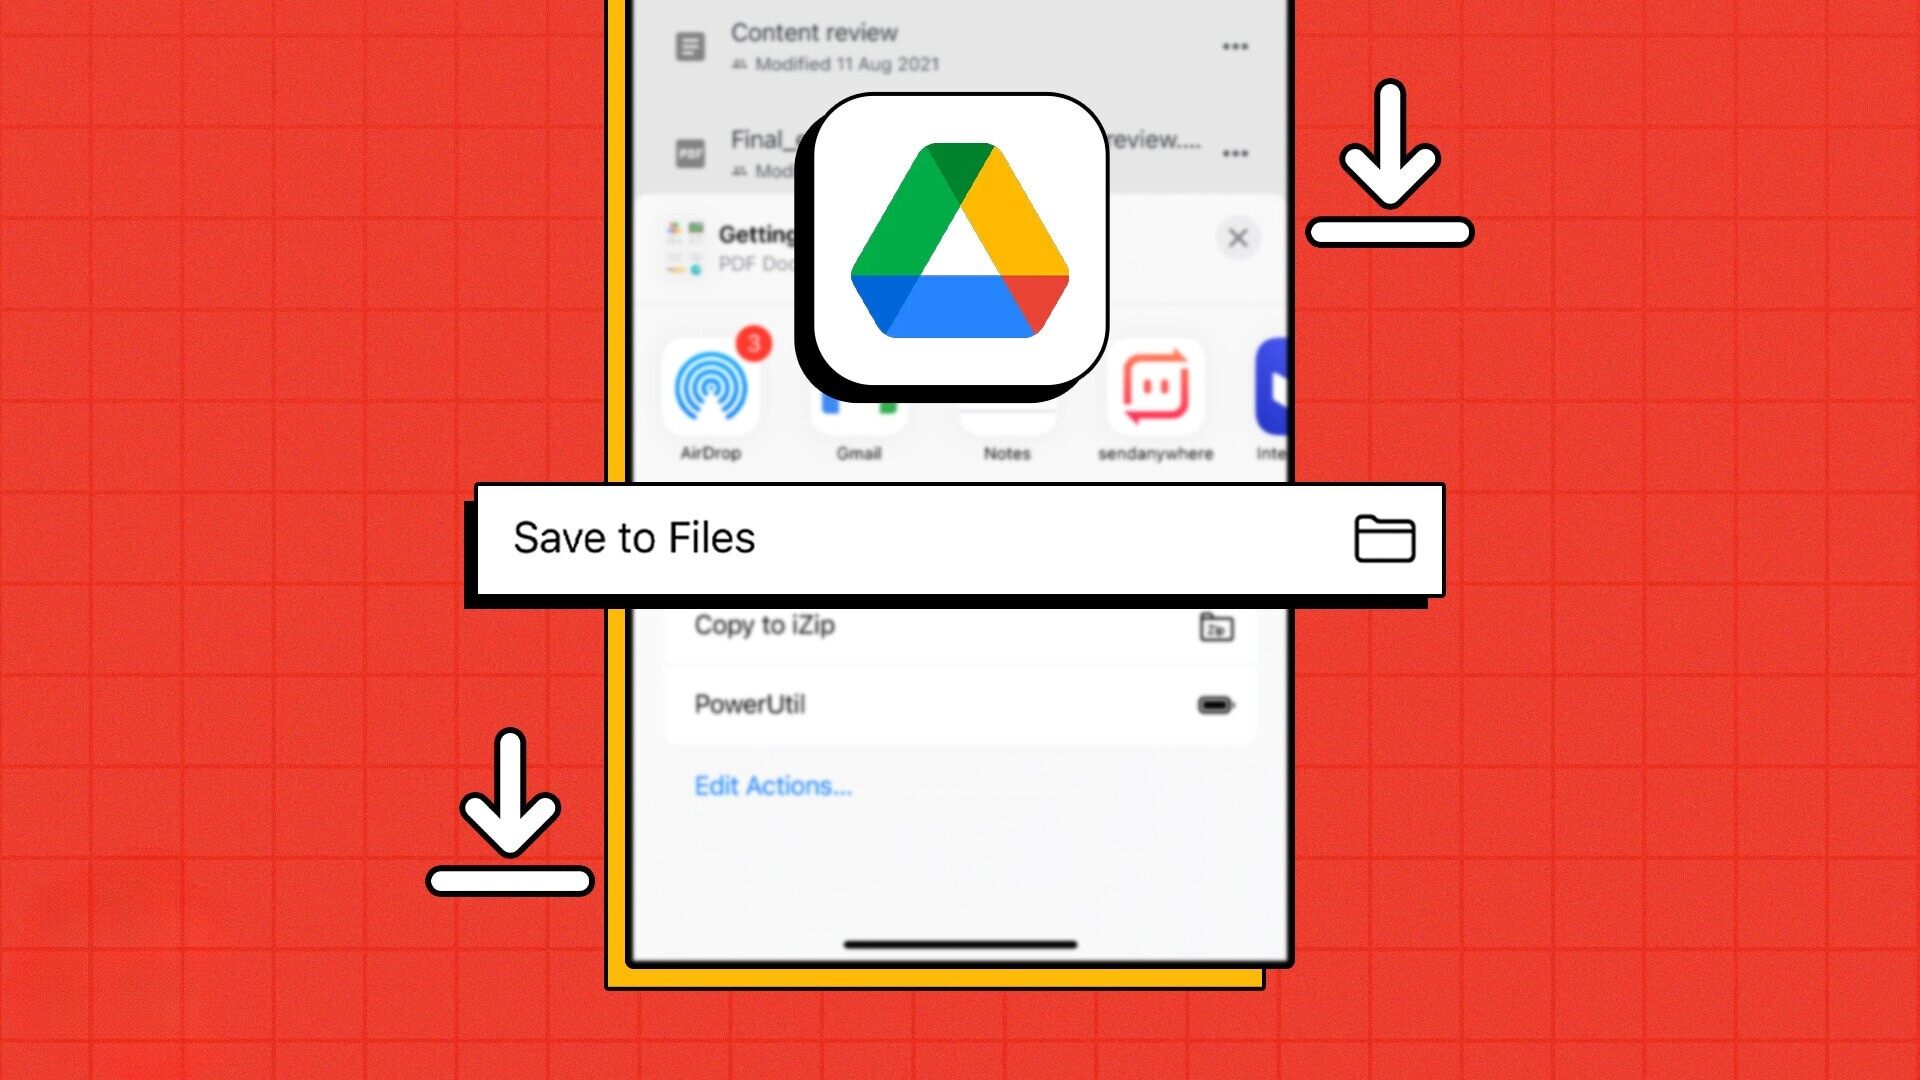
Step 6: Choose the “Save to Files” option
Once you have tapped on the “Share” icon in the Google Photos app, you will have a variety of sharing options at your disposal. To download the selected photos to your iPhone, follow these steps:
- Open the Google Photos app and select the desired photos.
- Tap on the “Share” icon to open the sharing menu.
- Scroll through the sharing options and locate the “Save to Files” option.
- Tap on “Save to Files” to proceed.
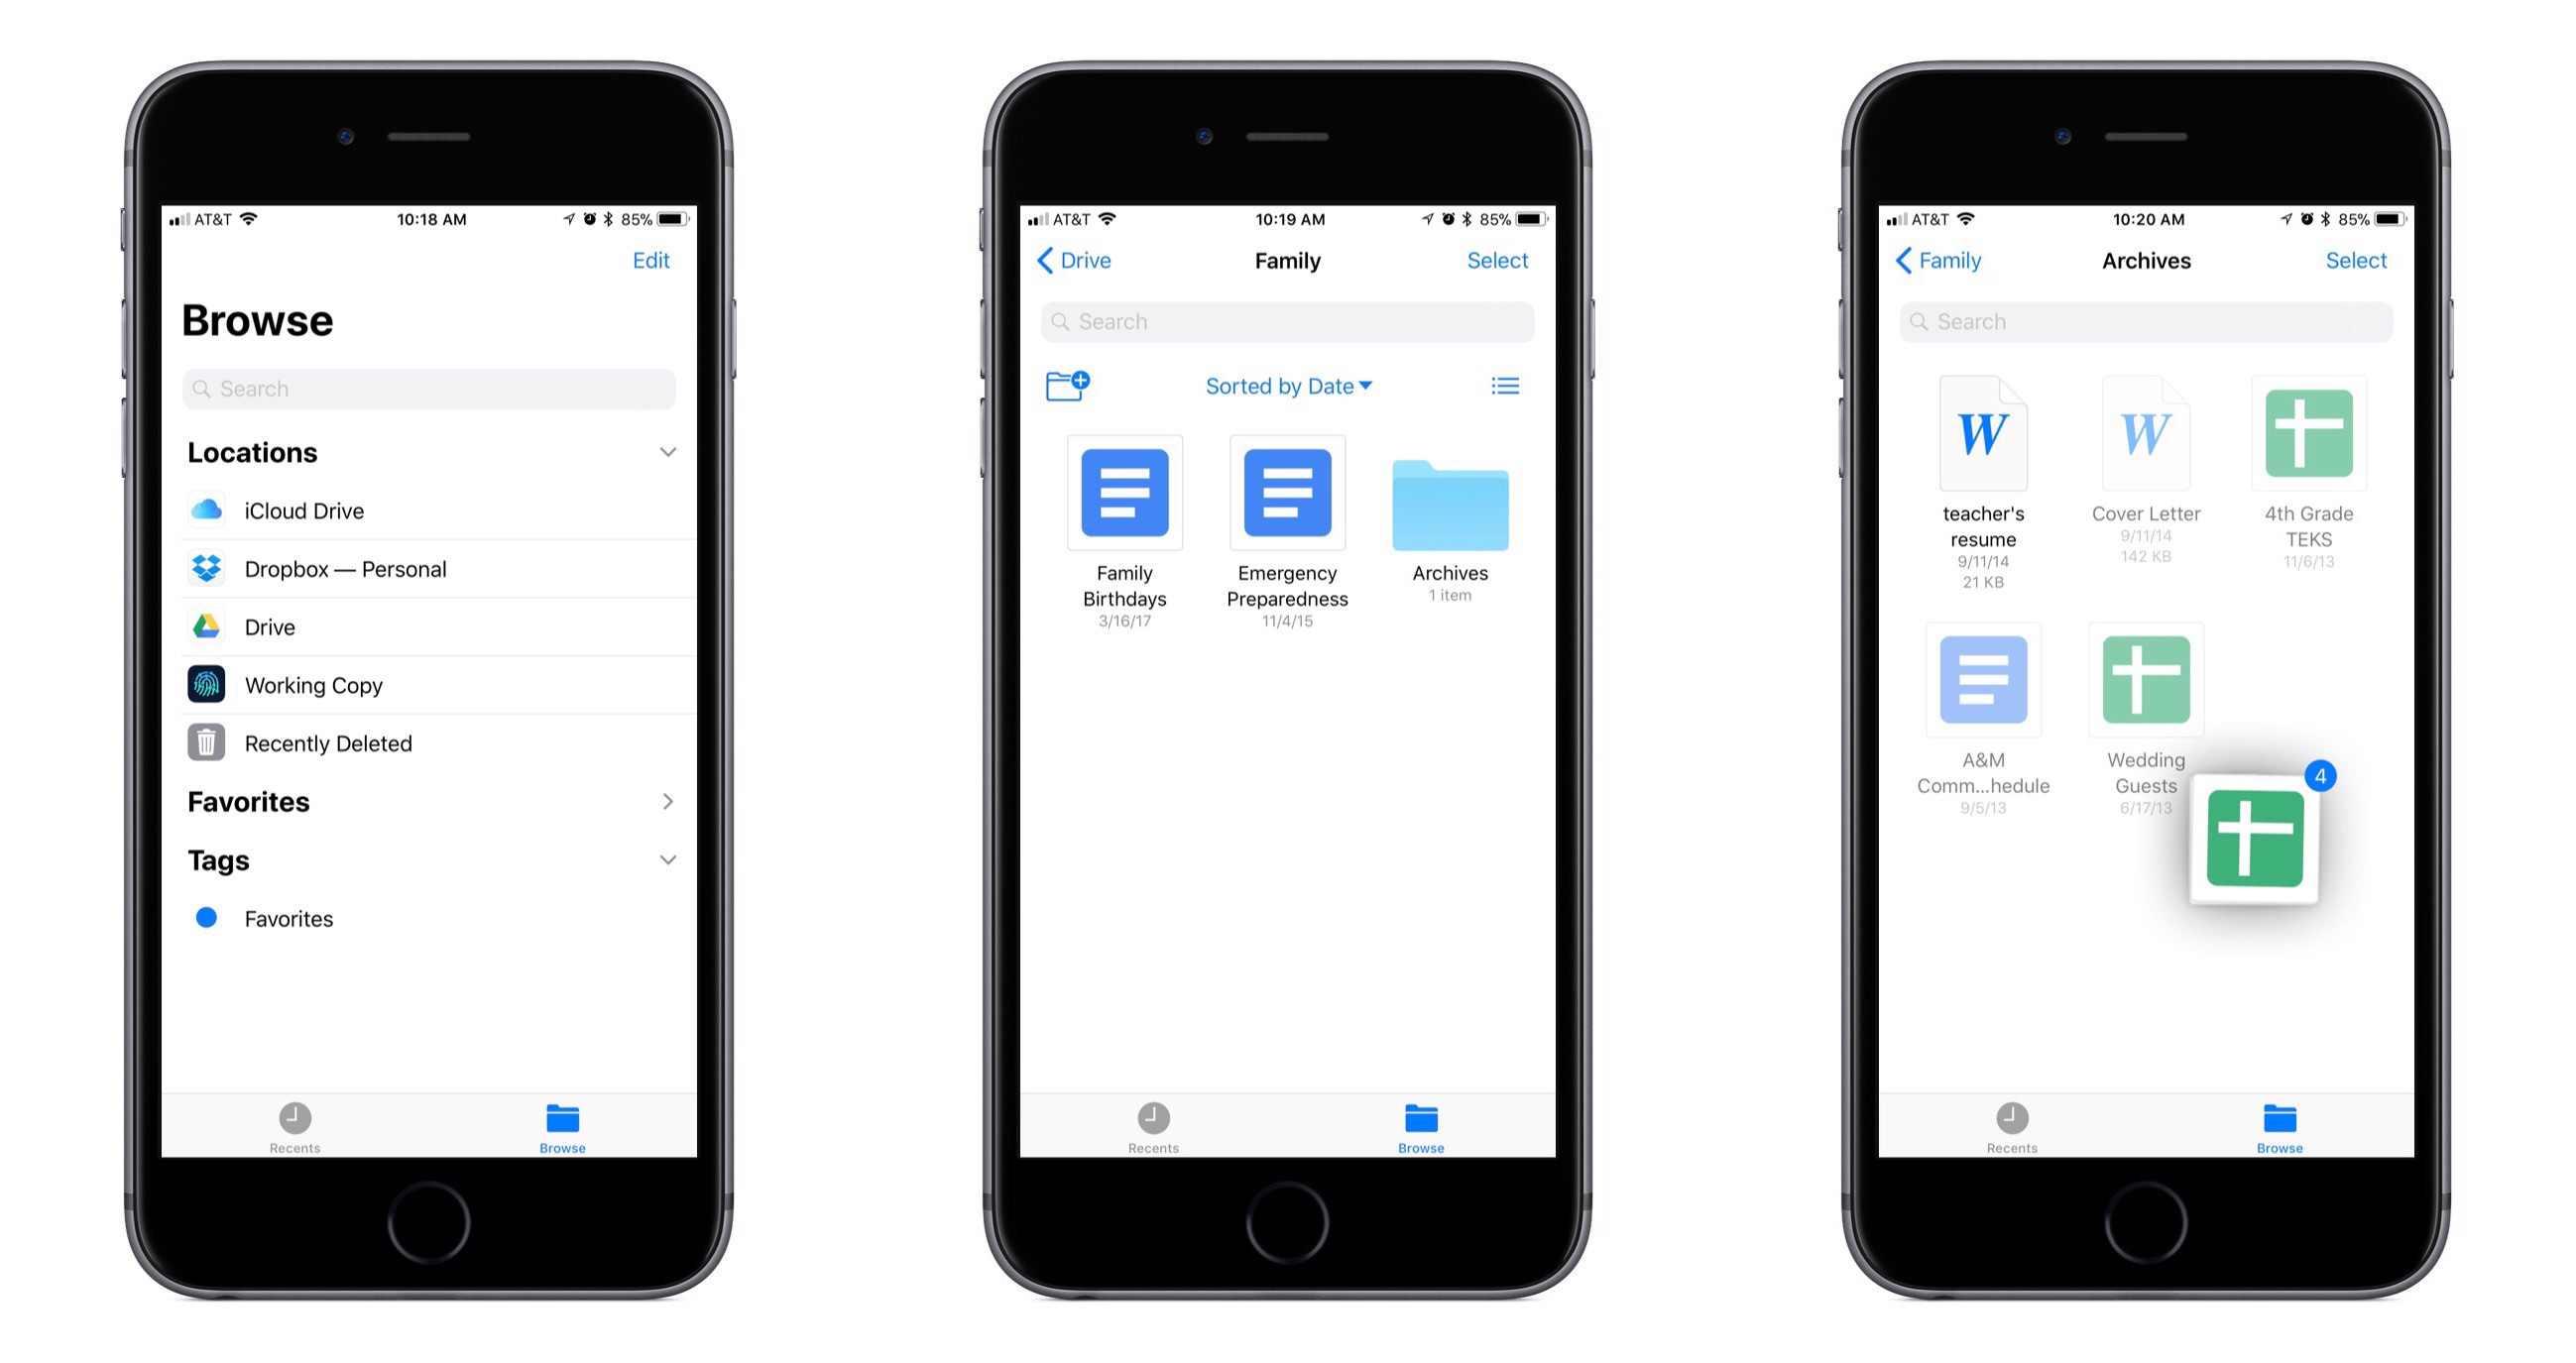
- A file browser will appear, allowing you to choose the location where you want to save the photos.
- You can create a new folder or select an existing one to organize your downloaded photos.
- Confirm the location and tap on the “Save” button to start the download process.
Choosing the “Save to Files” option enables you to save the photos directly onto your iPhone’s local storage. This allows for offline access and the ability to view and share the downloaded photos through other apps and platforms.
Now that you have selected the “Save to Files” option, you can move on to the next step – selecting the folder or location to save the photos.
Step 7: Select the folder or location to save the photos
After choosing the “Save to Files” option in the Google Photos app, the next step is to select the folder or location where you want to save the downloaded photos on your iPhone. Follow these steps to proceed:
- Once you have tapped on “Save to Files”, a file browser will appear on your screen.
- Navigate through the file browser to find the desired location where you want to save the photos.
- You can choose to save the photos in an existing folder or create a new folder by tapping on the “New Folder” option.
- If you decide to create a new folder, enter a name for the folder and tap on “Create” to confirm.
- Once you have selected the folder or location, tap on the “Save” button to initiate the saving process.
- The selected photos will now be downloaded and saved to the chosen folder or location on your iPhone.
By selecting the folder or location to save the photos, you have the flexibility to organize your downloaded photos in a way that suits your preferences. This allows for better organization and easy access to the downloaded images.
Now that you have selected the folder or location to save the photos, you are ready for the next step – waiting for the photos to download.
Step 8: Wait for the photos to download
After selecting the folder or location to save the photos in the previous step, you will need to wait for the download process to complete. The duration of this process may vary depending on the number and size of the selected photos as well as the speed of your internet connection. Here’s what you need to do:
- Once you have chosen the folder or location to save the photos, tap on the “Save” button.
- The photos will begin to download and save to the selected folder on your iPhone.
- During the download process, make sure you stay connected to a stable Wi-Fi network to ensure a smooth and uninterrupted transfer of the photos.
- Keep an eye on the download progress, which will be indicated by a progress bar or percentage completed.
- The time it takes to download the photos will depend on factors such as the size of the photos and the speed of your internet connection.
- Once the download is complete, you will receive a notification indicating that the photos have been successfully saved to the selected folder on your iPhone.
While you wait for the photos to download, it’s best to avoid interrupting the process or closing the Google Photos app to ensure a successful transfer. Once the download is complete, you can open the folder where the photos were saved and enjoy your memories directly on your iPhone.
With the photos downloaded and saved to your iPhone, you have successfully completed the process of downloading all your photos from Google Photos to your device. Congratulations!
Conclusion
Downloading all your photos from Google Photos to your iPhone may seem like a complex task, but by following the step-by-step guide outlined in this article, you can easily accomplish it. By installing the Google Photos app, signing in to your Google account, enabling “Backup & Sync,” selecting the desired photos, tapping on the “Share” icon, choosing the “Save to Files” option, selecting the folder or location to save the photos, and patiently waiting for the download process to complete, you can have all your cherished memories conveniently stored on your iPhone.
Having your photos downloaded directly to your device offers numerous advantages. You can access them offline, share them through various apps and platforms, and organize them as desired. Additionally, having a local backup on your iPhone ensures that you have access to your photos even if there is a temporary or permanent issue with your Google Photos account or internet connection.
Remember, the process may take some time, especially if you have a large photo library. It is crucial to have a stable internet connection and enough storage space on your iPhone to accommodate the downloaded photos. Taking these factors into consideration and following each step carefully will result in a successful transfer of your photos.
Now that you have learned how to download all your photos from Google Photos to your iPhone, you can enjoy your memories wherever you go and share them with family and friends. Happy downloading!