Introduction
Google Photos is a popular app for managing and storing your photos and videos on both Android and iOS devices. If you are using Google Photos on your iPhone and want to sign out from the app, you may be wondering how to do it. Whether you want to switch to a different Google account or simply want to log out of your current account, the process is straightforward and easy to follow.
In this guide, we will walk you through the step-by-step process of signing out from Google Photos on your iPhone. By the end of this article, you’ll have all the information you need to successfully sign out and ensure the privacy and security of your Google account.
Before we proceed, it’s important to note that signing out from Google Photos will also sign you out from other Google services on your device, such as Gmail and Google Drive. Therefore, you’ll need to sign back in if you want to access those services again. This process only applies to signing out from Google Photos app on your iPhone and does not affect your Google account as a whole.
Accessing Google Photos on iPhone
Before we delve into the steps of signing out from Google Photos on your iPhone, let’s first make sure you can easily access the app on your device. If you haven’t already installed Google Photos on your iPhone, you can download it for free from the App Store. Once the app is installed, follow the steps below to access Google Photos:
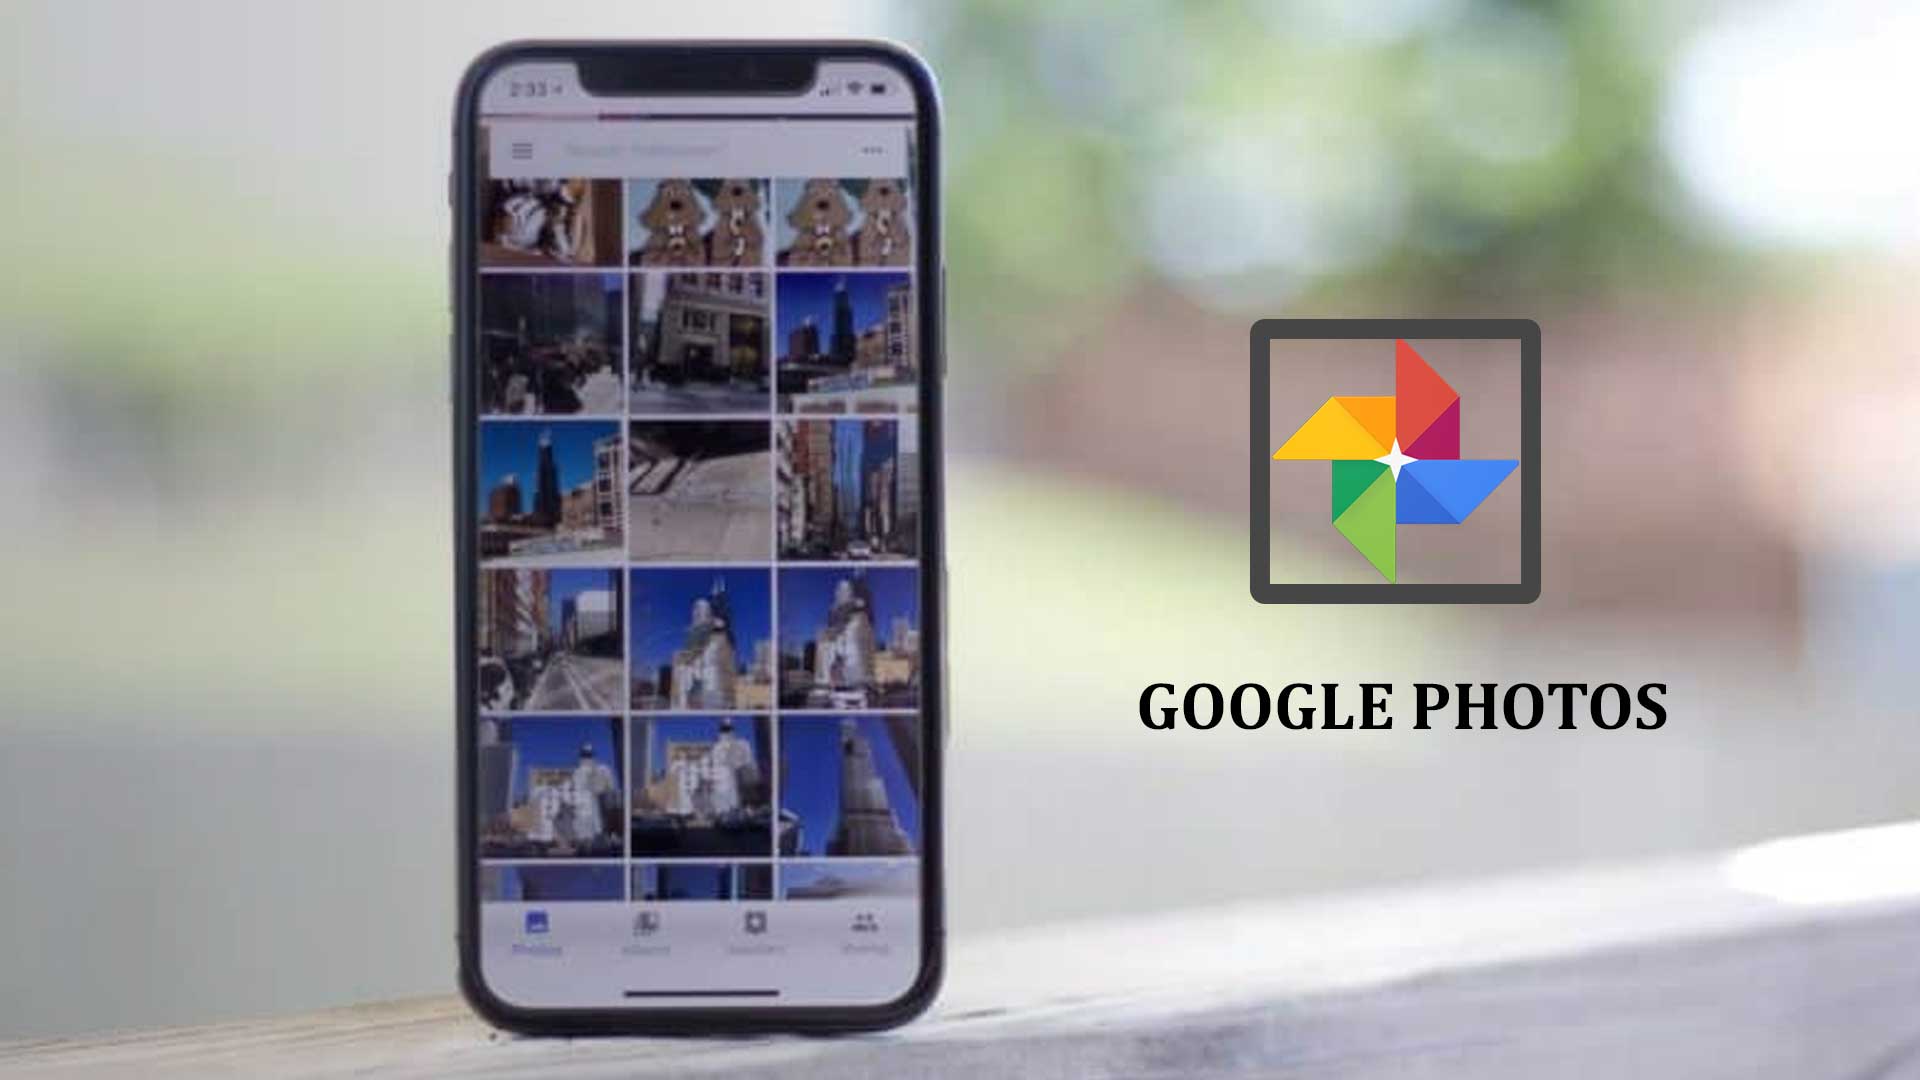
- Locate the Google Photos app on your iPhone’s home screen. It’s represented by a colorful pinwheel icon.
- Tap on the app icon to launch Google Photos.
- If you are not already signed in to Google Photos, you’ll be prompted to sign in with your Google account. Enter your email address and password associated with your Google account to proceed. If you have multiple Google accounts, you can choose the one you want to use for Google Photos.
- Once you are signed in, you will have access to all the photos and videos associated with your Google account. The app offers various features to organize, edit, and share your media files.
Now that you know how to access Google Photos on your iPhone, let’s move on to the steps of signing out from the app.
Signing out from Google Photos on iPhone
If you’re ready to sign out from Google Photos on your iPhone, follow the step-by-step guide below:
- Open the Google Photos app on your iPhone by tapping on its icon on the home screen.
- Tap on your profile picture, which is located in the top right corner of the app’s interface. This will open a menu with various options.
- In the menu, look for the “Manage accounts on this device” option and tap on it. This will display a list of all the Google accounts currently signed in on your device.
- From the list of accounts, select the one you want to sign out from Google Photos. If you only have one Google account signed in, it will be the only option available.
- After selecting the account, you will see an option to “Remove Account.” Tap on this option to proceed with signing out.
- A confirmation dialog will appear asking if you want to remove the account. Read the message carefully to ensure you understand the consequences of signing out. If you’re certain, tap on “Remove from this device” to complete the sign out process.
Once you have removed the account, you will be automatically signed out from Google Photos on your iPhone. Keep in mind that signing out from Google Photos will also sign you out from other Google services on your device, such as Gmail and Google Drive.
If you ever want to sign in again or switch to a different Google account on Google Photos, simply repeat the steps above and sign in with your desired account.
Now that you know how to sign out from Google Photos on your iPhone, you can ensure the privacy and security of your Google account. Whether you want to switch to a different account or log out temporarily, this process provides a simple solution.
Step 1: Open Google Photos app
The first step to signing out from Google Photos on your iPhone is to open the Google Photos app. Here’s how you can do it:
- Locate the Google Photos app on your iPhone’s home screen. It has an icon with a colorful pinwheel design.
- Tap on the app icon to launch Google Photos. The app will open and display your photo library.
- If you have multiple photo libraries linked to your Google account, the app may prompt you to choose the library you want to access. Select the desired library to proceed.
Once you’ve successfully opened the Google Photos app, you can move on to the next step of signing out from the app. Keep in mind that the app may take a few moments to load, depending on the speed of your internet connection and the size of your photo library.
Opening the Google Photos app is essential as it allows you to access the necessary settings and menus to proceed with signing out from your account. Whether you want to switch to a different Google account or log out temporarily, following the remaining steps will guide you through the entire process.
Step 2: Tap on your profile picture
After successfully opening the Google Photos app on your iPhone, the next step in signing out from the app is to tap on your profile picture. This will grant you access to the account settings and options. Here’s how you can do it:
- Look for your profile picture, which is located in the top right corner of the Google Photos app interface. It’s a small circular icon that represents your account.
- Tap on your profile picture. This action will open a menu with various options related to your account settings and preferences.
Tapping on your profile picture is crucial as it allows you to navigate to the account management section of the app. This is where you can make changes to your account, including signing out from Google Photos on your iPhone.
Once you’ve tapped on your profile picture, you are ready to proceed to the next step, which will guide you through the remaining process of signing out from Google Photos. Whether you want to switch to a different Google account or log out temporarily, following the subsequent steps will help you achieve your goal.
Step 3: Tap on “Manage accounts on this device”
After tapping on your profile picture in the Google Photos app on your iPhone, the next step in signing out is to tap on the option “Manage accounts on this device”. This option allows you to access the account management settings on your iPhone. Follow the steps below to proceed:
- Within the menu that appears after tapping your profile picture, locate and tap on the “Manage accounts on this device” option. This will open a new screen providing you with detailed information about the accounts linked to your Google Photos app.
By tapping on “Manage accounts on this device”, you gain access to all the accounts that are currently signed in on your iPhone. This step is crucial as it enables you to select the specific account you want to sign out from Google Photos.
Once you’ve successfully tapped on “Manage accounts on this device”, you are now ready to proceed to the next step, which will guide you through the remaining process of signing out from Google Photos on your iPhone. Whether you want to switch to a different Google account or log out temporarily, following the subsequent steps will help you accomplish your goal.
Step 4: Select the account you want to sign out from
After tapping on the “Manage accounts on this device” option in the Google Photos app on your iPhone, the next step in signing out is to select the specific account you want to sign out from. Here’s what you need to do:
- On the “Manage accounts on this device” screen, you will see a list of all the Google accounts currently signed in on your iPhone.
- From the list, carefully review the accounts and select the one you want to sign out from Google Photos. If you have only one Google account signed in, it will be the only option available.
This step is crucial as it allows you to choose the account that you no longer wish to be associated with Google Photos on your iPhone. It’s important to ensure that you select the correct account to avoid accidentally signing out from the wrong account.
Once you’ve selected the account, you are now ready to proceed to the next step, which will guide you through the remaining process of signing out from Google Photos. Whether you want to switch to a different Google account or log out temporarily, following the subsequent steps will help you achieve your goal.
Step 5: Tap on “Remove Account”
After selecting the account you want to sign out from in the Google Photos app on your iPhone, the next step is to tap on the “Remove Account” option. This action will initiate the process of signing out from the selected account. Follow the steps below to proceed:
- On the screen displaying the account details, look for the “Remove Account” option. It is usually located towards the bottom of the screen.
- Tap on “Remove Account”. This will prompt a confirmation message to ensure you understand the consequences of signing out.
By tapping on “Remove Account”, you are taking the final step in the sign-out process. This action will remove the selected account from Google Photos on your iPhone.
It’s important to note that removing the account from Google Photos on your iPhone will also sign you out from other Google services linked to that account, such as Gmail and Google Drive. If you have any important data associated with the account, make sure to back it up before proceeding.
Once you’ve successfully tapped on “Remove Account”, you are now ready to confirm the sign-out action in the next step. Whether you want to switch to a different Google account or log out temporarily, following the subsequent steps will help you accomplish your goal.
Step 6: Confirm the sign out action
After tapping on the “Remove Account” option in the Google Photos app on your iPhone, the final step in signing out is to confirm the sign out action. This step ensures that you understand the consequences of signing out and allows you to proceed with the process. Follow the steps below to confirm the sign out action:
- Once you tap on “Remove Account”, a confirmation dialog box will appear on your screen. This dialog box will provide you with important information about signing out.
- Read the message carefully to make sure you understand the implications of signing out. It may inform you that signing out will also sign you out from other Google services on your device.
- If you are certain and ready to proceed, tap on the option that confirms the sign out action. The wording of this option may vary, but it is typically something like “Remove from this device” or “Yes, remove”.
By confirming the sign out action, you are completing the process of signing out from the selected account in Google Photos on your iPhone. Your account will be removed from Google Photos, and you will no longer have access to its features and functionalities on the app.
It’s important to note that signing out from Google Photos will also sign you out from other Google services associated with that account, such as Gmail and Google Drive. If you still need access to these services, make sure to sign in again using the appropriate credentials.
Once you’ve successfully confirmed the sign out action, you have completed the entire process of signing out from Google Photos. Whether you wanted to switch to a different Google account or simply log out temporarily, you have now successfully accomplished your goal.
Conclusion
Signing out from Google Photos on your iPhone is a simple process that allows you to switch between accounts or log out temporarily. By following the step-by-step guide outlined in this article, you can successfully sign out from Google Photos and ensure the privacy and security of your Google account.
We began by discussing the importance of accessing Google Photos on your iPhone, emphasizing the need to have the app installed and signed in with your account credentials. Once you have successfully accessed the app, you can proceed with the sign-out process.
We then covered the step-by-step instructions for signing out from Google Photos on your iPhone. From tapping on your profile picture to selecting the account you want to sign out from, each step was outlined in detail to make the process clear and easy to follow.
Lastly, we discussed the importance of confirming the sign out action and understanding the consequences of signing out. By carefully reading the confirmation message and confirming the sign out action, you can ensure that you are making the right decision for your Google account.
Remember, signing out from Google Photos on your iPhone will also sign you out from other Google services associated with that account. So, if you need to access those services again, make sure to sign in with the appropriate credentials.
By following these steps, you can confidently sign out from Google Photos on your iPhone whenever needed. Whether you want to switch to a different account or log out temporarily, the process is straightforward and easy to execute.
Now that you have all the necessary information, go ahead and sign out from Google Photos on your iPhone. Enjoy the flexibility and control you have over your Google account and continue to capture and save memorable moments with ease.