Introduction
Welcome to the world of Google Photos, a fantastic platform for storing, organizing, and sharing your precious memories. With the digital age in full swing, printing photos might seem like a thing of the past. However, there’s something uniquely special about holding a physical photograph in your hands and displaying it proudly in your home. In this guide, we will take you through the process of printing your beloved Google Photos, allowing you to enjoy them in a tangible form.
Printing photos from Google Photos is not only convenient but also incredibly easy. Whether you want to create a photo album, frame a picture for your desk, or gift a heartfelt image to a loved one, this guide will provide you with step-by-step instructions to help you achieve your printing goals.
Before we dive into the details, it’s important to note that the process of printing Google Photos can vary depending on the device you are using and the printer you have at your disposal. Fear not, though, as we will cover both computer and mobile device options, ensuring that you can print your favorite photos no matter your setup.
So, if you’re ready to bring your digital memories to life, let’s get started by exploring how to choose the right printer for your needs.
Choosing the Right Printer
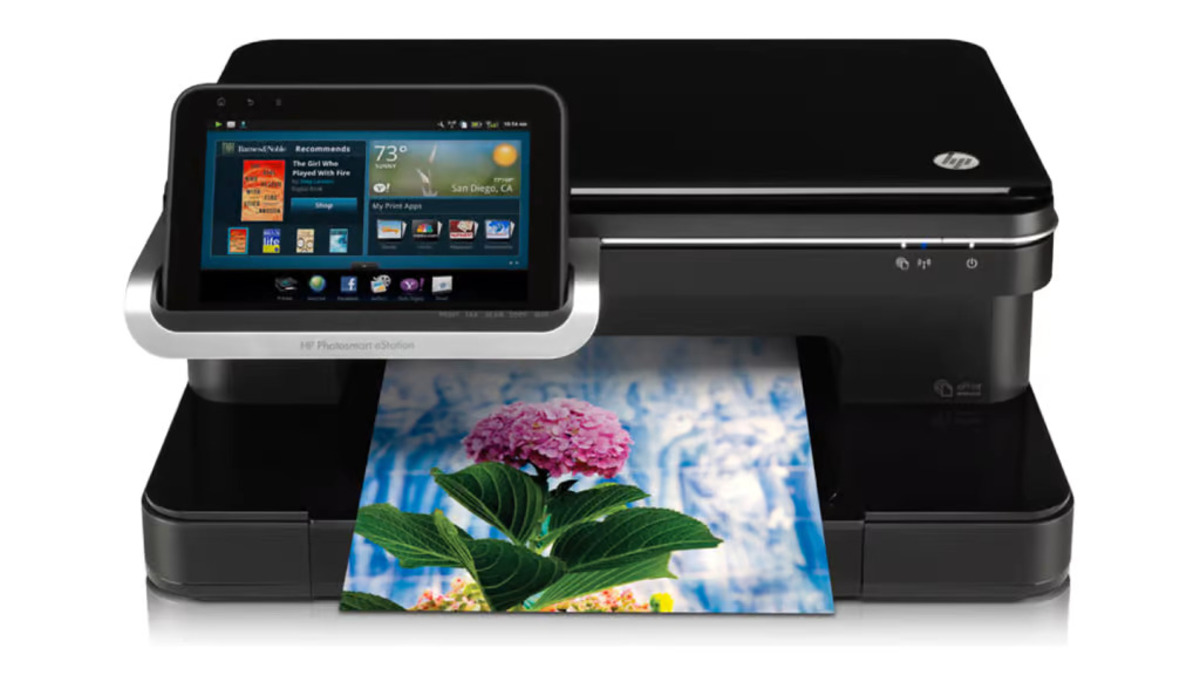
When it comes to printing your Google Photos, selecting the right printer plays a crucial role in the overall quality and ease of the printing process. With a multitude of options available in the market, it’s important to consider a few key factors before making your decision.
Firstly, determine whether you need a dedicated photo printer or a multifunction printer that can handle various tasks. While photo printers are specialized for producing high-quality prints, multifunction printers offer the added functionality of scanning and copying documents. If you value versatility in your printer, a multifunction printer might be the best choice.
Resolution is another crucial aspect to consider. The higher the printer’s resolution, the more detail and clarity your printed photos will have. Look for printers with a minimum resolution of 2400 x 1200 dots per inch (dpi) to ensure sharp and vibrant prints.
It’s also essential to consider the printing technology used by the printer. Inkjet printers are ideal for printing photos due to their ability to produce rich colors and smooth gradations. On the other hand, dye-sublimation printers provide professional-grade photo prints with excellent color accuracy and durability.
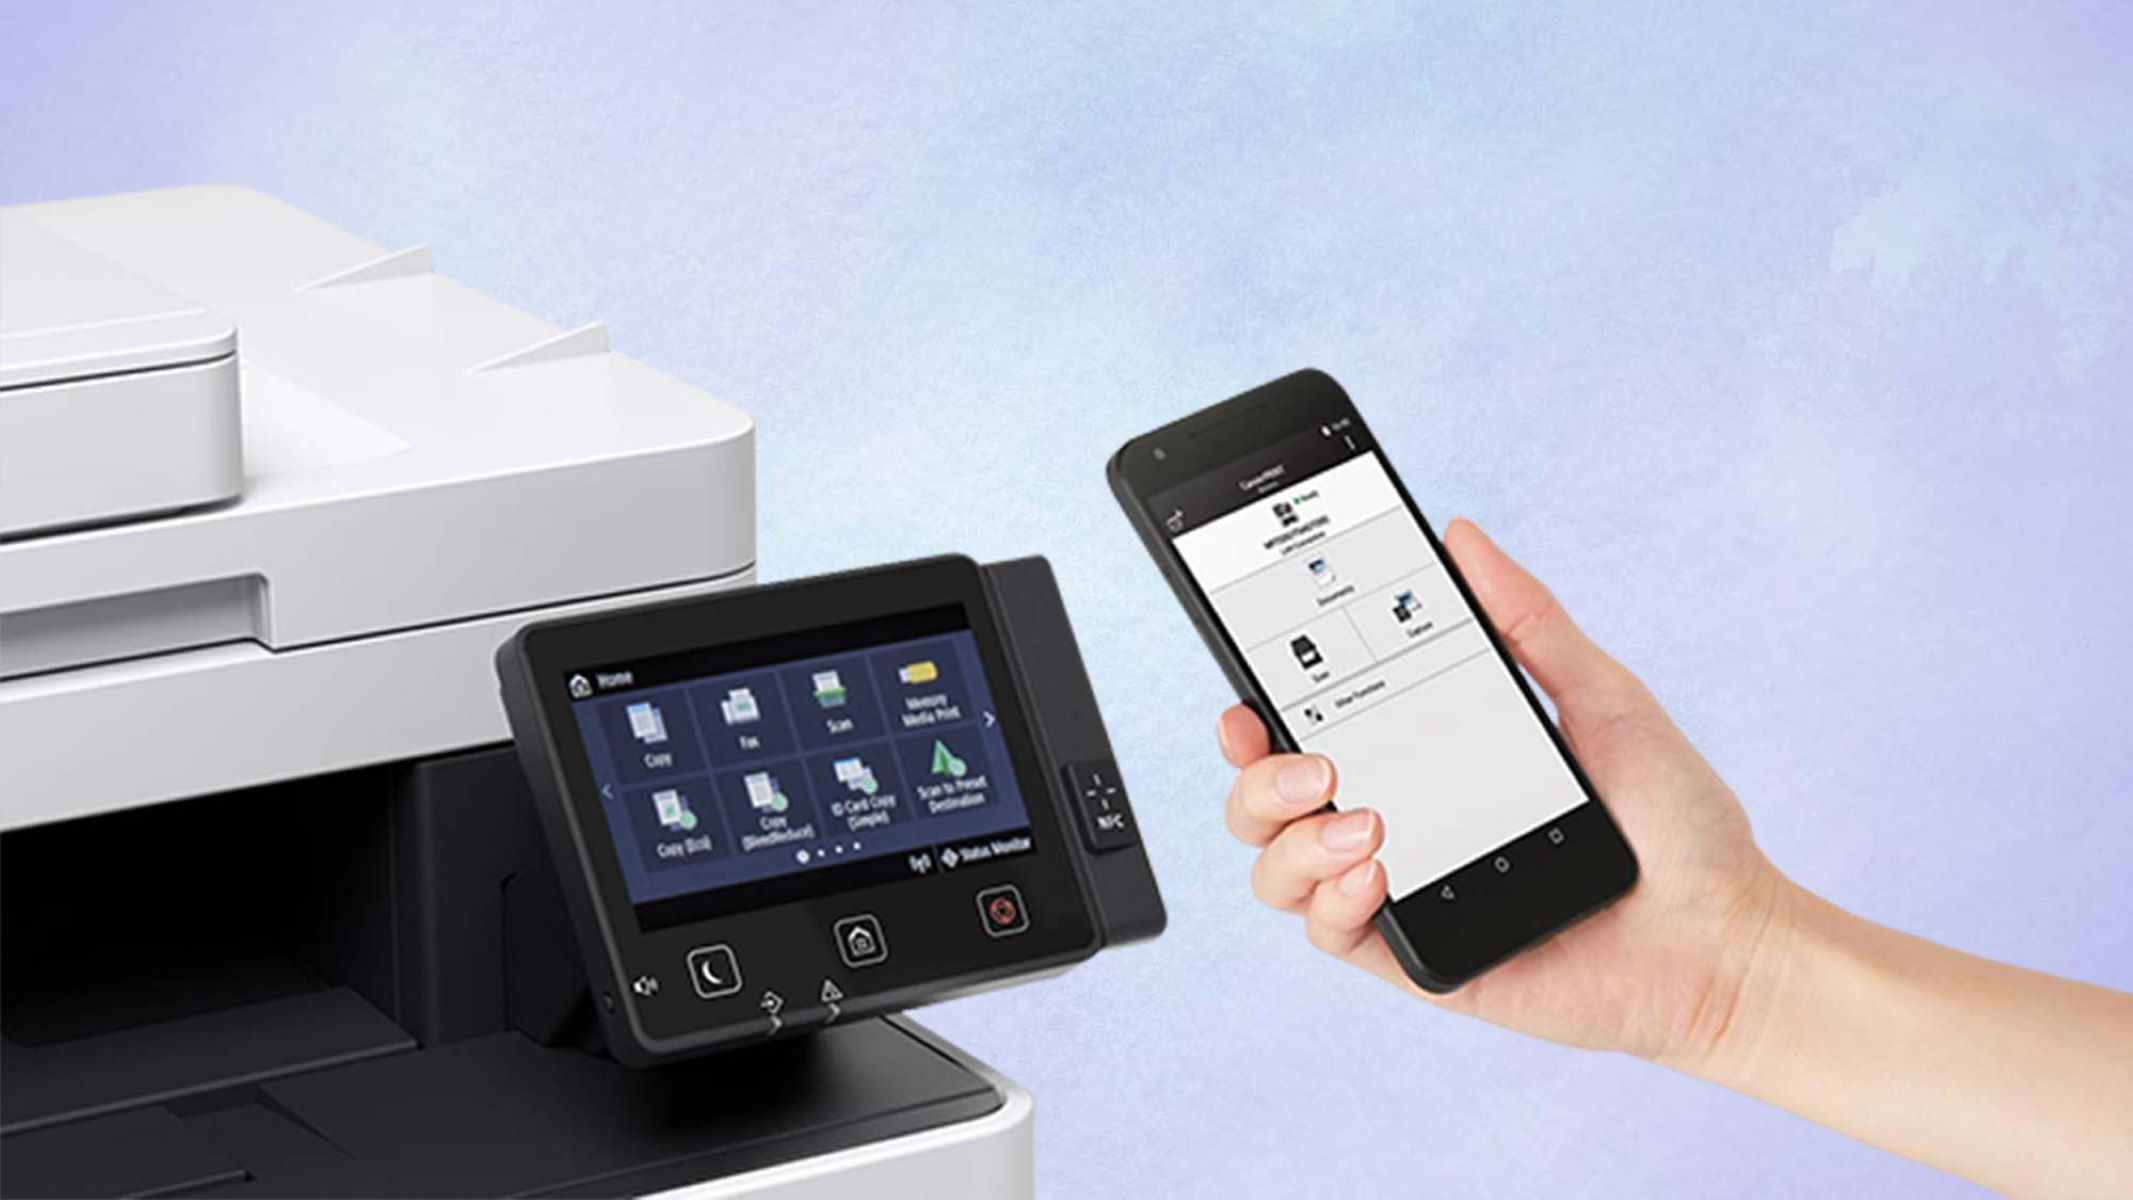
Connectivity options should not be overlooked as well. Ensure that the printer you choose is compatible with your computer or mobile device, whether it supports USB, Wi-Fi, or cloud printing. This will ensure a seamless connection and effortless printing experience.
Lastly, consider your budget and long-term costs. While it’s tempting to opt for a cheaper printer, keep in mind the cost of ink cartridges and other consumables over time. Research the average cost per page and ink efficiency to make an informed decision that balances upfront costs with long-term sustainability.
By carefully considering these factors – printer type, resolution, printing technology, connectivity options, and budget – you will be well on your way to choosing the perfect printer for printing your Google Photos. With the right printer in hand, let’s move on to the next step: setting up Google Photos.
Setting Up Google Photos
Before you can start printing your Google Photos, it’s essential to ensure that your Google Photos account is set up and ready to go. If you haven’t already done so, follow these steps to set up Google Photos:
- Visit the Google Photos website (photos.google.com) or download the Google Photos app from your device’s app store.
- If you’re using the website, sign in with your Google account. If you’re using the app, sign in with your Google account or create a new one if needed.
- Once signed in, you’ll be prompted to enable the backup and sync feature. This option automatically uploads your photos from your device to your Google Photos account, ensuring that all your photos are securely backed up and accessible from any device.
- Choose your upload size preference. Google offers two options: “High Quality” and “Original Quality.” High Quality uploads compressed photos that take up minimal storage space, while Original Quality uploads the photos in their original resolution but may count towards your Google storage limit.
- After enabling backup and sync and selecting your upload size preference, Google Photos will start scanning your device for photos to upload. Depending on the number of photos and the speed of your internet connection, this process may take some time.
- Once the upload is complete, your Google Photos account is set up and ready to use. You can now easily access and organize your photos from any device.
Congratulations! You have successfully set up Google Photos. Now that your photos are securely stored in the cloud, let’s explore how to print them from your computer.
Printing Photos from Google Photos on Your Computer
Printing your cherished memories from Google Photos on your computer is a straightforward process. By following these simple steps, you’ll be able to bring your digital images to life:
- Open your preferred web browser and navigate to the Google Photos website (photos.google.com).
- Sign in to your Google account if you haven’t already done so.
- Once signed in, browse through your photo library and select the image you wish to print.
- Click on the photo to open it in a larger view.
- In the top-right corner of the screen, click on the three vertical dots to reveal a drop-down menu.
- From the drop-down menu, select the “Print” option.
- A new window or tab will open, displaying the Google Photos print preview.
- Customize your print settings as desired, including print size, layout, and paper type.
- Once you’re satisfied with the settings, click on the “Print” button to begin the printing process.
- Follow any additional on-screen prompts to complete the printing process, such as selecting the printer and adjusting print quality.
That’s it! Your selected photo will now be sent to your printer for printing. Depending on your printer’s settings and the size of the photo, the printing process may take a few moments to complete. Once finished, you can marvel at your printed photo and enjoy the tangible representation of your digital memory.
Note: The steps outlined above may vary slightly depending on your operating system, printer configuration, and browser settings. Make sure your computer is connected to the printer and that it has the necessary drivers installed for seamless printing.
Now that you know how to print photos from Google Photos on your computer, let’s move on to the next section to learn how to print photos from your mobile device.
Printing Photos from Google Photos on Your Mobile Device
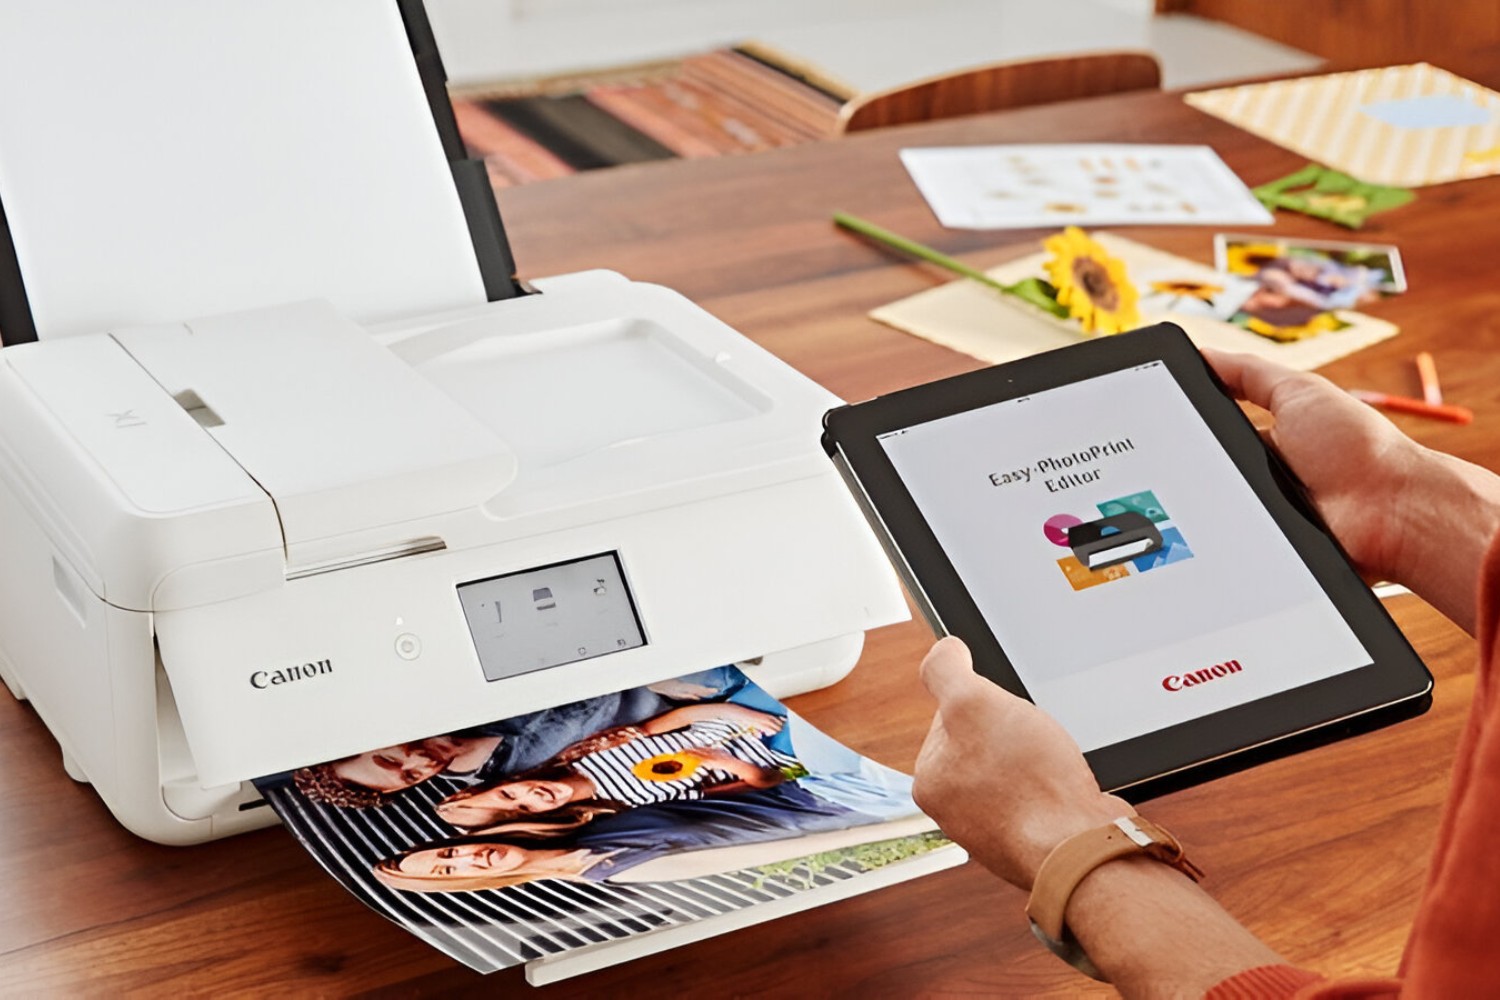
Printing your favorite photos from Google Photos on your mobile device is a convenient way to bring your digital memories to life. Follow these steps to print photos directly from your mobile device:
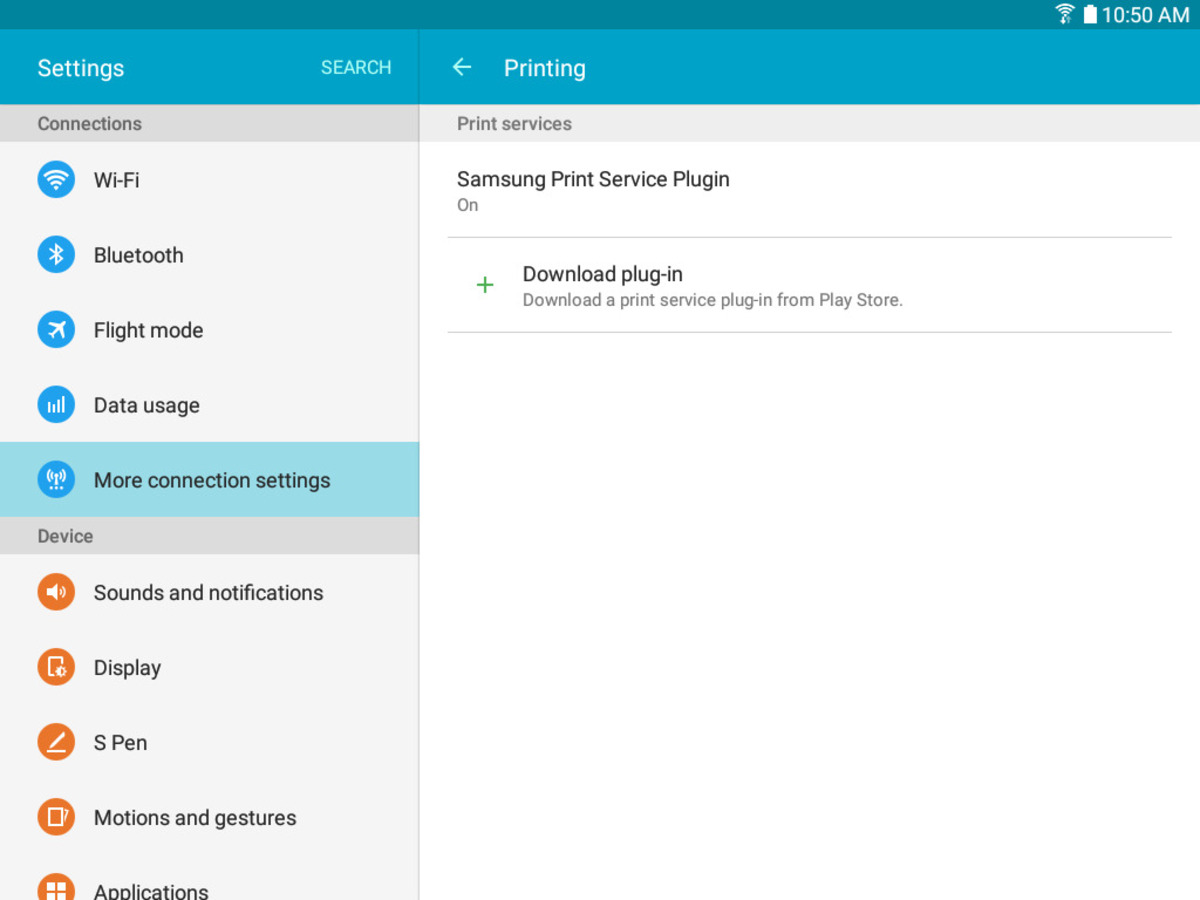
- Ensure that you have the Google Photos app installed on your mobile device. If not, download and install it from your device’s app store.
- Open the Google Photos app and sign in to your Google account if you haven’t already done so.
- Navigate through your photo library to find the photo you want to print.
- Tap on the photo to open it in full view.
- Once the photo is open, tap on the three vertical dots in the top-right corner of the screen to access the options menu.
- From the menu, select the “Print” option.
- A new screen will appear, showing a preview of your photo along with print customization options.
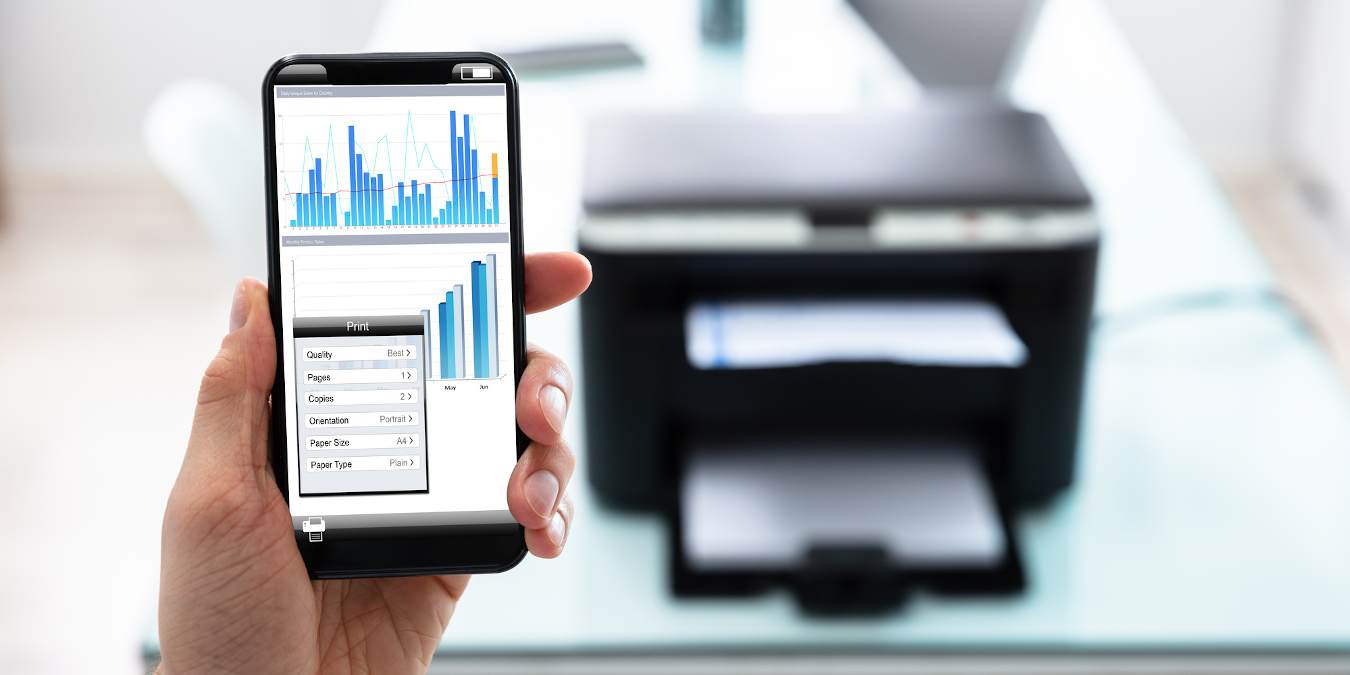
- Customize your print settings, such as print size, quantity, and paper type, according to your preferences.
- After selecting your desired print settings, tap on the “Print” button to proceed.
- Choose the printer you want to use if you have multiple printers connected to your mobile device.
- Follow any additional on-screen prompts to adjust the print settings, confirm the print job, and complete the printing process.
Depending on your printer and its settings, the printing process may take a few moments. Once completed, you can enjoy your printed photo and display it proudly or share it with loved ones.
Note that the steps above are based on the general process for printing from Google Photos on mobile devices. However, the exact steps and options may vary depending on your device’s operating system, version, and printer compatibility. Make sure your mobile device is connected to a compatible printer and that you have the necessary printer drivers installed for seamless printing.
Now that you know how to print photos from Google Photos on your mobile device, let’s move on to the next section to learn how to adjust print settings to achieve the desired results.
Adjusting Print Settings
When printing photos from Google Photos, it’s important to have control over various print settings to ensure the desired results. Here’s how you can adjust the print settings to achieve the best possible prints:
- Print Size: Select the appropriate size for your print based on your intended use. Options may include 4×6, 5×7, and 8×10, among others. Keep in mind that larger prints may require higher-resolution photos to maintain image quality.
- Layout: Choose the layout that fits your preferences and the photo’s orientation. Explore options such as full-page prints, multiple photos per page, or custom layouts for a creative touch.
- Paper Type: Consider the type of paper that will best showcase your photo. Glossy paper offers a vibrant finish that enhances color saturation, while matte paper provides a more subdued, glare-free finish.
- Print Quality: Adjust the print quality settings based on your desired result. Higher print quality settings generally produce sharper and more detailed prints, but they may require more time and ink.
- Borders: Decide whether you want to include borders around your photo prints. Borders can provide a decorative touch and can help enhance the overall composition.
- Cropping: If needed, crop the photo to remove any unwanted elements or to focus on a specific subject or area of interest. Most printing options allow for basic cropping adjustments.
It’s essential to experiment with different print settings to find the combination that works best for each photo. Consider factors such as lighting, color balance, and the intended display location to ensure the printed photo matches your vision.
Before finalizing your print, take advantage of the print preview feature provided by Google Photos. This allows you to see how your chosen settings will affect the final output and make any necessary adjustments before committing to the print.
By having control over these print settings, you can ensure that your printed photos from Google Photos accurately reflect the beauty and details of your digital memories. Now that you have a grasp on adjusting print settings, let’s explore some tips for printing high-quality photos.
Tips for Printing High-Quality Photos
Printing high-quality photos from your Google Photos is not just about selecting the right printer and adjusting print settings. There are several additional factors to consider to ensure your prints come out flawless and vibrant. Here are some tips to help you achieve the best possible results:
- Use High-Resolution Photos: Before printing, make sure your photos have an adequate resolution. Higher-resolution images contain more details and result in crisper and sharper prints. Aim for a resolution of at least 300 pixels per inch (PPI) for optimal print quality.
- Calibrate Your Monitor: To ensure the colors in your printed photos closely match what you see on your screen, it’s important to calibrate your monitor. Use a monitor calibration tool or software to achieve accurate color reproduction.
- Consider Lighting: The lighting conditions under which your printed photos will be displayed can impact their appearance. Take into account the lighting in the room or area where the photo will be showcased to adjust the saturation and contrast accordingly.
- Make Test Prints: Prior to printing a larger batch of photos, it’s advisable to make test prints of a few selected images. This will allow you to evaluate the print quality and make any necessary adjustments to the settings before proceeding.
- Use High-Quality Paper: Invest in high-quality photo paper specifically designed for printing photos. Different paper types provide varying textures and finishes, so choose the one that best suits your preferences and complements the style of your photo.
- Protect Your Prints: Once you have printed your photos, consider using protective sleeves or frames to prevent damage and preserve their quality over time. Display them away from direct sunlight and excessive moisture to avoid fading or discoloration.
- Edit and Enhance: Take advantage of photo editing software or apps to enhance your photos before printing. Adjust brightness, contrast, and color levels to achieve the desired visual impact.
- Experiment with Different Effects: Explore creative filters or effects to give your printed photos a unique touch. Adding vignettes, sepia tones, or black and white conversions can add an artistic flair to your images.
- Consider Professional Printing Services: If you want the absolute best quality, consider using professional printing services. These services often offer higher print resolutions, a wider range of paper options, and the expertise of professional printers.
By following these tips, you can elevate the quality of your printed Google Photos and truly bring your memories to life in vivid detail. Remember, printing photos is an art form, so don’t be afraid to experiment and let your creativity shine through. Now, let’s move on to the next section to troubleshoot common printing issues you may encounter.
Troubleshooting Common Printing Issues
Printing photos from Google Photos is usually a smooth and effortless process. However, you may encounter certain issues that can hinder the quality of your prints. Here are some common printing issues and troubleshooting tips to help you overcome them:
- Print Quality Issues: If your prints appear blurry, pixelated, or lack sharpness, ensure that you’re using high-resolution photos. Also, check your printer’s settings to ensure it’s set to the highest print quality option available.
- Color Discrepancies: If the colors of your printed photos don’t match what you see on your screen, calibrate your monitor to ensure accurate color reproduction. Additionally, check your printer’s color settings and make sure it has sufficient ink levels.
- Paper Jams: If you encounter paper jams, ensure that you’re using the correct paper size and type specified by your printer’s manual. Remove any stuck or wrinkled papers, and make sure the paper is loaded properly in the tray.
- Ink Smudging: If your prints have smudges or streaks caused by ink, check that your ink cartridges are properly installed. Perform a nozzle check or cleaning function on your printer to clear any clogged nozzles.
- Print Alignment Issues: If your prints appear misaligned or skewed, calibrate the print heads using your printer’s software or settings. It’s also important to ensure that the paper is loaded correctly and aligned properly within the tray.
- Slow Printing Speed: If your prints are taking longer than expected, check if your printer is set to a high-quality print mode. Also, ensure that your printer’s drivers and firmware are up to date, and consider closing any other resource-intensive programs that might be affecting performance.
- Print Size Errors: If your prints come out at the wrong size, ensure that you’ve selected the correct print size within Google Photos and that your printer settings are aligned with the chosen print dimensions.
- Connection Issues: If your printer is not detected by Google Photos, ensure that it is properly connected to your computer or mobile device via USB, Wi-Fi, or a network connection. Restarting both the printer and device may also help resolve connection issues.
If you encounter other printing issues not mentioned above, consult your printer’s user manual or contact the manufacturer’s support for more specific troubleshooting steps. By addressing these common printing issues, you can ensure a smoother and more successful printing experience with your Google Photos.
Now, armed with troubleshooting knowledge, you’re well-prepared to tackle any printing issues that may come your way. Let’s wrap up this guide by summarizing the details we’ve covered.
Conclusion
Printing photos from Google Photos is a wonderful way to transform your digital memories into tangible keepsakes that you can hold, display, and share with others. With the right printer, proper setup, and a few adjustments to print settings, you can bring your photos to life in stunning detail and vibrant colors.
In this guide, we covered the important steps and considerations for printing photos from Google Photos. We explored how to choose the right printer for your needs, set up your Google Photos account, and print photos from both your computer and mobile devices. We also discussed the importance of adjusting print settings, provided tips for achieving high-quality prints, and shared troubleshooting advice for common printing issues.
Remember, printing photos is not just a mechanical process but an art form. Take the time to experiment, select high-resolution images, and consider factors like lighting, paper type, and print quality to ensure the best possible results. Don’t be afraid to display your printed photos in frames, albums, or even as personalized gifts to share your cherished memories with others.
Whether you’re printing photos for yourself or creating unique gifts, the printing process should be enjoyable and rewarding. So, seize the opportunity to immortalize your digital memories, add a personal touch to your living spaces, and relish in the joy that comes from holding a physical photograph in your hands.
Now that you have all the knowledge and tools necessary, go ahead and start printing your Google Photos to create lasting memories that will be treasured for years to come.