Introduction
Printing from a Chromebook can be a simple and convenient process that allows you to bring your digital documents into the physical world. Whether you need to print out important reports for work, school assignments, or personal documents, knowing how to print from a Chromebook is essential. In this article, we will guide you through the steps to connect and set up a printer, as well as provide troubleshooting tips for common printing issues.
Chromebooks are lightweight and portable devices that run on the Chrome OS. They are designed to maximize the use of cloud-based applications and storage, which means you won’t find traditional printer drivers or USB ports like you would on a Windows or Mac computer. Instead, Chromebooks rely on Google Cloud Print, a service that allows you to print wirelessly from your Chromebook to any compatible printer connected to the internet.
With Google Cloud Print, you can easily print from your Chromebook to a printer at home, your workplace, or even at a public location such as a library or a print shop. The process of setting up and using Google Cloud Print is straightforward, and once you have it set up, you can print documents, photos, and web pages with just a few clicks.
In the following sections, we will outline the steps to find a printer, connect it to your Chromebook, and set up Google Cloud Print. We will also provide troubleshooting tips for common printing issues. So, if you’re ready to start printing from your Chromebook, let’s get started with finding a printer.
Finding a Printer
Before you can print from your Chromebook, you will need to find a printer that is compatible with Google Cloud Print. There are a few options to consider:
- Local Printer: If you have a printer at home or in your office, you can check if it is compatible with Google Cloud Print. Most modern printers have this functionality, so you may already have a printer that can connect to your Chromebook.
- Network-Enabled Printer: If you don’t have a printer or the one you have isn’t compatible, you can consider getting a network-enabled printer. These printers come with built-in Wi-Fi or Ethernet capabilities, allowing them to connect directly to your home or office network. This enables you to print from your Chromebook without the need for any additional setup.
- Cloud-Ready Printer: Another option is to look for a printer that is specifically labeled as “Google Cloud Print Ready.” These printers have native support for Google Cloud Print, which means they seamlessly integrate with your Chromebook. They usually require minimal setup and provide the best printing experience.
Once you have identified a printer that suits your needs, you can proceed with connecting it to your Chromebook. In the next section, we will guide you through the process of connecting your printer so that you can start printing from your Chromebook hassle-free.
Connecting to the Printer
After finding a printer that is compatible with Google Cloud Print, the next step is to connect it to your Chromebook. The process may vary slightly depending on the type of printer you have, but here are the general steps:
- Ensure Printer Connectivity: Make sure that your printer is turned on and connected to the same network as your Chromebook. If you have a network-enabled printer, it should be connected to your Wi-Fi or Ethernet network. If you have a USB printer, connect it to your Chromebook using a USB cable.
- Open Chromebook Settings: Click on the clock in the bottom-right corner of your Chromebook screen to open the system tray. Then, click on the gear icon to access the Settings menu.
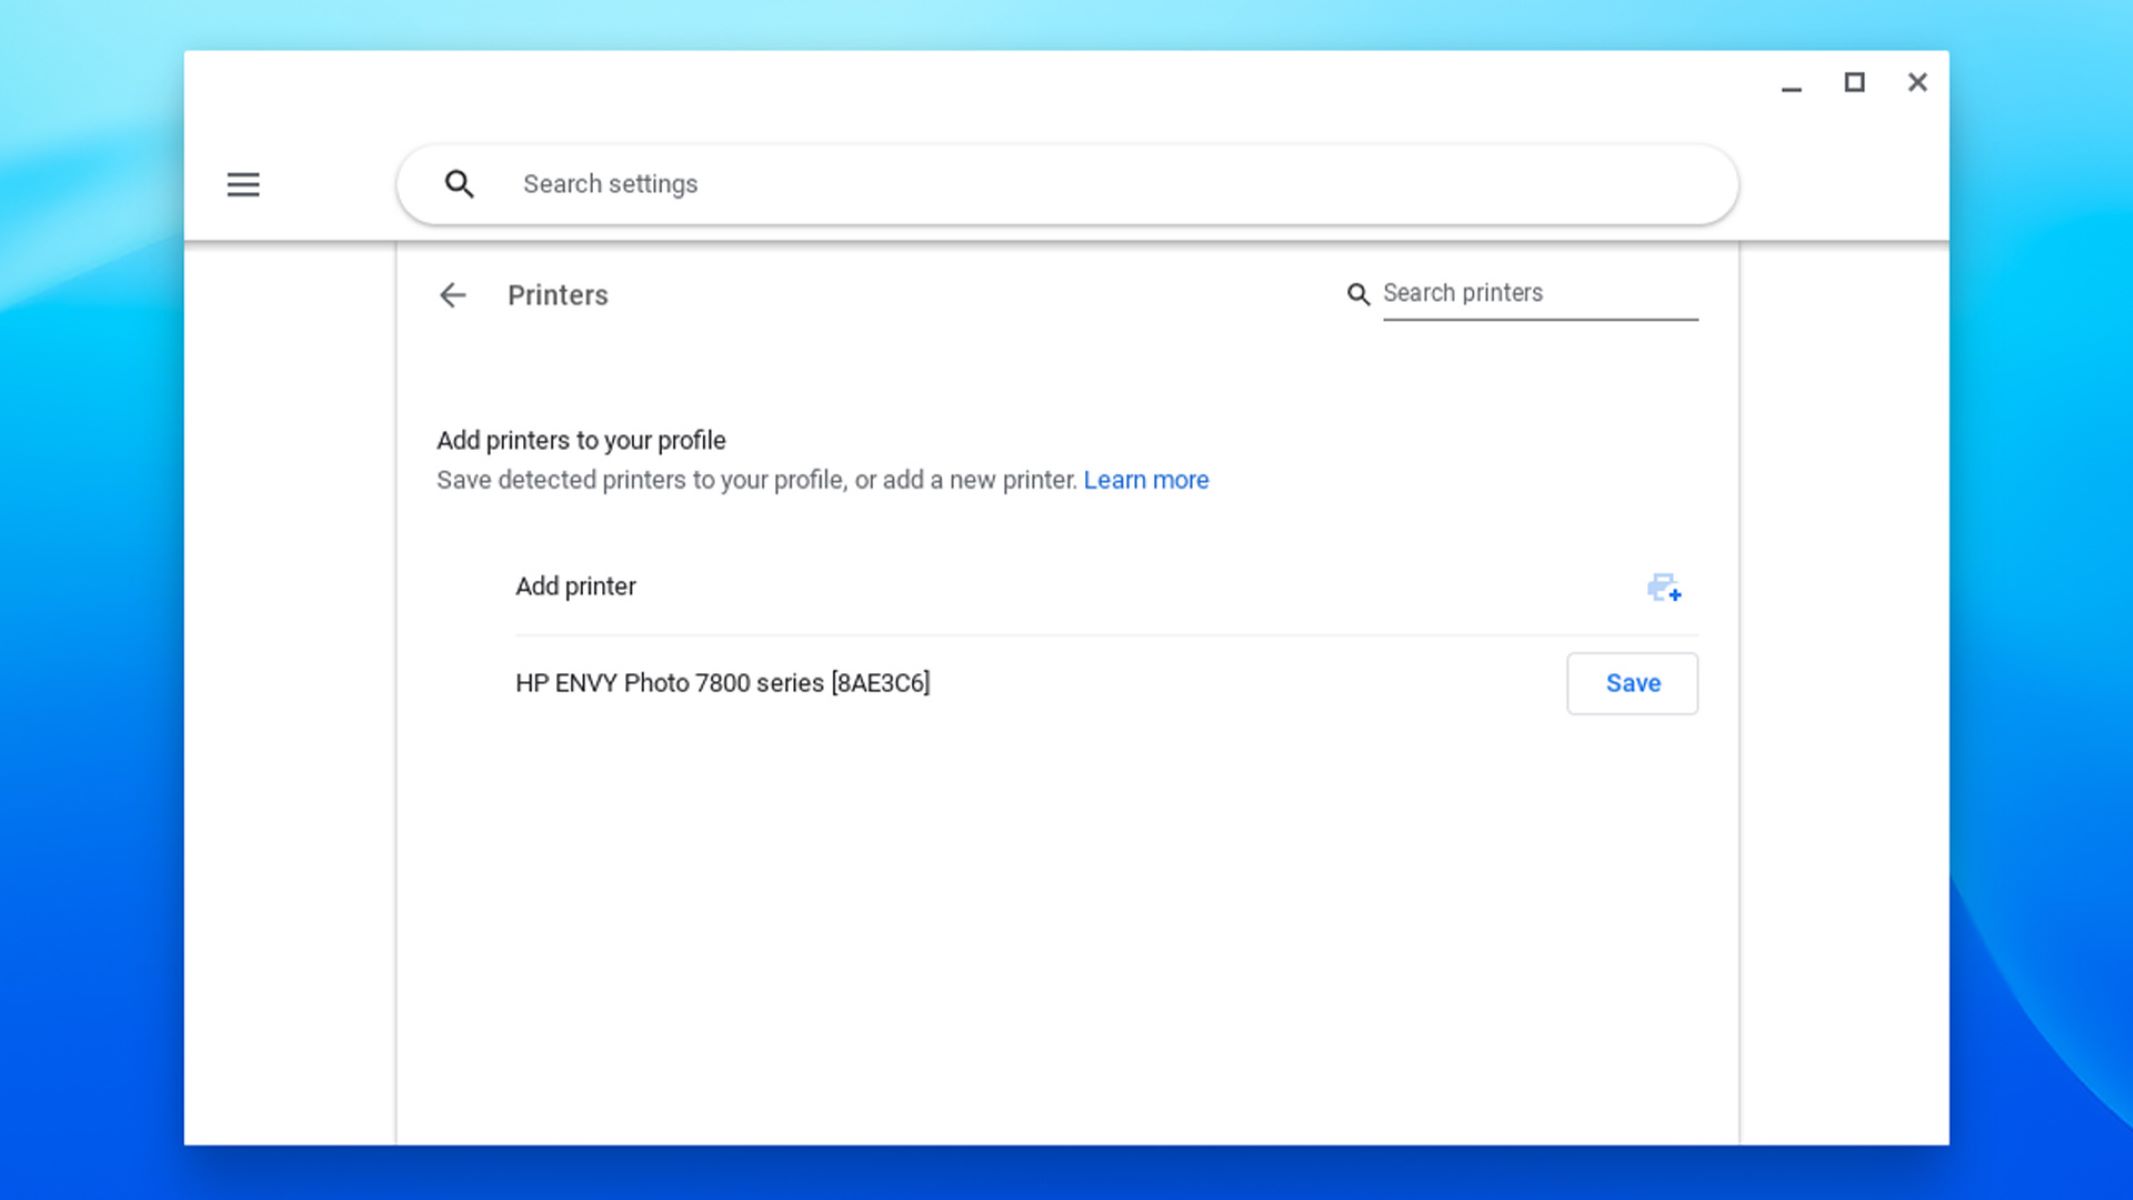
- Select “Printers”: In the Settings menu, scroll down and click on “Printers” under the “Advanced” section.
- Click on “Add Printer”: In the Printers section, click on the “Add Printer” button to start the setup process.
- Let Chromebook Search: Your Chromebook will automatically search for available printers on your network. This may take a few moments.
- Choose Your Printer: Once the search is complete, select your printer from the list of available printers. If you do not see your printer, make sure it is on and connected to the same network.
- Confirm Printer Selection: After selecting your printer, click on the “Add” button to confirm the selection and connect the printer to your Chromebook.
Once the connection is established, your Chromebook will install the necessary printer drivers and set up the printer for use with Google Cloud Print. You should now be able to print from your Chromebook to the connected printer. In the next section, we will guide you through the process of setting up Google Cloud Print, which will further enhance your printing capabilities.
Setting Up Google Cloud Print
Google Cloud Print is a service that allows you to print wirelessly from your Chromebook to any compatible printer, whether it’s located at home, your workplace, or a public location. To take full advantage of this feature, you will need to set up Google Cloud Print on your Chromebook. Here’s how you can do it:
- Open Chromebook Settings: Click on the clock in the bottom-right corner of your Chromebook screen to open the system tray. Then, click on the gear icon to access the Settings menu.
- Select “Printers”: In the Settings menu, scroll down and click on “Printers” under the “Advanced” section.
- Click on “Add Printer”: In the Printers section, click on the “Add Printer” button if you haven’t done so already.
- Click on “Manage Your Printers”: Under the “Printers” section, click on the “Manage your printers” link. This will open a new tab in your Chrome browser.
- Sign in to Google Account: If you haven’t already signed in to your Google Account, you will be prompted to do so. Make sure to sign in with the same Google Account that you use on your Chromebook.
- Click on “Add Printers”: In the Google Cloud Print management page, click on the “Add printers” button to start the setup process.
- Select Printers to Add: Google Cloud Print will detect any printers that are connected to your Chromebook and display them on the screen. Select the printers that you want to add to Google Cloud Print.
- Click on “Add Printer(s)”: After selecting the printers, click on the “Add printer(s)” button to add them to your Google Cloud Print account.
Once you have completed these steps, your printers will be added to Google Cloud Print, and you will be able to print to them from your Chromebook using the appropriate printing options. In the next section, we will guide you through the process of printing from your Chromebook using Cloud Print.
Printing from a Chromebook Using Cloud Print
Now that you have set up Google Cloud Print on your Chromebook, you can easily print documents, photos, and web pages from your device. Here’s how you can print using Cloud Print:
- Open the File to Print: Open the document, photo, or web page that you want to print on your Chromebook.
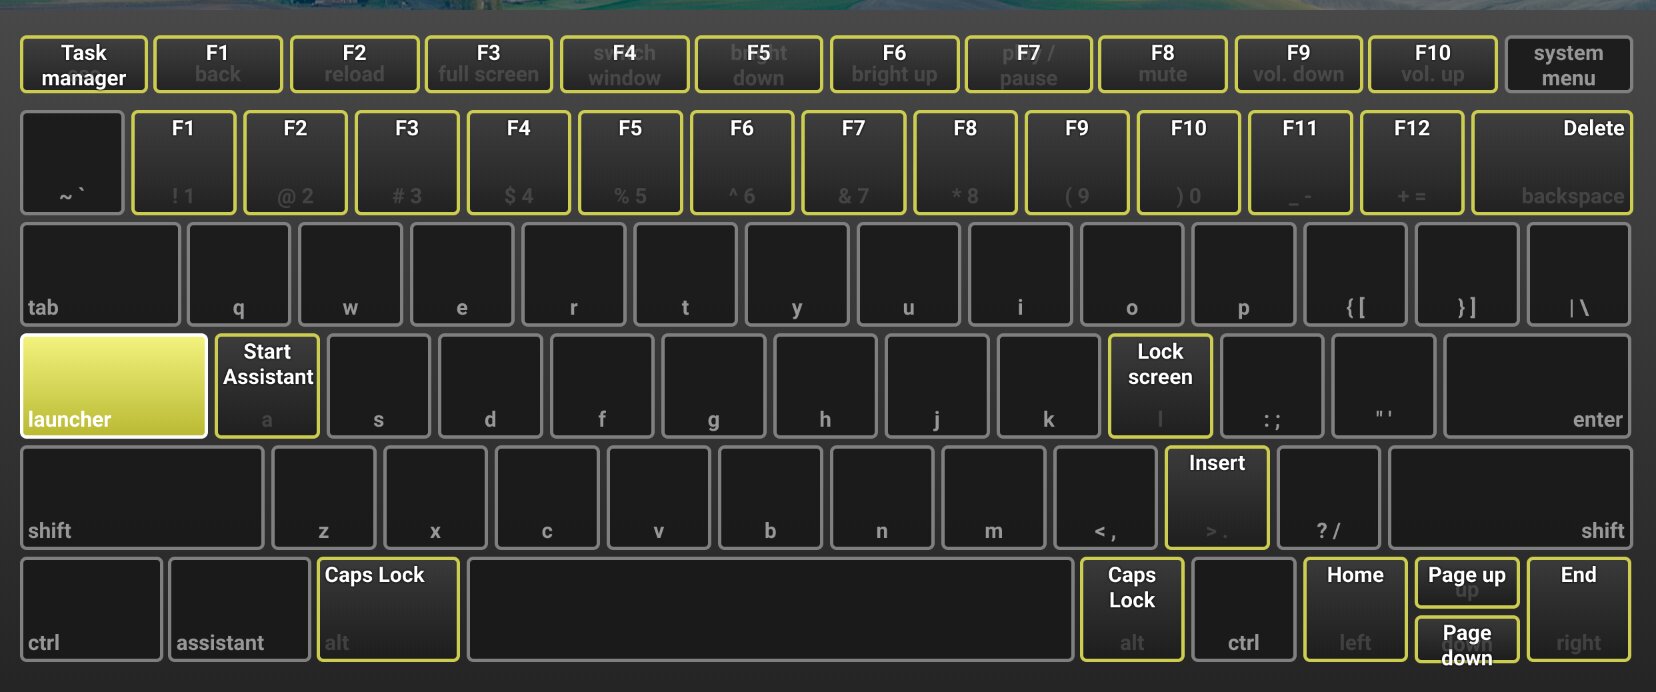
- Press Ctrl + P: To initiate the print command, press the Ctrl and P keys simultaneously on your Chromebook keyboard. This will open the print dialog box.
- Select Printer: In the print dialog box, select the printer that you want to use from the list of available printers. This will include the printers you have connected to your Chromebook using Google Cloud Print.
- Configure Print Settings: Customize the print settings according to your preferences. You can choose the number of copies, page range, and other print options.
- Click on “Print”: Once you have configured the print settings, click on the “Print” button to send the print job to the selected printer.
- Monitor Print Status: You can check the progress of your print job by clicking on the print icon in the system tray. This will show you the status of your print job, such as “Printing” or “Completed.”
By following these steps, you can easily print from your Chromebook using Google Cloud Print. Remember that you must have an active internet connection to use Cloud Print, as the print job is sent through the cloud to your selected printer.
If you experience any issues with printing, please refer to the next section for troubleshooting tips to resolve common printing problems.
Troubleshooting Common Printing Issues
While printing from a Chromebook is generally a straightforward process, there may be times when you encounter issues or encounter difficulties. Here are some common printing issues and troubleshooting tips:
- No Printers Found: If your Chromebook is unable to find any printers during the setup process, ensure that your printer is turned on and connected to the same network. Also, double-check that your printer is compatible with Google Cloud Print.
- Printer Offline: If your printer shows as offline in the printer list, check the printer’s network connection and make sure it is powered on. Restart both the printer and your Chromebook if needed.
- Print Jobs Stuck in Queue: If your print jobs are getting stuck in the print queue or not printing, try clearing the print queue and restarting both the printer and your Chromebook. You can do this by going to “Settings,” selecting “Printers,” and clicking on “Manage” next to your printer.
- Poor Print Quality: If your printed documents or photos are of poor quality, make sure you have selected the appropriate print settings. Check the print preview before printing to ensure it matches your expectations. If the issue persists, try cleaning the printer heads or replacing ink cartridges if necessary.
- Unable to Print Certain File Types: Some file types may not be compatible with Google Cloud Print. If you are unable to print a specific file type, consider converting it to a compatible format or opening it in a different application that supports printing. Alternatively, you can try printing the file from a different device.
- Printer Disconnected: If your printer becomes disconnected from Google Cloud Print, go to “Settings,” select “Printers,” and then click on “Manage” next to your printer. Click on “Disconnect” to remove the printer and then follow the steps in the previous sections to reconnect it.
If you continue to experience issues with printing, you may need to consult the printer’s user manual or contact the printer manufacturer’s support for further assistance. They can provide specific troubleshooting steps or firmware updates to resolve any printer-related issues.
By following these troubleshooting tips, you should be able to overcome common printing issues and ensure a smooth printing experience from your Chromebook.
Conclusion
Printing from a Chromebook doesn’t have to be a complicated task. With the help of Google Cloud Print, you can easily connect and print to compatible printers from your Chromebook, whether it’s at home, your workplace, or a public location. By following the steps outlined in this article, you can set up Google Cloud Print, connect your printer, and troubleshoot common printing issues.
Remember to ensure that you have a compatible printer that supports Google Cloud Print. This includes local printers, network-enabled printers, or cloud-ready printers. Once connected, you can take advantage of the convenience of wireless printing from your Chromebook.
Should you encounter any difficulties during the setup or printing process, refer to the troubleshooting tips provided to resolve common printing issues. If all else fails, consult the printer’s user manual or contact the manufacturer’s support for further assistance.
Now that you know how to print from your Chromebook using Google Cloud Print, you can easily bring your digital documents into the physical realm with just a few simple steps. So go ahead, start printing, and unlock the full potential of your Chromebook!