Introduction
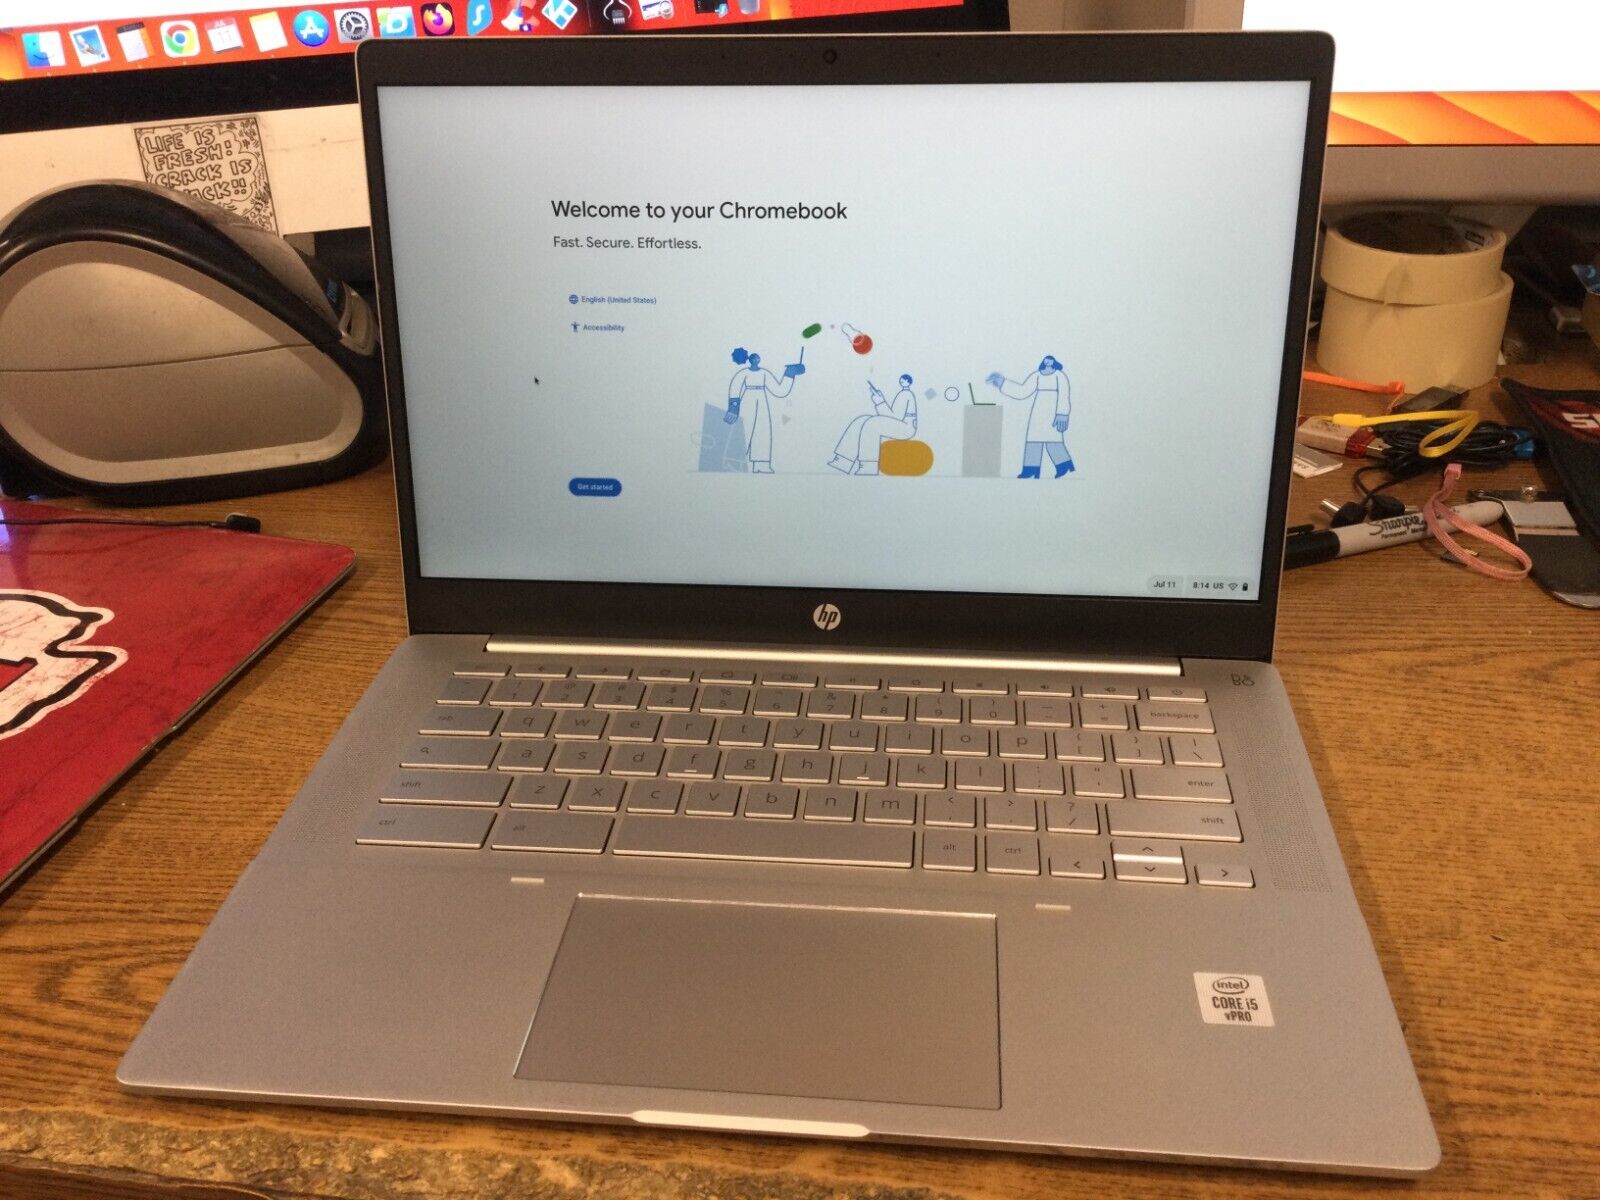
Welcome to the world of Chromebooks, where simplicity and convenience meet productivity. Chromebooks are renowned for their fast and secure operating system, making them a popular choice for individuals, students, and professionals alike. One of the key features of Chromebooks is their ability to effortlessly connect to various devices, including printers. In this article, we will guide you through the process of adding a printer to your Chromebook, ensuring that you can enjoy seamless printing from the comfort of your own device.
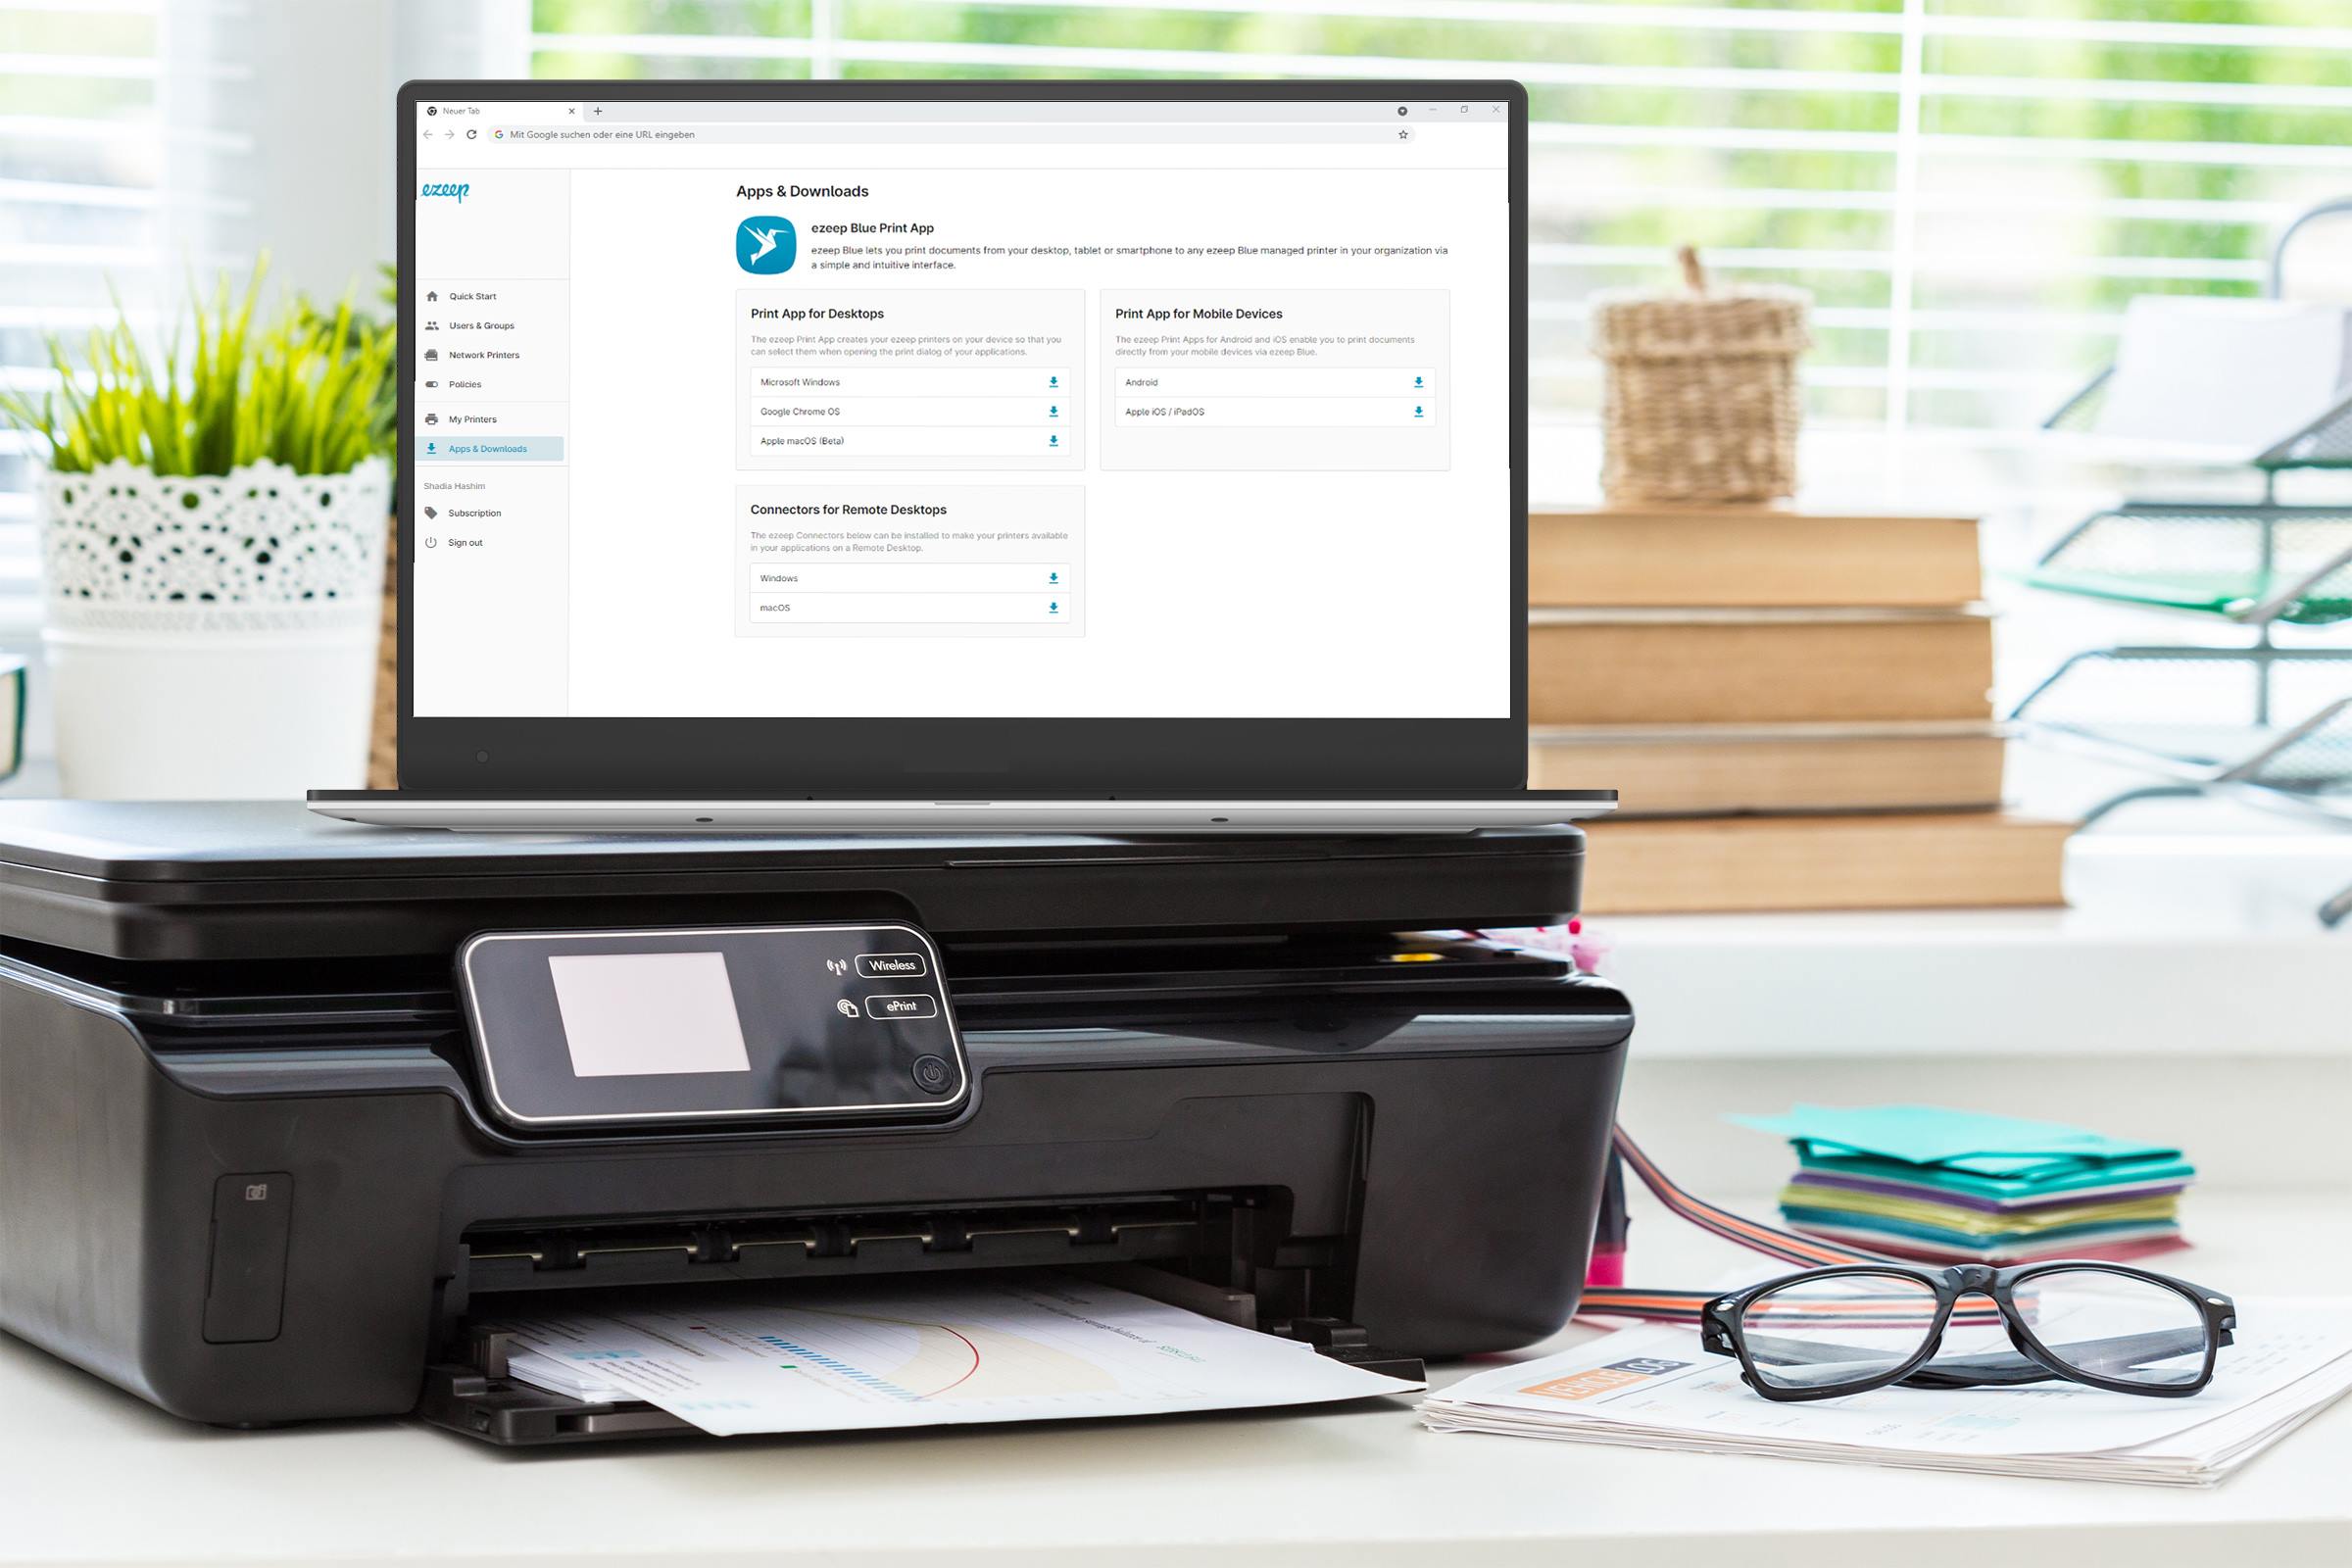
Printing documents and images is a common task for many users, and Chromebooks make it incredibly easy to accomplish. Gone are the days of tangled wires and complicated software installations. With just a few simple steps, you can connect your printer to your Chromebook and start printing in no time.
Before we dive into the process, it’s essential to note that not all printers are compatible with Chromebooks. Chrome OS is designed to work with printers that support Google Cloud Print, an innovative technology that allows you to print from any device connected to the internet. Therefore, the first step is to ensure that your printer is compatible with Google Cloud Print.
In this guide, we will walk you through the necessary steps to check printer compatibility, connect your printer to Wi-Fi, enable Google Cloud Print, connect the printer to Google Cloud Print, and finally add the printer to your Chromebook. Each step is explained in detail to ensure a smooth setup process.
So, whether you need to print important documents for work, school assignments, or personal projects, let’s get started on adding your printer to your Chromebook and enjoy hassle-free printing!
Step 1: Check Printer Compatibility
Before diving into the process of adding a printer to your Chromebook, it’s crucial to ensure that your printer is compatible with Chrome OS and Google Cloud Print. Not all printers support this technology, so it’s better to check beforehand to avoid any compatibility issues.
To check the compatibility of your printer, follow the steps below:
- Ensure your printer is connected to a stable Wi-Fi network and turned on.
- On your Chromebook, click on the clock in the bottom right corner of the screen to open the system tray.
- Select the gear icon to open the Settings menu.
- In the Settings menu, click on the “Advanced” option at the bottom.
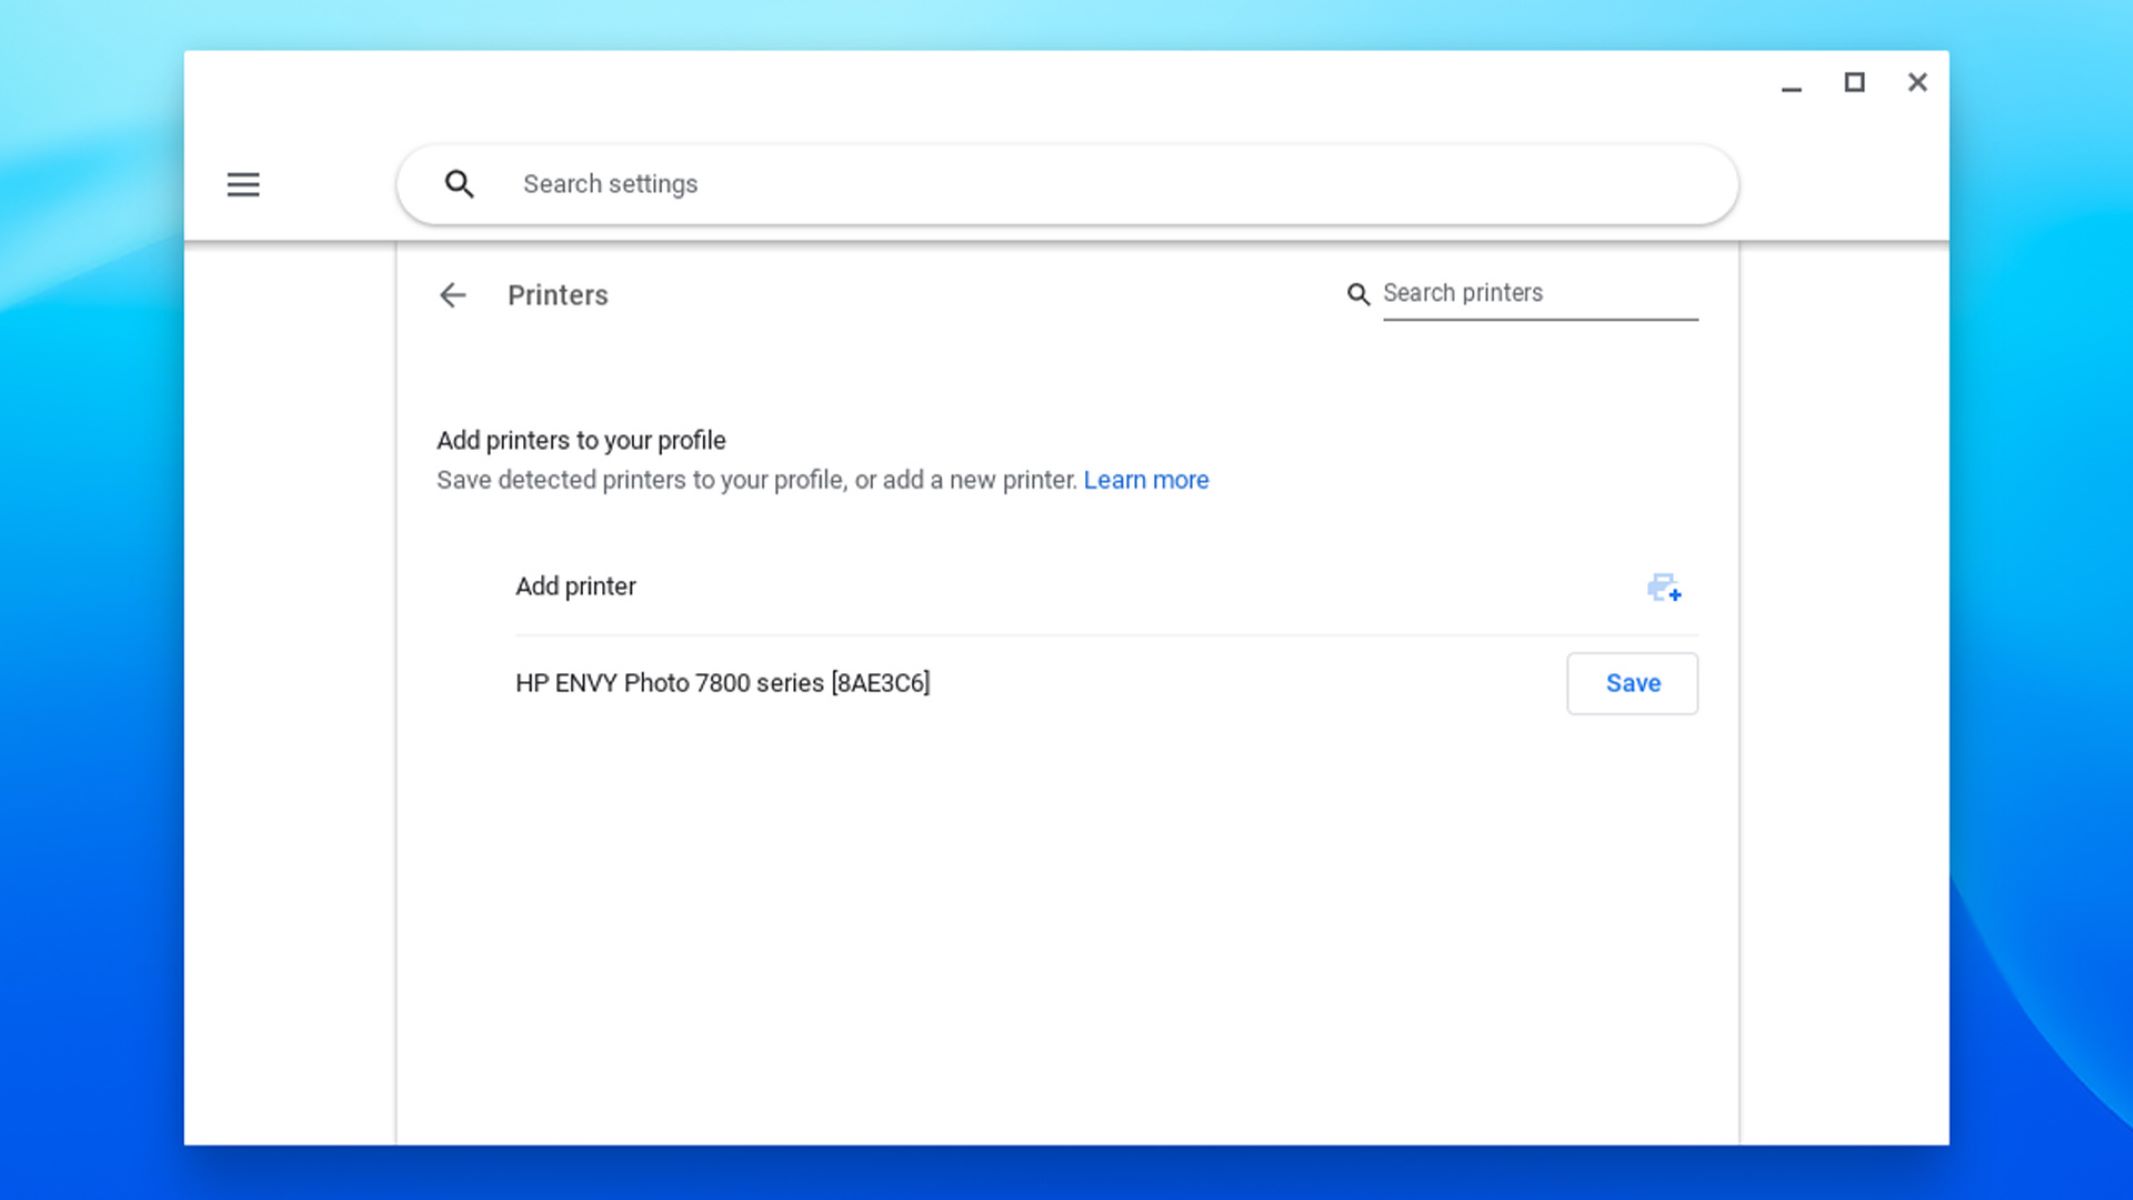
- Scroll down to the “Printing” section and click on “Printers.”
- Click on the “Add Printer” button.
- If your printer is compatible, it should appear in the list of available printers. Take note of the printer’s name and model.
If your printer does not appear in the list, it means that it may not be compatible with Google Cloud Print. In this case, you have a few options:
- If your printer supports Wi-Fi Direct printing, you can try connecting your Chromebook directly to the printer without using Google Cloud Print. Refer to your printer’s manual or manufacturer’s website for instructions on how to set up Wi-Fi Direct printing.
- If your printer does not support Wi-Fi Direct printing, you can explore other options such as using a compatible USB printer or connecting to a network printer that is compatible with Google Cloud Print.
- If you cannot find a compatible solution, you may need to consider purchasing a new printer that supports Google Cloud Print.
By ensuring the compatibility of your printer with Chrome OS and Google Cloud Print, you can avoid any frustrations or setbacks during the setup process. Now that you have confirmed your printer’s compatibility, let’s move on to the next step of connecting your printer to Wi-Fi.
Step 2: Connect the Printer to Wi-Fi
Now that you have confirmed the compatibility of your printer with Chrome OS and Google Cloud Print, it’s time to connect your printer to your Wi-Fi network. This step is essential as it allows your Chromebook to communicate with the printer effectively.
To connect your printer to Wi-Fi, follow the steps below:
- Make sure your printer is turned on and in a ready state.
- Access your printer’s settings or menu using the printer’s control panel or touchscreen display.
- Look for the “Wireless,” “Network,” or “Wi-Fi” settings option and select it.
- Choose your Wi-Fi network from the list of available networks.
- If prompted, enter your Wi-Fi network password to connect your printer to the network.
- After entering the password, wait for your printer to establish a connection with the Wi-Fi network. This may take a few moments.
Once your printer is successfully connected to Wi-Fi, it will be ready to communicate with your Chromebook. The printer and Chromebook should be on the same Wi-Fi network for seamless printing.
Note: The process of connecting your printer to Wi-Fi may vary depending on the printer model and manufacturer. If you encounter any difficulties, refer to your printer’s manual or the manufacturer’s website for specific instructions.
With your printer now connected to the Wi-Fi network, you are one step closer to adding it to your Chromebook. In the next step, we will enable Google Cloud Print to ensure smooth printing from your Chromebook.
Step 3: Enable Google Cloud Print
Before you can add your printer to your Chromebook, you need to enable Google Cloud Print. Google Cloud Print is a service that allows you to print from any device connected to the internet, including your Chromebook.
To enable Google Cloud Print, follow the steps below:
- On your Chromebook, click on the clock in the bottom right corner of the screen to open the system tray.
- Select the gear icon to open the Settings menu.
- In the Settings menu, click on the “Advanced” option at the bottom.
- Scroll down to the “Printing” section and click on “Printers.”
- Under the “Google Cloud Print” section, click on the “Manage Cloud Print devices” button.
- A new tab will open in your Chrome browser. Make sure you are signed in with your Google account.
- In the new tab, click on the “Add printers” button.
- Follow the on-screen instructions to complete the setup process and enable Google Cloud Print.
Once you have enabled Google Cloud Print, you are ready to connect your printer to it and start printing from your Chromebook.
Enabling Google Cloud Print allows you to securely print from anywhere, as long as your device and printer are connected to the internet. It eliminates the need for physical connections and ensures that your printing tasks can be completed with ease.
Now that you have enabled Google Cloud Print, let’s move on to the next step and connect your printer to Google Cloud Print.
Step 4: Connect the Printer to Google Cloud Print
With Google Cloud Print enabled on your Chromebook, it’s time to connect your printer to Google Cloud Print. This step allows your printer to be recognized and accessible from your Chromebook, making it easy to send print jobs wirelessly.
To connect your printer to Google Cloud Print, follow the steps below:
- Make sure your printer is turned on and connected to the same Wi-Fi network as your Chromebook.
- On your Chromebook, open a new tab in your Chrome browser.
- Type “chrome://devices” in the address bar and press Enter.
- In the “Classic printers” section, click on the “Add printers” button.
- A list of available printers will appear. Locate and select your printer from the list.
- Click on the “Add printer” button to connect your printer to Google Cloud Print.
- Wait for the confirmation message that your printer has been added successfully.
Once your printer is successfully connected to Google Cloud Print, you are ready to add it to your Chromebook and start printing.
Note: The process of connecting your printer to Google Cloud Print may vary depending on the printer model and manufacturer. If you encounter any difficulties, refer to your printer’s manual or the manufacturer’s website for specific instructions.
With your printer now connected to Google Cloud Print, let’s move on to the final step of adding the printer to your Chromebook.
Step 5: Add Printer to Chromebook
Now that you have connected your printer to Google Cloud Print, the final step is to add the printer to your Chromebook. Adding the printer allows your Chromebook to recognize and seamlessly communicate with the printer, enabling you to print documents and images directly from your device.
To add the printer to your Chromebook, follow the steps below:
- On your Chromebook, click on the clock in the bottom right corner of the screen to open the system tray.
- Select the gear icon to open the Settings menu.
- In the Settings menu, click on the “Advanced” option at the bottom.
- Scroll down to the “Printing” section and click on “Printers.”
- Click on the “Add Printer” button.
- A list of available printers will appear. Locate and select your printer from the list.
- Click on the “Add” button to add the printer to your Chromebook.
- Wait for the confirmation message that your printer has been added successfully.
Once your printer is added to your Chromebook, it will be ready to use. You can now select the printer when printing documents or images from your Chromebook, allowing you to conveniently print your desired files.
It’s important to ensure that your Chromebook and printer are connected to the same Wi-Fi network to ensure seamless communication between the devices. If you encounter any issues during the setup process or have trouble printing, refer to your printer’s manual or the manufacturer’s website for troubleshooting steps.
Congratulations! You have successfully added your printer to your Chromebook. You can now enjoy the convenience of printing directly from your device.
Conclusion
Adding a printer to your Chromebook doesn’t have to be a complicated process. With the help of Google Cloud Print and the easy-to-follow steps outlined in this guide, you can effortlessly connect your printer and start printing in no time. Whether you need to print important documents for work, school assignments, or personal projects, the seamless integration between your Chromebook and printer will make the printing experience hassle-free.
Remember to check the compatibility of your printer with Google Cloud Print before beginning the setup process. This will help avoid any frustrations and ensure a smooth setup. Once confirmed, connect your printer to Wi-Fi, enable Google Cloud Print, and establish a connection between your printer and Google Cloud Print. Finally, add your printer to your Chromebook, and you’re all set.
With your printer now connected and ready to use, you can enjoy the convenience of wireless printing from your Chromebook. No more dealing with cables or having to transfer files to a different device just to print. Chromebooks make it easy to stay productive by allowing you to print directly from your device, saving you time and effort.
Should you encounter any difficulties during the setup process or experience printing issues, refer to your printer’s manual or the manufacturer’s website for troubleshooting steps. Additionally, keep your printer and Chromebook updated with the latest software to ensure optimal performance.
So go ahead and connect your printer to your Chromebook, and start enjoying the convenience of wireless printing. Say goodbye to the hassle of traditional printing methods and embrace the simplicity and efficiency of Chromebook printing.