Introduction
Welcome to our guide on how to connect a Chromebook to a TV! Chromebooks are popular lightweight laptops known for their simplicity and affordability. While they excel in web browsing and productivity tasks, sometimes you might want to enjoy your multimedia content on a bigger screen. Thankfully, connecting your Chromebook to a TV is a straightforward process that only requires a few cables or wireless options.
In this article, we will walk you through the necessary steps to connect your Chromebook to a TV, regardless of the model you own. Whether you want to stream videos, play games, or give a presentation, we’ll provide you with all the information you need to get started. We will cover different connection methods, including using an HDMI cable, VGA cable, or Chromecast.
Before we dive into the detailed steps, it’s important to note that the availability of certain ports on your Chromebook and TV may vary depending on the models. Make sure to check the specifications of your devices to determine the appropriate connection method. Additionally, ensure that both your Chromebook and TV are turned on and set to the correct input source.
Now, let’s explore the various ways to connect your Chromebook to a TV, so you can enjoy your favorite content on the big screen!
Part 1: Selecting the Right Cables
When connecting your Chromebook to a TV, the first step is to determine which cables you’ll need. The specific cables required will depend on the available ports on your Chromebook and TV. Here are some common options:
HDMI cable: HDMI (High-Definition Multimedia Interface) is the most common and convenient method to connect your Chromebook to a TV. Most modern Chromebooks and TVs have HDMI ports. This cable allows both high-quality audio and video signals to be transmitted in a single cable. It provides a simple plug-and-play solution without the need for any additional software or settings.
VGA cable: If your TV doesn’t have an HDMI port, you can use a VGA (Video Graphics Array) cable instead. This analog cable is typically used for connecting older monitors or projectors. However, some modern TVs still feature VGA inputs. Keep in mind that VGA only carries video signals, so you’ll need a separate audio cable if you want to transmit audio to the TV.
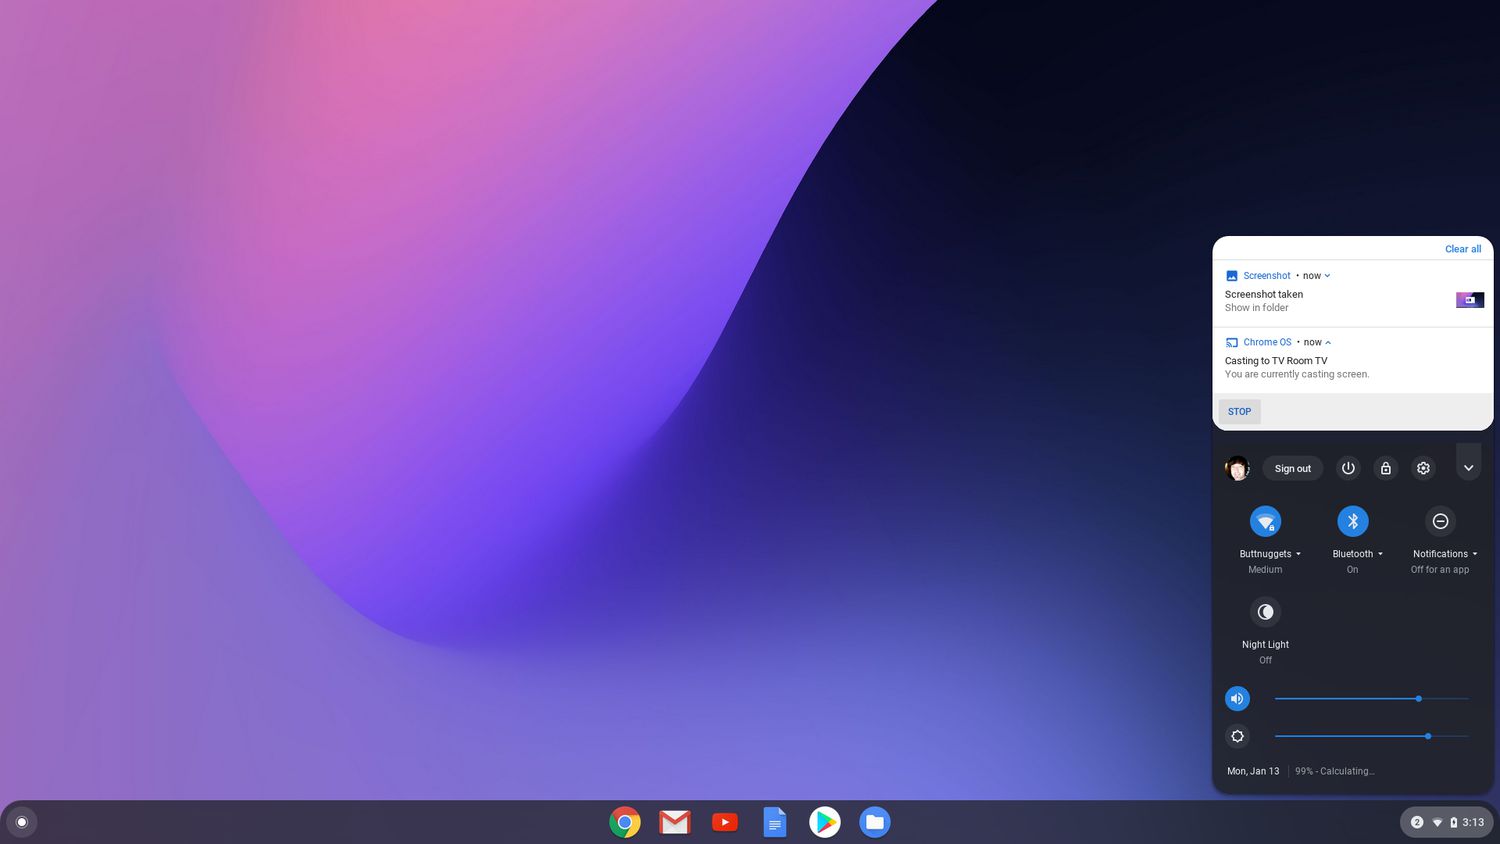
Chromecast: If you don’t want to deal with cables, you can opt for a wireless solution like Chromecast. Chromecast is a streaming device that allows you to cast content from your Chromebook to the TV over Wi-Fi. Simply plug the Chromecast into the HDMI port on your TV and set it up using the steps provided. Once connected, you can enjoy streaming videos, mirror your screen, or even cast web pages directly from your Chromebook.
Once you’ve determined the appropriate cable for your Chromebook and TV, it’s time to move on to the specific steps required to establish the connection. In the following sections, we’ll cover each method in detail, so you can easily follow along and connect your Chromebook to a TV.
Part 2: Connecting with an HDMI Cable
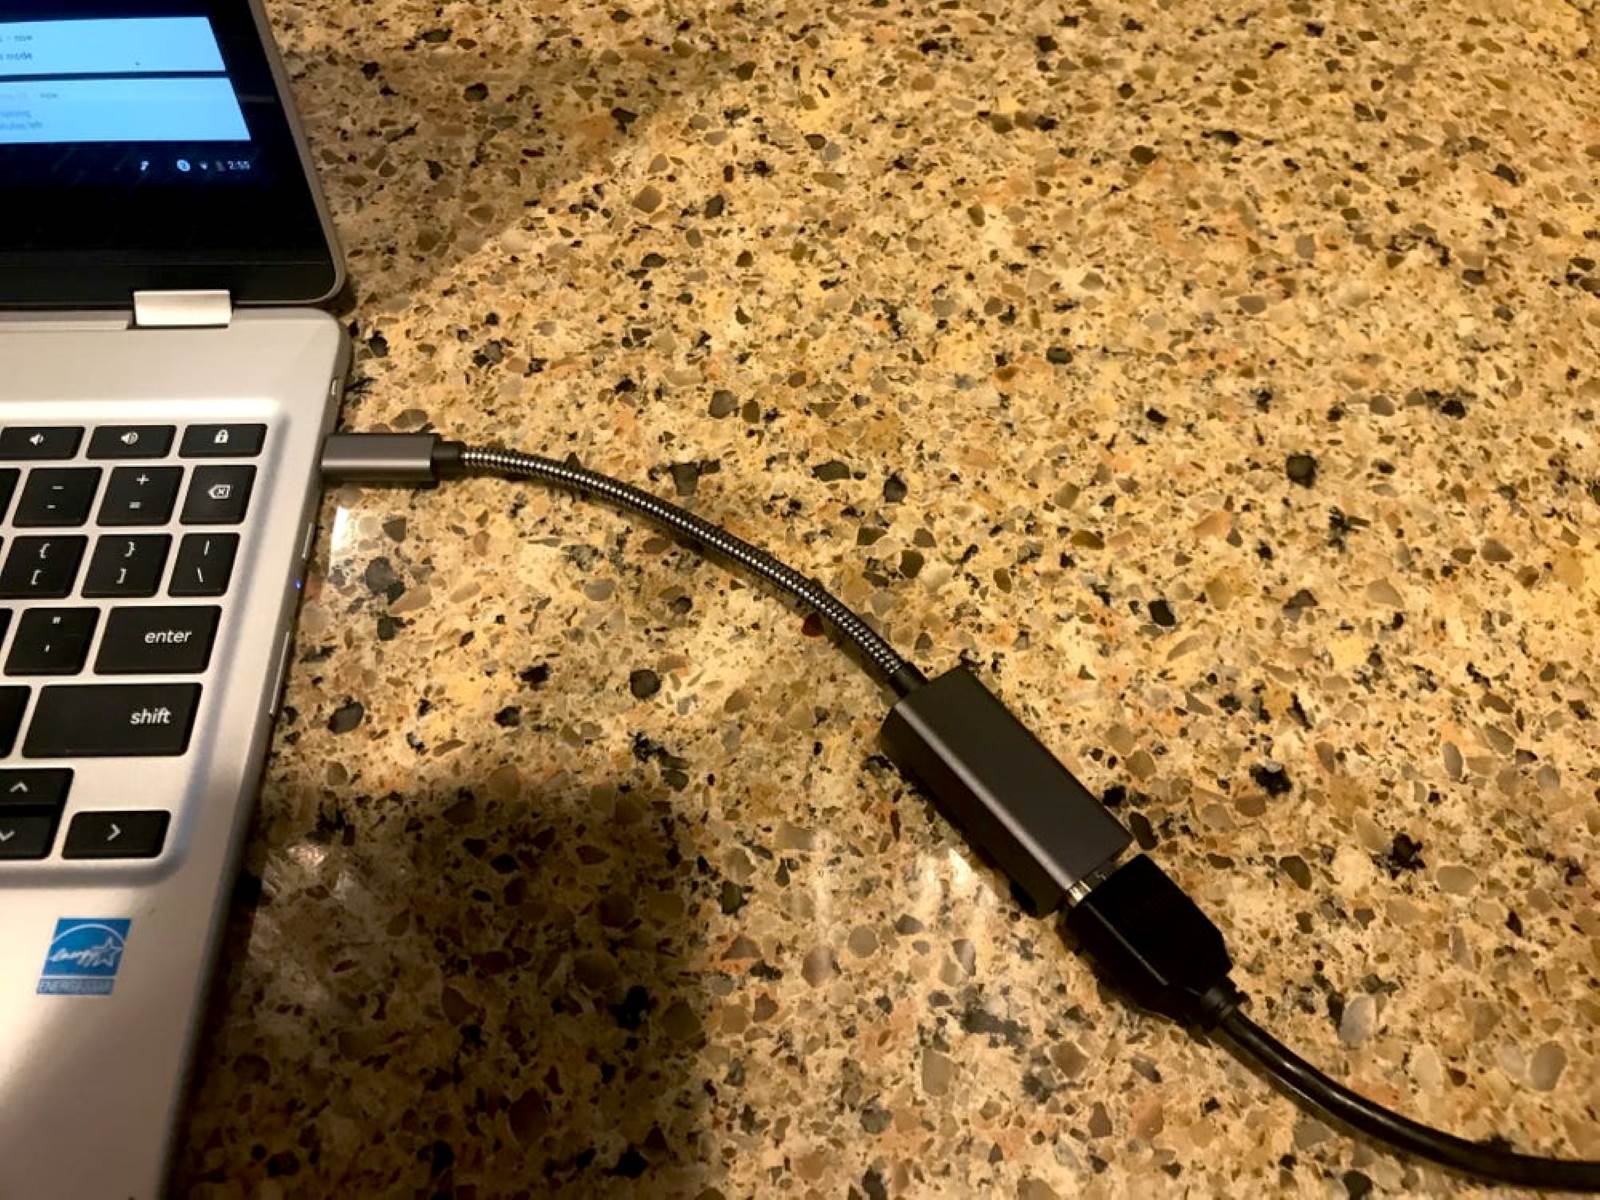
Connecting your Chromebook to a TV using an HDMI (High-Definition Multimedia Interface) cable is one of the most common and straightforward methods. Follow these steps to establish the connection:
- Check that both your Chromebook and TV are turned off.
- Locate the HDMI port on your Chromebook. It is usually found on the side or back of the device.
- Connect one end of the HDMI cable to the HDMI port on your Chromebook.
- Locate the HDMI port on your TV and connect the other end of the HDMI cable to it.
- Turn on both your Chromebook and TV.
- Using your TV remote, navigate to the input source settings and select the HDMI input corresponding to the port you connected to. This may be labeled as HDMI 1, HDMI 2, etc.
- Once the HDMI input is selected, your Chromebook’s screen should be mirrored on the TV. If not, press the ‘Source’ button on your TV remote and cycle through the available inputs until the display appears.
That’s it! Your Chromebook is now connected to your TV via an HDMI cable. You can enjoy watching videos, playing games, or sharing presentations on the bigger screen. It’s worth mentioning that some Chromebooks may automatically adjust the display settings for better compatibility with the TV. However, if you need to make any adjustments, you can go to the Chromebook’s settings and modify the display resolution or aspect ratio.
Remember, HDMI cables transmit both audio and video signals, so you don’t need any additional audio cables. However, if you prefer to use external speakers or a sound system, you can connect them to your TV using the appropriate audio output method.
In the next section, we’ll explore an alternative connection method using a VGA cable.
Part 3: Connecting with a VGA Cable
If your TV doesn’t have an HDMI port or your Chromebook doesn’t support HDMI, you can still connect them using a VGA (Video Graphics Array) cable. Although VGA is an older technology, it can still be useful for establishing a connection between your Chromebook and TV. Here’s how to do it:
- Ensure both your Chromebook and TV are powered off.
- Locate the VGA port on your Chromebook. It is typically found on the side or back of the device.
- Connect one end of the VGA cable to the VGA port on your Chromebook.
- Next, locate the VGA port on your TV. It may be labeled as “PC In” or “VGA In”. Connect the other end of the VGA cable to this port.
- If you want to transmit audio as well, connect a 3.5mm audio cable from your Chromebook’s audio output to the audio input port on your TV or external speakers.
- Power on both your Chromebook and TV.
- Using the TV remote, access the input source settings and select the VGA input corresponding to the port you connected to. This might be labeled as “VGA” or “PC”.
- Once the VGA input is selected, your Chromebook’s screen should be displayed on the TV. If not, press the ‘Source’ button on your TV remote and cycle through the available inputs until the display appears.
Great! You have successfully connected your Chromebook to your TV using a VGA cable. It’s important to note that VGA only transmits video signals, so if you want to transmit audio, you’ll need to connect a separate audio cable as mentioned earlier.
Now that we’ve covered the HDMI and VGA connection methods, let’s move on to an alternative wireless option using Chromecast in the next section.
Part 4: Connecting with a Chromecast
If you prefer a wireless solution to connect your Chromebook to a TV, you can use a Chromecast. Chromecast is a device that allows you to stream content from your Chromebook to your TV over Wi-Fi. Here’s how to set it up:
- Plug the Chromecast device into an available HDMI port on your TV.
- Make sure your Chromecast and Chromebook are connected to the same Wi-Fi network.
- On your Chromebook, open the Chrome browser.
- Click on the three-dot menu icon in the upper-right corner.
- Select “Cast” from the drop-down menu.
- A pop-up window will appear. Click on the drop-down menu and select the Chromecast device you want to connect to.
- Choose whether you want to cast the entire screen or just a specific tab.
- The content from your Chromebook will now be mirrored on your TV through the Chromecast device.
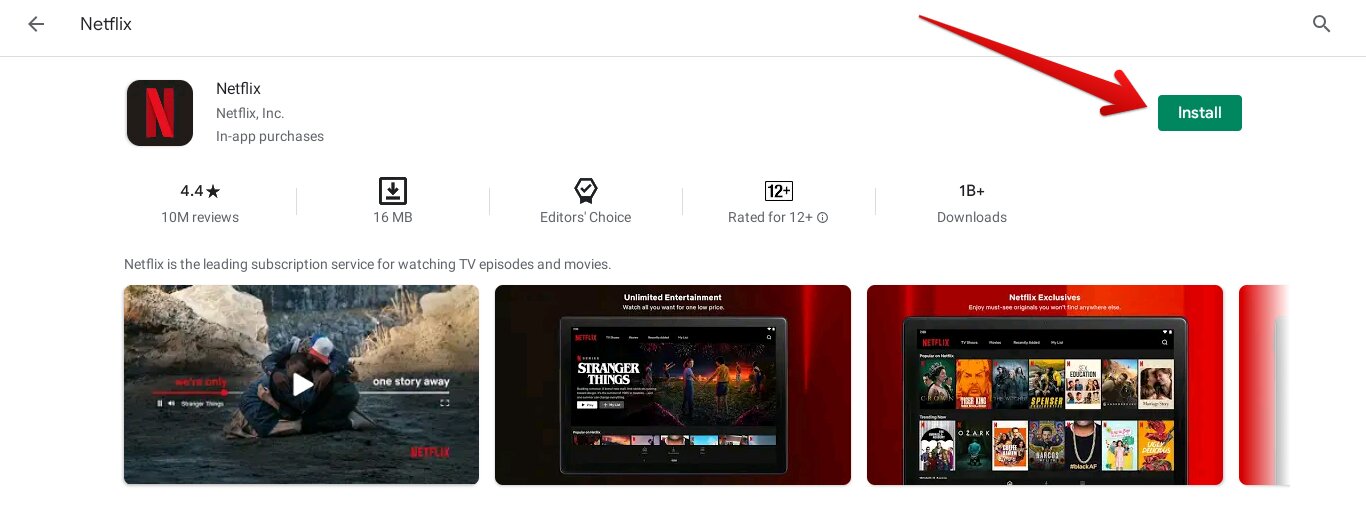
With Chromecast, you can not only stream videos but also mirror your Chromebook’s screen, allowing you to display presentations, web pages, or other content on your TV. Moreover, Chromecast supports various streaming platforms, so you can enjoy your favorite apps and content directly on your TV.
Keep in mind that Chromecast requires a stable Wi-Fi connection for smooth streaming. If you encounter any issues, make sure both your Chromebook and Chromecast are updated to the latest software versions. Additionally, check the connection and signal strength of your Wi-Fi network.
In the next section, we’ll address some common troubleshooting tips in case you encounter any issues during the connection process.
Part 5: Troubleshooting Common Issues
While connecting your Chromebook to a TV is usually a straightforward process, you may encounter some issues along the way. Here are some common problems and troubleshooting tips to help you resolve them:
No display on the TV:
- Make sure both your Chromebook and TV are powered on.
- Check that the HDMI or VGA cable is securely connected to both your Chromebook and TV.
- Verify that the correct input source is selected on your TV. Use the TV remote to cycle through the available inputs until you find the one connected to your Chromebook.
No audio on the TV:
- If using an HDMI cable, ensure that the cable is securely connected to both your Chromebook and TV.
- If using a VGA cable, make sure you have connected a separate audio cable from your Chromebook’s audio output to the audio input on your TV or external speakers.
- On your Chromebook, check the sound settings to ensure the correct output device is selected.
Choppy or laggy screen mirroring:
- Ensure both your Chromebook and the device you’re mirroring to (TV or Chromecast) are connected to a stable Wi-Fi network.
- Try reducing the resolution or closing any resource-intensive applications on your Chromebook to improve performance.
- Make sure your Chromebook and the TV or Chromecast are updated to the latest software versions.
Chromecast not appearing in the Cast menu:
- Check that both your Chromebook and Chromecast are connected to the same Wi-Fi network.
- Verify that the Chromecast device is plugged into an HDMI port on your TV and powered on.
- Restart your Chromebook and try the process again.
If you’re still experiencing issues after troubleshooting, consult the user manuals of your Chromebook, TV, or Chromecast device for further troubleshooting steps or consider seeking assistance from technical support.
Congratulations! By following the steps outlined in this guide, you should now have successfully connected your Chromebook to a TV. Whether you’re streaming videos, giving presentations, or simply enjoying multimedia content, you can now enjoy it on a bigger screen. If you have any additional questions or need further assistance, feel free to refer back to this guide or seek help from the relevant support channels.
Conclusion
In this guide, we have explored different methods to connect your Chromebook to a TV. Whether you opted for an HDMI cable, VGA cable, or Chromecast, each method provides a convenient way to enjoy your Chromebook content on a larger screen.
By selecting the appropriate cables and following the steps outlined in this guide, you can stream videos, play games, give presentations, or simply enjoy multimedia content on your TV. Connecting your Chromebook to a TV opens up a world of possibilities, allowing you to enhance your entertainment and productivity experience.
Remember to choose the method that best matches the available ports on your Chromebook and TV. HDMI cables provide a simple plug-and-play solution, VGA cables can be useful for older TVs or monitors, and Chromecast offers a wireless and versatile streaming solution. Regardless of the method you choose, ensure that both your Chromebook and TV are powered on and set to the appropriate input source.
If you encounter any issues during the connection process, refer to the troubleshooting tips provided in this guide. From resolving display or audio problems to optimizing screen mirroring performance, troubleshooting can help you overcome common issues and enjoy a seamless connection experience.
We hope this guide has been helpful in assisting you with connecting your Chromebook to a TV. Now, you can sit back, relax, and enjoy your favorite content on the big screen. Happy streaming!