Introduction
Welcome to the era of digital photography, where capturing moments has become easier than ever before. With the rise of smartphones and high-quality cameras, we find ourselves snapping countless photos every day. But what happens when our Google Photos library becomes cluttered with thousands of images?
In this article, we will explore the steps to clean up your Google Photos and regain control over your digital memories. Whether you want to delete unwanted photos or organize them into albums, we’ve got you covered. Let’s dive in and discover how to tidy up your Google Photos collection.
Managing your Google Photos effectively not only allows you to find and cherish your favorite memories easily, but it also optimizes your storage space. By following these steps, you’ll be able to declutter your photo library, remove duplicates, and free up space on your device.
So, grab your favorite beverage, sit back, and let’s start cleaning up your Google Photos!
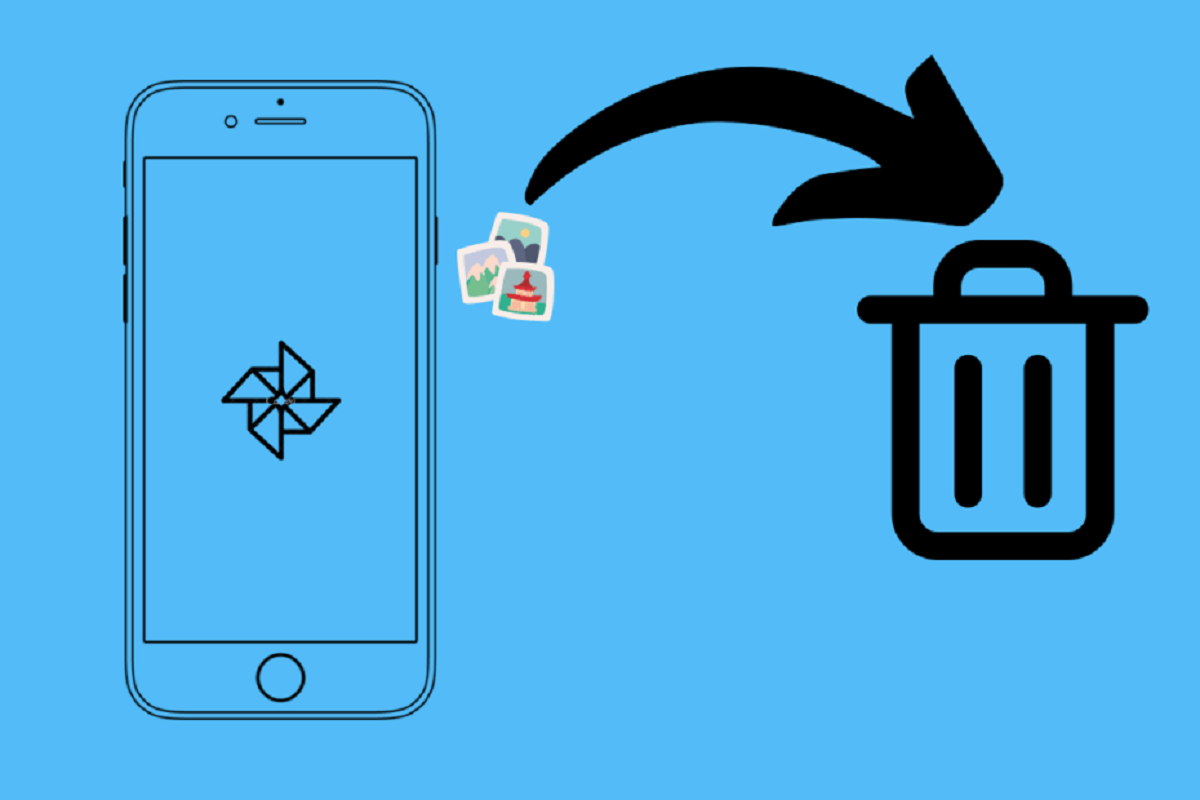
Step 1: Delete Unwanted Photos
The first step in cleaning up your Google Photos is to remove any unwanted or unnecessary photos from your library. Over time, photos may accumulate, including duplicates, blurry shots, or just photos that no longer hold any value to you.
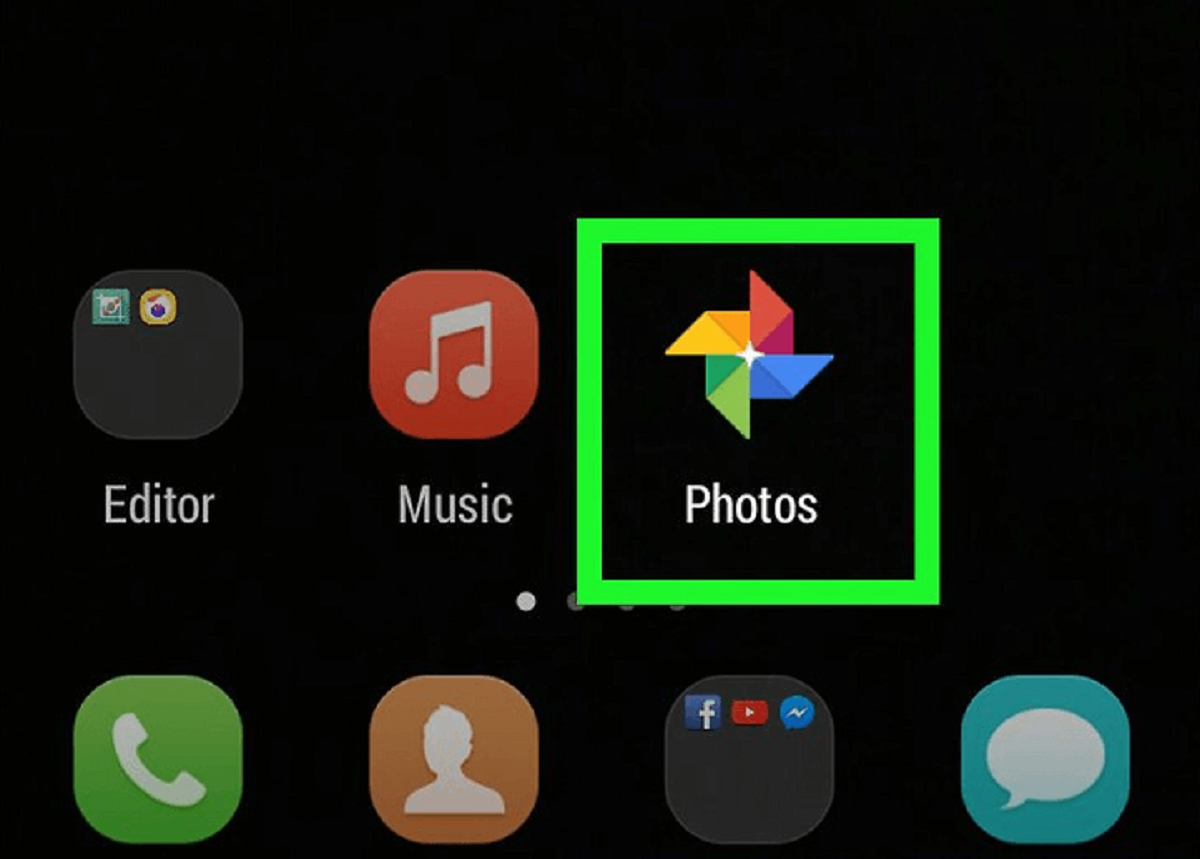
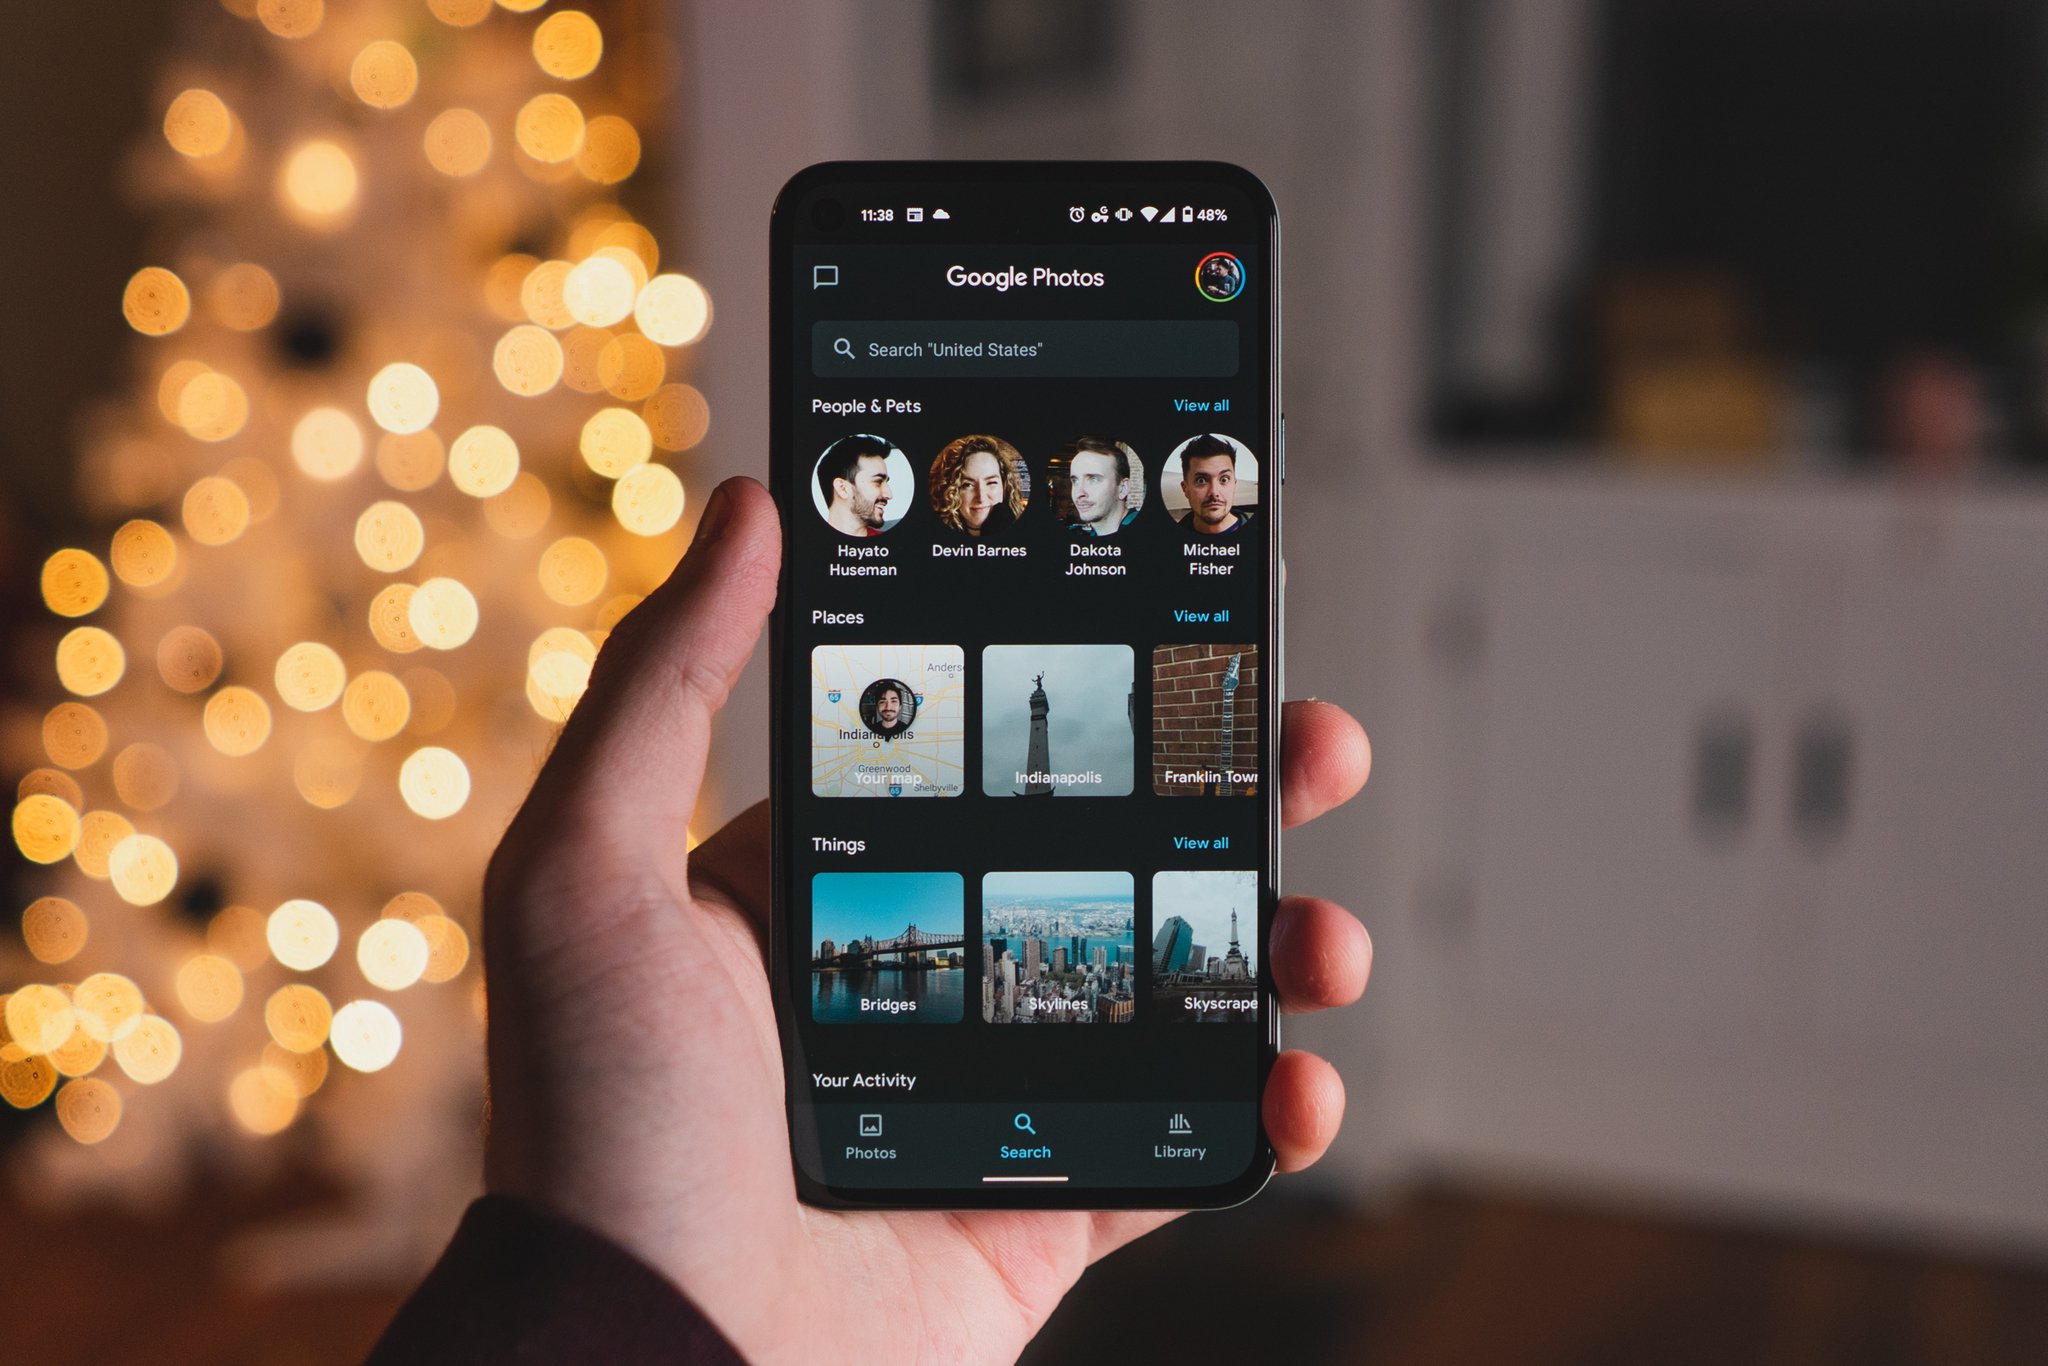
To begin, open the Google Photos app or access it through the website on your computer. Once you’re in, navigate to the Photos tab or the specific album where the unwanted photos are located.
Look through your photos and select the ones you wish to delete. You can do this individually by tapping on each photo or by using the select option to choose multiple photos at once. Once you have made your selection, tap the trash bin icon to delete the photos.
Keep in mind that when you delete a photo from Google Photos, it will be moved to the “Trash” folder. These photos will still occupy storage space until you empty the trash. To permanently remove the photos and free up space, you need to access the “Trash” folder and delete them from there as well.
To access the “Trash” folder, tap on the three-line menu icon in the top-left corner of the Google Photos app. Then, select “Trash” from the menu. In the Trash folder, you can review the deleted photos and choose to either restore them or permanently delete them by tapping on the “Empty Trash” option.
Deleting unwanted photos not only helps to declutter your Google Photos library but also allows you to focus on the memories that truly matter. It is also a great way to optimize your storage and ensure that you have enough space for new, meaningful photos.
Step 2: Use Archive to Hide Photos
Do you have photos that you don’t want to delete but also don’t want to see cluttering up your main gallery? Google Photos offers a useful feature called “Archive” that allows you to hide photos from the main view without deleting them.
To use this feature, open the Google Photos app or access it through the website on your computer. Navigate to the photo you want to archive, then tap on the photo to open it in full view. On the bottom toolbar, you will see an icon that looks like a box with an arrow pointing downwards. This is the archive icon.
Tap on the archive icon, and the photo will be moved to the “Archive” folder. Archived photos will no longer appear in your main photo feed or albums, but they will still be accessible in the “Archive” folder. You can access the “Archive” folder by tapping on the three-line menu icon in the top-left corner of the Google Photos app and selecting “Archive.”
In addition to individual photos, you can also archive entire albums. To do this, open the album you want to archive, tap on the three-dot menu icon in the top-right corner, and select “Archive album.” The entire album, along with its contents, will be moved to the “Archive” folder.
Archiving photos is a useful way to reduce clutter in your main Google Photos view while still keeping your precious memories safe and accessible. It’s especially helpful for hiding screenshots, receipts, or any other photos that you may not want to see every time you scroll through your photos but still want to keep for reference.
Remember, archived photos are not deleted, so they will still occupy storage space. If you no longer need certain archived photos, you can always delete them permanently to free up space.
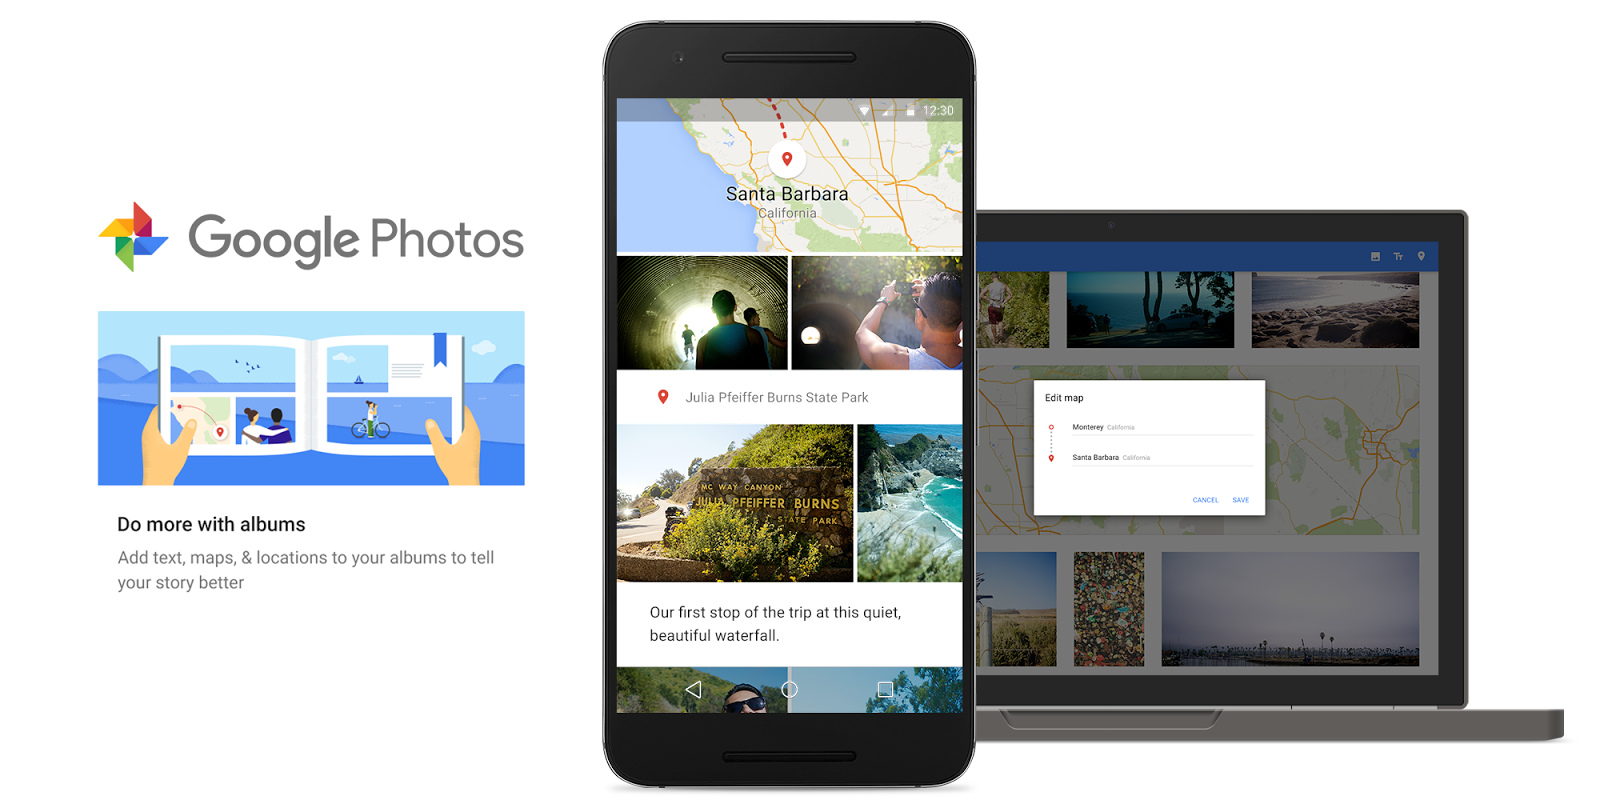
Step 3: Organize Photos into Albums
One of the best ways to keep your Google Photos library organized is by creating albums. Albums allow you to group related photos together, making it easier to find specific memories or themes.
To start organizing your photos into albums, open the Google Photos app or access it through the website on your computer. Navigate to the “Photos” tab or the specific album where the photos you want to organize are located.
In the Google Photos app, tap and hold on a photo to enter the selection mode. Then, select all the photos you want to include in the album by tapping on each photo. After selecting the desired photos, tap on the “+” icon to create a new album.
Give your album a descriptive name that reflects the content or theme of the photos. For example, if you have a collection of vacation photos, you can name it “Summer Trip 2021.” You also have the option to add a description or location to further categorize the album.
On the Google Photos website, the process is similar. Select the photos you want to include in the album by clicking on each photo. Then, click on the “Add to” button at the top of the screen and choose “Album” from the dropdown menu. Enter the album details and click “Create.”
Once you’ve created an album, you can add or remove photos from it at any time. Simply navigate to the album, tap on the three-dot menu icon, and select “Edit album.” From there, you can add more photos, remove existing ones, or even rearrange the order of the photos.
Organizing photos into albums gives you the ability to quickly access specific memories or moments. Whether it’s creating albums for family events, holidays, or even categorized by subject matter, albums provide a visually appealing way to browse through your photos based on your desired organization system.
With albums, finding that perfect picture from your last summer vacation or baby’s first steps becomes as easy as a few taps or clicks.
Step 4: Remove Duplicates
Over time, it’s common to end up with duplicate photos in your Google Photos library. Duplicates can take up valuable storage space and make it difficult to find the original version of a photo. Fortunately, Google Photos provides a convenient tool to help you identify and remove duplicate photos.
To begin, open the Google Photos app or access it through the website on your computer. Go to the “Photos” tab or the specific album where you suspect duplicates might be present.
Next, tap on the three-dot menu icon in the top-right corner of the screen and select “Free up space” from the dropdown menu. Google Photos will then scan your library and identify any duplicate photos it finds.
You will be presented with a list of identified duplicate photos. Review the list carefully, as some duplicates may have slight differences in metadata or image quality. Keep in mind that this feature is not foolproof, and it’s always a good idea to double-check before deleting photos.
To select and delete duplicate photos, tap on the “Remove” button, and Google Photos will delete all but one copy of each duplicate. The original photo will remain in your library, while the duplicates will be removed.
If you prefer to manually review and remove duplicates, you can use the “Visually Similar” feature in Google Photos. This feature allows you to compare visually similar photos and decide which ones to keep and which ones to delete.
To access the “Visually Similar” feature, open Google Photos and select a photo that you suspect may have duplicates. Once the photo is open, tap on the three-dot menu icon and select “Visually Similar” from the menu. Google Photos will display a grid of visually similar photos, allowing you to select and delete the duplicates.
By removing duplicate photos from your Google Photos library, you not only save space but also make it easier to find and enjoy your favorite memories. It’s worth spending a little time to clean up duplicates and ensure that your photo collection is streamlined and clutter-free.
Step 5: Utilize the “Assistant” Feature
The “Assistant” feature in Google Photos can be a powerful ally in managing and organizing your photo library. It offers a range of helpful suggestions, automation, and creations that can save you time and enhance your photo browsing experience.
To access the “Assistant” feature, open the Google Photos app or access it through the website on your computer. The “Assistant” tab is typically located at the bottom of the screen or on the sidebar menu.
Once you’re in the “Assistant” tab, you’ll see a variety of cards that present different suggestions and options. These may include creating collages, animations, albums, or even reminders to revisit photos from a particular day or event.
Take advantage of the suggestions provided by the “Assistant” feature to streamline your photo organization process. For example, if you notice a card suggesting an album based on a recent trip, you can review it, make any necessary adjustments, and save it as a proper album.
Furthermore, the “Assistant” feature can help you identify and organize specific types of photos. It can suggest categorizing photos of people, pets, or landmarks into separate albums, making it easier to find them later.
Another useful aspect of the “Assistant” is the automated backup and syncing suggestions. It may prompt you to back up photos from different devices, ensuring that all your memories are securely saved and easily accessible from any device.
Keep in mind that while the “Assistant” feature saves you time with its suggestions, it’s important to review and curate the suggested creations. This ensures that they align with your preferences and accurately represent the memories you want to preserve.
Make it a habit to regularly check the “Assistant” tab and take advantage of the useful features it offers. By utilizing the “Assistant” feature, you can enhance the organization, curation, and overall user experience of your Google Photos library.
Step 6: Adjust Backup Settings
Having your photos backed up automatically ensures that your precious memories are safe and accessible, even if you lose your device. Google Photos provides flexible backup settings that allow you to customize how and when your photos are backed up.
To adjust the backup settings, open the Google Photos app or access it through the website on your computer. Tap on your profile picture or the three-line menu icon to access the settings.
In the settings menu, select “Backup & sync.” Here, you’ll find various options to configure how your photos are backed up.
Firstly, ensure that “Backup & sync” is turned on. This ensures that any new photos taken on your device will be automatically backed up to your Google Photos account.
You can also choose whether to back up photos and videos using mobile data. If you have a limited data plan, it’s a good idea to enable the “Backup using Wi-Fi only” option to avoid excessive data usage.
Additionally, you have the option to choose the quality of the backed-up photos. “High quality” is recommended, as it provides unlimited storage for compressed photos and videos without consuming your Google account’s storage quota. However, if you prefer to preserve the original quality, you can select the “Original” option, but note that it will count against your storage limit.
Furthermore, you can select specific folders on your device to be included in the backup process. This allows you to choose which photos and videos are backed up, ensuring that your Google Photos library only contains the content you want to preserve.
Remember to periodically review your backup settings to ensure they align with your preferences and current storage needs. Adjusting the backup settings allows you to optimize your storage and ensure that your most important memories are safely backed up in the cloud.
By customizing the backup settings in Google Photos, you can have peace of mind knowing that your photos are protected and accessible from any device, at any time.
Step 7: Manage Storage and Free Up Space
As your Google Photos library grows, it’s important to manage your storage and free up space to ensure that you have enough room for new photos and videos. Google Photos offers several tools and features to help you optimize your storage and keep your photo collection organized.
To start managing your storage, open the Google Photos app or access it through the website on your computer. Tap on your profile picture or the three-line menu icon to access the settings.
In the settings menu, select “Storage & device.” Here, you’ll find a breakdown of your storage usage and options to help you free up space.
One of the most effective ways to free up space is to delete unwanted photos and videos. You can use the “Free up space” option to remove photos and videos that have already been backed up to the cloud. This safely deletes the content from your device while keeping it accessible in your Google Photos library.
If you have photos or videos that you no longer need, you can also use the “Manage device storage” option. This feature allows you to review and delete photos and videos on your device that have not been backed up. It helps you identify items that are consuming significant storage space and make informed decisions about what to keep and what to delete.
Another helpful feature for managing storage is the “Settings” option within the “Storage & device” menu. Here, you can enable “Auto-delete trash” to automatically remove items from the “Trash” folder after 30 days. This ensures that deleted photos and videos don’t continue to occupy storage space unnecessarily.
Additionally, you can review and delete photos and videos in the “Trash” folder manually. Access the “Trash” folder by tapping on the three-line menu icon and selecting “Trash.” From there, you can review the deleted items and permanently delete them to free up space.
Regularly managing your storage and freeing up space in Google Photos is essential for an organized and efficient photo library. By removing unnecessary content from your device and optimizing your storage settings, you can continue to capture and store your favorite memories without worrying about running out of space.
Conclusion
Cleaning up and organizing your Google Photos library can be a rewarding and beneficial process. By following the steps outlined in this guide, you can regain control over your digital memories, optimize storage space, and easily find and cherish your favorite photos and videos.
Deleting unwanted photos, utilizing the Archive feature, and organizing your photos into albums allow you to declutter your library and focus on the memories that matter most. Removing duplicates ensures that you have a streamlined collection, making it easier to find the original version of a photo.
The Assistant feature in Google Photos offers suggestions and automation that can save you time and enhance your browsing experience. Customizing the backup settings ensures that your photos are safely stored and accessible from any device, while managing storage helps keep your library organized and allows for more storage space.
Remember, the process of cleaning up your Google Photos library is not a one-time task. Regularly reviewing and maintaining your photo collection will help keep it in order and prevent it from becoming cluttered again in the future.
So, take the time to go through your Google Photos library and implement these steps. Enjoy the journey of rediscovering cherished memories, organizing them into meaningful albums, and optimizing your storage space. With a clean and organized Google Photos library, you can easily navigate through your digital memories and preserve them for years to come.