Introduction:
Welcome to the world of Google Photos! In this digital age, where our photo collections seem to grow exponentially, Google Photos has emerged as a go-to platform for organizing and storing our precious memories. With its sleek interface and powerful features, it has become a favorite among users worldwide.
But have you ever wondered how to change the album cover in Google Photos? Maybe you’ve created a beautiful album but the automatically generated cover image doesn’t quite capture the essence of the collection. Well, you’re in luck! In this article, we will guide you through the steps to change the album cover in Google Photos, allowing you to personalize your albums and make them truly your own.
So, whether you’re a photography enthusiast looking to showcase your best shots, a traveler documenting epic adventures, or a parent cherishing the milestones of your children, the ability to change album covers in Google Photos will add that extra touch of customization and creativity.
Let’s dive in and discover how to give your albums a fresh and eye-catching look by changing their cover images!
What Is Google Photos?
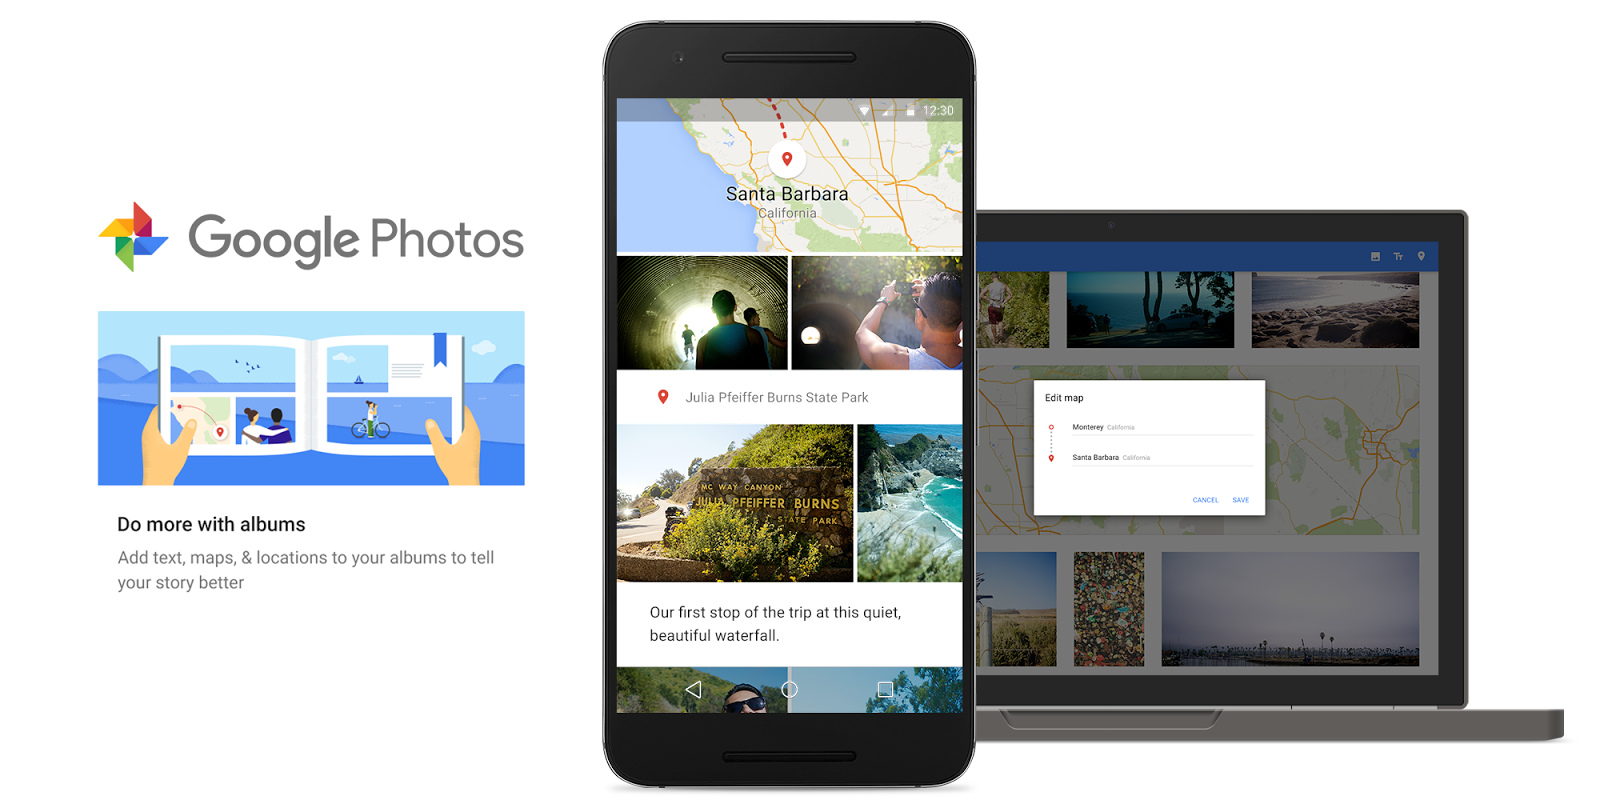
Google Photos is a cloud-based photo and video storage service provided by Google. It was launched in May 2015 and quickly gained popularity due to its user-friendly interface and robust features.
With Google Photos, you can store an unlimited number of high-quality photos and videos for free. The platform automatically organizes your media files based on dates, locations, and even recognizes the content within the photos, making it effortless to search and find specific images.
One of the standout features of Google Photos is its powerful search functionality. Using advanced algorithms, it can identify people, objects, and even specific events in your photos. You can search for keywords, such as “beach” or “birthday,” and Google Photos will display relevant results from your collection.
Google Photos also offers intelligent suggestions and editing tools to enhance your photos. It can automatically create collages, animations, movies, and albums based on similar content or specific dates. These creations, called “Assistant cards,” save you time and make it fun to revisit memories.
Additionally, Google Photos allows you to share your photos and albums with others. You can easily share individual photos or entire albums via email, social media platforms, or by generating a public link. This makes it convenient to collaborate with friends and family or showcase your work to a broader audience.
Whether you capture images with a smartphone, DSLR camera, or any other device, Google Photos seamlessly syncs your photos and videos across multiple devices. You can access your entire photo collection from your phone, tablet, or computer, ensuring your memories are always at your fingertips.
In summary, Google Photos is a powerful platform that simplifies photo and video management. From organizing and searching your media to creating personalized albums and sharing memories, it offers a comprehensive solution for all your digital imaging needs.
Why Change Album Cover?
Album covers play a crucial role in visually representing the content and theme of an album. While Google Photos automatically generates album covers based on the included images, there are several reasons why you might want to change the album cover to something more personalized:
- Showcase your creativity: Changing the album cover allows you to showcase your artistic flair and creativity. You can select a cover image that represents the essence or highlight of the album, making it more visually appealing and engaging for viewers.
- Create a cohesive look: By customizing the album cover, you can create a more cohesive and unified look across your photo collections. This is particularly useful if you are organizing albums for specific events or themes, as it helps to visually tie them together.
- Highlight the best image: If your album contains a collection of stunning images, changing the cover allows you to showcase the absolute best photo from the collection. This ensures that the first impression viewers get from the album is visual perfection.
- Evoke specific emotions: The album cover is the first thing viewers see when they open an album. By carefully selecting an image that evokes specific emotions or memories, you can set the tone and create a more impactful and meaningful viewing experience.
- Add a personal touch: Changing the album cover allows you to add a personal touch to your photo collections. Whether it’s a photo of your loved ones, a memorable location, or a special moment, the customized cover image adds a unique and personal element to your albums.
Ultimately, changing the album cover in Google Photos gives you the flexibility to curate and present your photo collections in a way that resonates with you and your viewers. It enhances the visual appeal, adds personalization, and allows you to make a lasting impression with your albums.
Steps to Change Album Cover:
Changing the album cover in Google Photos is a simple process. Follow the steps below to customize your album covers:
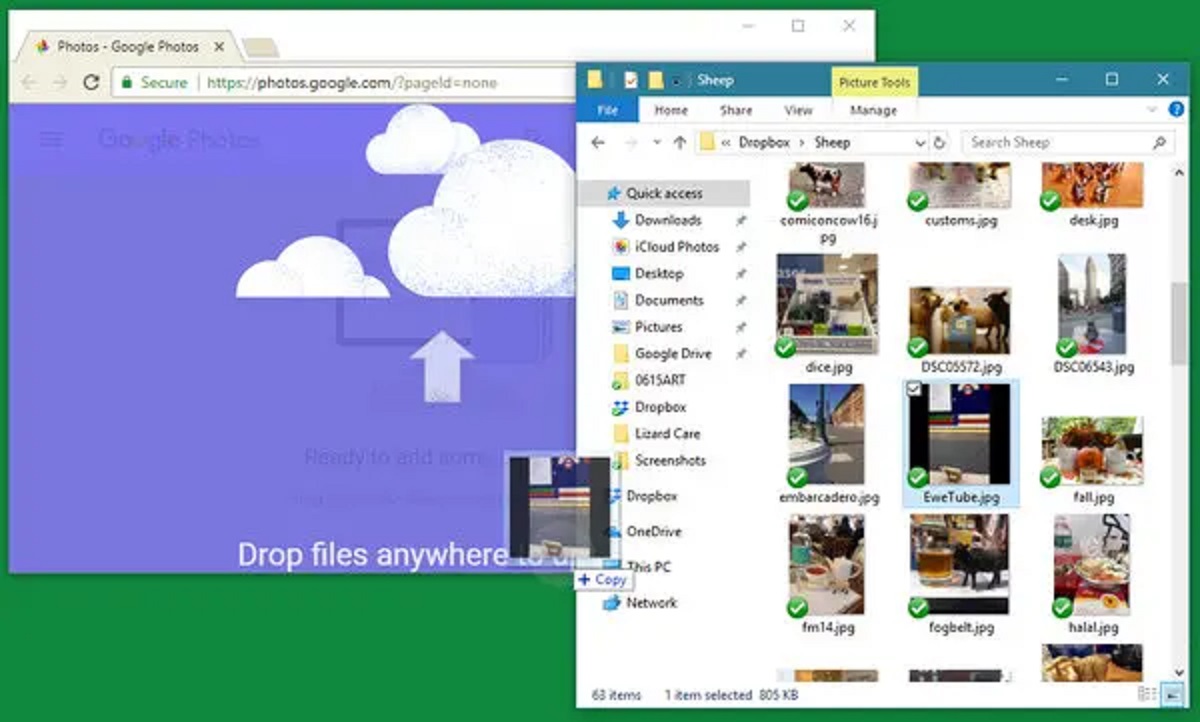
- Open Google Photos: Launch the Google Photos app on your mobile device or access it through your web browser by visiting https://photos.google.com.
- Select an Album: Locate the album for which you want to change the cover image. Tap on the album to open it.
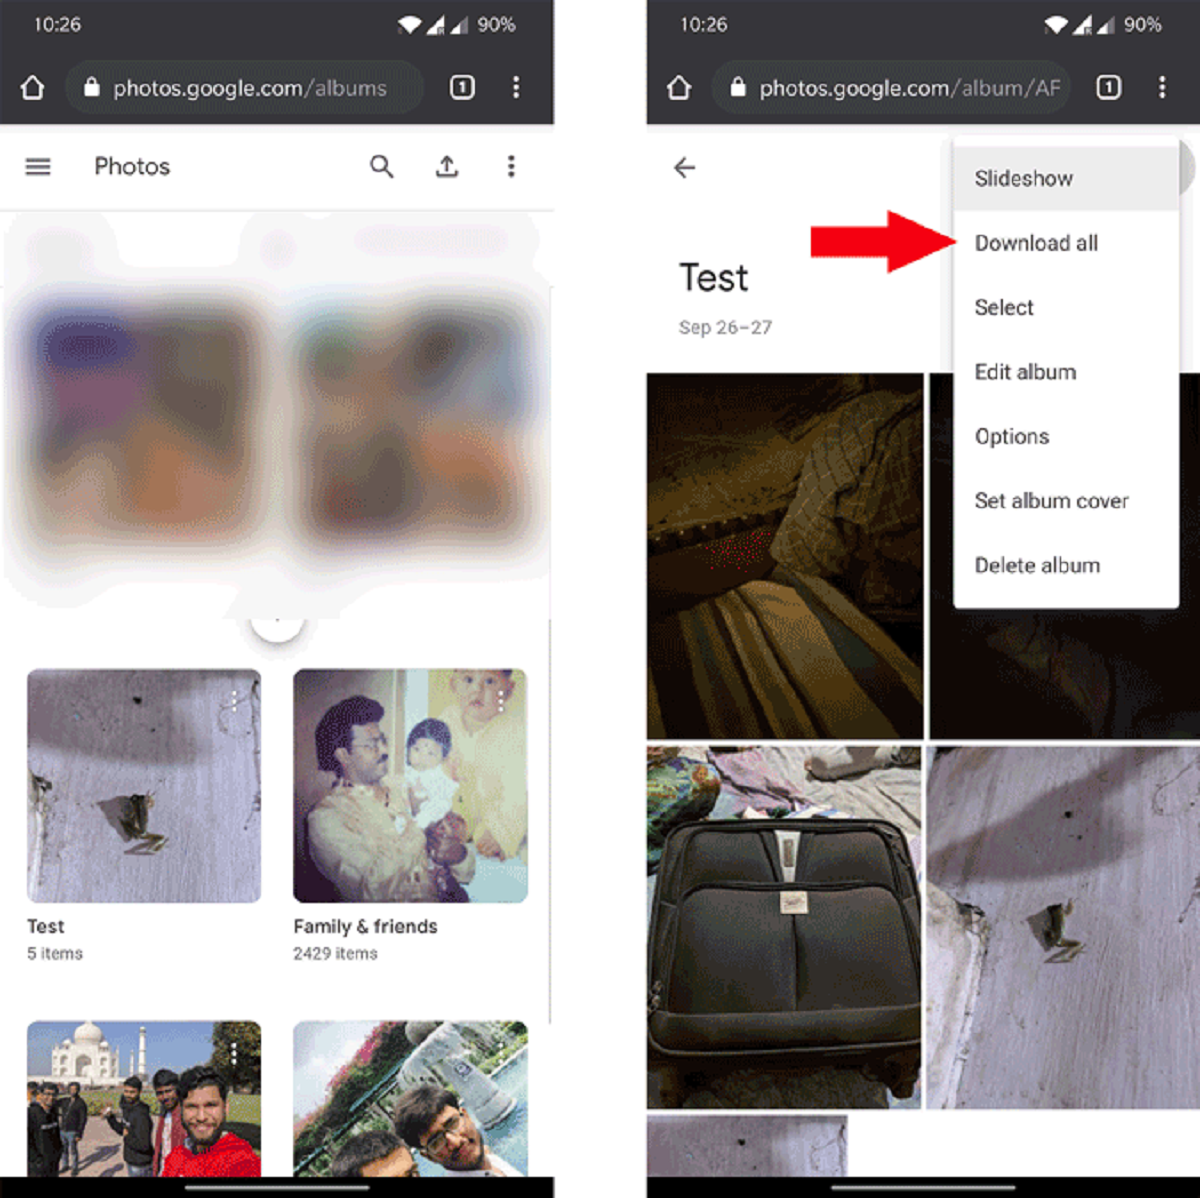
- Edit Album: Once you’re inside the album, look for the three-dot menu icon located in the top-right corner of the screen. Tap on it to open a menu of options.
- Choose Album Cover: In the menu, select the “Album cover” option. This will open a grid view of all the images in the album.
- Select a New Cover Image: Browse through the images in the album and tap on the image that you want to set as the new cover. You can also tap and hold on an image to see a preview before making your selection.
- Confirm the Change: Once you’ve chosen the new cover image, tap on the “Done” or “Save” button to confirm the change.
- View the Updated Album: After saving the new cover image, you will be taken back to the album view. The album cover will now be updated with the image you selected.
That’s it! You have successfully changed the album cover in Google Photos. Repeat these steps for any other albums you wish to customize.
Note that changing the album cover image does not affect the order or content of the photos within the album. It simply updates the visual representation of the album.
Now you can personalize your photo collections and create visually captivating album covers that truly reflect the essence of your memories.
Conclusion:
Changing the album cover in Google Photos allows you to add a personal touch and make your photo collections more visually appealing. By following the simple steps outlined in this article, you can easily customize the cover image of your albums and create a cohesive and engaging experience for viewers.
With the ability to showcase your creativity, highlight the best image, evoke specific emotions, and add a personal touch, changing the album cover in Google Photos gives you the freedom to curate your memories in a way that resonates with you and your audience.
Remember, the album cover is the first impression viewers get when they open an album, so choosing an image that captures the essence of the collection is key. Whether you’re organizing albums for special events, trips, or themes, the customized cover image sets the tone for the entire album and enhances the overall viewing experience.
So, why settle for a generic cover image when you can personalize and showcase your albums with a stunning and meaningful photo? Take advantage of the easy-to-use features in Google Photos and start changing your album covers today!
Unleash your creativity, tell your story, and make your photo collections truly your own with custom album covers in Google Photos. Happy album organizing and happy memories capturing!