Introduction
Group texting has become an increasingly popular way to stay connected and communicate with multiple people simultaneously. Whether you need to plan an event, share important announcements, or just catch up with a group of friends, setting up group text on your Android device can save you time and effort.
In this article, we will guide you through the process of setting up group text on Android, step by step. By following these easy instructions, you’ll be able to create and manage group conversations with ease, allowing you to effortlessly stay in touch with your friends, family, and colleagues.
Before we dive in, it’s important to note that the exact steps may vary slightly depending on the make and model of your Android device, as well as the version of the operating system you’re running. However, the overall process remains similar across most Android devices, so you should be able to adapt these instructions to your specific device.
So, whether you have a Samsung Galaxy, Google Pixel, OnePlus, or any other Android device, let’s get started and learn how to set up group text!
Step 1: Find and open your Messaging app
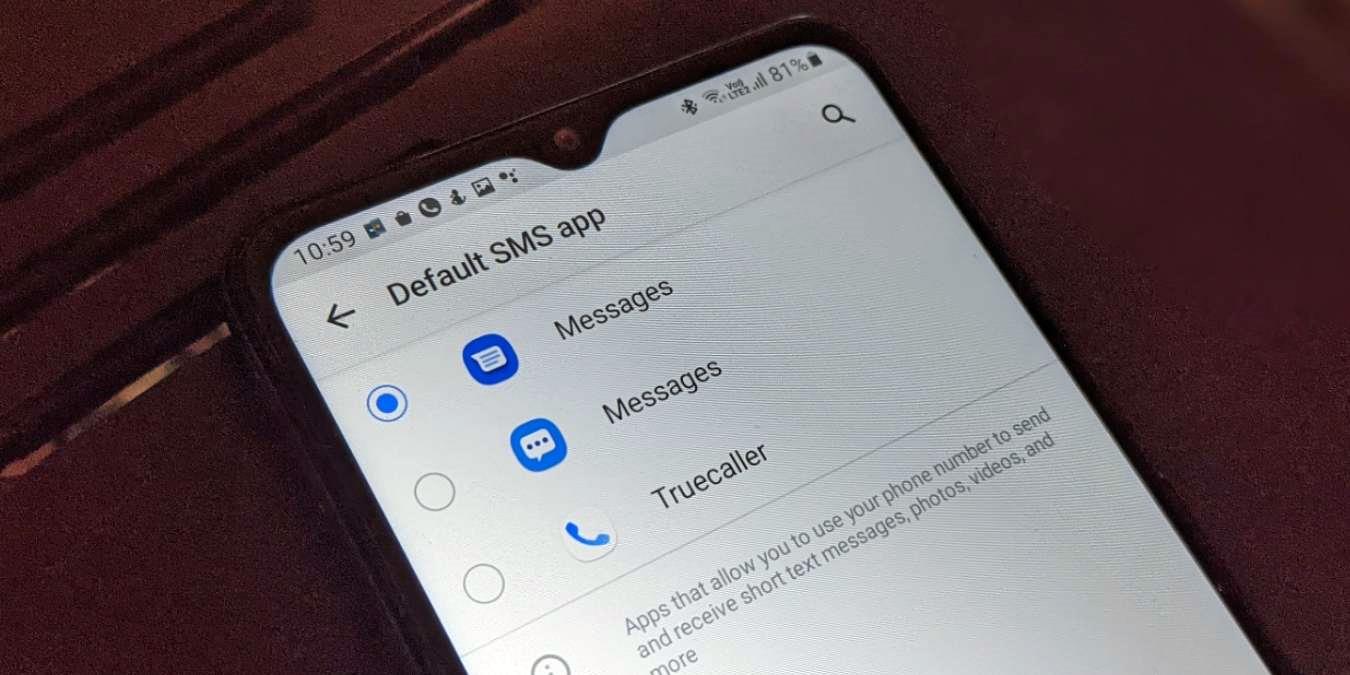
The first step in setting up a group text on your Android device is to locate and open your Messaging app. The Messaging app is the default app that allows you to send and receive text messages on your device. The exact location of the app may vary depending on your device, but it is typically found on your home screen or in your app drawer.
To find and open the Messaging app, follow these simple steps:
- Unlock your Android device by entering your passcode or using your fingerprint.
- On your home screen or app drawer, look for the Messaging app icon. The icon usually resembles a speech bubble or a message box.
- Tap on the Messaging app icon to open the app.
Once the Messaging app is open, you will be ready to proceed to the next step in setting up your group text.
Note: If you cannot find the Messaging app on your home screen or app drawer, you can use the search function on your device. Simply swipe down on your home screen to access the search bar, type in “Messaging,” and select the app from the search results.
Now that you have successfully found and opened the Messaging app, you are one step closer to setting up your group text on Android. Let’s move on to the next step.
Step 2: Tap on the Compose button
Once you have opened the Messaging app on your Android device, the next step is to tap on the Compose button. This button allows you to create a new message and start a conversation. Here’s how you can do it:
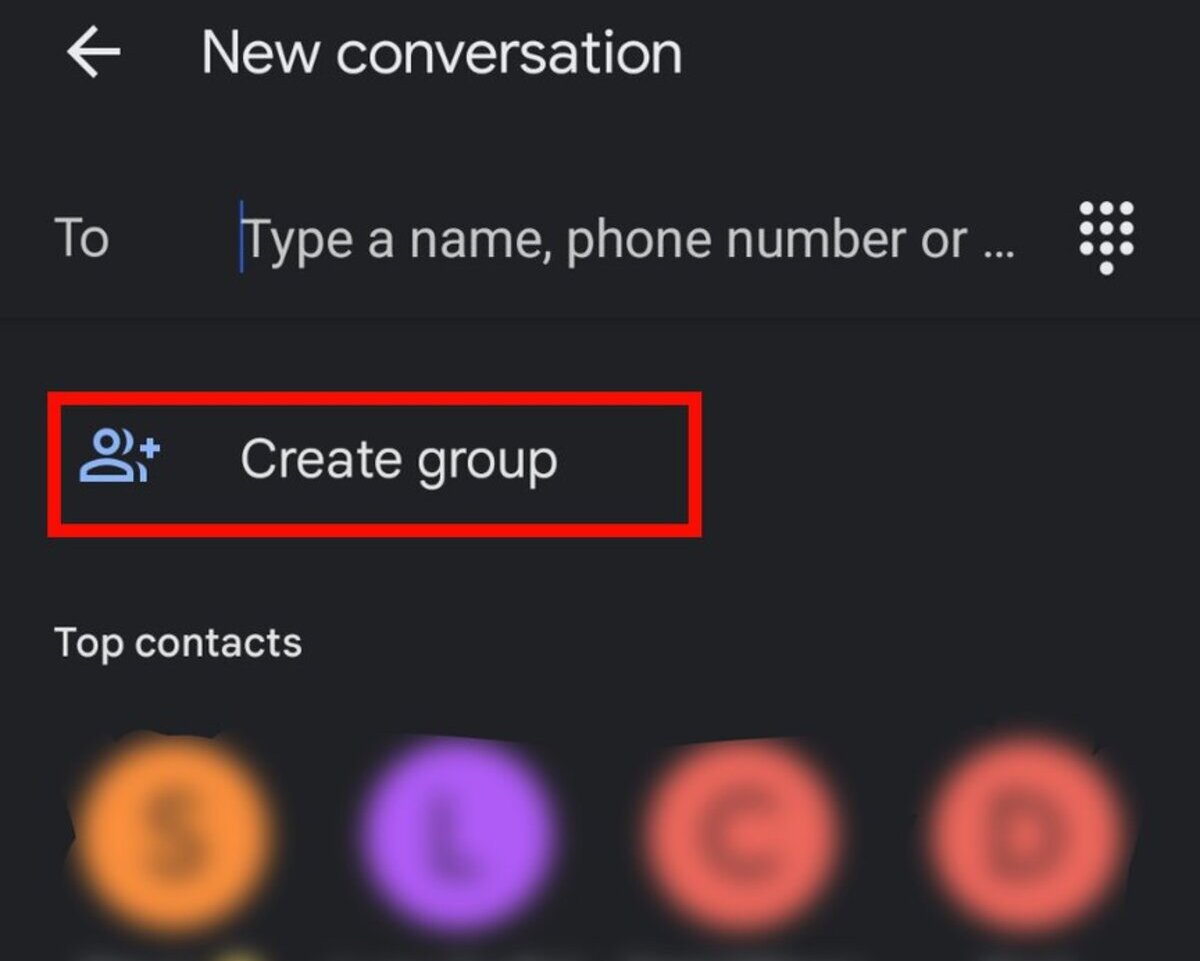
- On the main screen of the Messaging app, look for the Compose button. This button is usually represented by a pencil and paper icon or a floating action button with a plus symbol.
- Tap on the Compose button to open a new message.
After tapping on the Compose button, you will be taken to the message composition screen. This is where you can enter the recipients, compose your message, and customize any other settings before sending your group text.
Note: Some devices may have a different interface or layout for the Messaging app. If you cannot find the Compose button, look for a similar option, such as “New Message,” “Start a Conversation,” or an icon that allows you to create a new message.
Now that you have accessed the message composition screen by tapping on the Compose button, you are ready to move on to the next step: selecting multiple contacts for your group text.
Step 3: Select multiple contacts
After tapping on the Compose button in the Messaging app, you will need to select the contacts you want to include in your group text. Here’s how you can easily select multiple contacts on your Android device:
- On the message composition screen, you will see a recipient field where you can enter the name or phone number of the person you want to message.
- To select multiple contacts, tap on the recipient field to bring up the contact selection options.
- You will now have several options to choose from: you can manually enter the names or phone numbers of the contacts, select them from your phone’s contact list, or use the search function to find specific contacts.
- If you choose to select contacts from your phone’s contact list, tap on the “Contacts” or “Add Contact” option to browse through your contacts.
- To add a contact to your group text, simply tap on their name or phone number in the contact list. The selected contacts will be displayed in the recipient field.
- Continue selecting and adding the desired contacts until you have included everyone you want to message in your group text.
It’s important to note that depending on the Messaging app you’re using or the version of Android on your device, the exact steps or options may vary slightly. However, the general principle of selecting multiple contacts remains the same.
Now that you have selected the contacts for your group text, it’s time to move on to the next step: composing your message.
Step 4: Enter your message
With the contacts selected for your group text, it’s time to compose your message. This is where you can type out the content you want to share with the recipients of your group text. Follow these steps to enter your message:
- In the message composition screen, locate the message input field. It is usually at the bottom of the screen and labeled with a prompt like “Type a message” or “Enter your text here.”
- Tap on the message input field to activate the keyboard and start typing your message.
- Using the keyboard, enter the text you want to send to the group. You can type out a simple text message, share a link, or even include emojis to add a personal touch.
When composing your message, keep in mind that most Messaging apps have a character limit for each text message. If your message exceeds the character limit, it may be split into multiple text messages or you may be prompted to switch to a different messaging format, such as MMS (Multimedia Messaging Service).
Additionally, some Messaging apps offer additional features like formatting options, inline images, or attachments. If you want to enhance your message with any of these features, explore the options available in your Messaging app.
Once you have entered your message, you can take a moment to review it for any mistakes or edits. When you are satisfied with your message, you are ready to proceed to the next step: sending your group text.
Step 5: Send your group text
After composing your message, it’s time to send your group text to all the selected contacts. Follow these steps to successfully send your message:
- Review your message to ensure that it is accurate and conveys the intended information.
- Once you are satisfied with your message, locate the send button in the messaging app. This button is typically represented by an arrow, a paper airplane, or the word “Send.”
- Tap on the send button to send your group text.
After tapping the send button, your message will be sent to all the selected contacts in your group text. Depending on your network connection and the number of recipients, it may take a few moments for the message to be delivered to everyone.
Additionally, some messaging apps provide the option to schedule your message for a specific time or date. If you want to send your group text at a later time, look for the scheduling feature in your messaging app and set the desired time for the message to be sent.
Once your group text has been successfully sent, you will receive a confirmation that the message has been delivered to the recipients. You can also check the conversation thread in the messaging app to see if the message has been sent and received by everyone.
Now that your group text has been sent, it’s important to know how to manage and continue the conversation. In the next step, we’ll explore how to manage your group text conversations on Android.
Step 6: Managing your group text conversations
Once you have sent your group text, it’s important to know how to manage and navigate the conversation. Android provides various features to help you effectively manage your group text conversations. Here are some tips for managing your group text conversations on Android:
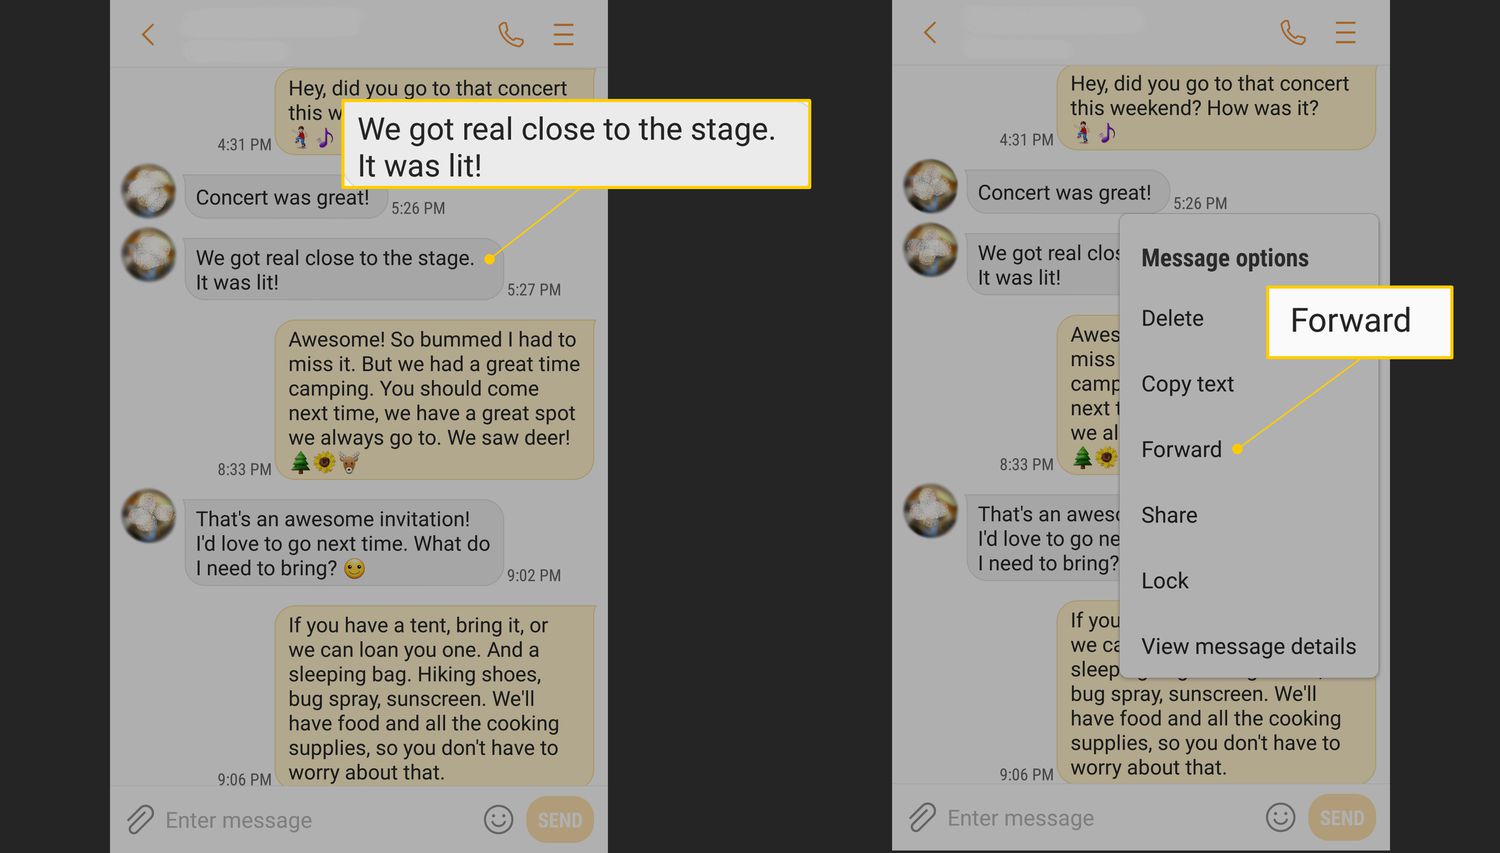
- Replying to the group: When you receive responses from the group, you can simply tap on the message and enter your reply in the text field. Your reply will be sent to all participants in the group.
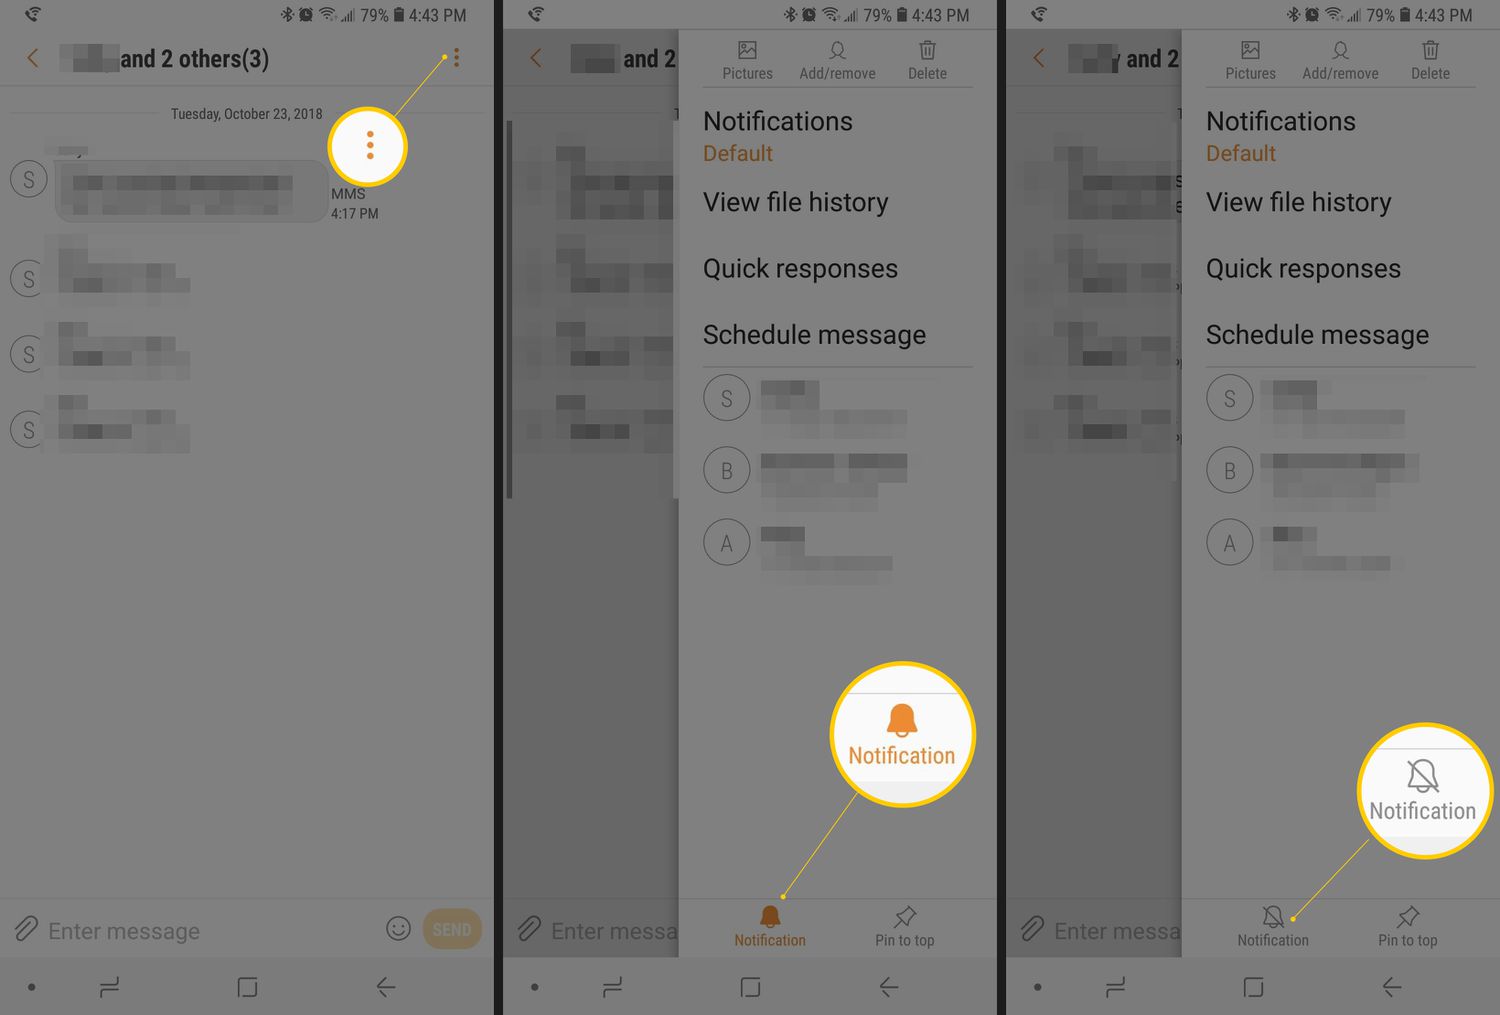
- Muting notifications: If you find that the constant notifications from the group text become overwhelming, you have the option to mute the conversation. This will prevent your device from notifying you for every new message in the group. Simply long-press on the group conversation, select “Mute” or “Notifications Off,” and choose the desired duration for muting the conversation.
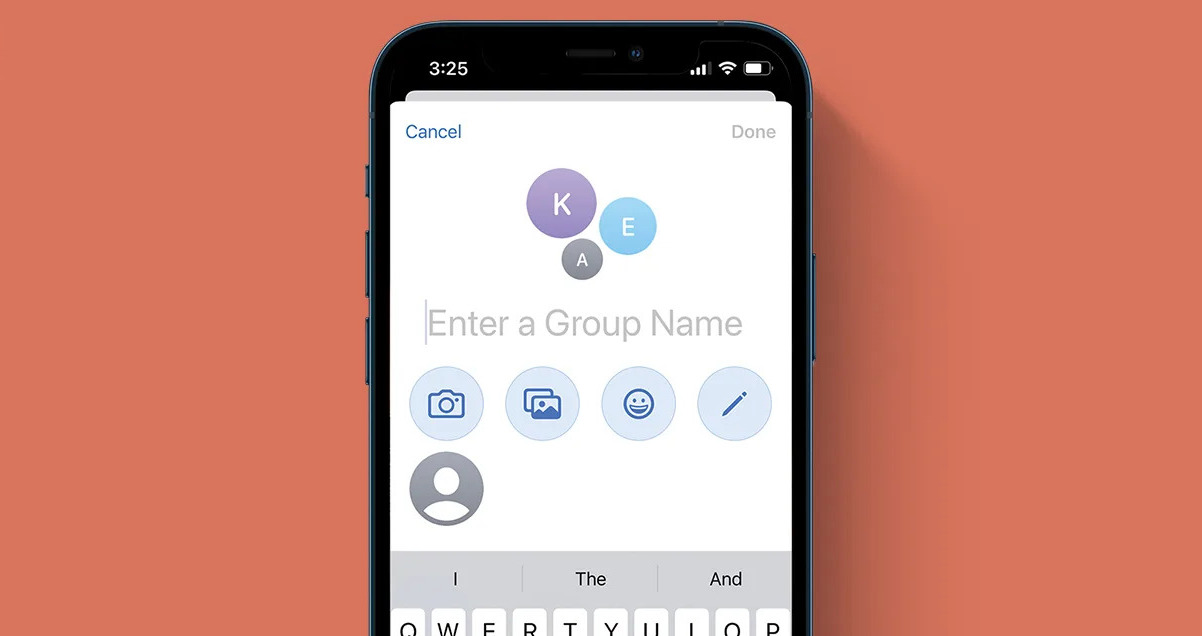
- Renaming the group: If you want to give a name to your group conversation for easier identification, most messaging apps allow you to rename the group. Simply open the group conversation, access the group’s settings or details, and look for the option to change the group name.
- Adding or removing participants: In some cases, you may want to add or remove participants from the group text. To add new participants, you can simply open the group conversation settings or details, search for and select the contacts you want to add, and confirm the changes. To remove a participant, long-press on their name in the group conversation and select the option to remove them from the group.
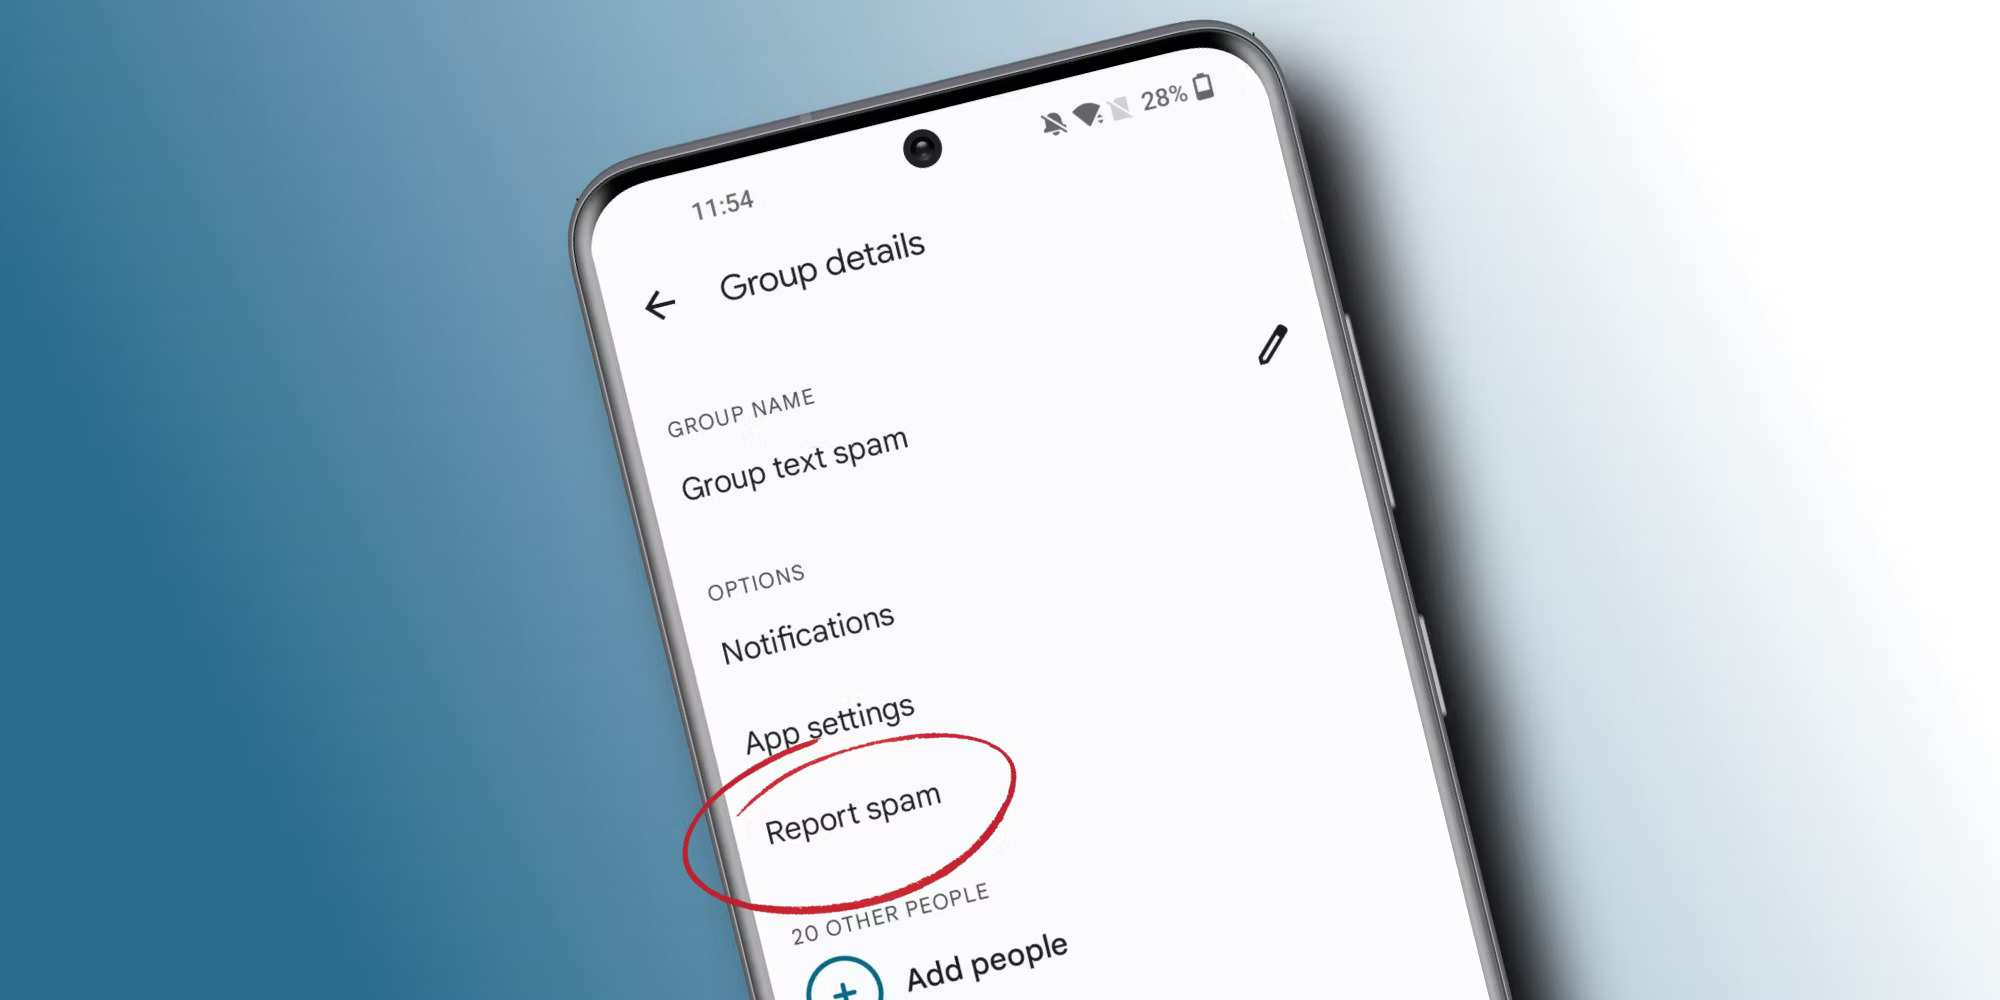
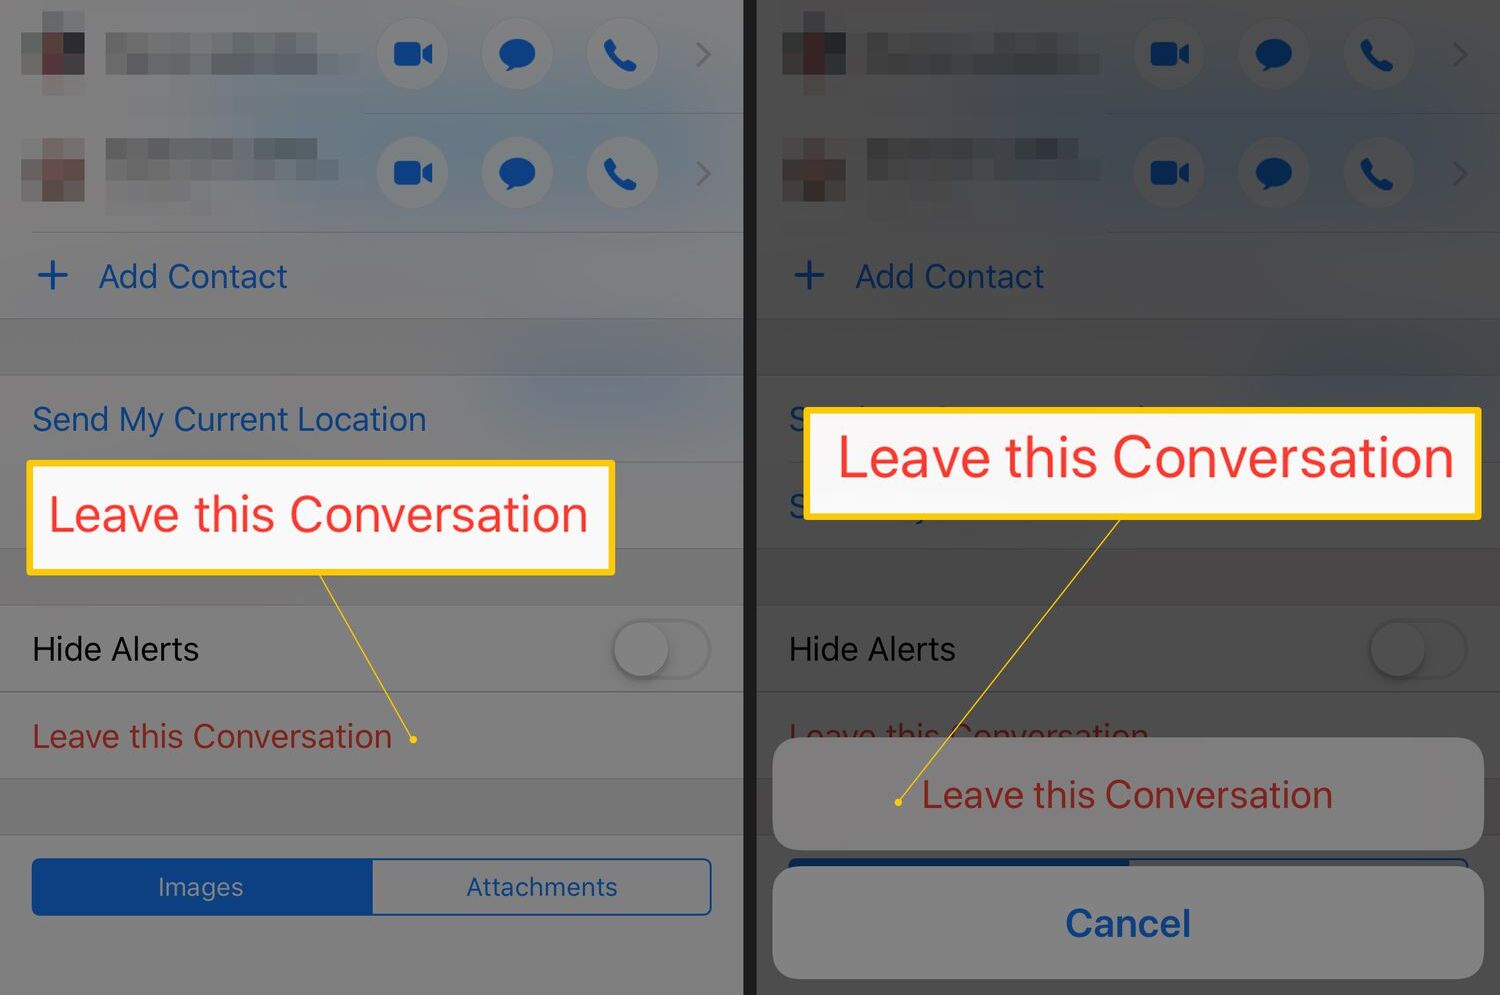
- Archiving or deleting the conversation (optional): If you no longer need the group text conversation, you can choose to archive or delete it. Archiving the conversation will remove it from your main messaging screen but keep it accessible in the archived section. Deleting the conversation will remove it permanently. The options to archive or delete the conversation can typically be found in the group’s settings or details.
By utilizing these management features, you can efficiently handle and organize your group text conversations on Android.
Congratulations! You have successfully learned how to set up and manage group text conversations on your Android device. With this knowledge, you can now stay connected with multiple people, share information, and engage in group discussions effortlessly.
Whether you’re planning an event, coordinating with colleagues, or simply keeping in touch with friends and family, group texting on Android provides a convenient way to communicate and stay connected.
Now, grab your Android device, open your Messaging app, and start setting up your first group text!
Conclusion
Group texting on Android is a powerful tool that allows you to communicate with multiple people simultaneously, saving you time and effort. Whether you’re arranging an event, sharing important updates, or simply catching up with a group of friends, the ability to set up and manage group text conversations is invaluable.
In this article, we covered the step-by-step process of setting up group text on Android. From finding and opening your Messaging app to selecting multiple contacts, entering your message, and sending your group text, we provided clear instructions to help you navigate the process with ease.
Additionally, we explored how to effectively manage your group text conversations on Android, including replying to the group, muting notifications, renaming the group, and adding or removing participants. These management features ensure that you can stay organized and in control of your group text conversations.
Now that you have learned how to set up and manage group text on Android, it’s time to put this knowledge into practice. Enhance your communication, stay connected, and make your group conversations more efficient with the power of group texting on Android.
Remember, the specific steps and options may vary slightly depending on your Android device and the messaging app you’re using. However, the overall process remains similar across most Android devices, allowing you to adapt these instructions for your specific device.
So, grab your Android device, open your Messaging app, and start setting up your first group text. Whether it’s for work, family, or friends, group texting on Android will enable you to stay connected and communicate effectively.
Happy group texting!