Introduction
Having a mechanical keyboard can greatly enhance your typing and gaming experience. With their durable build and satisfying tactile feedback, these keyboards are a favorite among enthusiasts. However, like any other gadget, they require regular cleaning to maintain their performance and longevity.
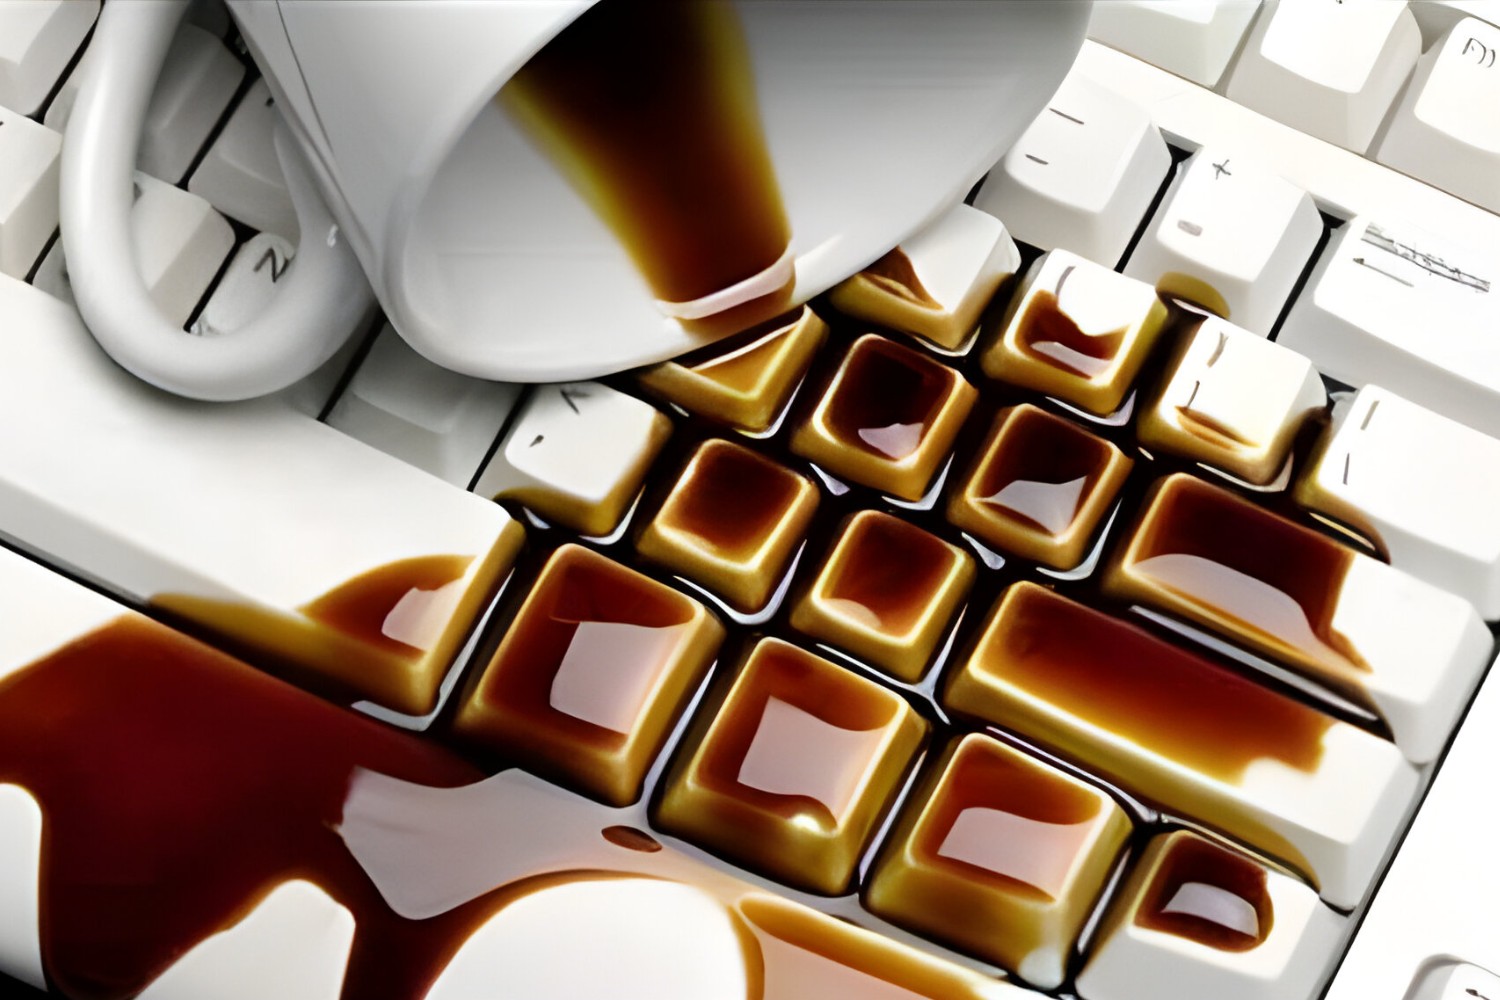
In this article, we will guide you through the process of cleaning a mechanical keyboard step by step. Whether you spilled coffee on it, accumulated dust and crumbs, or just want to keep it in top shape, this guide will help you restore your keyboard to its former glory.
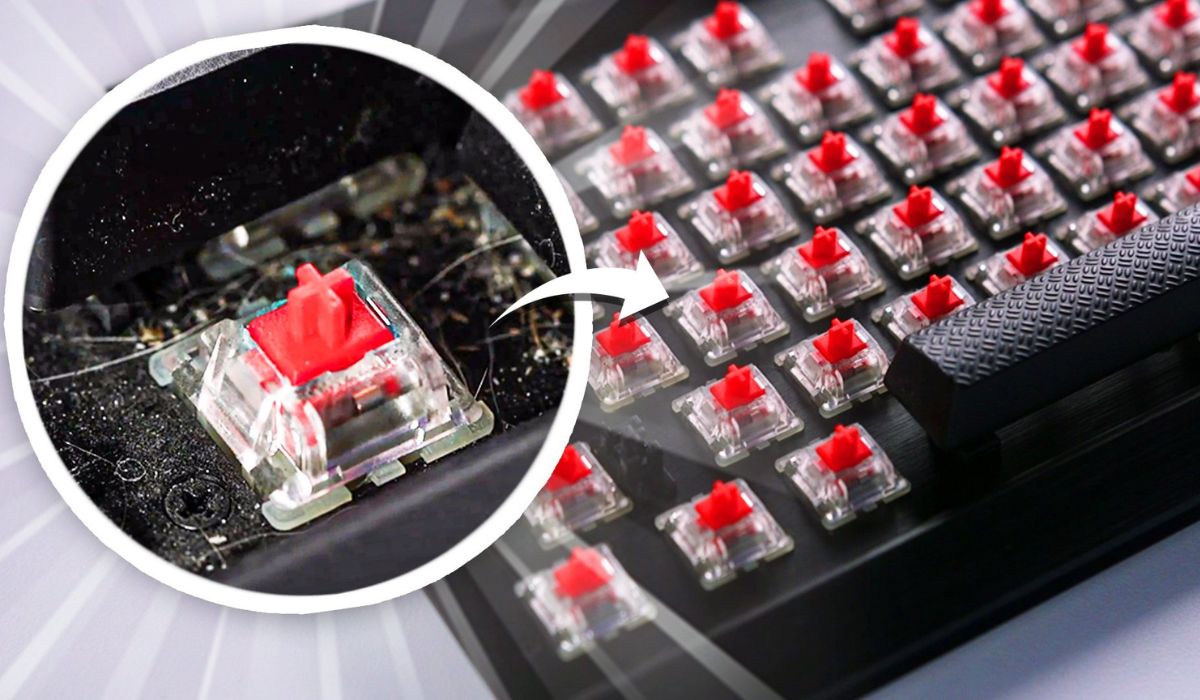
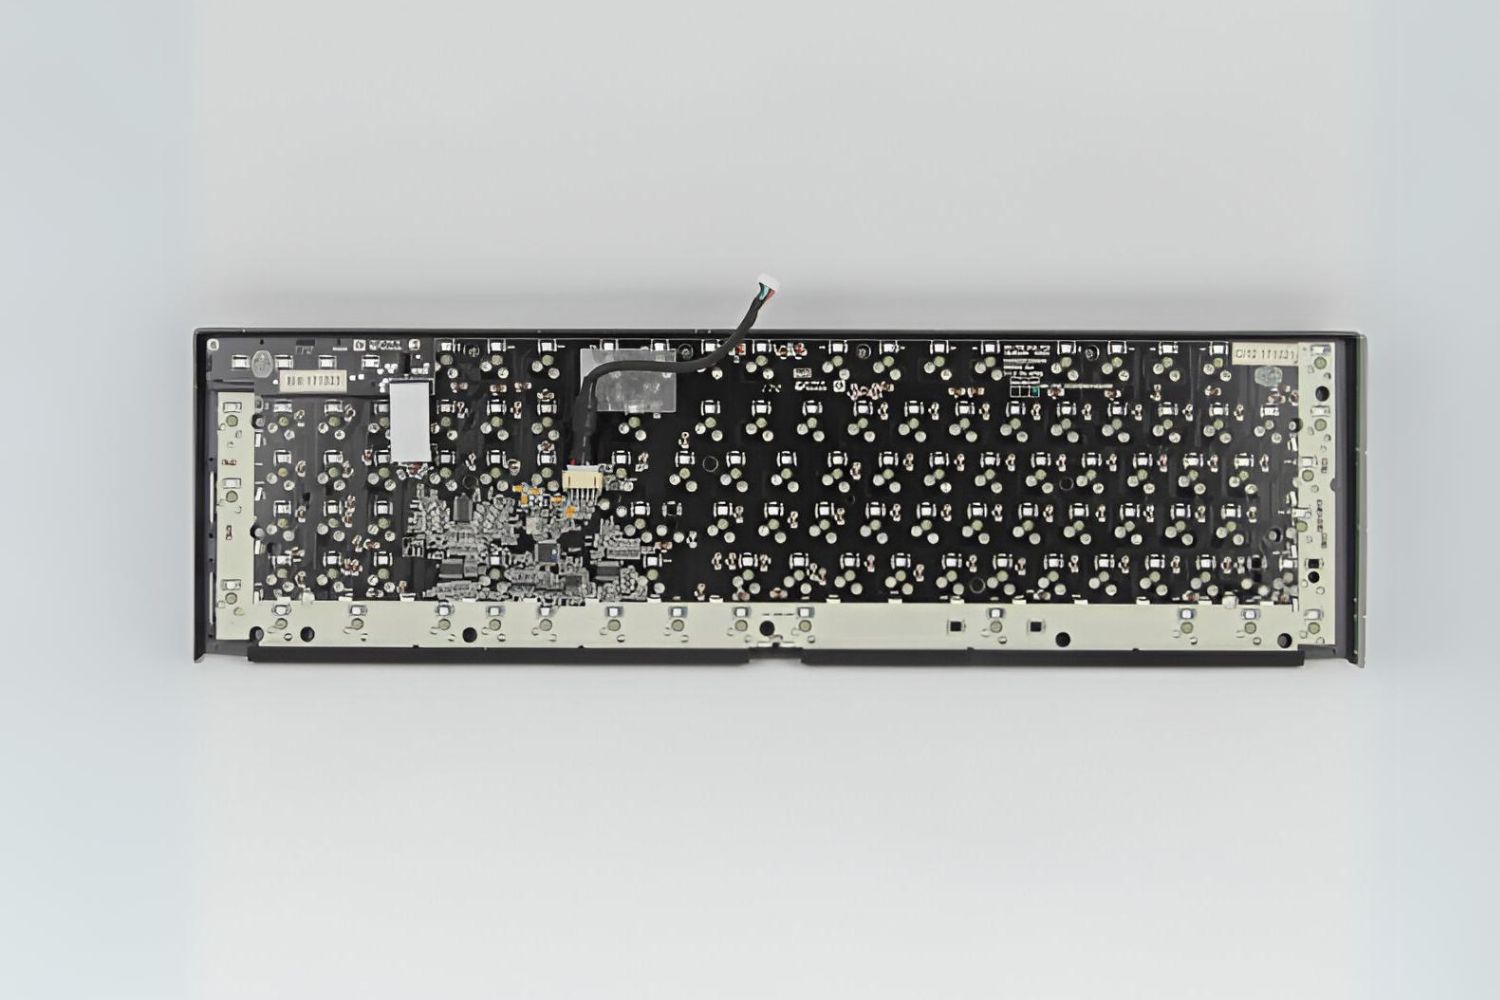
Before we dive into the cleaning process, it’s important to understand the basics of how mechanical keyboards work. Unlike traditional membrane keyboards, which use rubber domes to register key presses, mechanical keyboards use individual mechanical switches under each key. These switches consist of a housing, a spring, and a stem that actuates the key when pressed.
Now that we have a brief understanding of the keyboard’s anatomy, let’s gather the necessary materials to get started with the cleaning process. Remember, it’s always a good idea to unplug your keyboard before cleaning to avoid any accidental electrical damage.
Understanding the Basics
Before delving into the cleaning process, it’s important to have a basic understanding of how a mechanical keyboard works. Unlike traditional membrane keyboards, which have a single membrane layer to register key presses, mechanical keyboards employ individual mechanical switches under each key. These switches are responsible for the distinct feel and sound that mechanical keyboards are known for.
Each mechanical switch consists of several components, including a housing, a spring, and a stem. When a key is pressed, the stem makes contact with two metal contacts within the switch, completing an electrical circuit and registering the keystroke. The mechanical nature of these switches provides a more responsive and accurate typing experience.
There are several types of mechanical switches available, each offering different characteristics in terms of actuation force, tactile feedback, and noise level. Some of the most popular switch types include:
- Cherry MX Red: These switches are linear and lightweight, making them ideal for fast typing and gaming.
- Cherry MX Brown: These switches offer a tactile bump for feedback without the audible click, striking a balance between typing and gaming.
- Cherry MX Blue: Known for their audible click and tactile bump, these switches are favored by typists.
- Cherry MX Black: These linear switches require more force to actuate and are less common in modern keyboards, primarily preferred for heavy typists.
It’s worth noting that while Cherry is a leading manufacturer of mechanical switches, there are also other brands, such as Gateron, Kailh, and Razer, offering their own unique variations of switches.
Understanding the basics of mechanical keyboards and their different switch types will not only help you appreciate the intricacies of your keyboard but also guide you in making informed choices when purchasing or customizing a mechanical keyboard.
Gathering the Necessary Materials
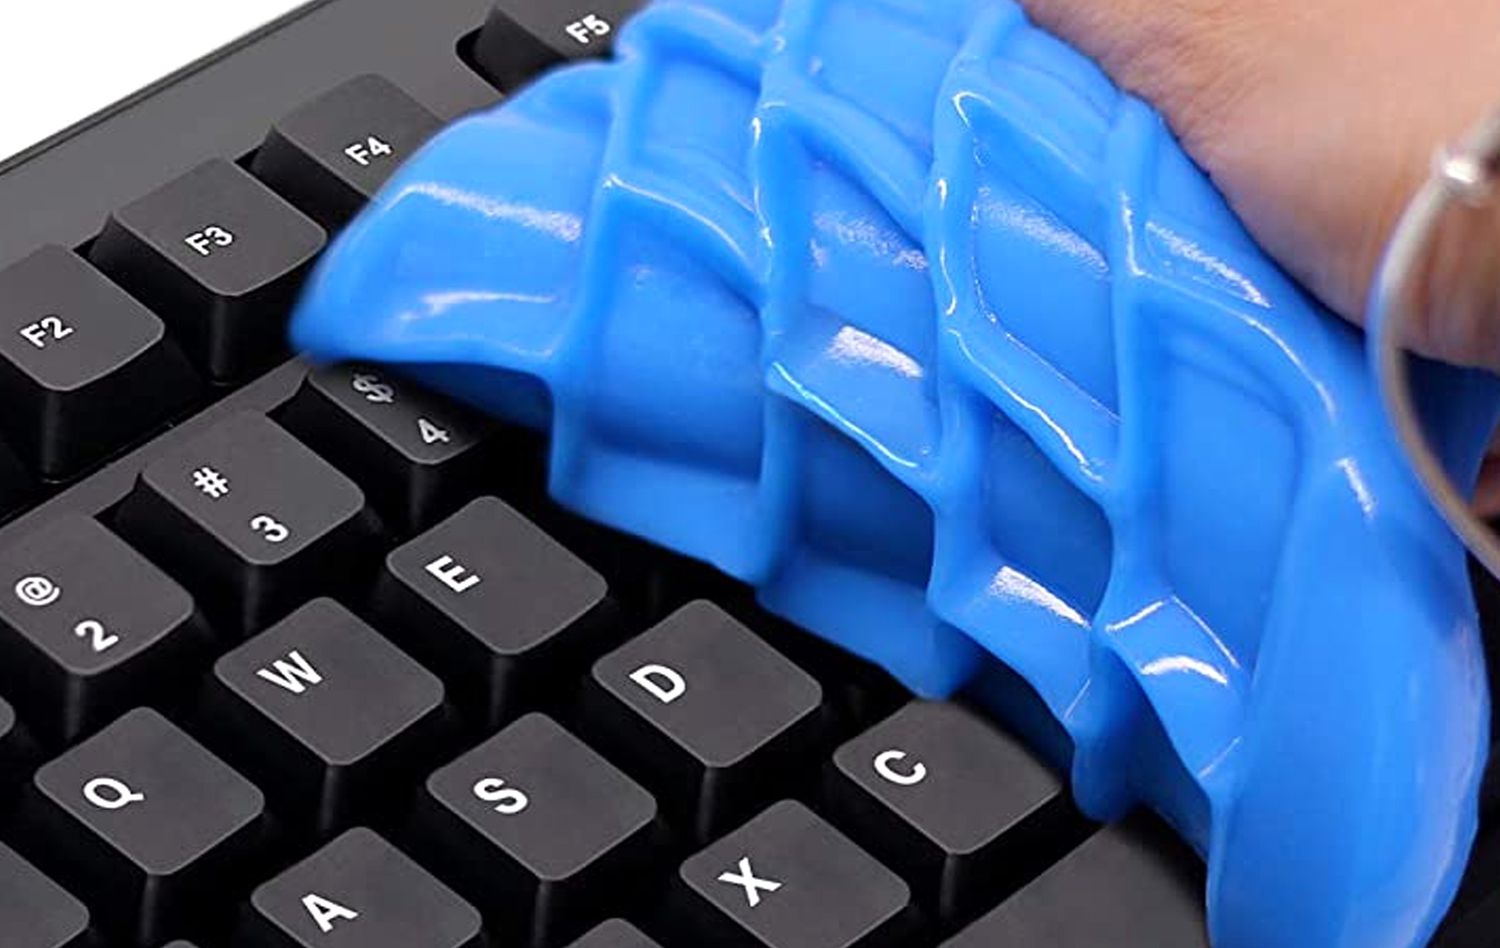
Before you begin cleaning your mechanical keyboard, it’s important to gather all the necessary materials. Having the right tools on hand will make the process smoother and more efficient. Here are the essential items you’ll need:
- Isopropyl alcohol or keyboard cleaner: This is a key component for removing grime, grease, and dirt from your keycaps and keyboard base. It’s recommended to use isopropyl alcohol with a concentration of at least 70% to ensure effective cleaning.
- Cotton swabs or a soft-bristle brush: These will help you reach the nooks and crannies of your keyboard and remove dirt and debris from hard-to-reach areas.
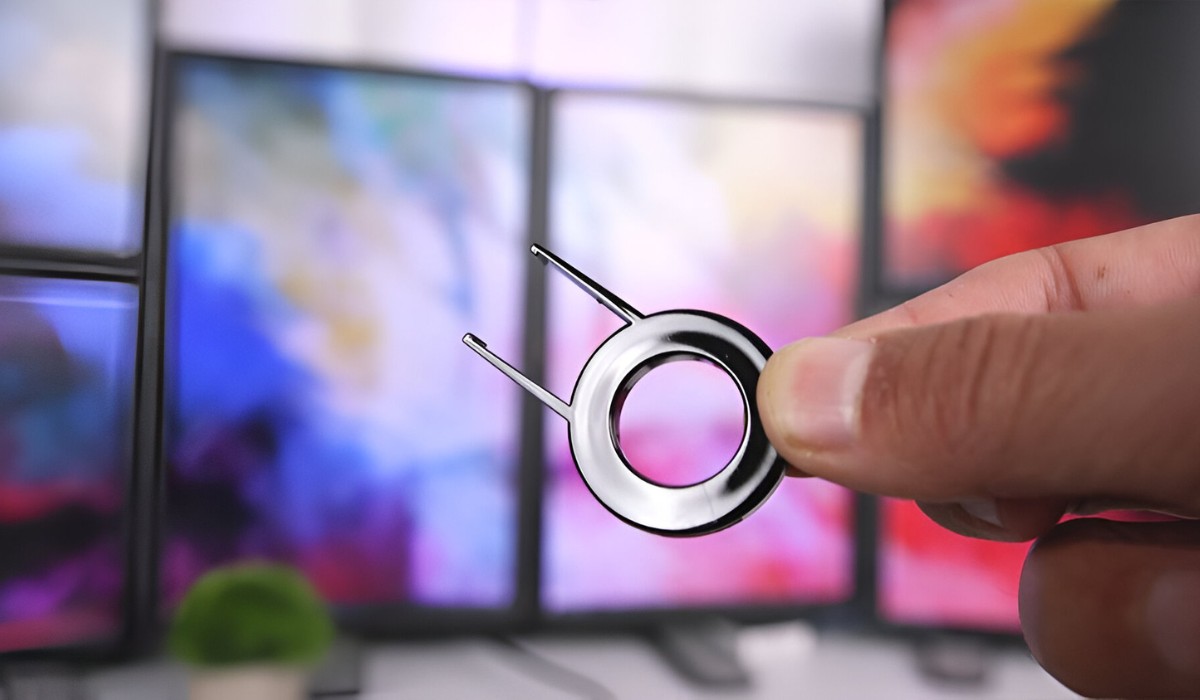
- Keycap puller or a wire keycap remover: These tools are used to safely remove the keycaps without causing damage to the switches or keycap stems. Keycap pullers come in different forms, including wire, plastic, or suction cup varieties.
- Microfiber cloth or lint-free cloth: This will be used to wipe down the keycaps and keyboard base after cleaning, ensuring a streak-free finish.
- Bowl or container: You’ll need a container to soak the keycaps in cleaning solution, making it easier to remove any dirt or grime.
It’s important to note that while water can be used to clean certain keyboard components, it should never come into contact with the switches or electronic components. Always exercise caution and avoid exposing your keyboard to excessive moisture.
Once you have all these materials ready, you’re now prepared to begin the cleaning process. In the following sections, we’ll guide you step by step on how to properly clean your mechanical keyboard for optimal performance and longevity.
Preparing the Keyboard for Cleaning
Before you start cleaning your mechanical keyboard, it’s important to properly prepare it to ensure a safe and effective cleaning process. Follow these steps to prepare your keyboard:
- Power off and disconnect: Ensure that your keyboard is powered off and disconnected from your computer or any power source. This will minimize the risk of any electrical damage or short circuits during the cleaning process.
- Find a clean and spacious work area: Choose a well-lit and clutter-free area where you can comfortably work on your keyboard. Having enough space will make it easier to manage the components while cleaning.
- Place a towel or mat: To protect your work surface, place a towel or mat underneath your keyboard. This will prevent any accidental scratches or damage to the keyboard or your work area.
- Take a photo or make a layout diagram: If you’re concerned about properly reassembling your keyboard after cleaning, take a photo or create a diagram of the keycap layout. This will serve as a reference when putting the keycaps back in their original positions.
Once you’ve completed these preparations, you’re ready to move on to the next step: removing the keycaps. Properly preparing your keyboard ensures that you can clean it thoroughly without causing any harm to the electronic components or the keyboard itself.
Removing Keycaps
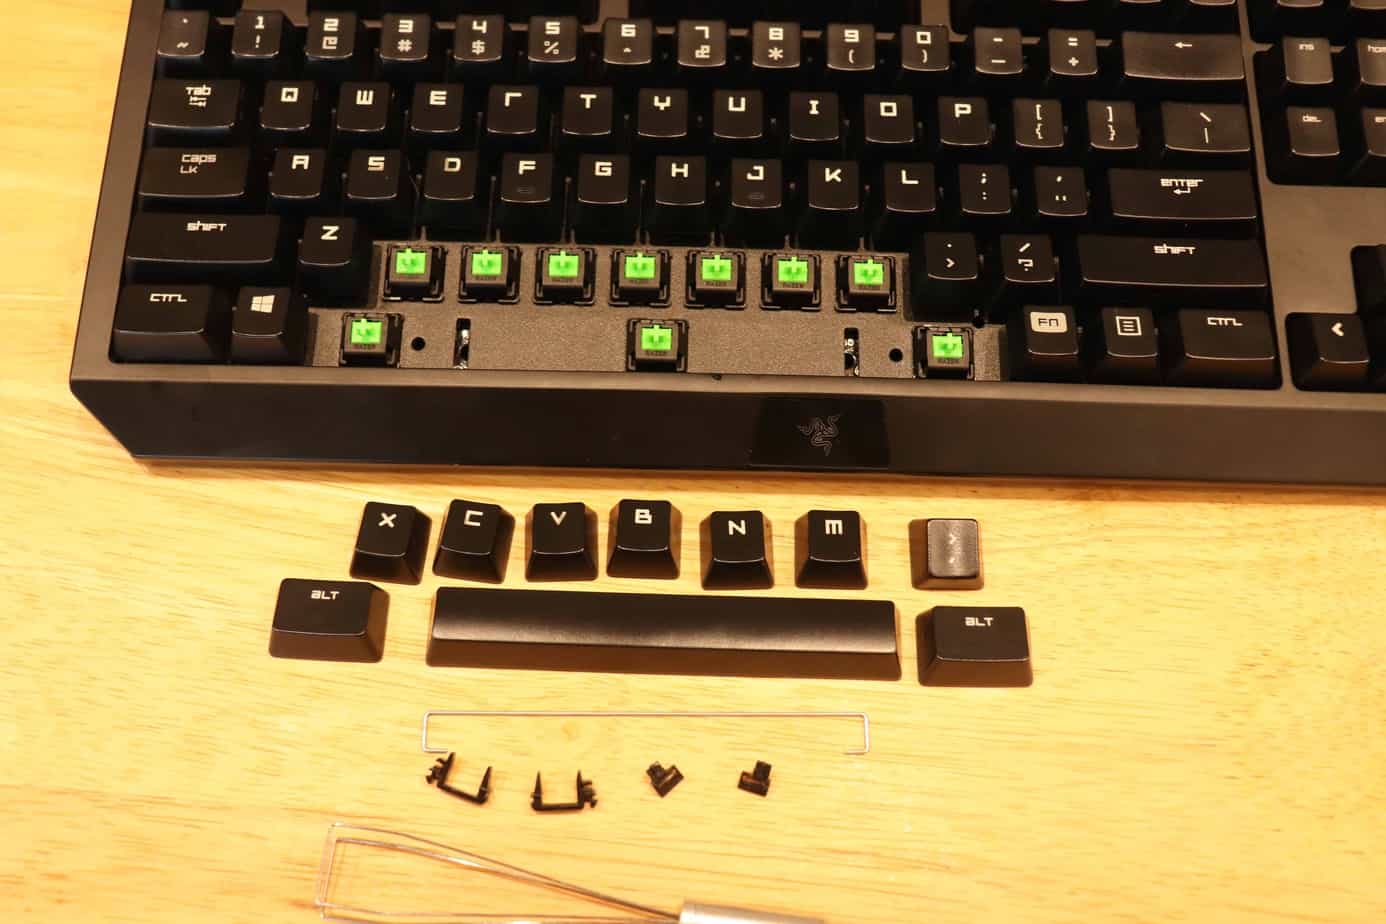
The next step in cleaning your mechanical keyboard is removing the keycaps. This allows you to access the underlying switches and thoroughly clean the keyboard base. Follow these steps to safely remove the keycaps:
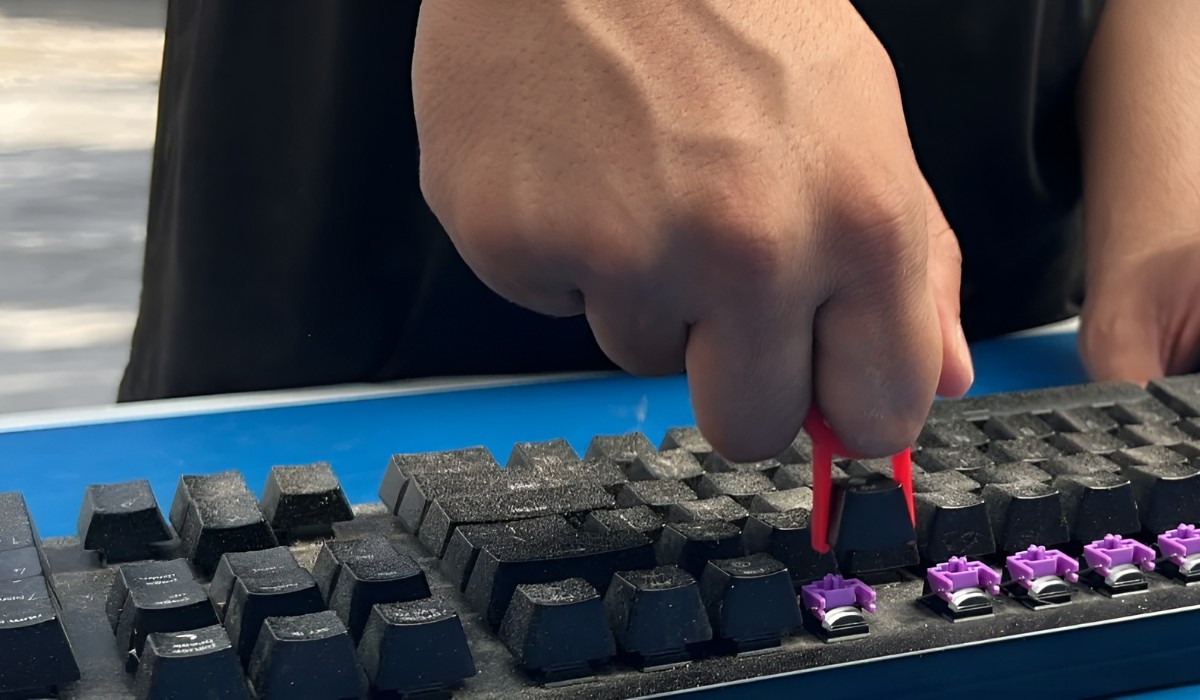
- Start from the corners: Begin by gently prying off the keycaps from the corners of the keyboard. Use your keycap puller or wire keycap remover to apply even pressure and lift the keycaps without damaging them or the switches. Work your way around the keyboard, removing each keycap methodically.
- Be patient and gentle: Take your time and be careful when removing the keycaps to prevent any accidental damage. Some keycaps may require slightly more force to remove, but avoid excessive force that could lead to breakage. If a keycap feels stubborn or stuck, gently wiggle it while applying upward pressure to loosen it.
- Keep the keycaps organized: As you remove the keycaps, place them in a container or on a clean surface in an organized manner. This will make it easier to clean and reassemble the keycaps later on. If you want to clean specific keycaps more thoroughly, you can separate them into groups.
Once all the keycaps have been removed, you’ll have a clear view of the keyboard base and switches. Take a moment to appreciate the intricacy and design of your mechanical switches before proceeding to clean them in the next step.
Now that the keycaps are safely removed and organized, you can proceed to the next section, where we will guide you through the process of cleaning the keycaps themselves.
Cleaning the Keycaps
Now that you have removed the keycaps from your mechanical keyboard, it’s time to give them a thorough cleaning. Keycaps tend to accumulate dirt, oils, and grime over time, so it’s essential to clean them regularly to maintain their appearance and functionality. Follow these steps to clean your keycaps:
- Prepare a cleaning solution: Fill a bowl or container with warm water and add a small amount of mild dish soap. Mix the solution gently until it creates a soapy mixture.
- Soak the keycaps: Place the keycaps into the container, submerging them in the soapy water. Allow them to soak for about 15-20 minutes. This soak helps break down dirt and grime from the keycaps.
- Scrub the keycaps: After the soaking period, use a soft-bristle brush or a toothbrush to gently scrub the keycaps. Pay special attention to any visible stains or debris. Ensure that all sides and crevices of the keycaps are thoroughly cleaned.
- Rinse the keycaps: Rinse the keycaps under running water to remove any remaining soap residue. Make sure to rinse them thoroughly to prevent any soapy residue from affecting the keyboard’s performance.
- Dry the keycaps: Pat the keycaps dry with a clean, lint-free cloth. Place them on a towel or drying rack and allow them to air dry completely. Avoid using heat sources like hairdryers, as excessive heat can cause damage to the keycaps.
Once the keycaps are completely dry, you can inspect them to ensure they are clean and free from any residue. If necessary, you can repeat the cleaning process for stubborn stains. Cleaning the keycaps not only improves their appearance but also helps maintain the overall cleanliness and hygiene of your mechanical keyboard.
With the keycaps now clean and dry, we can move on to the next step of cleaning the keyboard base and switches, which are crucial for the proper functioning of your mechanical keyboard.
Cleaning the Keyboard Base
After cleaning the keycaps, it’s time to focus on the keyboard base itself. Over time, the base can accumulate dust, crumbs, and other debris that can affect the keyboard’s performance. Follow these steps to clean the keyboard base effectively:
- Prepare a cleaning solution: Mix a small amount of isopropyl alcohol or specialized keyboard cleaner with water in a 1:1 ratio. This mixture will help remove stubborn grime and sanitize the keyboard base.
- Dampen a cloth or cotton swab: Dip a clean, lint-free cloth or a cotton swab into the cleaning solution. Ensure that it’s damp, not dripping wet, to prevent any excess moisture from entering the keyboard’s internals.
- Gently wipe the keyboard base: Carefully wipe the surfaces of the keyboard base, including the area around the switches and the spacebar. Use gentle, circular motions to dislodge any dirt or grime. Pay extra attention to areas that are heavily used and prone to accumulating debris.
- Use a soft-bristle brush: For harder-to-reach areas, such as between the keys and around the switches, use a soft-bristle brush. Gently brush away any stubborn debris or dust, making sure not to apply excessive pressure that could damage the switches.
- Dry the keyboard base: Once you’ve finished cleaning, use a dry, lint-free cloth to wipe down the keyboard base and remove any excess moisture. Ensure that it’s completely dry before reassembling the keyboard.
It’s essential to exercise caution during the cleaning process, making sure not to use excessive liquid or force that could damage the keyboard’s electronic components. By regularly cleaning the keyboard base, you can maintain its aesthetics, performance, and longevity.
Now that the keyboard base is clean and dry, we can move on to the next step: cleaning the switches, which are the heart of your mechanical keyboard.
Cleaning the Switches
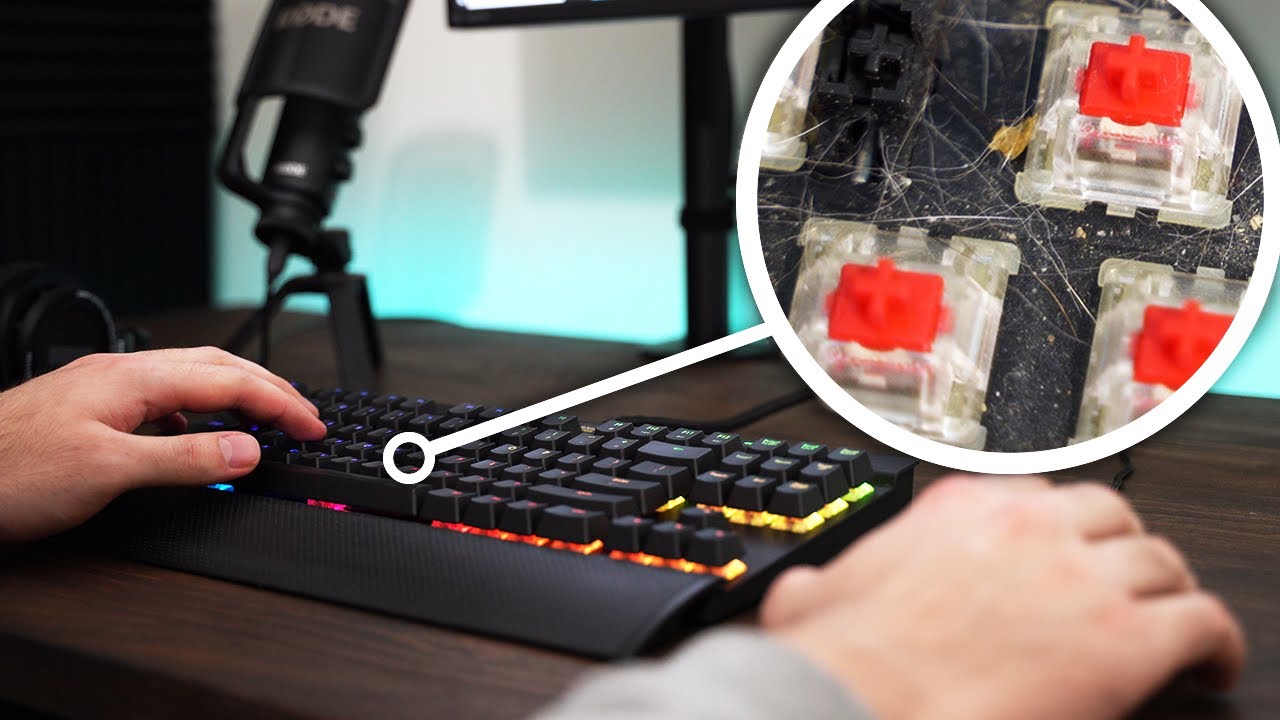
Cleaning the switches of your mechanical keyboard is an important step in maintaining its performance and responsiveness. Over time, dust and debris can accumulate inside the switches, affecting their tactile feedback and overall functionality. Follow these steps to clean the switches effectively:
- Power off and unplug: Before cleaning the switches, ensure that your keyboard is powered off and disconnected from any power source. This will prevent any electrical mishaps or damage during the cleaning process.
- Use compressed air: To remove dust and debris from the switches, you can use a can of compressed air. Hold the can upright and use short bursts of air to blow out any particles from the switches. Be sure to keep a distance of a few inches to avoid any liquid residue that may be present in the canister.
- Brush with a soft-bristle brush: For more stubborn debris, you can gently brush the switches with a soft-bristle brush. Use light strokes to dislodge any dirt or debris that may be trapped within the switches. Be careful not to apply excessive pressure or damage the delicate components.
- Consider using a switch opener tool: If you want to deep-clean your switches, you may consider investing in a switch opener tool. This tool allows you to remove the top housing of the switch, giving you access to the internal components for thorough cleaning. However, be aware that this process requires advanced knowledge and should be done with caution.
It’s important to note that while cleaning the switches can help eliminate dust and debris, it may not resolve certain issues like sticky keys or unresponsive switches. In such cases, professional servicing or switch replacement may be necessary.
Once you’ve cleaned the switches to the best of your ability, it’s time to reassemble your keyboard and enjoy its refreshed look and improved performance.
Reassembling the Keyboard
After thoroughly cleaning the keycaps, keyboard base, and switches, it’s time to reassemble your mechanical keyboard. Follow these steps to ensure a seamless and proper reassembly:
- Refer to your layout diagram: If you took a photo or made a layout diagram before removing the keycaps, use it as a reference to ensure that you place each keycap back in its correct position. This will help you maintain the original layout and functionality of your keyboard.
- Start with the larger keycaps: Begin by placing the larger keycaps, such as the spacebar and shift keys, back onto the keyboard base. Gently press them down until they click into place.
- Continue with the remaining keycaps: Proceed to place the remaining keycaps back onto the keyboard base, ensuring that they align correctly with their corresponding switches. Apply even pressure to each keycap, pressing down until they snap back into position.
- Check for loose or misaligned keycaps: Once all the keycaps are reattached, double-check the keyboard to ensure that none of the keycaps are loose or misaligned. If you notice any issues, lightly press down on the affected keycap to secure it in place.
With the keycaps securely reassembled, take a moment to appreciate the fresh and clean look of your mechanical keyboard. The cleaning process not only enhances the performance but also restores the aesthetic appeal of your beloved keyboard.
Now that your keyboard is reassembled, you’re ready to plug it back into your computer and resume typing or gaming with renewed satisfaction. Remember to periodically clean your keyboard to maintain its optimal performance and longevity.
Tips and Tricks
Cleaning your mechanical keyboard is a straightforward process, but here are some additional tips and tricks to help you get the most out of your cleaning routine:
- Regular maintenance: It’s recommended to clean your mechanical keyboard every few months or as needed to prevent a buildup of dirt and debris.
- Protective keyboard covers: Consider using a keyboard cover when the keyboard is not in use to minimize dust and spills.
- Custom keycap cleaning: If you have custom keycaps made of materials like wood or resin, follow the manufacturer’s instructions for cleaning to avoid any damage.
- Switch lubrication: If your switches feel scratchy or stiff, you can apply a small amount of switch lubricant to improve the smoothness of the keystrokes. Research and use lubricants specifically designed for mechanical switches.
- Avoid aggressive cleaning agents: Stick to mild cleaning solutions and avoid using harsh chemicals or abrasive materials that can damage the keycaps, keyboard base, or switch housing.
- Stay organized: Keep track of small components like keycap pullers and switch opener tools by storing them in a dedicated compartment or small bag.
- Consider investing in a keyboard cleaning kit: Keyboard cleaning kits often include brushes, cleaning solutions, and other tools designed specifically for mechanical keyboards, making the cleaning process even easier.
- Read manufacturer guidelines: Refer to the keyboard manufacturer’s guidelines or user manual for any specific cleaning instructions or recommendations. Different keyboards may have unique cleaning requirements.
By following these tips and tricks, you can ensure that your mechanical keyboard stays clean, functional, and visually appealing for years to come.
Conclusion
Cleaning your mechanical keyboard is an essential maintenance task that helps improve its performance, longevity, and overall aesthetics. By following the steps outlined in this guide, you can effectively clean each component of your keyboard and ensure a satisfying typing or gaming experience.
Starting with understanding the basics of mechanical keyboards and their switches, you can appreciate the intricate design and functionality behind these devices. Gathering the necessary materials and properly preparing your keyboard sets the stage for a successful cleaning process.
Removing the keycaps allows you to access the keyboard base and switches, which can accumulate dirt and debris over time. By cleaning the keycaps and the keyboard base with the appropriate tools and cleaning solutions, you can restore their cleanliness and functionality.
Additionally, taking care of the switches themselves by using compressed air and a soft-bristle brush helps maintain their responsiveness and tactile feedback. Finally, reassembling the keyboard with care ensures that the keycaps are placed correctly and securely onto the keyboard base.
Remember to adhere to the tips and tricks provided to keep your mechanical keyboard in optimal condition. Regular maintenance, judicious use of cleaning solutions, and appropriate lubrication, if necessary, will go a long way in preserving the performance and beauty of your keyboard.
With your clean and refreshed mechanical keyboard, it’s time to enjoy its smooth keystrokes, responsive switches, and enhanced typing or gaming experience once again. Happy typing and gaming!