Introduction
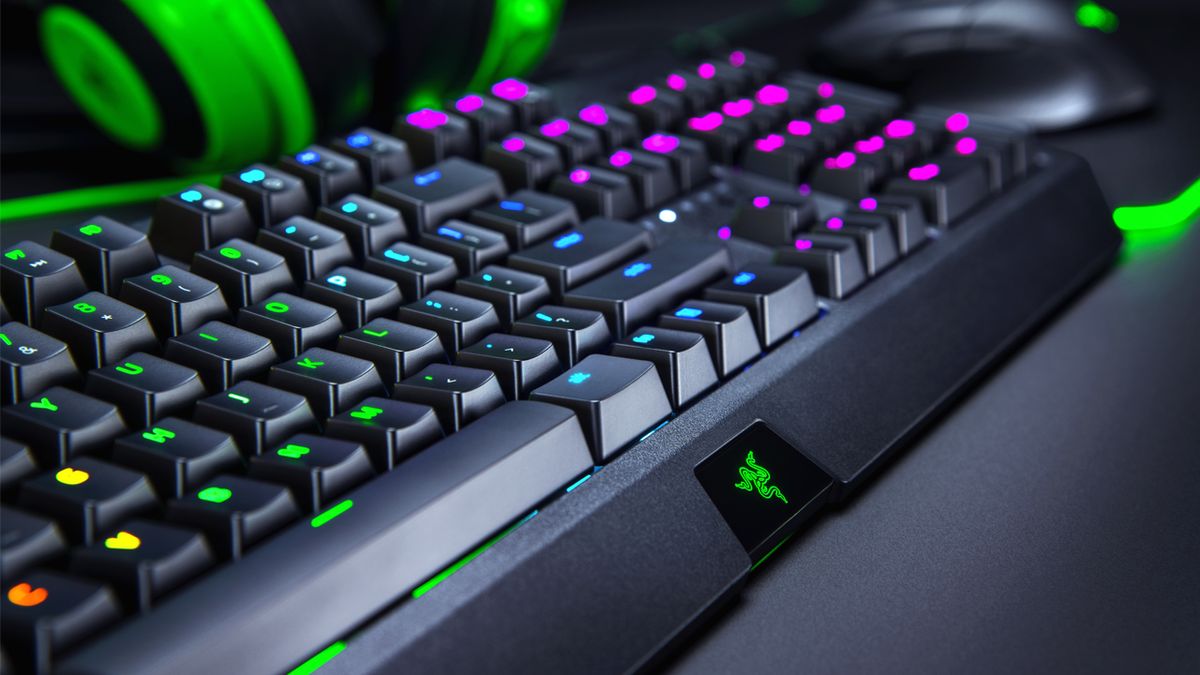
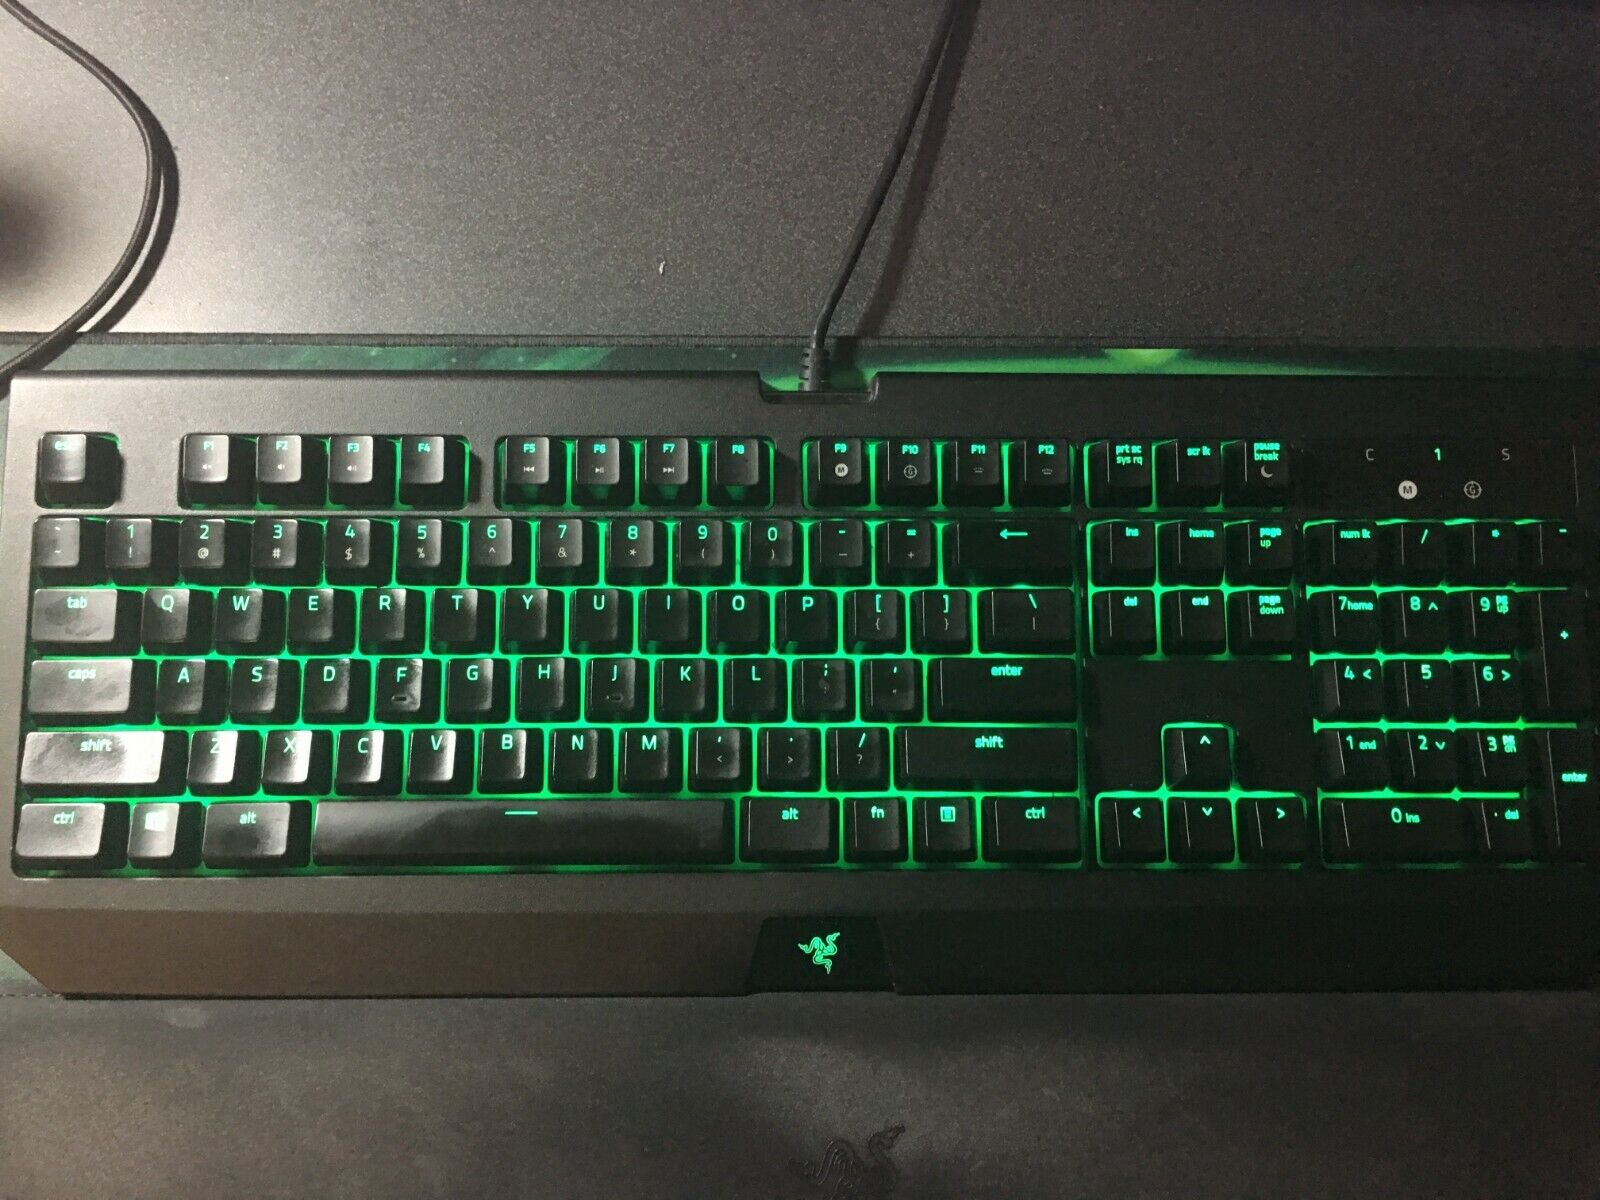
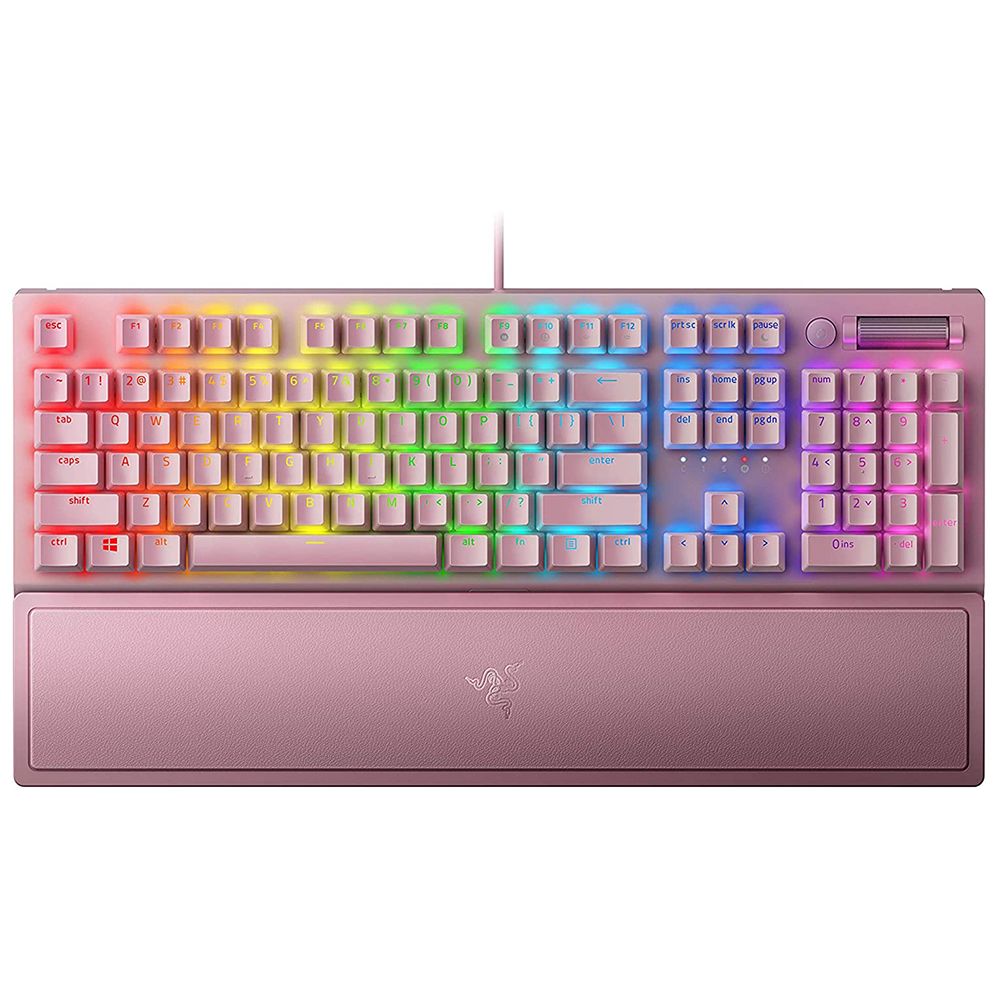
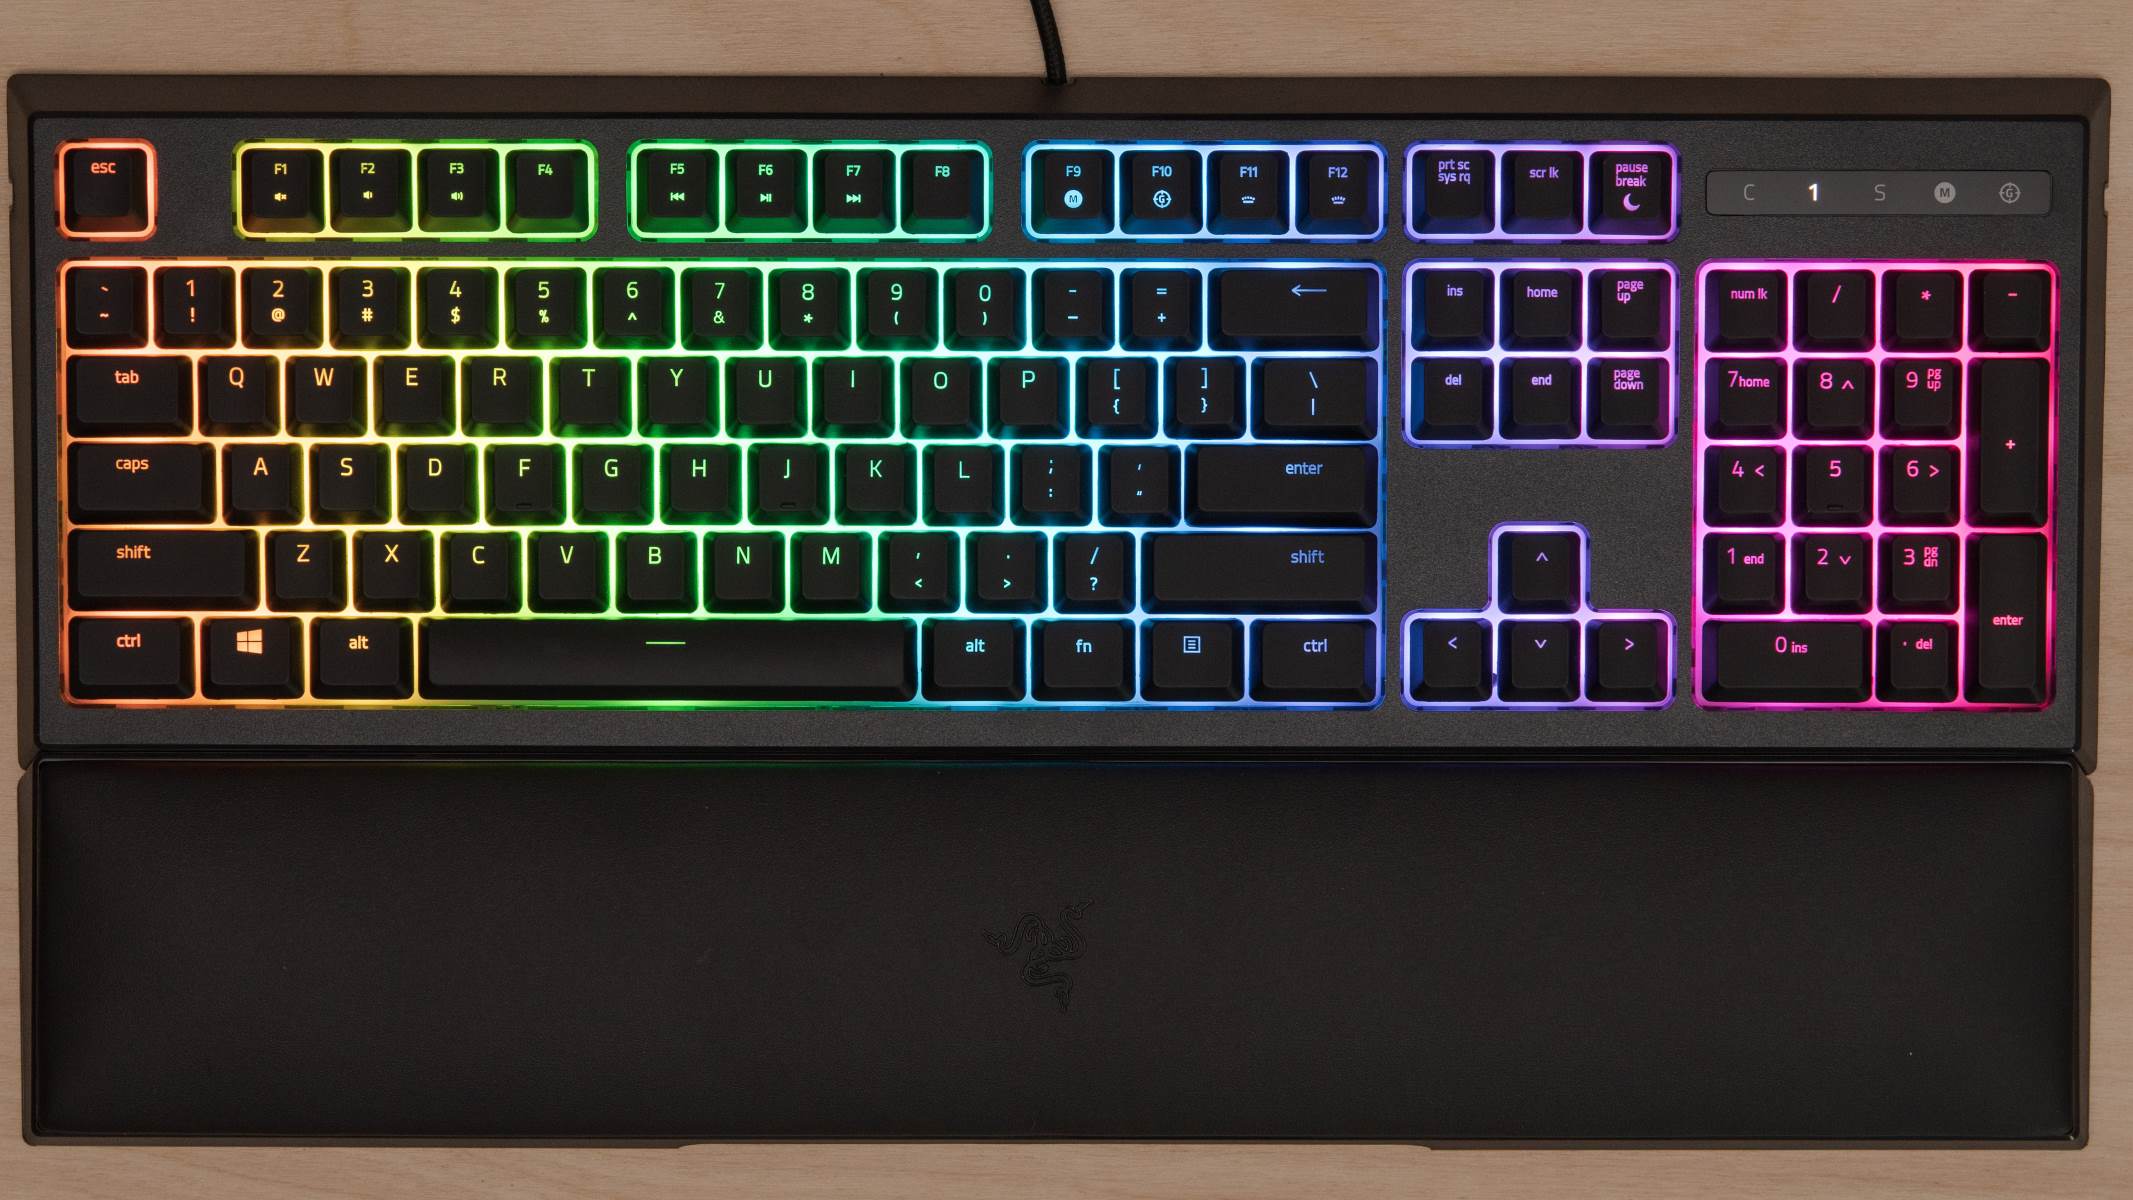
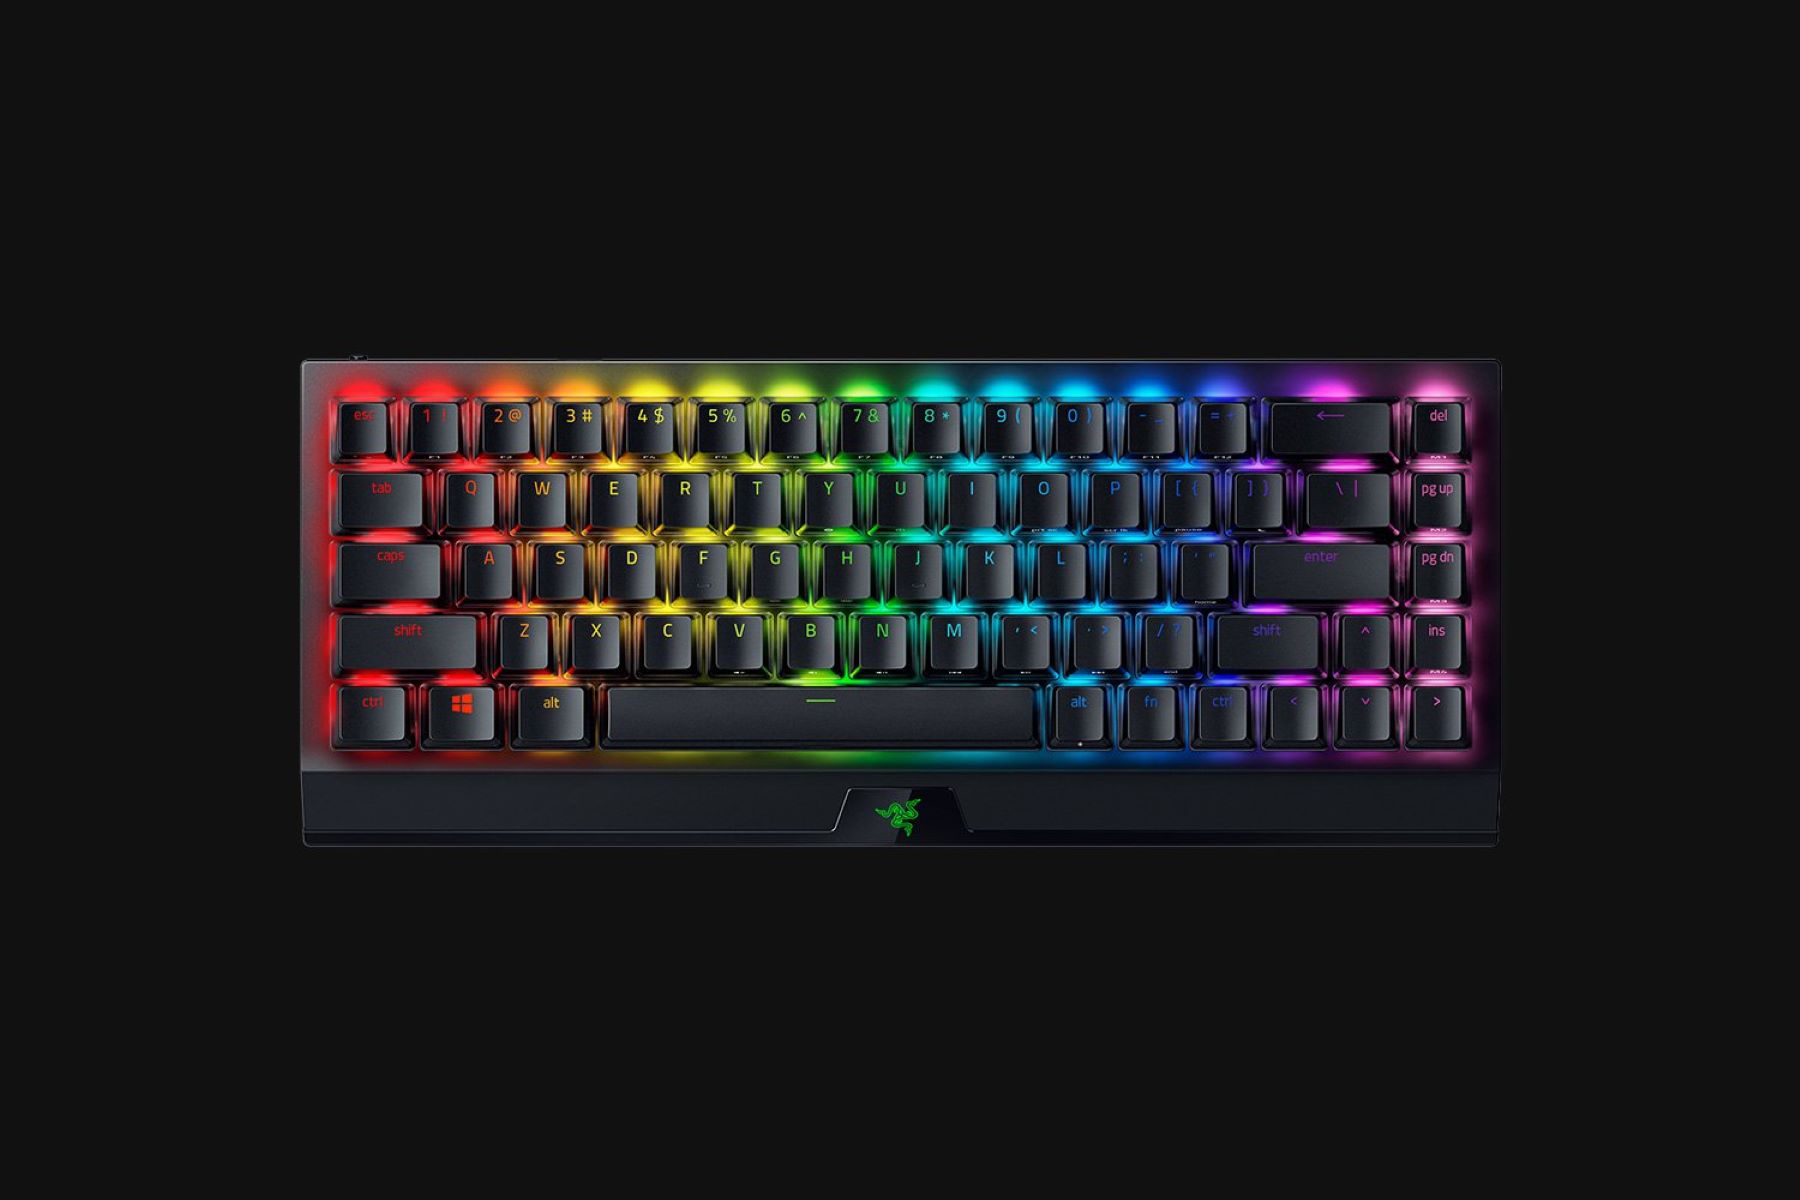
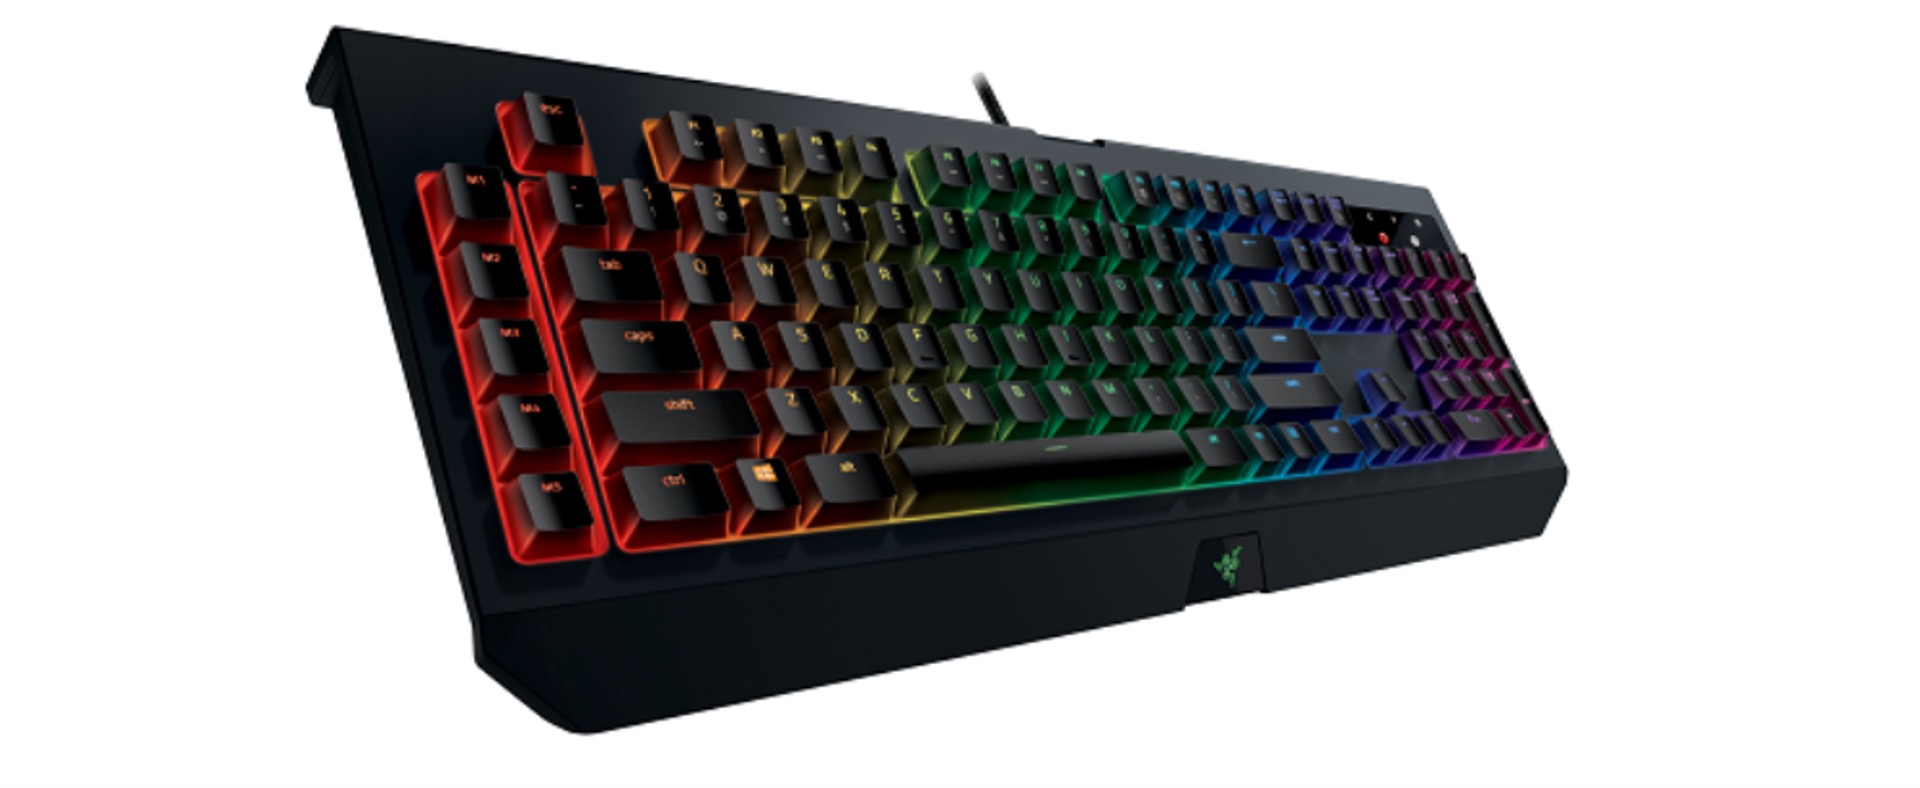
So, you've been dominating your favorite games on your Razer Blackwidow Chroma Clicky Mechanical Gaming Keyboard, but it's starting to look a bit worse for wear. Don't worry; it's time to show your keyboard some love and give it a good cleaning. A clean keyboard not only looks better but also functions better, ensuring that your keystrokes are as precise as your gaming skills. Whether it's dust, crumbs, or just general grime, this guide will walk you through the steps to get your Razer Blackwidow Chroma Clicky Mechanical Gaming Keyboard looking and feeling like new.
Cleaning your keyboard isn't just about aesthetics; it's also about hygiene. Keyboards can harbor bacteria and other germs, so giving it a thorough cleaning is essential for maintaining a healthy gaming environment. Plus, a clean keyboard can enhance your overall gaming experience, ensuring that every keystroke is as satisfying as your victories.
In this guide, we'll cover everything you need to know to clean your Razer Blackwidow Chroma Clicky Mechanical Gaming Keyboard thoroughly. From gathering the necessary materials to disassembling and cleaning each component, we've got you covered. By following these steps, you can ensure that your gaming keyboard remains in top-notch condition, ready to accompany you on countless gaming adventures. Let's dive in and give your keyboard the TLC it deserves.
Materials Needed
Before you embark on the journey of cleaning your Razer Blackwidow Chroma Clicky Mechanical Gaming Keyboard, it’s essential to gather the necessary materials. Having the right tools at your disposal will make the cleaning process more efficient and effective. Here’s what you’ll need:
- Isopropyl alcohol: This is a key ingredient for cleaning your keyboard, as it effectively removes grime, grease, and bacteria from the surface.
- Cotton swabs: These are perfect for reaching small crevices and corners, ensuring a thorough cleaning.
- Microfiber cloth: Ideal for wiping down the keyboard and removing any remaining residue.
- Keycap puller: Essential for safely removing the keycaps without causing damage to the keyboard.
- Bowl of warm, soapy water: Useful for cleaning the keycaps.
- Compressed air: Great for blowing away any loose debris and dust from the keyboard.
- Flat, clean surface: You’ll need a space to work on where you can lay out the keyboard and its components.
By ensuring that you have all these materials on hand, you’ll be well-equipped to tackle the task of cleaning your Razer Blackwidow Chroma Clicky Mechanical Gaming Keyboard. With these tools at your disposal, you can proceed with confidence, knowing that you have everything you need to restore your keyboard to its former glory.
Preparing the Keyboard
Before diving into the cleaning process, it’s important to prepare your Razer Blackwidow Chroma Clicky Mechanical Gaming Keyboard to ensure a smooth and effective cleaning experience. Follow these steps to get your keyboard ready for the cleaning process:
- Power Down and Disconnect: Start by powering down your computer and disconnecting the keyboard from the USB port. This step is crucial for safety and to prevent any electrical mishaps while cleaning.
- Find a Clean Workspace: Choose a well-lit and clean area to work on your keyboard. A spacious, flat surface will provide the ideal workspace for disassembling and cleaning the keyboard.
- Prepare Cleaning Materials: Gather all the materials you’ll need for the cleaning process, as outlined in the previous section. Having everything within reach will streamline the cleaning process and prevent any interruptions.
- Take Note of Keycap Placement: If you’re planning to remove the keycaps for a thorough cleaning, take note of their placement. You can take a quick photograph of the keyboard before removing the keycaps to ensure they are repositioned correctly during reassembly.
By following these preparatory steps, you’ll set the stage for a successful cleaning session. Taking the time to prepare the keyboard and your workspace will make the entire process more organized and efficient. With the keyboard safely disconnected and the necessary materials at hand, you’re ready to move on to the next steps of cleaning your Razer Blackwidow Chroma Clicky Mechanical Gaming Keyboard.
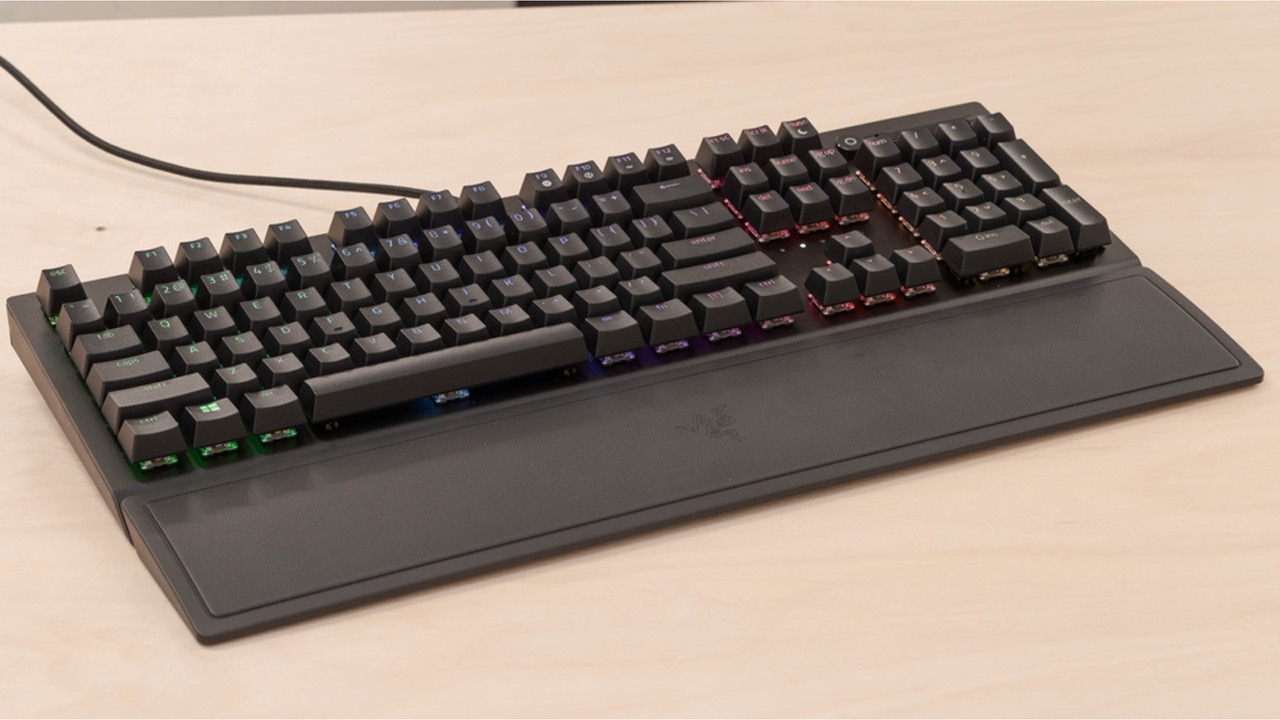
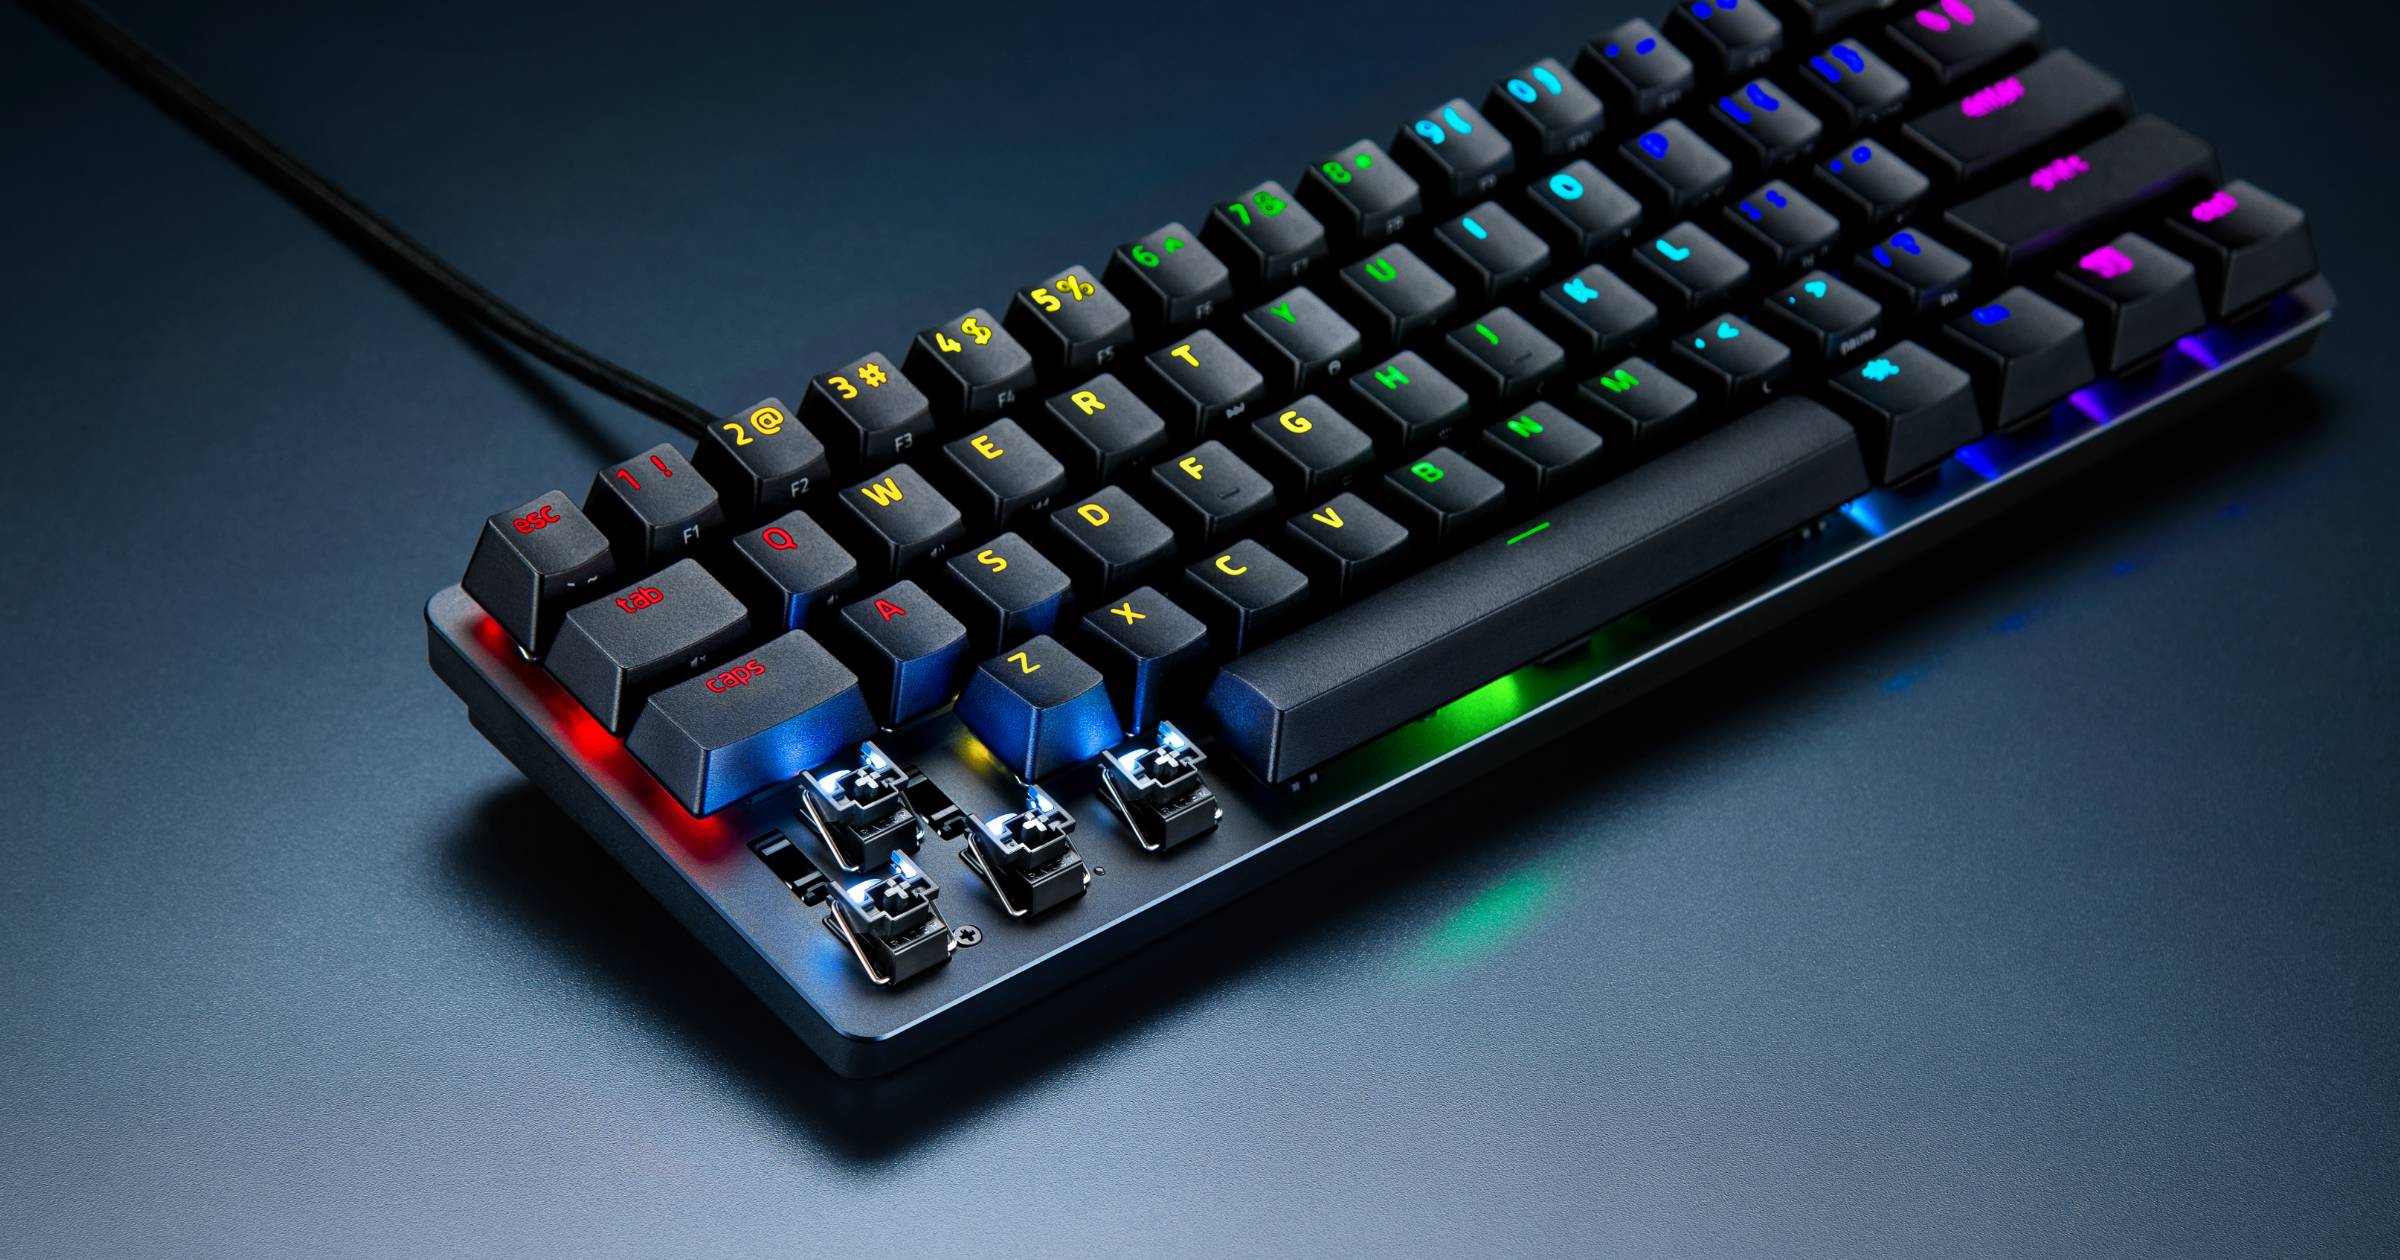
Removing Keycaps
Removing the keycaps from your Razer Blackwidow Chroma Clicky Mechanical Gaming Keyboard is a crucial step in achieving a thorough cleaning. It allows you to access the underlying surface and ensures that no area is left uncleaned. Here’s a step-by-step guide to safely remove the keycaps:
- Use the Keycap Puller: Begin by using a keycap puller, which is designed to safely remove keycaps without causing damage to the keyboard. Position the keycap puller around the base of a keycap, ensuring a firm and gentle grip.
- Apply Even Pressure: With the keycap puller in place, apply even pressure to pull the keycap upward. It’s important to exert gentle and consistent force to avoid any damage to the keycap or the keyboard’s switches.
- Remove Remaining Keycaps: Repeat the process for each keycap, carefully lifting and removing them from the keyboard. Take your time to ensure that each keycap is detached without any forceful tugging.
- Organize the Keycaps: As you remove the keycaps, consider organizing them in a pattern that corresponds to their original placement on the keyboard. This will simplify the reassembly process later on.
By following these steps, you can safely and effectively remove the keycaps from your Razer Blackwidow Chroma Clicky Mechanical Gaming Keyboard. This process sets the stage for a comprehensive cleaning of both the keycaps and the underlying keyboard surface. With the keycaps removed and organized, you’re ready to move on to the next phase of cleaning your gaming keyboard.
Cleaning the Keyboard Surface
With the keycaps safely removed, it’s time to focus on cleaning the surface of your Razer Blackwidow Chroma Clicky Mechanical Gaming Keyboard. This step is essential for removing accumulated dust, grime, and any other debris that may have found its way into the keyboard. Follow these steps to ensure a thorough cleaning of the keyboard surface:
- Use Compressed Air: Begin by using compressed air to blow away any loose debris and dust from the keyboard. Hold the can of compressed air at a slight distance from the keyboard to avoid causing any damage, and use short bursts to dislodge the particles.
- Wipe Down with Microfiber Cloth: Gently wipe down the keyboard surface with a microfiber cloth. This will help remove any remaining dust or smudges, leaving the surface clean and ready for further cleaning.
- Clean with Isopropyl Alcohol: Dampen a cotton swab with isopropyl alcohol and carefully clean the areas between the keys and along the edges of the keyboard. This will help remove any stubborn grime and disinfect the surface.
- Allow to Dry: After cleaning with isopropyl alcohol, allow the keyboard to air dry completely before proceeding to the next step. This ensures that no moisture is trapped beneath the keys.
By following these steps, you can effectively clean the surface of your Razer Blackwidow Chroma Clicky Mechanical Gaming Keyboard, ensuring that it is free from dust, grime, and other unwanted particles. A clean keyboard surface not only enhances the overall appearance of your gaming setup but also contributes to a hygienic and enjoyable gaming experience.
Cleaning Keycaps
Now that the keycaps have been removed, it’s time to focus on cleaning them thoroughly. Over time, keycaps can accumulate dirt, oil, and other residues from frequent use. By following these steps, you can restore your keycaps to their pristine condition:
- Prepare Soapy Water Solution: Fill a bowl with warm water and add a small amount of mild liquid soap. Mix the solution to create a gentle cleaning agent for the keycaps.
- Submerge the Keycaps: Place the keycaps in the soapy water solution, ensuring that they are fully submerged. Allow them to soak for a few minutes to loosen any grime or residue.
- Gently Scrub the Keycaps: Using a soft-bristled brush or a clean, dampened microfiber cloth, gently scrub each keycap to remove any dirt or stains. Pay special attention to any areas with visible grime or residue.
- Rinse and Dry: Thoroughly rinse the keycaps with clean water to remove any soapy residue. Once rinsed, place the keycaps on a clean towel and allow them to air dry completely before reassembly.
By following these steps, you can effectively clean the keycaps of your Razer Blackwidow Chroma Clicky Mechanical Gaming Keyboard, ensuring that they are free from dirt and grime. Clean keycaps not only enhance the visual appeal of your keyboard but also contribute to a more pleasant typing and gaming experience.
Reassembling the Keyboard
With the keycaps and keyboard surface thoroughly cleaned, it’s time to reassemble your Razer Blackwidow Chroma Clicky Mechanical Gaming Keyboard. Proper reassembly is essential to ensure that the keyboard functions optimally and that the keycaps are correctly positioned. Follow these steps to reassemble your keyboard:
- Organize the Keycaps: If you organized the keycaps during the cleaning process, refer to your arrangement to ensure that each keycap is returned to its original position. If not, use the keyboard layout as a guide for keycap placement.
- Align and Press Down Keycaps: Position each keycap above its corresponding switch and gently press down until it snaps into place. Ensure that each keycap is securely attached and sits evenly on the keyboard surface.
- Test the Keys: After reattaching all the keycaps, test each key to ensure that it registers keystrokes accurately. This step ensures that the keycaps are properly reinstalled and that the keyboard functions as expected.
- Reconnect the Keyboard: Once the keycaps are reinstalled and tested, reconnect the keyboard to your computer and power it up. Verify that all keys are functioning correctly and that the keyboard’s lighting effects, if applicable, are operational.
By following these steps, you can successfully reassemble your Razer Blackwidow Chroma Clicky Mechanical Gaming Keyboard, ensuring that it is clean, fully functional, and ready to elevate your gaming experience once again. Proper reassembly is the final step in the cleaning process, and it sets the stage for countless hours of gaming enjoyment with a refreshed and pristine keyboard.
Conclusion
Congratulations! You’ve successfully given your Razer Blackwidow Chroma Clicky Mechanical Gaming Keyboard the cleaning it deserves. By following the steps outlined in this guide, you’ve not only improved the aesthetics of your keyboard but also contributed to a healthier and more enjoyable gaming environment. A clean keyboard not only looks better but also functions better, ensuring that your keystrokes are as precise as your gaming skills.
Regular maintenance and cleaning of your gaming keyboard are essential to prolong its lifespan and maintain optimal performance. By incorporating these cleaning practices into your routine, you can ensure that your Razer Blackwidow Chroma Clicky Mechanical Gaming Keyboard remains in top-notch condition, ready to accompany you on countless gaming adventures.
Remember, a clean keyboard is more than just a visual upgrade; it’s a reflection of your dedication to maintaining a pristine gaming setup. With a clean and well-maintained keyboard, you can immerse yourself in your favorite games with the confidence that every keystroke is as satisfying as your victories.
So, sit back, power up your freshly cleaned keyboard, and dive into the immersive world of gaming, knowing that your trusty companion is in its best shape yet. Here’s to countless more victories and gaming experiences with your revitalized Razer Blackwidow Chroma Clicky Mechanical Gaming Keyboard!