Introduction
Have you ever wondered what lies beneath the keys of your mechanical keyboard? Mechanical keyboards are beloved for their tactile feedback and durability, but have you ever thought about the intricate mechanisms that make each keystroke possible? In this guide, we will delve into the fascinating world of mechanical keyboard switches and learn how to take them apart. Whether you're a curious enthusiast or need to clean a malfunctioning switch, understanding the inner workings of these switches can be both enlightening and practical.
Mechanical keyboard switches are marvels of engineering, comprising multiple components that work in harmony to register each keystroke. By learning how to disassemble a switch, you can gain a deeper appreciation for the craftsmanship behind these devices. Additionally, being able to clean and maintain your switches can prolong the lifespan of your keyboard and ensure optimal performance.
Taking apart a mechanical keyboard switch may seem daunting at first, but with the right tools and a systematic approach, it can be a rewarding endeavor. Throughout this guide, we will explore the step-by-step process of disassembling a switch, from removing the keycap to cleaning and reassembling the individual components. By the end, you will have the knowledge and confidence to tackle this task with ease.
So, grab your tools and prepare to embark on a journey into the inner workings of your mechanical keyboard. Let's uncover the secrets hidden beneath each key and gain a newfound understanding of these remarkable input devices. Whether you're a tech enthusiast, a DIY aficionado, or simply someone looking to maintain their keyboard, this guide will equip you with the skills to navigate the intricate realm of mechanical keyboard switches.
Tools and Materials Needed
Before embarking on the journey of disassembling a mechanical keyboard switch, it’s essential to gather the necessary tools and materials. Having the right equipment at your disposal will streamline the process and ensure that you can work with precision and ease. Here’s a comprehensive list of the items you’ll need:
- Keycap Puller: This specialized tool is designed to safely remove keycaps from the keyboard without causing damage to the switches or keycap stems. Keycap pullers come in various designs, including wire-style and ring-style pullers. Choose one that is compatible with your keyboard’s keycap design.
- Tweezers: Precision tweezers are invaluable for handling small components within the switch housing. They allow for delicate maneuvering and grasping of intricate parts during the disassembly and reassembly process.
- Flathead Screwdriver: A small flathead screwdriver is useful for prying open the housing of the keyboard and accessing the switch beneath the keycap. It aids in gently separating the components without causing damage.
- Isopropyl Alcohol: A cleaning solution such as isopropyl alcohol is essential for removing dirt, debris, and grime from the switch components. It effectively dissolves contaminants and evaporates quickly, leaving the components clean and residue-free.
- Cotton Swabs or Soft Bristle Brush: These tools are ideal for applying the cleaning solution to the switch components and gently scrubbing away any accumulated debris. They allow for precise cleaning without causing damage to the delicate parts.
- Container for Cleaning: A small container or bowl can be used to hold the cleaning solution during the switch cleaning process. It should be shallow enough to immerse the switch components and allow for thorough cleaning.
- Lint-Free Cloth: A lint-free cloth is essential for drying the switch components after cleaning. It ensures that no fibers or residues are left behind, maintaining the integrity of the components.
With these tools and materials at your disposal, you’ll be well-equipped to embark on the disassembly and cleaning of your mechanical keyboard switches. Having a clean and organized workspace will further facilitate the process, so be sure to set up a well-lit and clutter-free area for working on your keyboard. Now that you have all the necessary tools in hand, it’s time to proceed to the next steps of disassembling the switch and uncovering the intricate components within.
Removing the Keycap
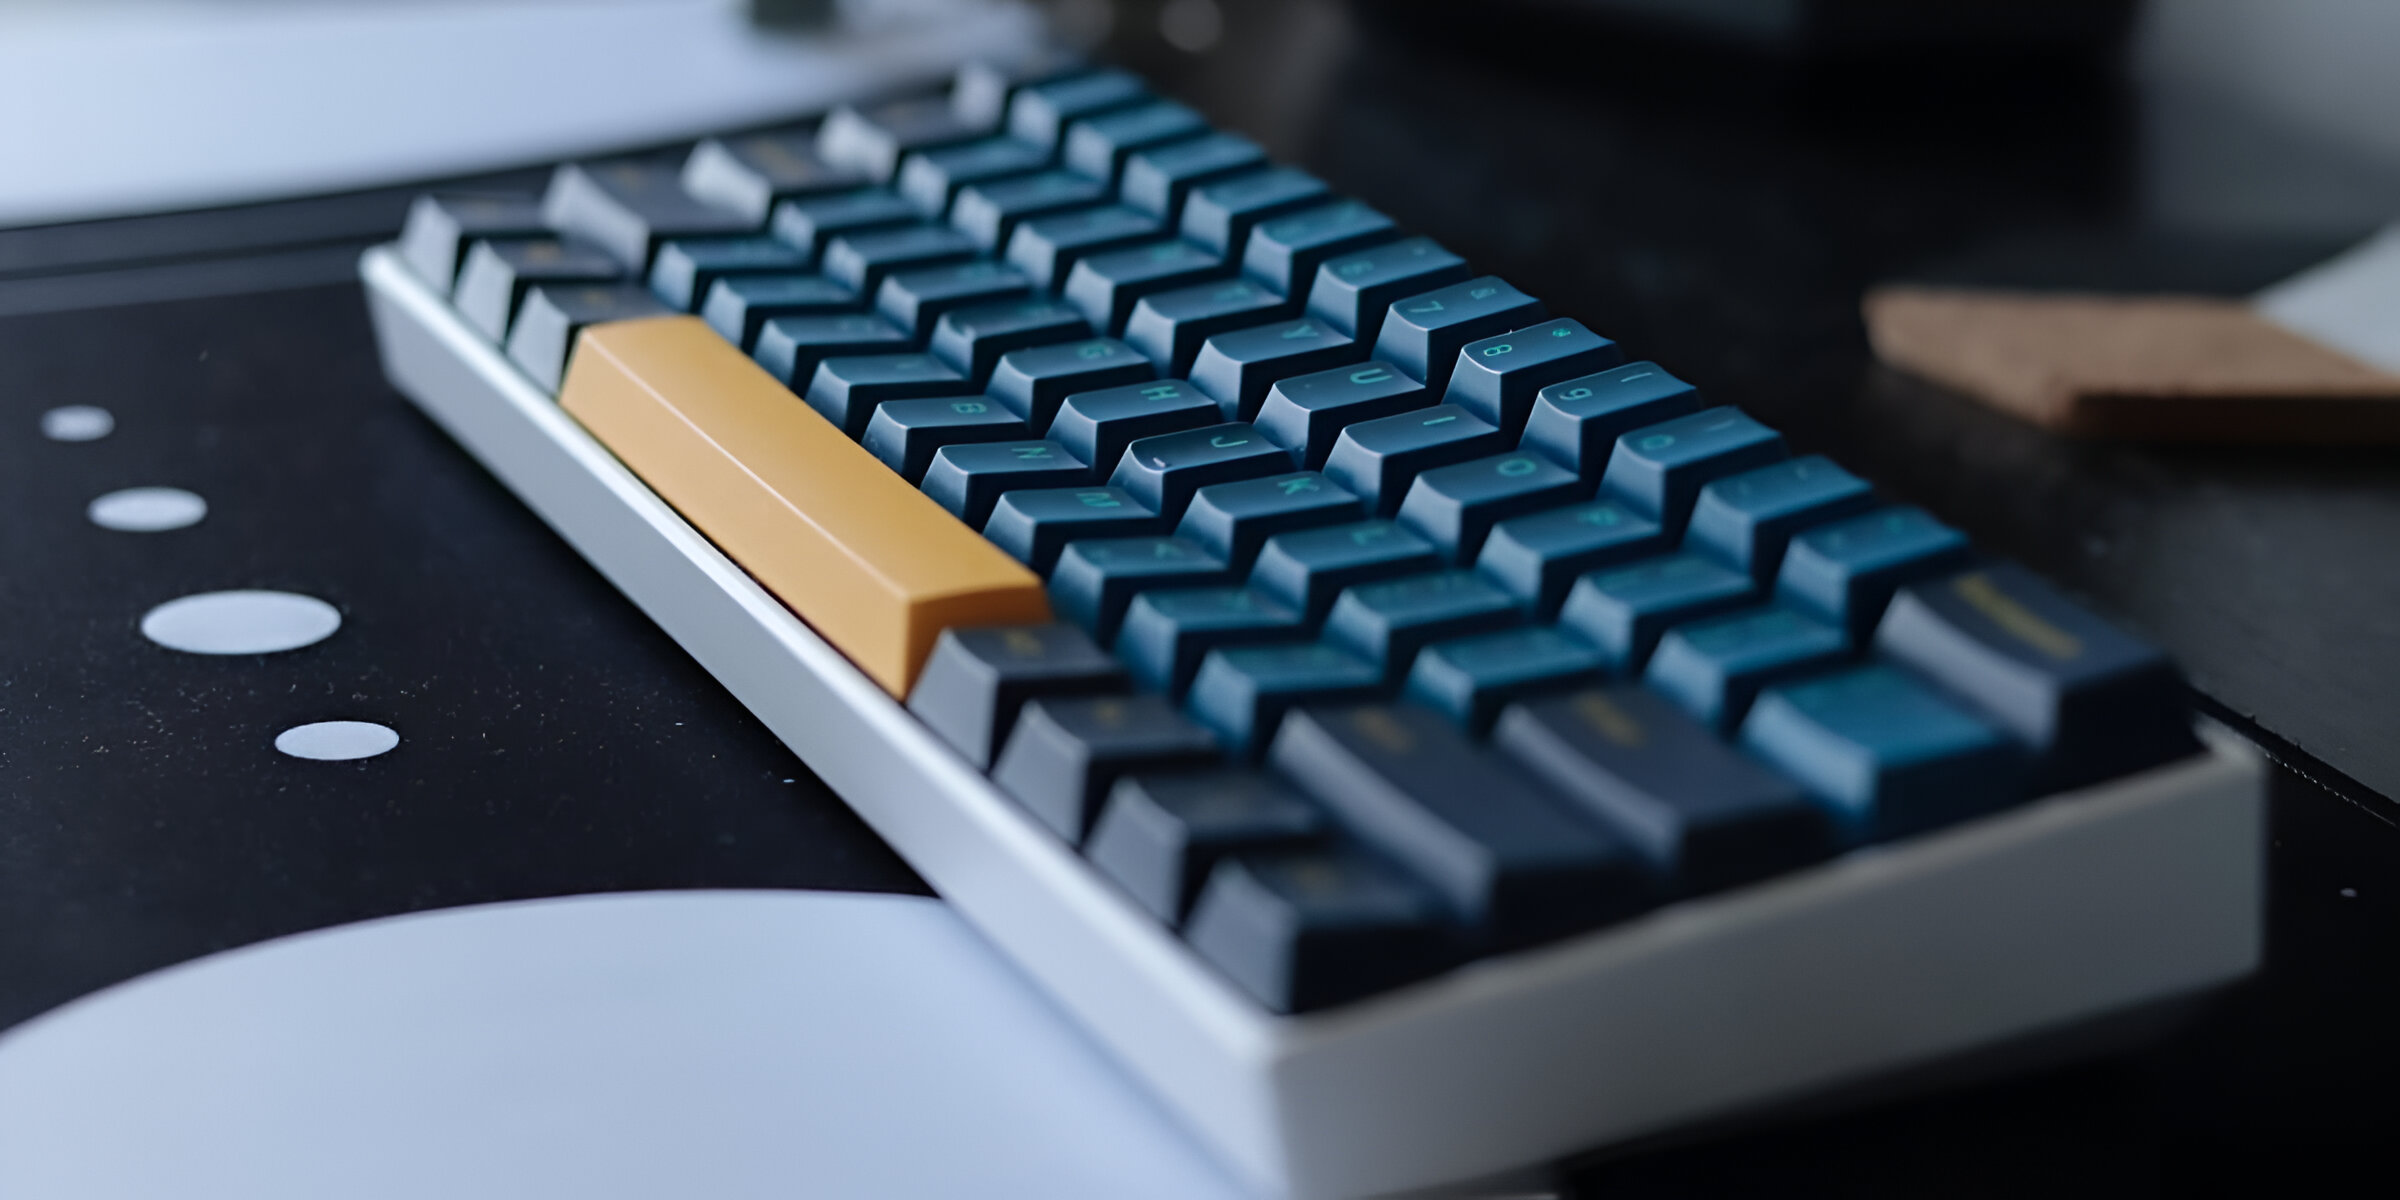
Before delving into the inner workings of the mechanical keyboard switch, the first step is to remove the keycap that covers the switch. Keycaps are designed to be easily removable, allowing access to the underlying switch for maintenance or customization. To accomplish this, you will need a keycap puller, a small yet essential tool for safely extracting keycaps without causing damage to the switch or the keycap itself.
Begin by positioning the keycap puller around the edges of the keycap, ensuring that the puller’s wires or rings grasp the keycap securely. Apply gentle and even pressure to the keycap puller, pulling upwards to disengage the keycap from the switch housing. It’s important to exert steady force to prevent any sudden or jerky movements that could potentially damage the switch or keycap.
As the keycap is lifted from the switch, you may hear a slight popping sound as the keycap’s stem detaches from the switch mechanism. This is a normal occurrence and indicates that the keycap has been successfully removed. Once the keycap is detached, carefully set it aside in a safe location, ensuring that it is not exposed to any potential damage or misplacement.
It’s worth noting that some keyboards, particularly those designed for gaming or enthusiast use, may feature non-standard keycap sizes or alternative mounting mechanisms. In such cases, it’s important to refer to the keyboard’s specific instructions or user manual for guidance on removing the keycaps. Additionally, certain keycap profiles, such as sculpted or spherical keycaps, may require slightly different techniques for removal, so it’s essential to exercise caution and precision when extracting these specialized keycaps.
With the keycap successfully removed, the switch mechanism is now exposed and ready for further disassembly. The next steps will involve opening the keyboard housing to access the switch and carefully removing the individual switch from its position. As we progress through the disassembly process, you’ll gain a deeper understanding of the intricate components that comprise the mechanical keyboard switch.
Opening the Keyboard Housing
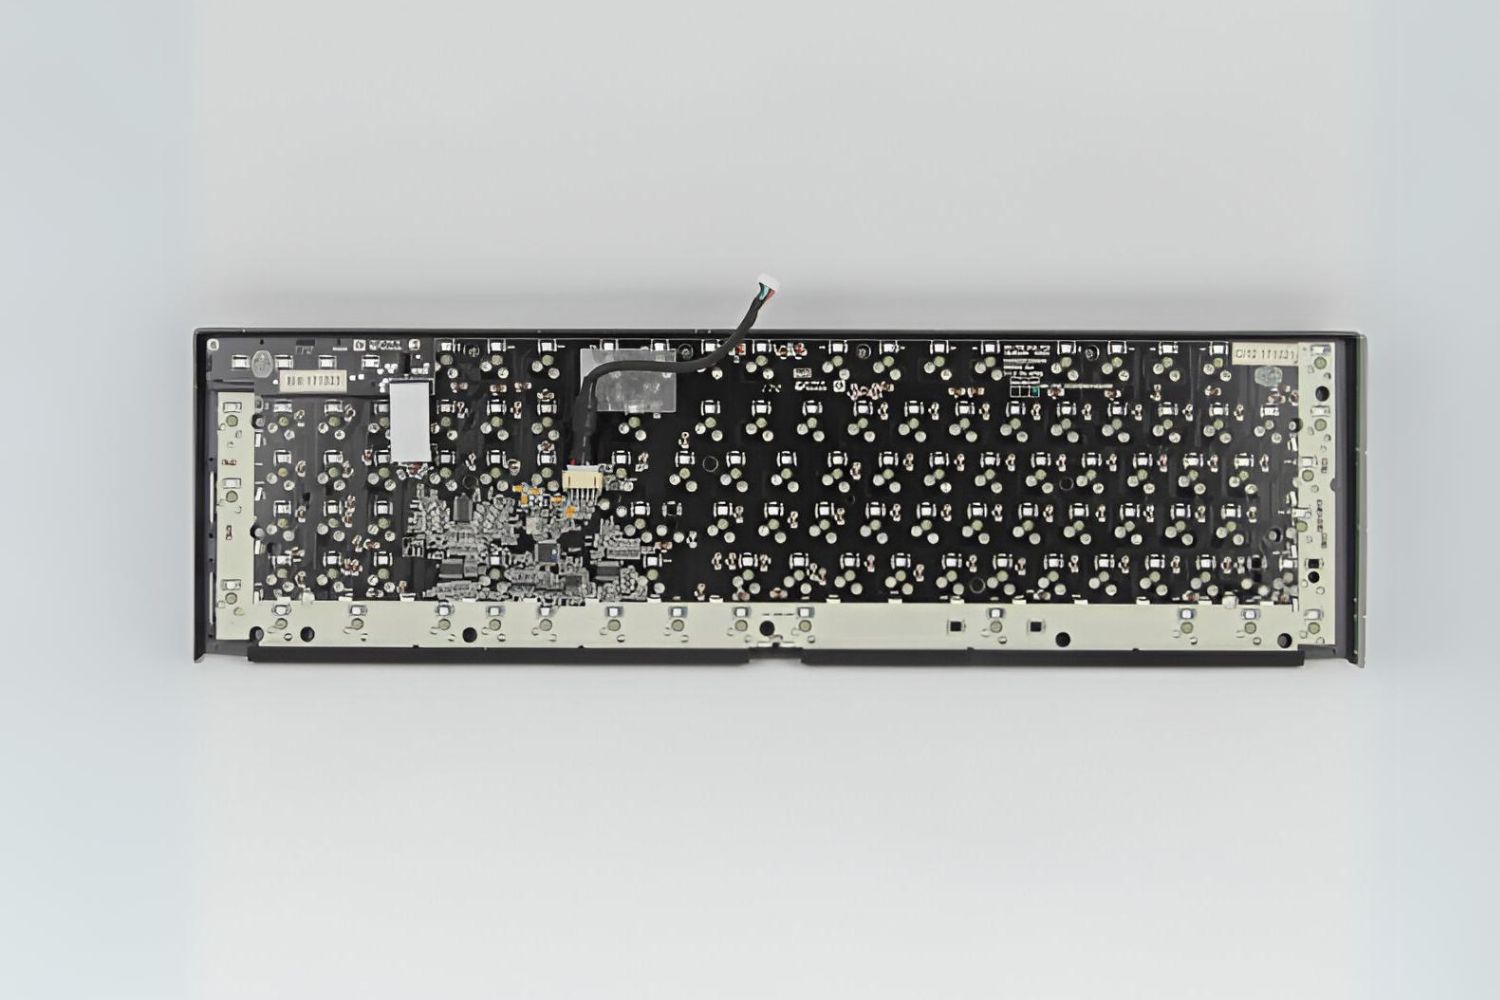
With the keycap removed, the next phase of disassembling a mechanical keyboard switch involves accessing the switch housing within the keyboard. Opening the keyboard housing provides direct visibility and physical access to the individual switches, allowing for thorough cleaning, maintenance, or potential switch replacement. Before proceeding, it’s crucial to ensure a clean and well-organized workspace, free from any potential hazards that could damage the keyboard or its components.
Most mechanical keyboards feature a housing that can be accessed by removing a series of screws located on the underside of the keyboard. Using a small Phillips head screwdriver, carefully unscrew and remove the designated screws that secure the keyboard’s housing. It’s important to keep track of the removed screws and organize them in a way that facilitates easy reassembly later on.
After removing the screws, gently flip the keyboard over and place it on a soft, clean surface. With the housing now exposed, you may notice that certain areas are secured by plastic clips or additional fasteners. Carefully inspect the perimeter of the keyboard housing to identify any additional securing mechanisms that may need to be disengaged before the housing can be opened.
Using a flathead screwdriver or a non-marring prying tool, gently release the plastic clips or fasteners that hold the keyboard housing together. Exercise caution and patience during this process to avoid damaging the keyboard’s exterior or the internal components. It’s advisable to work methodically around the edges of the housing, gradually releasing the securing points to prevent any undue stress on the plastic or metal components.
As the clips or fasteners are disengaged, you will begin to notice the housing separating into two distinct sections. Take care to lift the top portion of the housing slowly, ensuring that no cables or ribbon connectors are being stretched or strained during the separation process. If any resistance is encountered, double-check for any overlooked securing points or fasteners that may still be attached.
Once the housing is successfully opened, you will have clear access to the array of switches that form the keyboard’s input mechanism. At this stage, the individual switches are visible, and the process of removing a specific switch for cleaning or maintenance can commence. As we proceed to the next steps, you’ll gain insights into the intricate components that make up the mechanical keyboard switch and the meticulous process of disassembling and reassembling these components.
Removing the Switch
With the keyboard housing open, the individual switches are now accessible for removal and further disassembly. Each switch is secured within the keyboard’s framework and can be carefully extracted for cleaning, maintenance, or replacement. Before proceeding with the removal of a switch, it’s essential to exercise caution and precision to avoid damaging the delicate components and surrounding circuitry.
Identify the specific switch that requires attention and focus on that area within the keyboard housing. Depending on the keyboard’s design, the switches may be secured in place by a series of small retention clips or fasteners. Carefully examine the switch’s positioning and take note of any securing mechanisms that need to be disengaged before the switch can be removed.
Using a small flathead screwdriver or a non-marring prying tool, gently release the retention clips or fasteners that hold the switch in place. It’s crucial to apply even pressure and avoid sudden movements that could potentially damage the switch or the surrounding components. Exercise patience and precision during this step to ensure that the switch can be safely extracted without causing any harm.
As the retention clips or fasteners are disengaged, the switch will be free to be lifted from its position within the keyboard housing. Take care to grasp the switch gently and avoid putting excessive force on the switch or its neighboring components. It’s important to maintain a steady and controlled approach to prevent any accidental damage during the removal process.
Once the switch is lifted from its position, take a moment to inspect the surrounding area and ensure that no cables, connectors, or delicate components are being disturbed. It’s crucial to maintain a clear understanding of the switch’s orientation and its surrounding environment to facilitate seamless reassembly later on.
With the switch successfully removed, you now have the individual switch in hand and can proceed to the next phase of disassembling its components for thorough cleaning and maintenance. As we delve deeper into the intricate workings of the mechanical keyboard switch, you’ll gain valuable insights into the inner mechanisms that contribute to the switch’s tactile feedback and reliable performance.
Disassembling the Switch Components
With the individual switch removed from the keyboard housing, the next step involves disassembling its intricate components to facilitate thorough cleaning and maintenance. The mechanical keyboard switch comprises several crucial elements that work in unison to register each keystroke, and gaining a deeper understanding of these components is essential for effective maintenance and potential customization.
Begin by examining the structure of the switch and identifying the key components, including the housing, stem, spring, and electrical contacts. Each component plays a pivotal role in the switch’s functionality, and understanding their interactions is fundamental to the disassembly process. It’s important to approach this step methodically, keeping track of the components and their positions to ensure accurate reassembly.
Using a small flathead screwdriver or a precision prying tool, carefully separate the top and bottom portions of the switch housing. Exercise caution and precision during this step to avoid damaging the housing or the internal components. As the housing is opened, you will gain visibility into the intricate mechanisms that facilitate the switch’s tactile feedback and actuation.
Once the housing is separated, you will have direct access to the stem and the spring within the switch. Gently lift the stem from its position, taking care to observe its orientation and the manner in which it interacts with the housing and electrical contacts. The stem is a critical component that dictates the switch’s actuation and travel distance, making it essential to handle it with care.
Following the removal of the stem, the spring within the switch can be accessed. The spring provides the tactile feedback and resistance that users experience when pressing a key, and its condition directly impacts the switch’s performance. Carefully remove the spring and take note of its positioning within the switch housing to ensure accurate reassembly later on.
With the stem and spring removed, the electrical contacts and any additional components within the switch can be inspected and cleaned as necessary. Utilize a lint-free cloth or precision cleaning tools to gently remove any accumulated debris or residue from the components, ensuring that they are free from contaminants that could impede the switch’s functionality.
As you disassemble the switch components, take the opportunity to observe the intricate details of each element and gain a deeper appreciation for the precise engineering that underpins the mechanical keyboard switch. By understanding the inner workings of the switch, you’ll be better equipped to maintain its performance and potentially customize its tactile characteristics to suit your preferences.
Cleaning and Reassembling the Switch
After disassembling the intricate components of the mechanical keyboard switch, the next crucial steps involve cleaning each element meticulously and reassembling the switch with precision. Effective cleaning and reassembly are essential for restoring the switch to optimal performance and ensuring its longevity. By following a systematic approach and exercising care throughout the process, you can maintain the switch’s responsiveness and tactile feedback.
Begin the cleaning process by inspecting each disassembled component, including the switch housing, stem, spring, and electrical contacts. Utilize a gentle cleaning solution, such as isopropyl alcohol, and precision cleaning tools to remove any accumulated debris, dust, or residue from the components. It’s important to exercise caution and avoid using excessive force, ensuring that the delicate components are cleaned thoroughly without sustaining damage.
When cleaning the switch housing, pay close attention to the internal surfaces and contact points. Use a lint-free cloth or soft bristle brush to gently remove any contaminants that may impede the switch’s functionality. Ensure that the housing is completely dry before proceeding to reassembly to prevent any moisture from affecting the switch’s performance.
As you clean the stem and spring, inspect each component for any signs of wear or deformation. Gently remove any debris or residue adhering to the components, taking care to maintain their structural integrity. The stem’s tactile feedback and actuation depend on its smooth operation, making thorough cleaning essential for optimal performance.
After the components have been meticulously cleaned and dried, begin the reassembly process by carefully positioning the spring within the switch housing. Ensure that the spring is seated securely and aligned properly to facilitate consistent tactile feedback and actuation. Precision tweezers can be invaluable for handling the spring and guiding it into place with accuracy.
Next, place the stem back into the switch housing, ensuring that it interfaces seamlessly with the spring and the electrical contacts. Exercise care and attention to detail to guarantee that the stem’s positioning and orientation align with the switch’s specifications, preserving its functionality and responsiveness.
With the components reassembled, carefully close the switch housing, ensuring that the top and bottom portions fit together snugly. Take care to align the components accurately to prevent any interference with the switch’s operation. Once the housing is securely closed, the switch is ready to be reinstalled within the keyboard housing, completing the meticulous process of cleaning and reassembling the switch.
By following these meticulous steps, you can restore the mechanical keyboard switch to its optimal condition, ensuring that it delivers reliable performance and satisfying tactile feedback. The attention to detail and precision applied during the cleaning and reassembly process will contribute to the switch’s longevity and consistent functionality, enhancing the overall typing experience.
Conclusion
Embarking on the journey of disassembling and cleaning a mechanical keyboard switch has provided valuable insights into the intricate mechanisms that underpin these beloved input devices. By gaining a deeper understanding of the switch’s components and the meticulous process of maintenance, you have equipped yourself with the knowledge and skills to ensure the optimal performance and longevity of your mechanical keyboard.
Throughout this guide, you have learned the importance of having the right tools and materials at your disposal, from keycap pullers to precision cleaning tools, to facilitate a seamless disassembly and cleaning process. The step-by-step approach to removing the keycap, opening the keyboard housing, and carefully extracting and disassembling the switch has emphasized the significance of precision and patience in maintaining the delicate components of the keyboard.
Delving into the inner workings of the switch has revealed the critical role played by components such as the stem, spring, and electrical contacts in delivering the tactile feedback and reliable actuation that mechanical keyboards are renowned for. Understanding these components and their interactions has not only facilitated effective cleaning and reassembly but has also deepened your appreciation for the craftsmanship behind these devices.
By meticulously cleaning and reassembling the switch components, you have taken proactive steps to maintain the switch’s responsiveness and tactile characteristics, ensuring that it continues to deliver a satisfying typing experience. The attention to detail and care applied during the cleaning process will contribute to the switch’s longevity and consistent performance, allowing you to derive maximum enjoyment from your mechanical keyboard.
As you reflect on the intricacies of the disassembly and cleaning process, you have gained valuable insights that extend beyond maintenance. The knowledge and skills acquired can empower you to customize and modify your keyboard switches, catering to your unique preferences and enhancing your overall typing experience. Whether you’re an enthusiast seeking to optimize your keyboard’s performance or simply someone looking to preserve the functionality of your input device, the journey of disassembling and cleaning a mechanical keyboard switch has equipped you with valuable expertise.
Armed with this newfound understanding, you are well-prepared to embark on the ongoing journey of maintaining and customizing your mechanical keyboard, ensuring that it remains a reliable and enjoyable tool for your daily tasks. The meticulous attention to detail and the appreciation for the inner workings of the switch will continue to serve you as you explore the captivating realm of mechanical keyboards and the remarkable craftsmanship that defines these beloved input devices.