Introduction
Welcome to the ultimate guide on how to remove hair from a mechanical keyboard. If you're someone who spends a lot of time at your computer, you may have encountered the frustrating issue of hair getting trapped in your keyboard. Whether it's your own hair, pet hair, or even dust and debris that accumulates over time, a hairy keyboard not only looks unsightly but can also affect its performance.
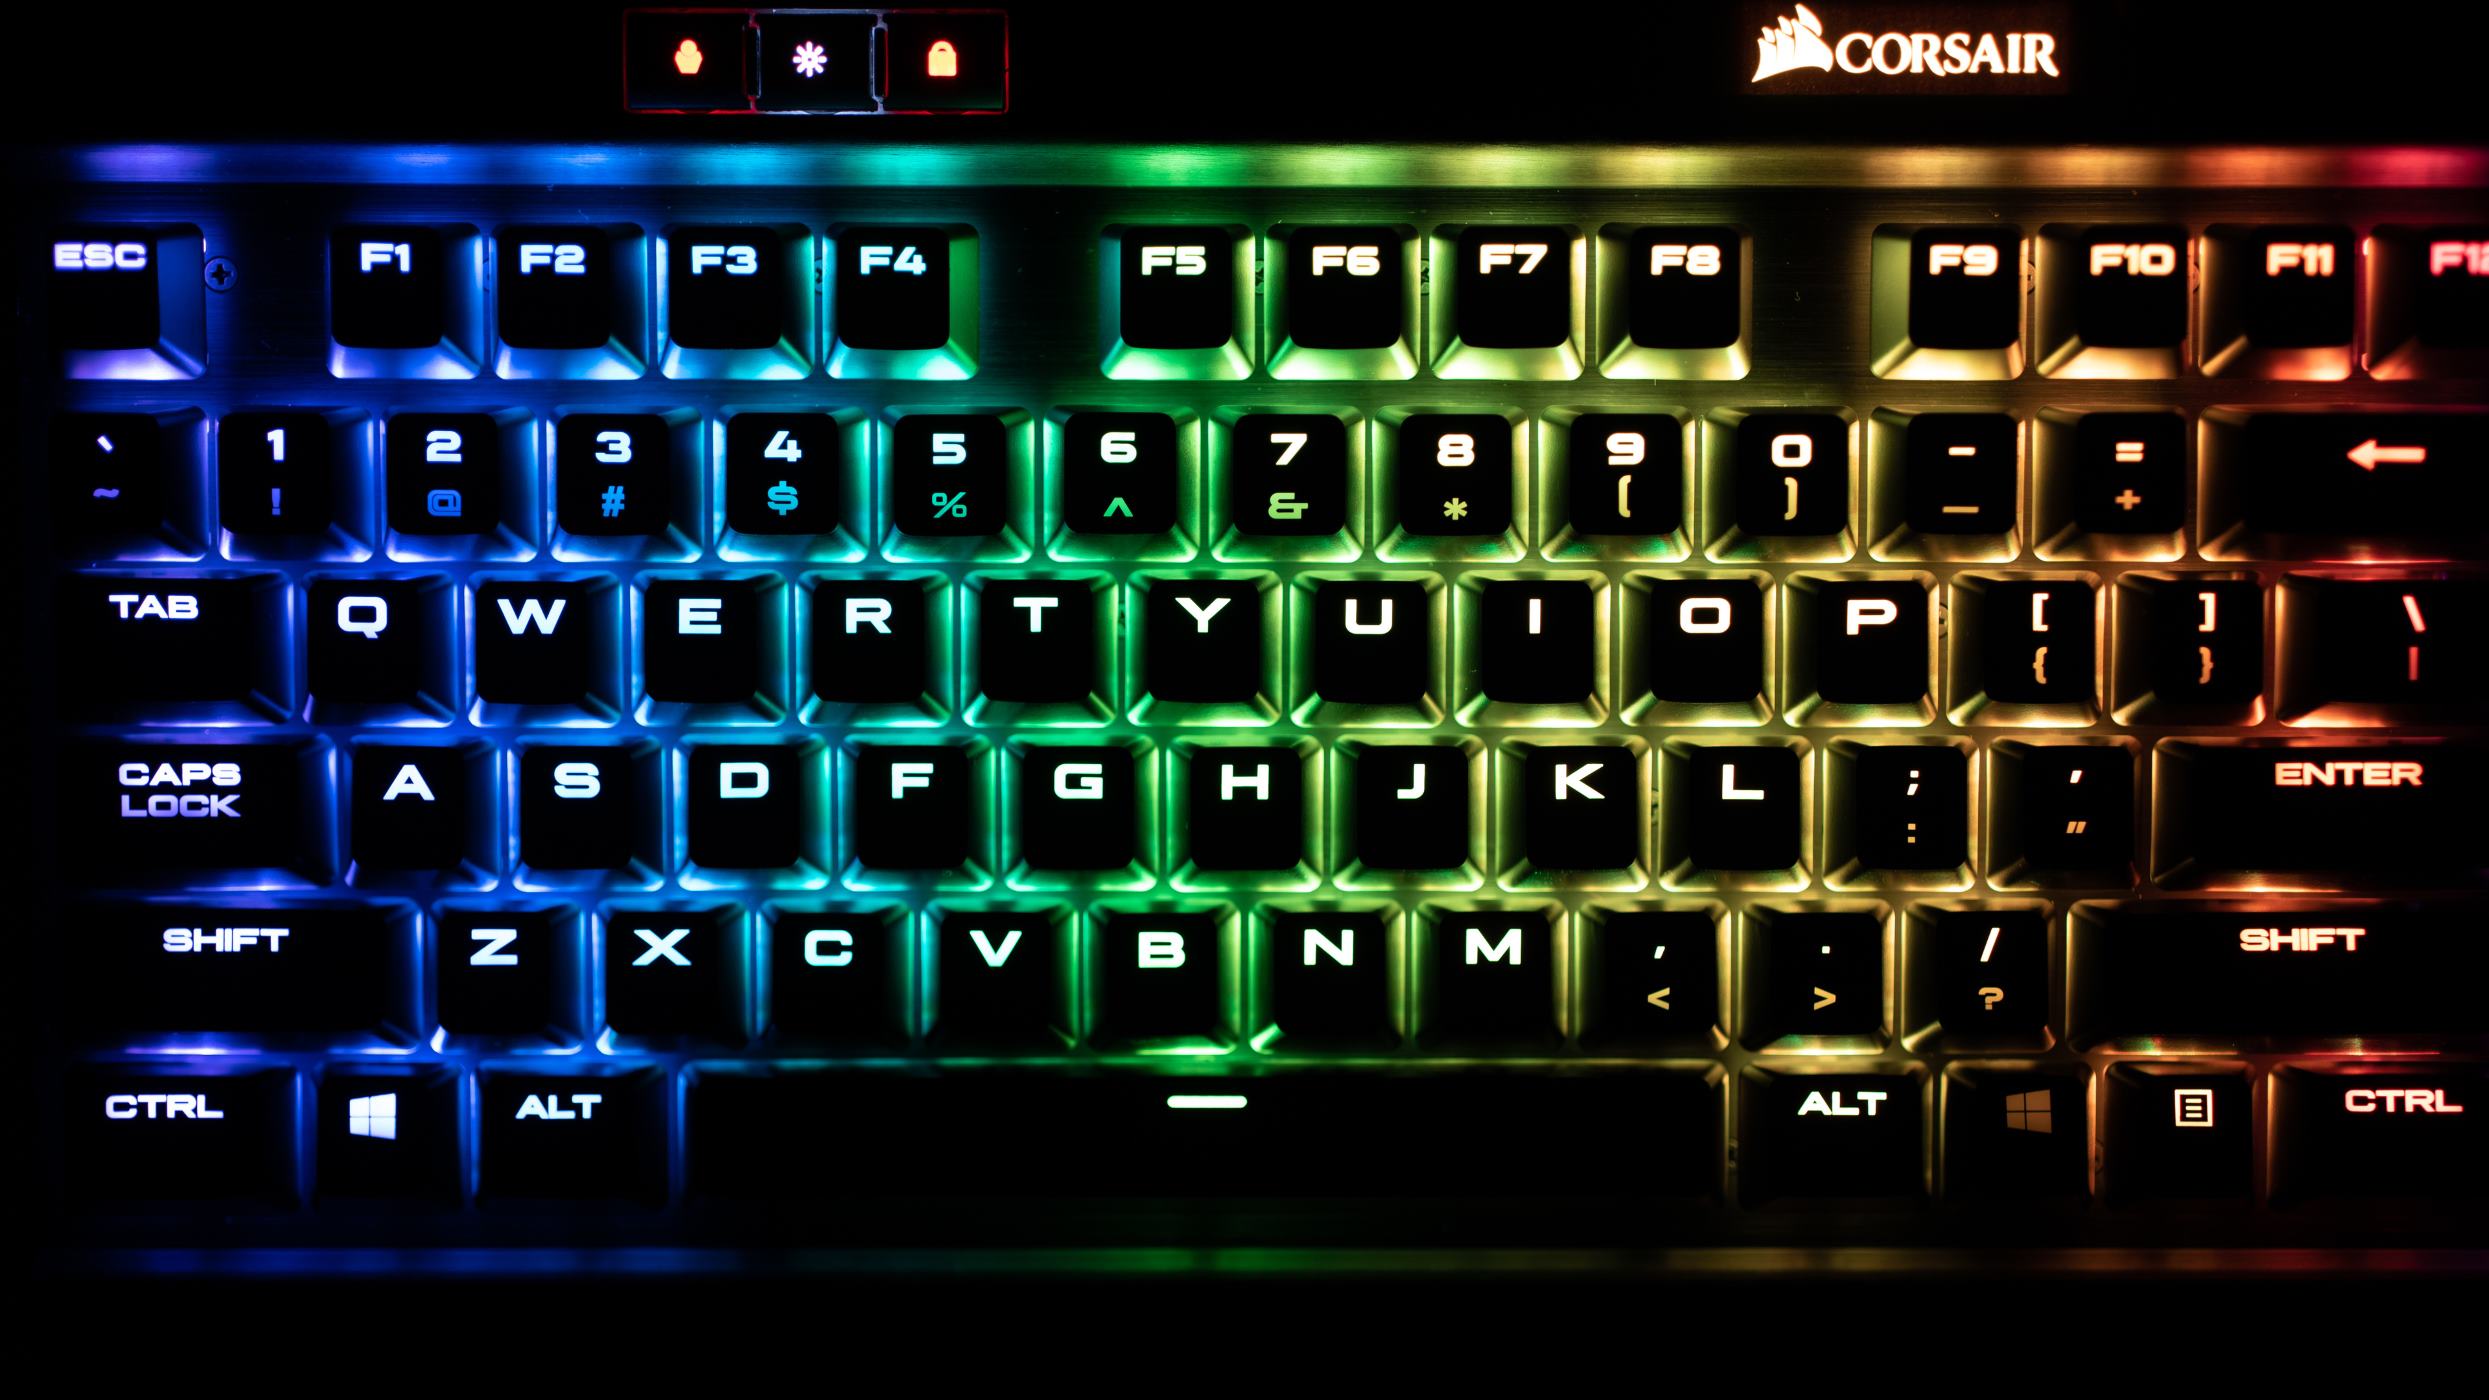
Mechanical keyboards are known for their durability and satisfying tactile feedback, but their intricate design can make cleaning them seem like a daunting task. However, with the right tools and techniques, removing hair from a mechanical keyboard can be a straightforward process. By following the steps outlined in this guide, you'll be able to restore your keyboard to its pristine condition and ensure smooth, uninterrupted typing and gaming sessions.
In the following sections, we'll delve into the importance of keeping your mechanical keyboard free from hair, the tools and materials you'll need for the cleaning process, a detailed step-by-step guide to effectively removing hair, and valuable tips for preventing hair buildup in the future. Whether you're a seasoned keyboard enthusiast or a casual user, this comprehensive guide will equip you with the knowledge and skills to maintain your mechanical keyboard in top-notch condition.
So, let's roll up our sleeves and dive into the world of mechanical keyboard maintenance. With a bit of patience and the right approach, you'll soon bid farewell to those pesky strands of hair that have taken refuge in your beloved keyboard.
Why It’s Important to Remove Hair from a Mechanical Keyboard
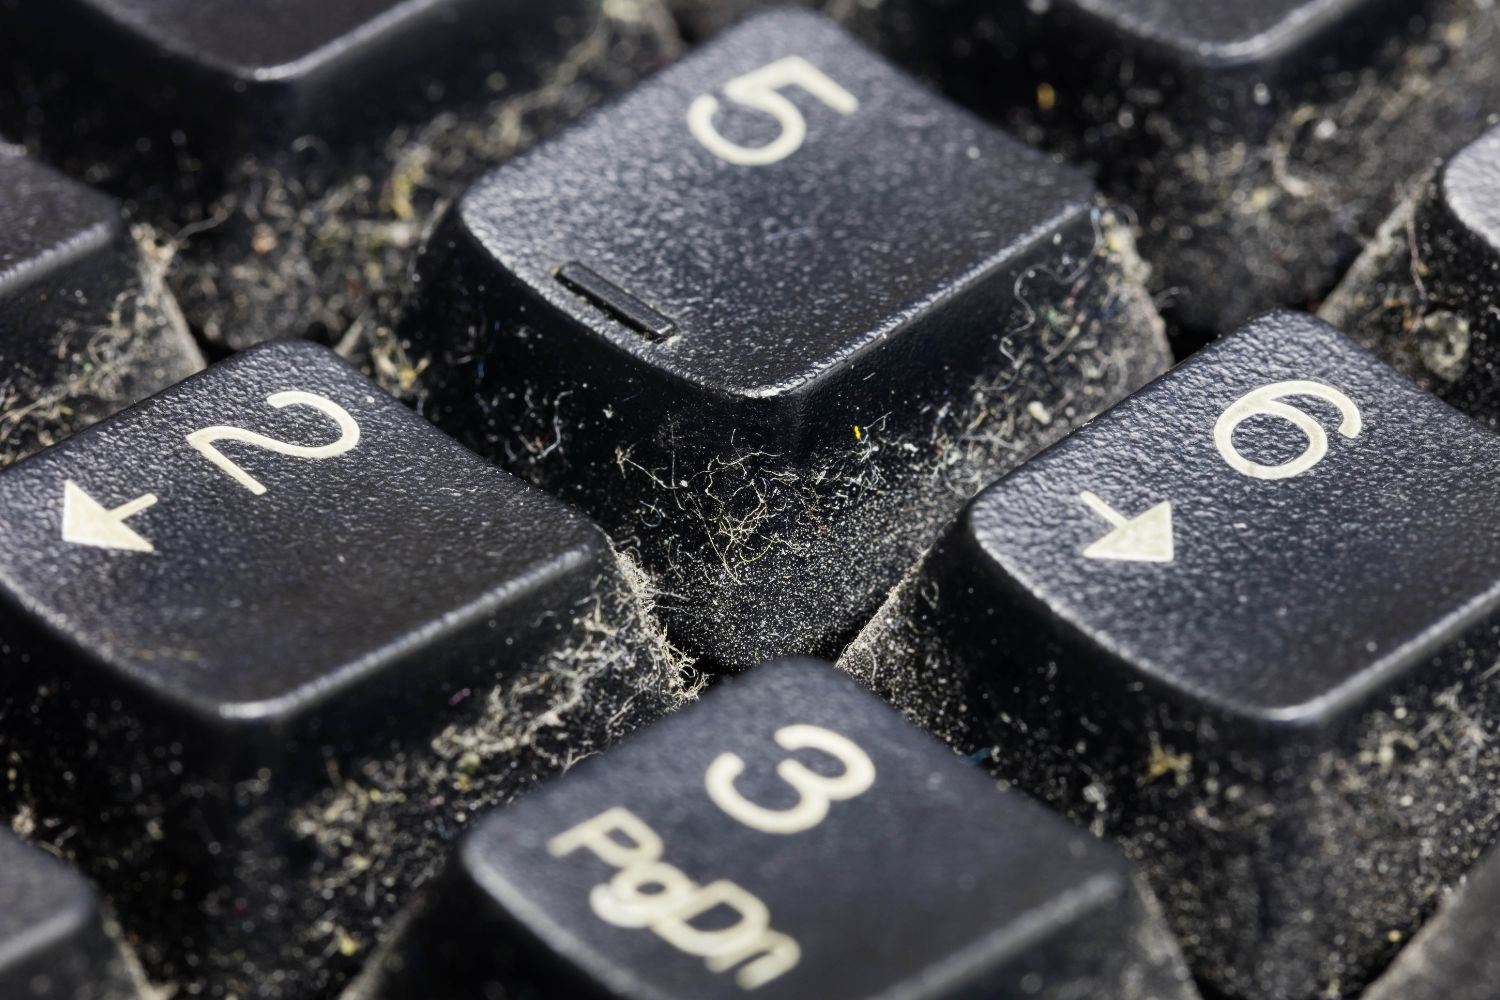
Keeping your mechanical keyboard free from hair is crucial for several reasons. First and foremost, a clean keyboard ensures optimal functionality and longevity. Hair, whether human or pet, can work its way into the nooks and crannies of the keyboard, potentially causing keys to stick or preventing them from registering keystrokes. Over time, this can lead to a decline in typing accuracy and overall performance, impacting your productivity and gaming experience.
Furthermore, a hair-free keyboard contributes to a hygienic and pleasant computing environment. Accumulated hair not only detracts from the aesthetic appeal of your keyboard but can also harbor dust, dirt, and allergens, compromising the cleanliness of your workspace. Regularly removing hair from your keyboard minimizes the risk of bacterial growth and ensures that you’re interacting with a clean and sanitary surface during your daily computer usage.
Additionally, neglecting to address hair buildup in your mechanical keyboard can exacerbate the issue over time. As more hair accumulates, it becomes increasingly challenging to clean, and the likelihood of it interfering with the keyboard’s mechanisms rises. By proactively maintaining a hair-free keyboard, you can mitigate the need for extensive cleaning sessions in the future and prevent potential damage to the keyboard’s internal components.
Beyond the functional and hygienic considerations, a clean keyboard simply looks better. A sleek, hair-free keyboard not only enhances the visual appeal of your workspace but also reflects your commitment to caring for your equipment. Whether you take pride in your gaming setup or strive for a professional and organized workstation, a well-maintained keyboard is a testament to your attention to detail and dedication to keeping your tools in top condition.
By understanding the importance of removing hair from a mechanical keyboard, you can prioritize its maintenance and ensure that it continues to deliver a seamless and enjoyable typing experience. In the next section, we’ll explore the essential tools and materials you’ll need to effectively tackle the task of removing hair from your keyboard.
Tools and Materials Needed
Before embarking on the process of removing hair from your mechanical keyboard, it’s essential to gather the necessary tools and materials. Having the right equipment at your disposal will streamline the cleaning process and ensure that you can effectively address the hair buildup without causing damage to the keyboard’s delicate components.
Here’s a list of the tools and materials you’ll need:
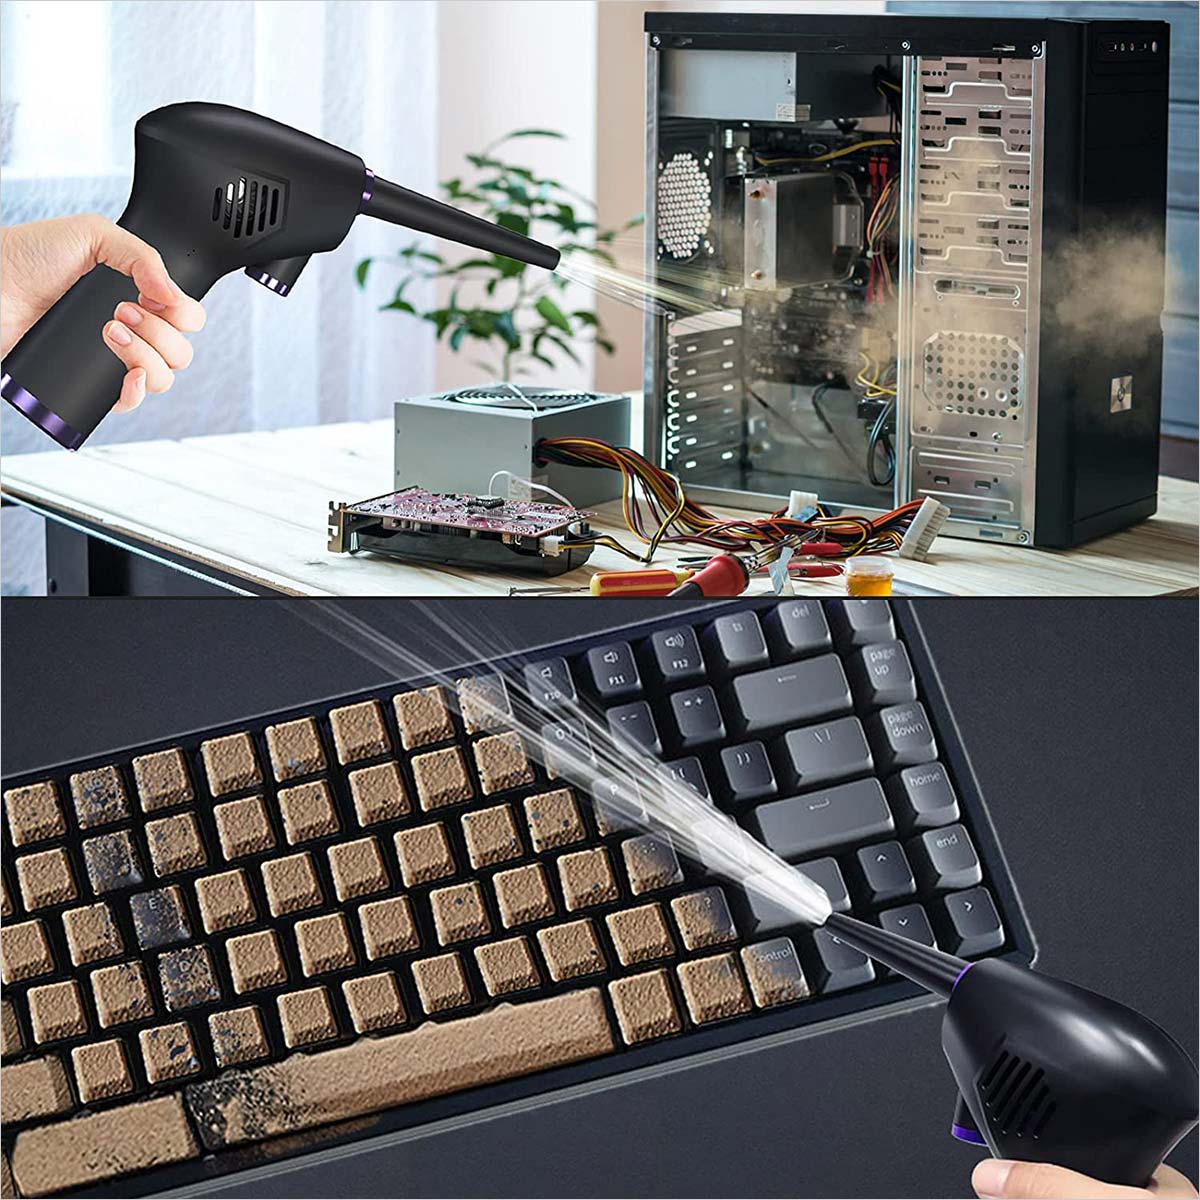
- Compressed Air: A can of compressed air is an indispensable tool for dislodging and removing hair and debris from the crevices of your keyboard. The force of the compressed air effectively clears out trapped particles without the risk of causing damage to the keyboard’s internal mechanisms.
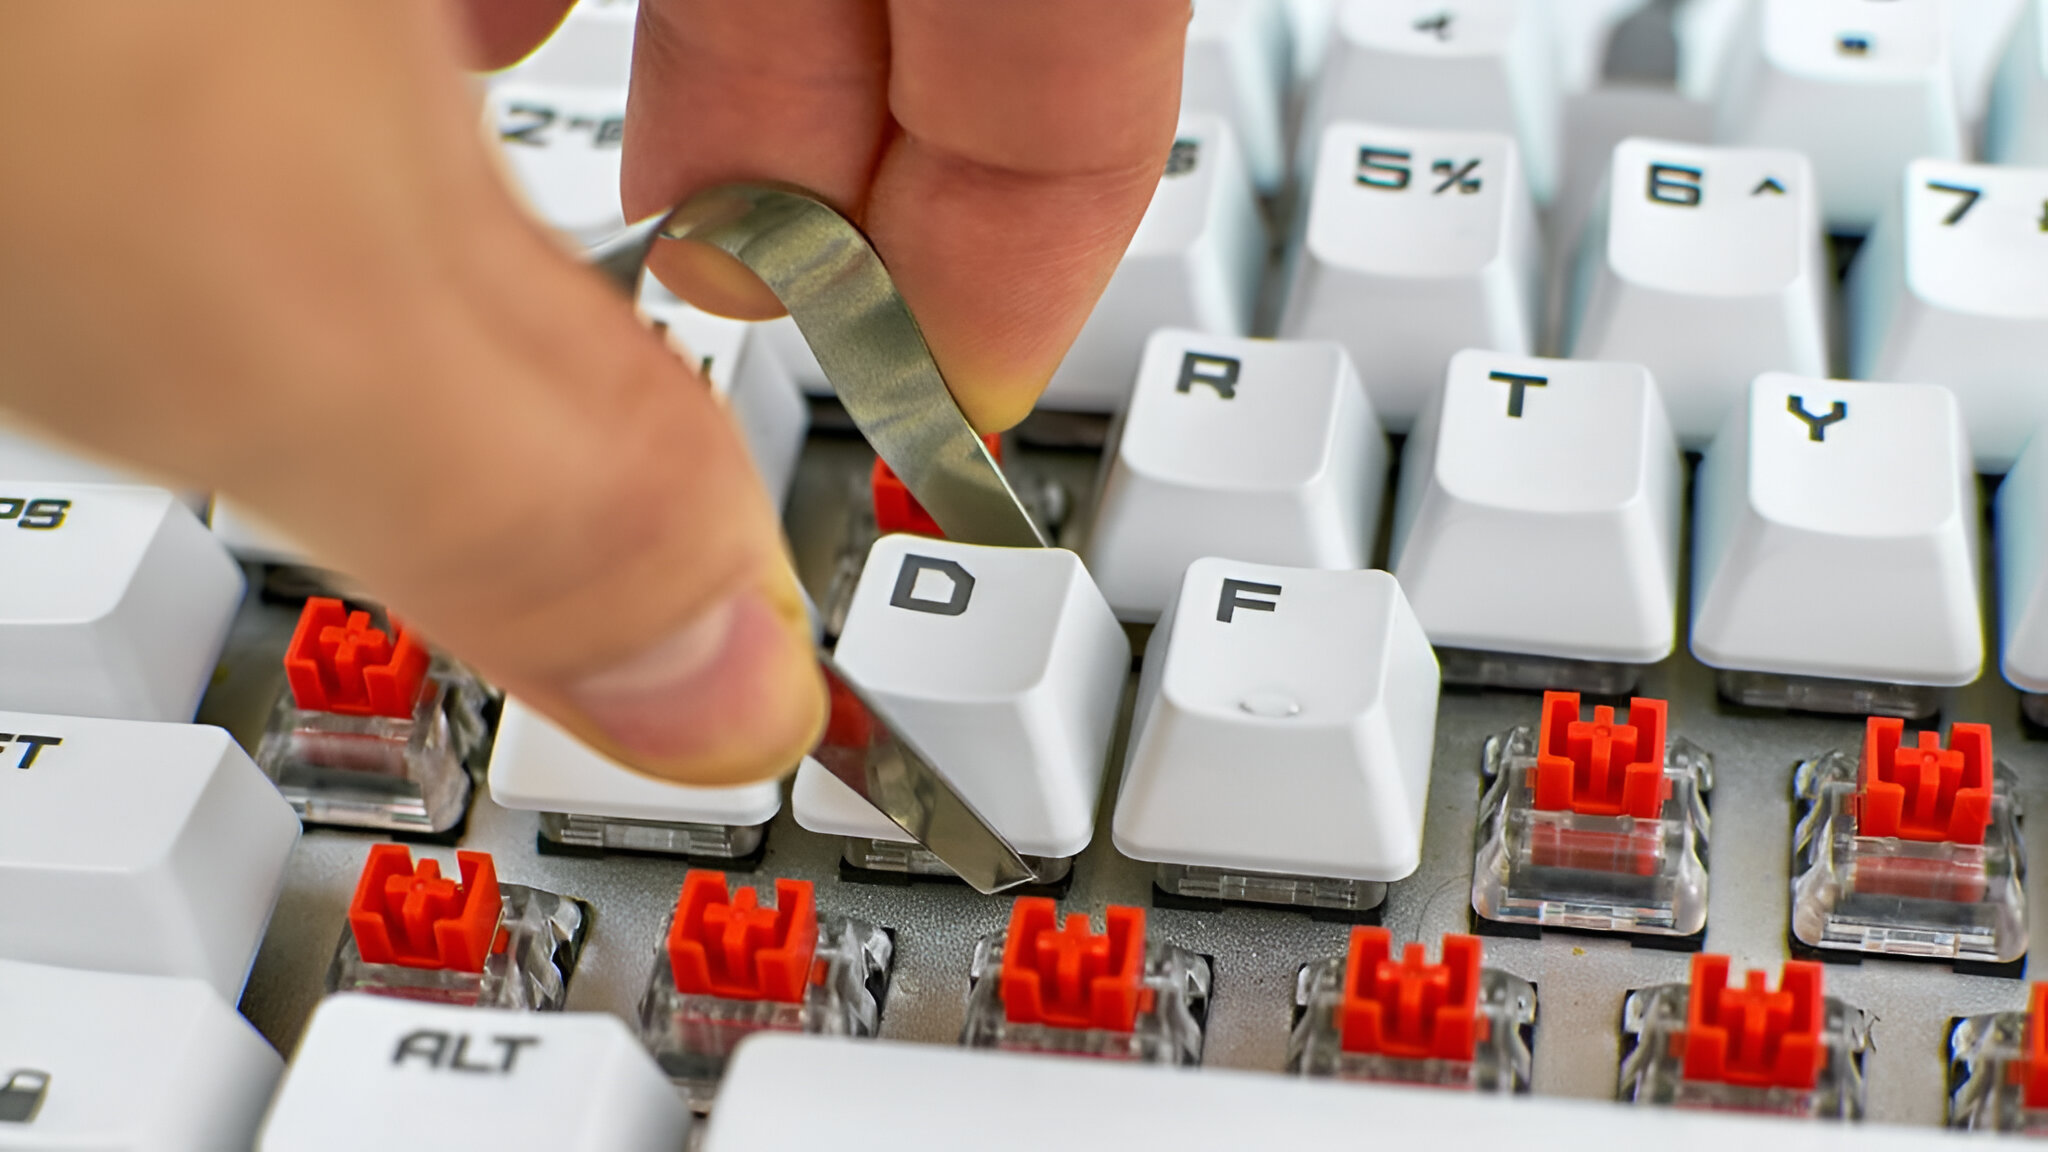
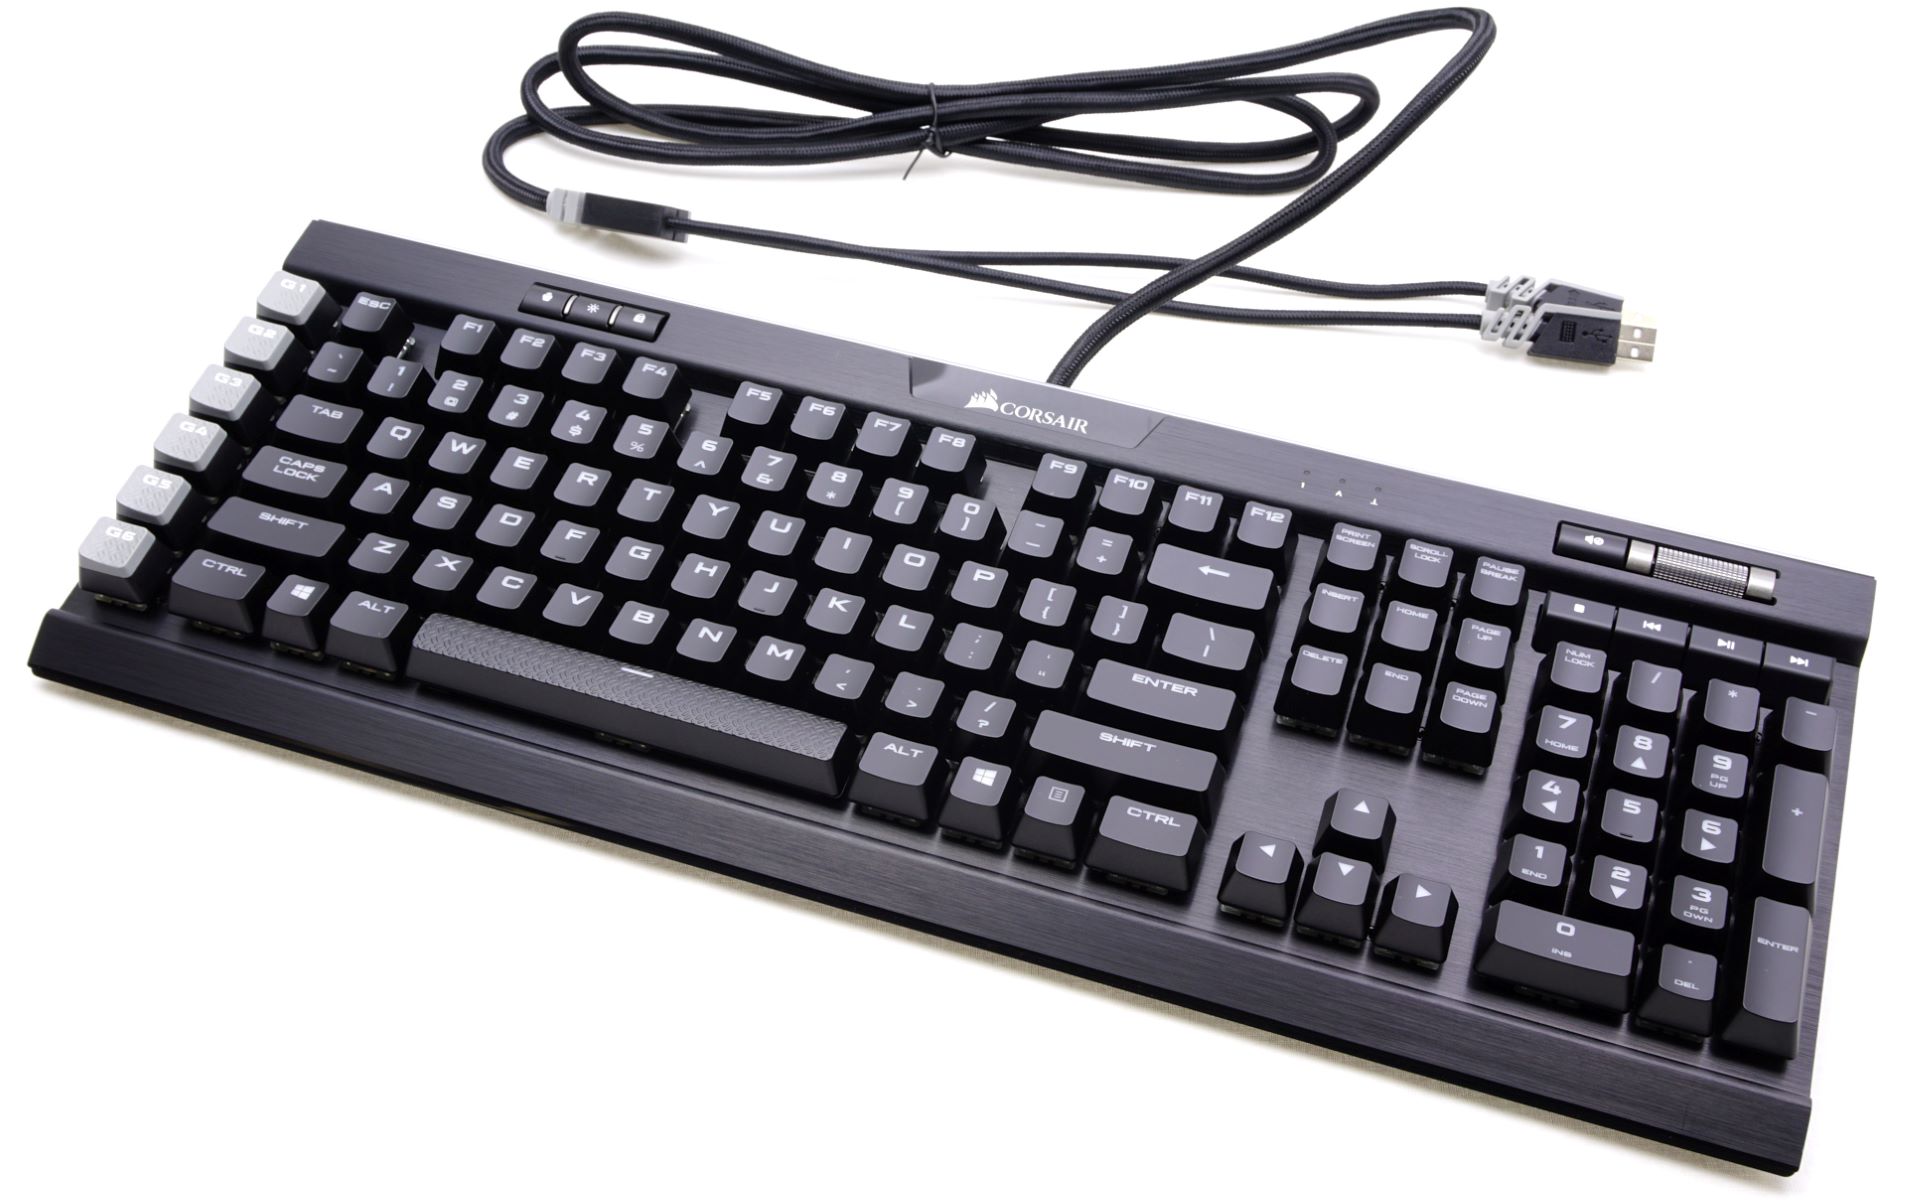
- Keycap Puller: A keycap puller is a specialized tool designed to safely remove the keycaps from your mechanical keyboard. This tool is essential for gaining access to the underlying areas where hair may be trapped, allowing for thorough cleaning without the risk of damaging the keycaps or switches.
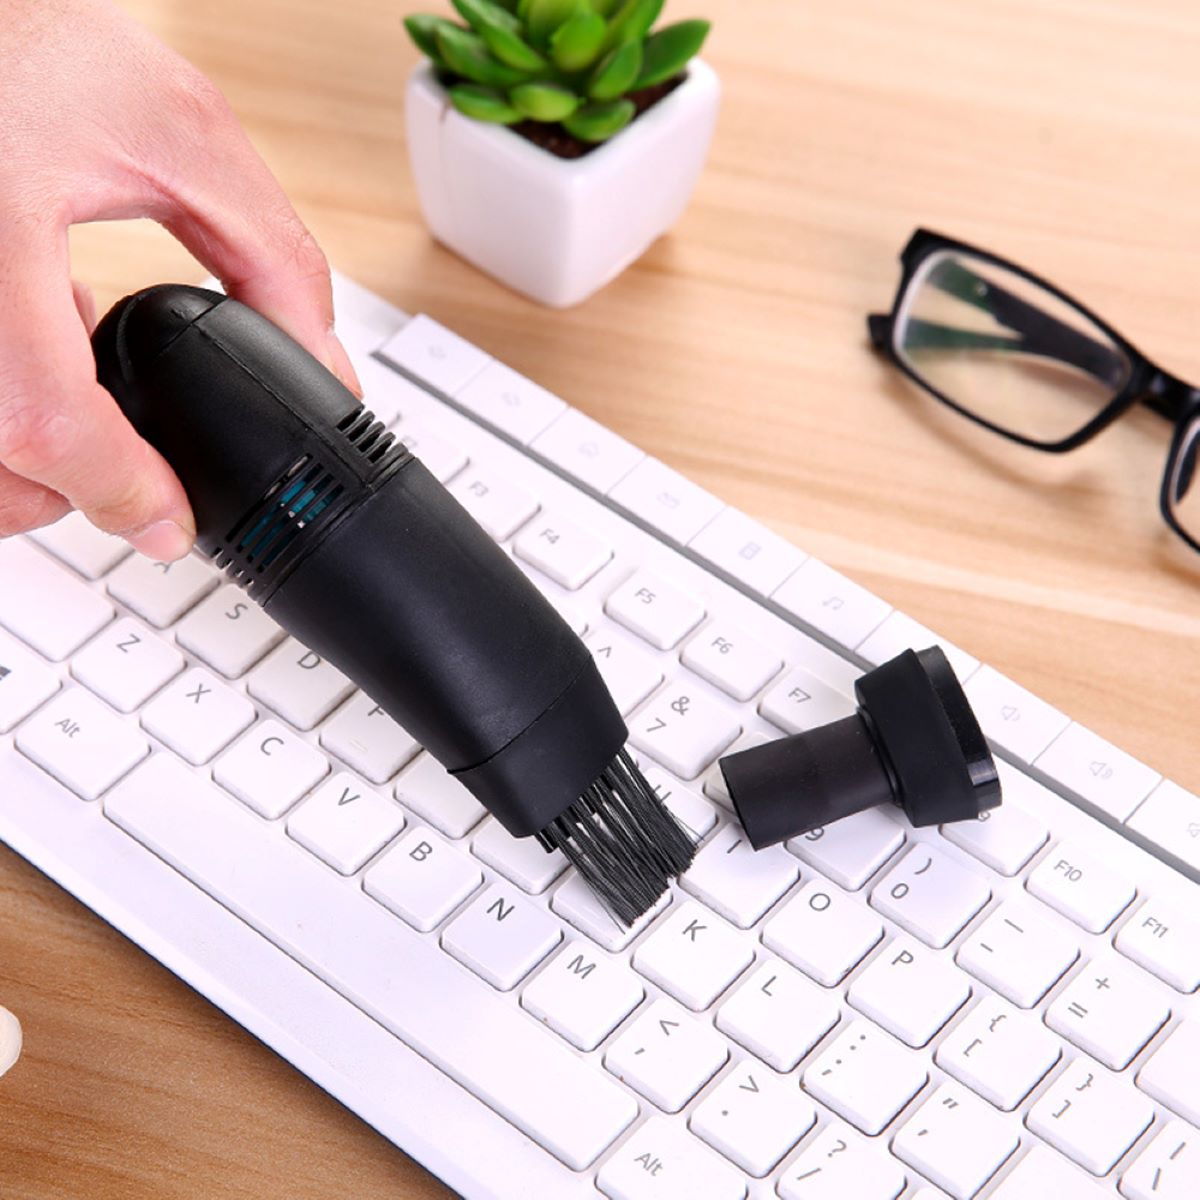
- Cotton Swabs: Cotton swabs are useful for delicately cleaning around the key switches and other intricate parts of the keyboard. They allow for precise cleaning in tight spaces and can be paired with a gentle cleaning solution for stubborn residue.
- Isopropyl Alcohol: Isopropyl alcohol, commonly known as rubbing alcohol, is an effective cleaning agent for removing oily residues and grime from the keyboard’s surfaces. When used sparingly and with caution, it can help dissolve stubborn hair and dirt, leaving the keyboard refreshed and sanitized.
- Microfiber Cloth: A soft microfiber cloth is ideal for wiping down the keyboard’s exterior and removing any remaining debris or cleaning solution. Its gentle texture minimizes the risk of scratching the keyboard’s surface while ensuring a thorough clean.
By ensuring that you have these essential tools and materials on hand, you’ll be well-prepared to tackle the task of removing hair from your mechanical keyboard with precision and care. In the following section, we’ll delve into a step-by-step guide that outlines the process of effectively addressing hair buildup and restoring your keyboard to its optimal condition.
Step-by-Step Guide to Removing Hair from a Mechanical Keyboard
Now that you’ve gathered the necessary tools and materials, it’s time to embark on the process of removing hair from your mechanical keyboard. Follow these step-by-step instructions to effectively address the hair buildup and restore your keyboard to a pristine condition:
- Prepare Your Workspace: Start by powering off your computer and creating a clean, well-lit workspace. Clear any clutter and ensure that you have ample space to disassemble and clean your keyboard without the risk of losing small components.
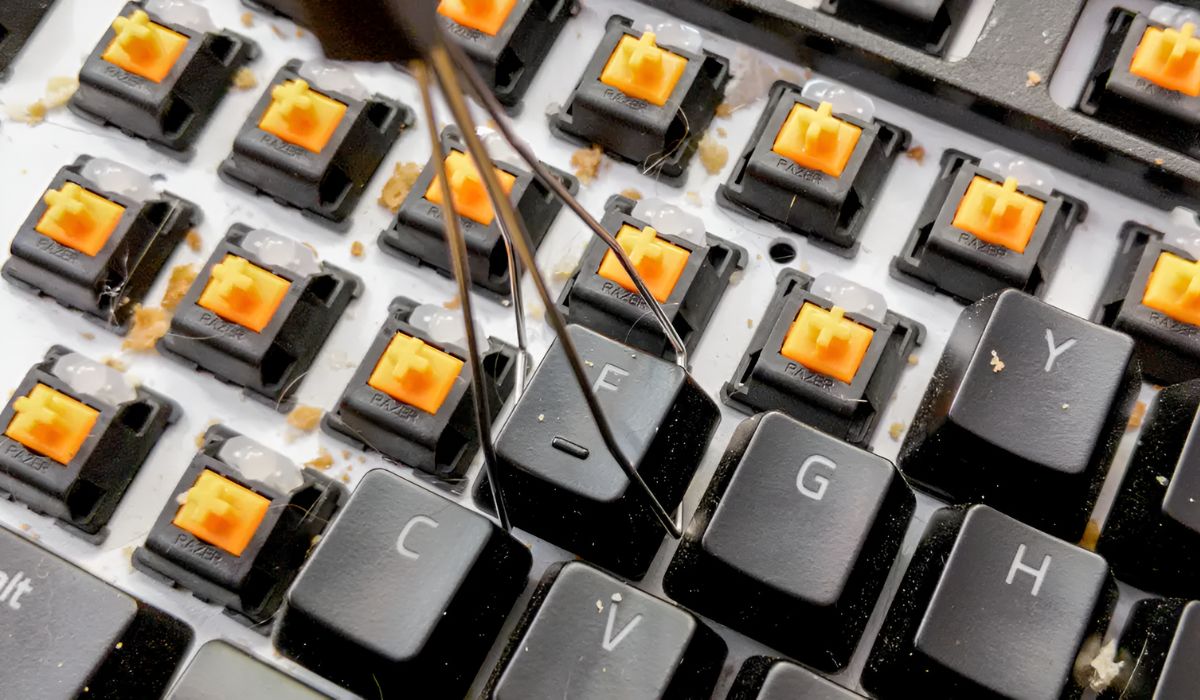
- Remove the Keycaps: Using a keycap puller, gently remove the keycaps from your keyboard. Take care to store the keycaps in a safe place to prevent them from getting lost during the cleaning process.
- Use Compressed Air: Hold the keyboard at a slight angle and use the compressed air to blow out any loose hair and debris from between the key switches. Work methodically across the keyboard, targeting areas where hair is most likely to accumulate.
- Clean with Cotton Swabs and Isopropyl Alcohol: Dampen a cotton swab with a small amount of isopropyl alcohol and carefully clean around the key switches and other intricate areas of the keyboard. This will help dissolve and remove any stubborn hair or residue that the compressed air didn’t dislodge.
- Wipe Down the Keycaps and Keyboard: Use a microfiber cloth lightly dampened with isopropyl alcohol to wipe down the keycaps and the exterior of the keyboard. This will remove any remaining hair, dirt, or oils, leaving the surfaces clean and refreshed.
- Reassemble the Keyboard: Once the keycaps and keyboard are thoroughly cleaned and dry, carefully reattach the keycaps in their respective positions. Ensure that each keycap is securely in place and that the keyboard is free from any residual moisture before powering it back on.
Following these steps will enable you to effectively remove hair from your mechanical keyboard and restore its functionality and appearance. By approaching the cleaning process with care and attention to detail, you can maintain your keyboard in optimal condition for continued use.
With the hair successfully removed from your mechanical keyboard, it’s important to consider strategies for preventing future hair buildup. In the next section, we’ll explore valuable tips for minimizing hair accumulation and preserving the cleanliness of your keyboard over time.
Tips for Preventing Hair Buildup in the Future
After investing time and effort into removing hair from your mechanical keyboard, it’s essential to implement preventive measures to minimize future hair accumulation. By adopting the following tips, you can maintain a cleaner and more resilient keyboard, reducing the frequency of intensive cleaning sessions and preserving its optimal performance:
- Regular Maintenance: Incorporate keyboard maintenance into your regular cleaning routine. Periodically remove the keycaps and use compressed air to blow out any accumulated debris, including hair, to prevent it from becoming deeply embedded.
- Keep Hair Away: When using your keyboard, be mindful of loose hair, especially if you have long hair or pets in your vicinity. Consider tying back long hair and minimizing direct contact between pets and your keyboard to reduce the transfer of hair.
- Designate a Clean Workspace: Establish a dedicated and clean workspace for your keyboard to minimize exposure to hair and environmental debris. A keyboard cover or dust guard can provide an additional layer of protection when the keyboard is not in use.
- Practice Good Hygiene: Regularly washing and grooming pets can help reduce shedding, minimizing the presence of loose hair in your immediate environment. Similarly, maintaining clean and well-groomed hair can lessen the likelihood of hair transfer to your keyboard.
- Invest in a Keyboard Cover: Consider using a keyboard cover when the keyboard is not in use, especially in environments where hair and dust are prevalent. A cover can shield the keyboard from external elements and prevent hair from settling between the keycaps.
By implementing these preventive measures, you can proactively reduce the impact of hair buildup on your mechanical keyboard, preserving its cleanliness and functionality for an extended period. Additionally, maintaining a clean and hair-free keyboard contributes to a more hygienic and visually appealing computing environment, enhancing your overall user experience.
With these tips in mind, you’re equipped to safeguard your mechanical keyboard against the intrusion of hair and maintain its optimal condition. By integrating these strategies into your keyboard care regimen, you can enjoy a consistently clean and reliable typing experience, free from the inconvenience of hair-related issues.
Conclusion
Congratulations on successfully navigating the process of removing hair from your mechanical keyboard and equipping yourself with valuable strategies for preventing future buildup. By prioritizing the maintenance of your keyboard, you’ve taken a proactive step toward ensuring its longevity, functionality, and visual appeal.
Throughout this guide, you’ve gained insights into the importance of maintaining a hair-free keyboard, understanding how hair accumulation can impact performance, hygiene, and overall user experience. By recognizing the significance of this maintenance task, you’ve empowered yourself to uphold a clean and efficient computing environment.
Armed with the essential tools and materials, you’ve learned the step-by-step process for effectively removing hair from your keyboard, taking care to address the intricate components with precision and care. By following these instructions, you’ve restored your keyboard to its optimal condition, ready to deliver a seamless and enjoyable typing experience.
Furthermore, the tips for preventing future hair buildup have provided you with a proactive approach to keyboard maintenance, allowing you to minimize the impact of hair accumulation and preserve the cleanliness and functionality of your keyboard over time. By integrating these strategies into your routine, you’re poised to maintain a hygienic and visually appealing workspace.
As you continue to engage with your mechanical keyboard, remember the significance of regular maintenance and attentive care. By implementing the knowledge and techniques acquired in this guide, you can uphold the performance and aesthetics of your keyboard, ensuring that it remains a reliable and enjoyable tool for your computing endeavors.
With your newfound expertise in keyboard maintenance, you’re well-prepared to embrace a clean, efficient, and hair-free typing experience. By valuing the care and maintenance of your keyboard, you’re not only preserving a vital tool but also cultivating a workspace that reflects your commitment to excellence and attention to detail.