Introduction
Are you experiencing the frustration of a mechanical keyboard key not working? Don't worry; you're not alone. Mechanical keyboards are renowned for their durability and tactile feedback, but occasionally, a key may cease to function as expected. Whether it's due to dust accumulation, a faulty switch, or a software issue, there are several troubleshooting steps you can take to resolve this common problem and restore your keyboard to its optimal functionality.
In this comprehensive guide, we'll walk you through the troubleshooting process for a non-responsive mechanical keyboard key. By following these steps, you can identify the root cause of the issue and implement the appropriate solution, saving you from the expense and inconvenience of replacing the entire keyboard. From checking for physical obstructions to updating keyboard drivers, we'll cover each potential fix in detail, empowering you to tackle this issue with confidence.
So, if you're ready to regain the full functionality of your mechanical keyboard, let's dive into the troubleshooting process and get that uncooperative key back in action.
Check for Physical Obstructions
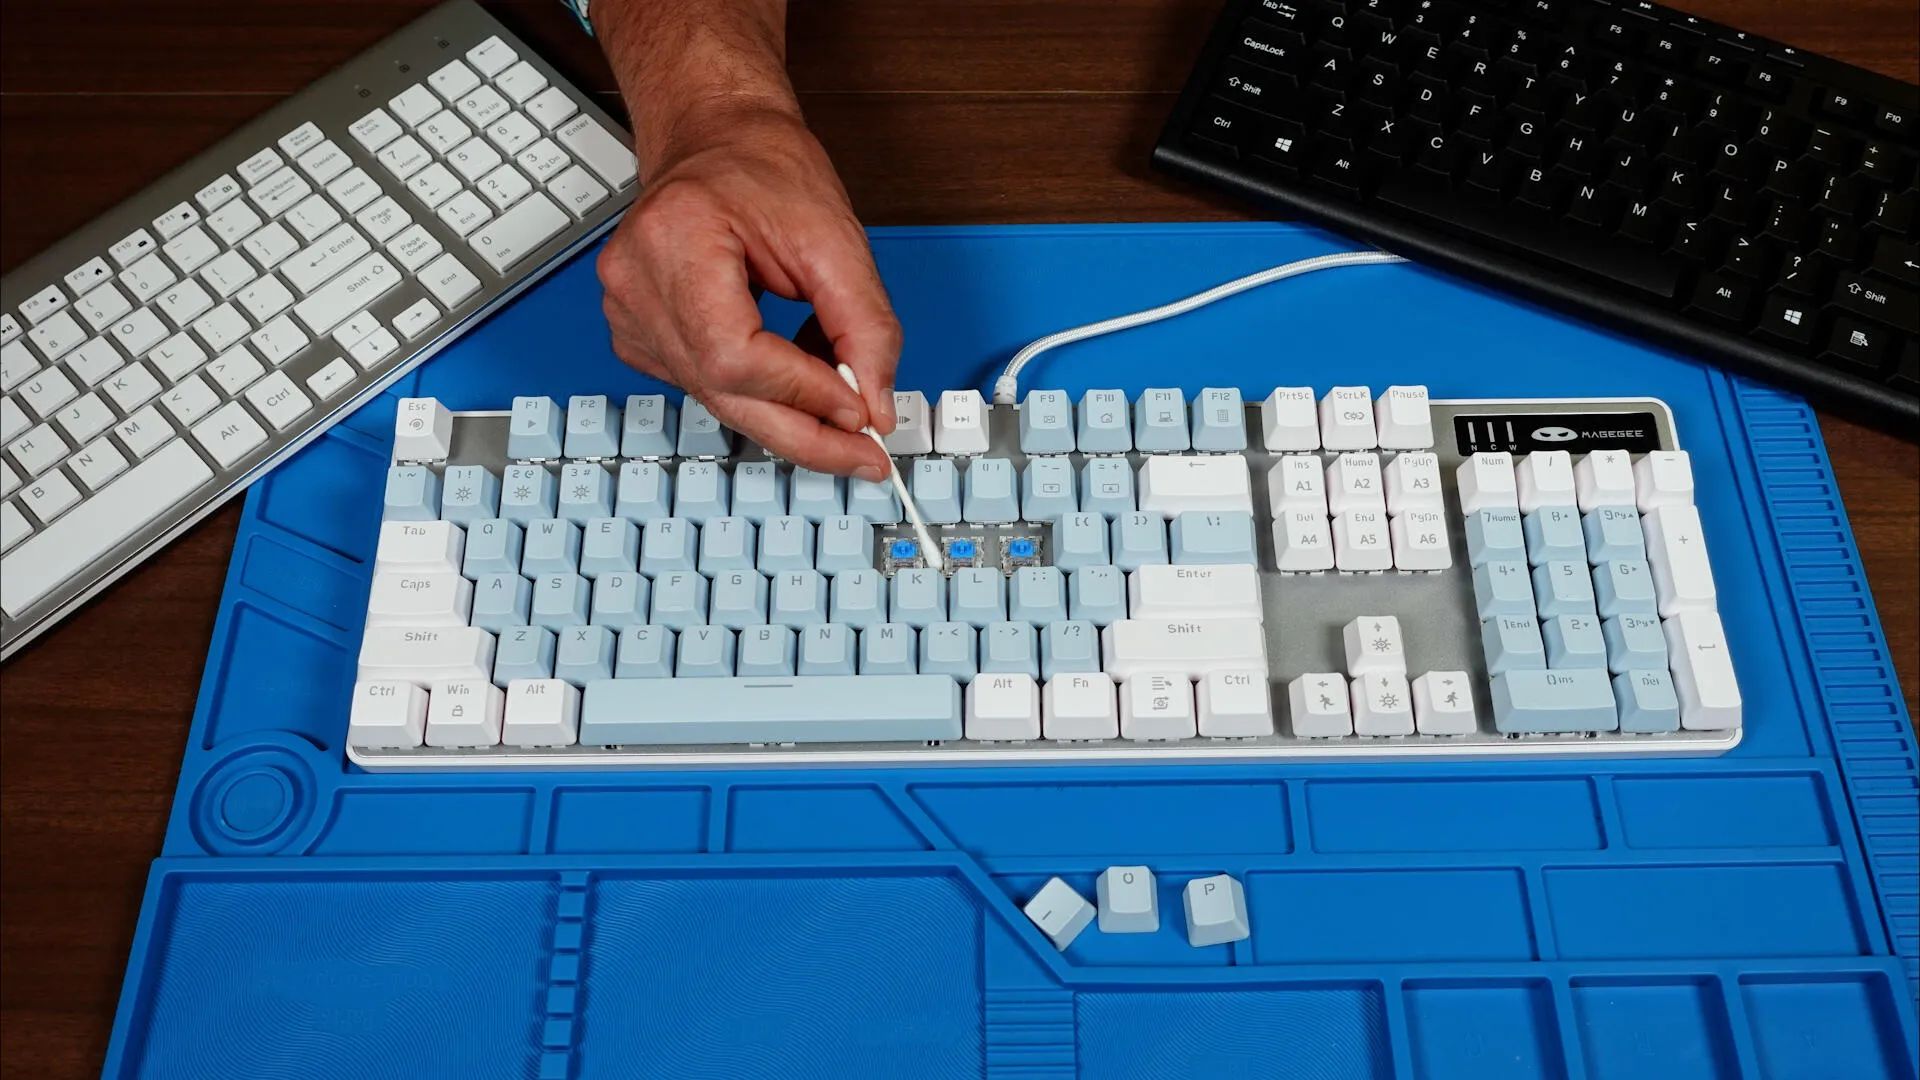
When a mechanical keyboard key stops working, the first step is to inspect the keycap and its surroundings for any physical obstructions that may be impeding its movement. Over time, debris such as food particles, dust, or pet hair can accumulate around the key switch, causing it to become unresponsive. To address this issue, follow these steps:
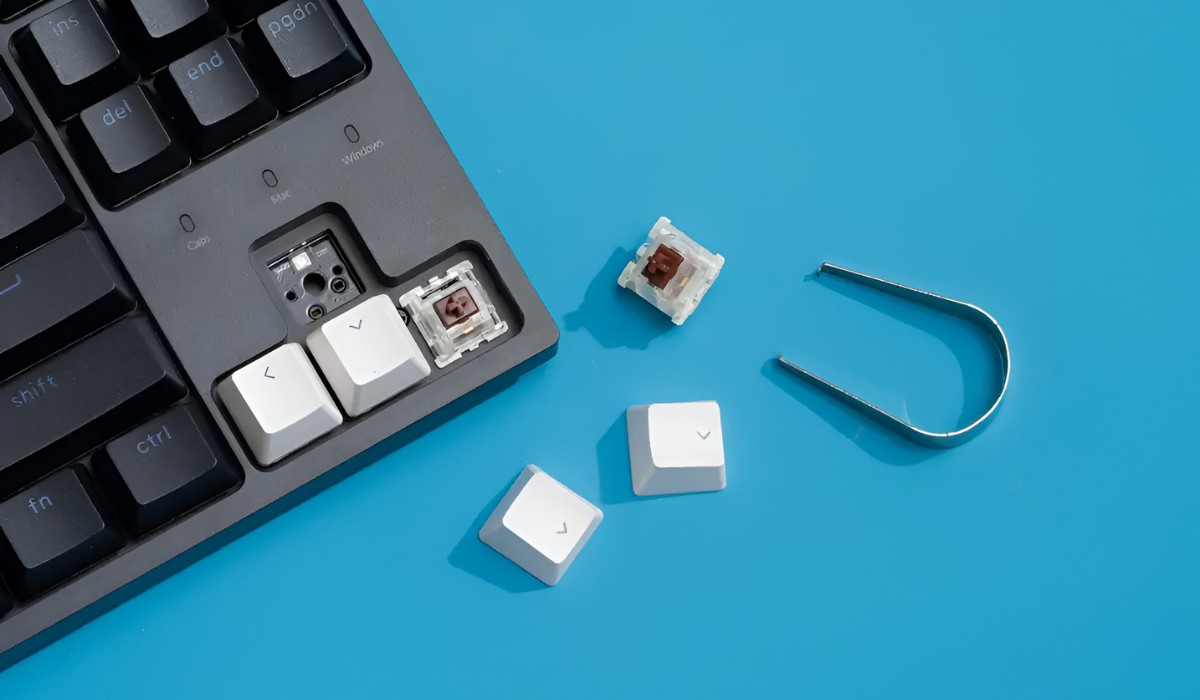
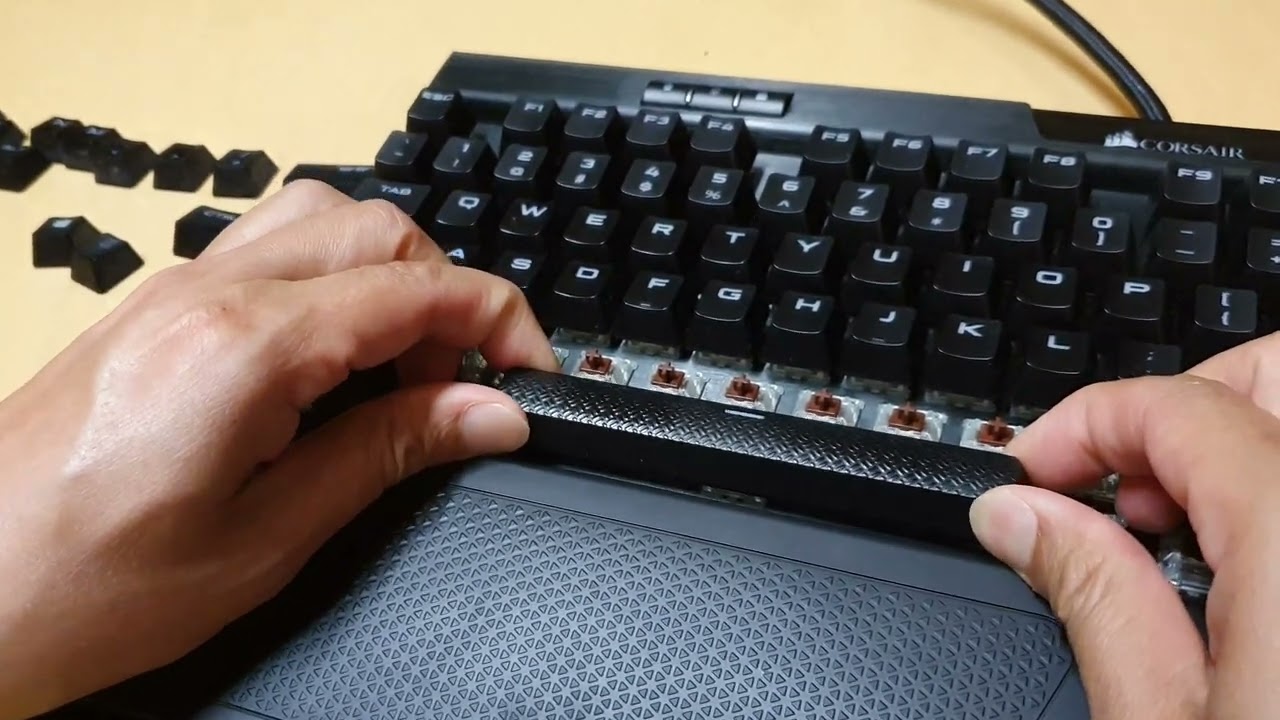
- Remove the Keycap: Using a keycap puller or a gentle twisting motion, carefully remove the keycap from the affected key. Take note of the keycap’s orientation to ensure proper reassembly.
- Inspect the Key Switch: Once the keycap is removed, visually inspect the key switch and its surrounding area for any visible debris or foreign objects. Use compressed air or a small brush to gently remove any obstructions that may be affecting the key’s movement.
- Clean the Keycap: While the keycap is removed, take the opportunity to clean it thoroughly. Use a keycap brush or a damp cloth to remove any dirt or grime that may have accumulated on the underside of the keycap.
- Reattach the Keycap: After ensuring that the key switch and surrounding area are free of obstructions, carefully reattach the keycap by aligning it with the switch and applying gentle pressure until it snaps into place.
By checking for physical obstructions and cleaning the key switch and keycap, you can often resolve the issue of a non-working mechanical keyboard key caused by debris or foreign objects. If the key remains unresponsive after performing these steps, it’s time to explore additional troubleshooting methods to pinpoint and address the underlying cause of the problem.
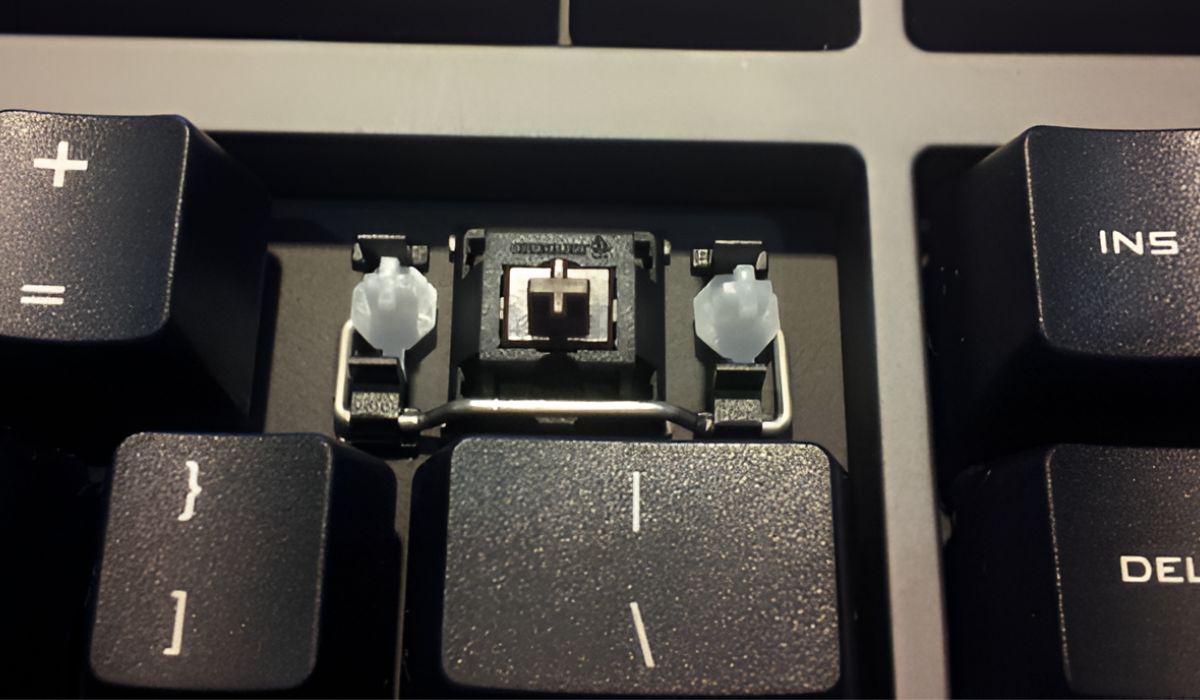
Clean the Key Switch
When a mechanical keyboard key becomes unresponsive, dirt and debris accumulated within the key switch may be the culprit. Cleaning the key switch can often restore its functionality and resolve the issue. Follow these steps to clean the key switch effectively:
- Power Off the Keyboard: Before proceeding, power off or disconnect the keyboard from your computer to prevent any accidental input during the cleaning process.
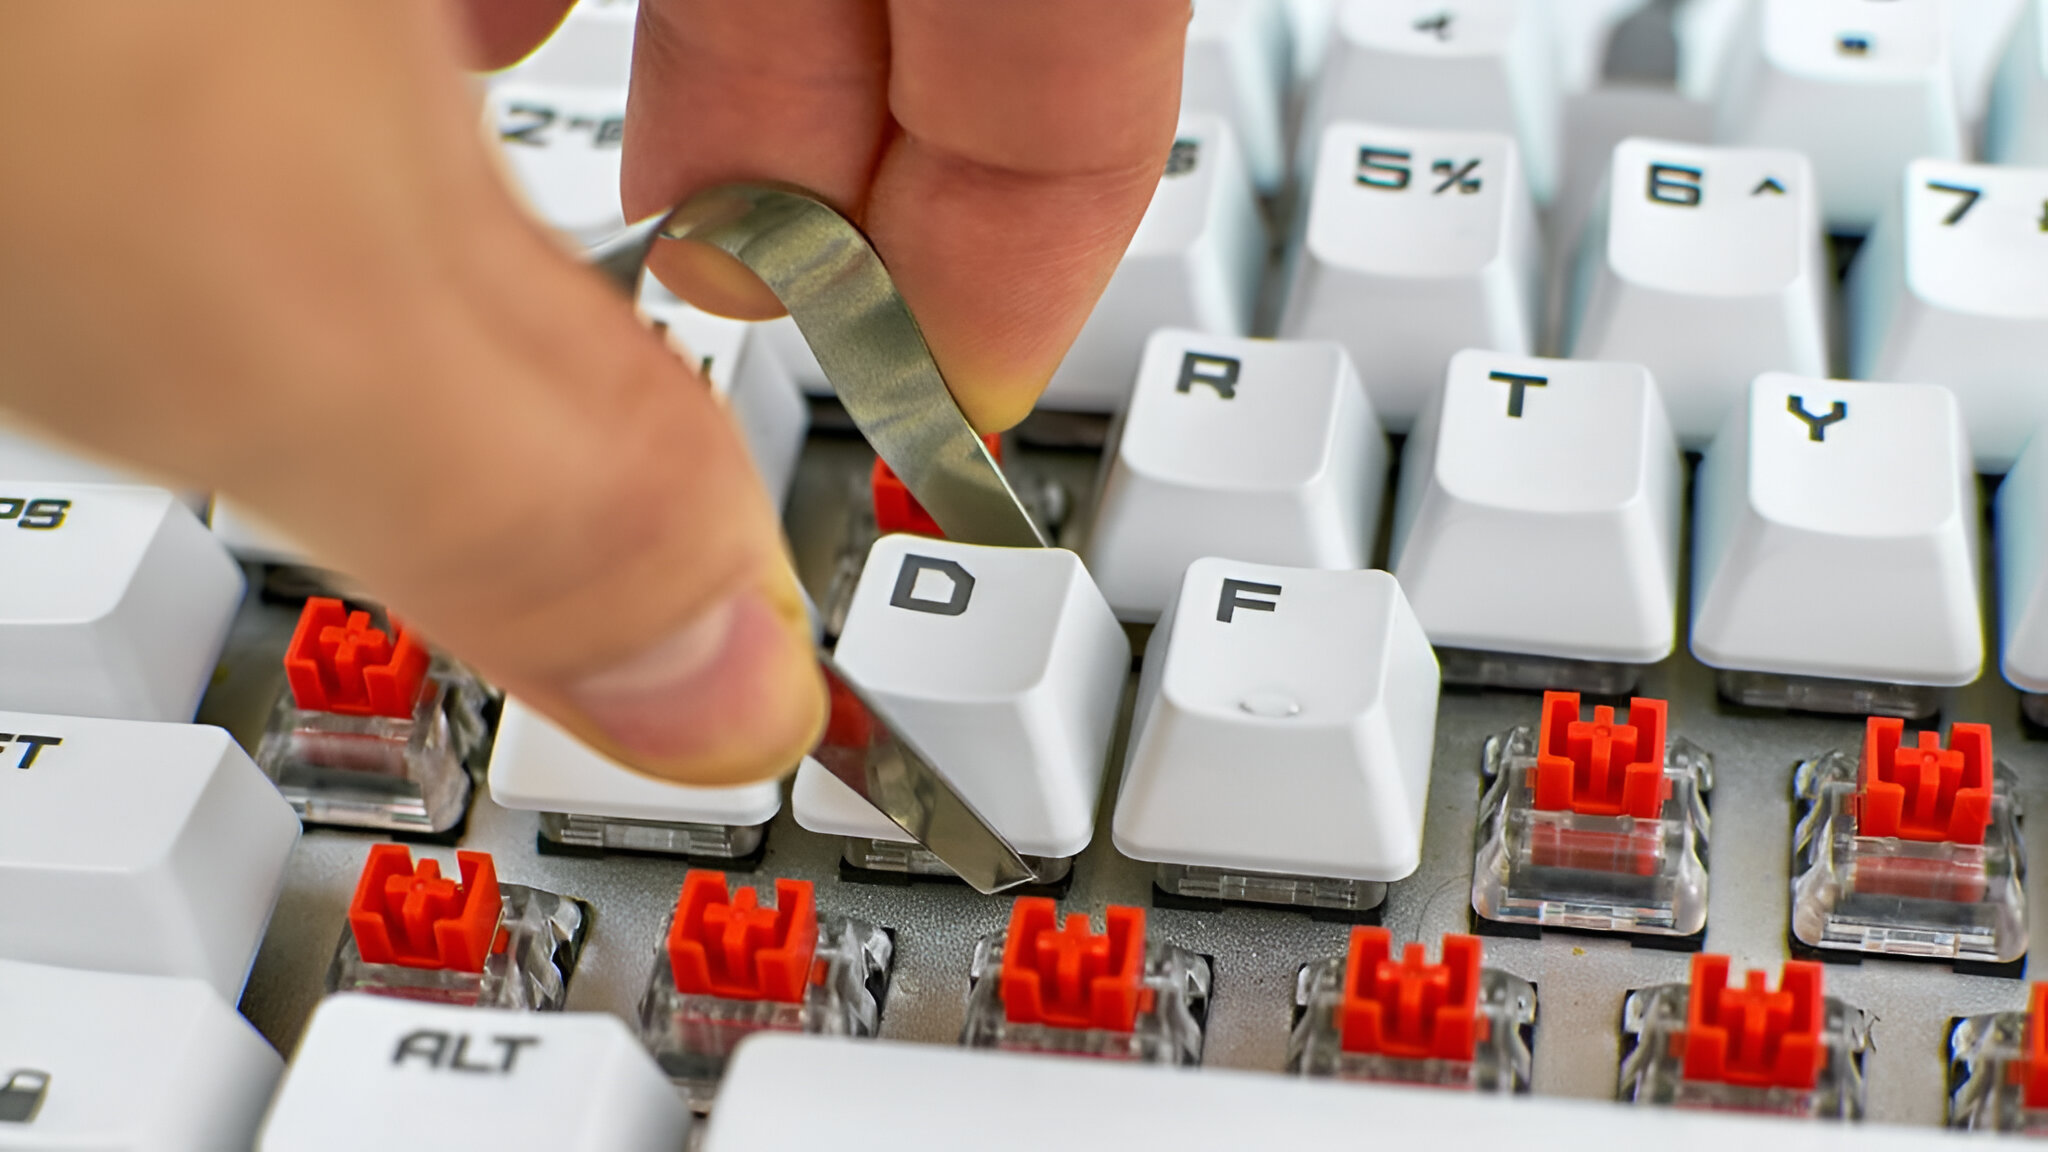
- Remove the Keycap: Using a keycap puller or a gentle twisting motion, carefully remove the keycap from the affected key. Take note of the keycap’s orientation for reassembly.
- Access the Key Switch: With the keycap removed, you’ll have access to the key switch. Depending on the keyboard model, this may require additional disassembly to reach the switch.
- Clean the Switch Housing: Use compressed air to remove any loose debris and dust from the switch housing. Be thorough but gentle to avoid damaging the delicate components.
- Inspect the Metal Contacts: Carefully inspect the metal contacts within the key switch for any signs of corrosion or buildup. If present, use a small amount of isopropyl alcohol and a cotton swab to gently clean the contacts.
- Reassemble the Key: Once the key switch and surrounding area are clean, reassemble the keycap by aligning it with the switch and applying gentle pressure until it snaps into place.
By cleaning the key switch and ensuring that it is free of debris and corrosion, you can often revive a non-responsive mechanical keyboard key. If cleaning the key switch does not resolve the issue, further troubleshooting steps may be necessary to identify and address the underlying cause of the malfunction.
Rebind the Key
If a mechanical keyboard key is not working, reassigning or rebinding the key can serve as a potential solution to address the issue. This process involves remapping the key’s function to a different input, effectively bypassing any underlying mechanical or electrical problems. Here’s how you can rebind the key:
- Access Keyboard Settings: Navigate to your computer’s keyboard settings or use third-party software provided by the keyboard manufacturer to access key binding and remapping options.
- Select the Non-Responsive Key: Within the keyboard settings, locate the non-responsive key that requires rebinding and select it for remapping.
- Assign a New Function: Choose a different function or key input to assign to the non-responsive key. This can involve mapping it to a redundant key or assigning a new function altogether.
- Save and Apply Changes: Once the key has been rebound to a different input, save the changes and apply them to the keyboard settings. Test the key to see if the new assignment restores its functionality.
Rebinding the key can be a practical workaround for a non-working mechanical keyboard key, especially if the issue is related to a specific input command rather than a physical or electrical malfunction. However, if rebinding the key does not yield the desired results, further troubleshooting steps may be necessary to diagnose and resolve the underlying cause of the problem.
Update Keyboard Drivers
Outdated or corrupted keyboard drivers can contribute to non-responsive keys on mechanical keyboards. Updating the keyboard drivers can often rectify this issue by ensuring that the communication between the keyboard and the computer’s operating system is optimized. Here’s how you can update the keyboard drivers:
- Identify the Keyboard Model: Determine the specific model of your mechanical keyboard, as the driver update process may vary based on the manufacturer and model.
- Visit the Manufacturer’s Website: Access the official website of the keyboard manufacturer and navigate to the support or downloads section.
- Download the Latest Drivers: Locate the latest keyboard drivers compatible with your operating system and download them to your computer.
- Install the Updated Drivers: Follow the manufacturer’s instructions to install the updated keyboard drivers. This may involve running an installer or manually updating the drivers through the Device Manager on your computer.
- Restart the Computer: After installing the updated drivers, restart your computer to ensure that the changes take effect.
By updating the keyboard drivers to the latest versions provided by the manufacturer, you can often resolve issues related to non-responsive keys on mechanical keyboards. If updating the drivers does not alleviate the problem, further troubleshooting steps may be necessary to pinpoint and address the root cause of the malfunction.
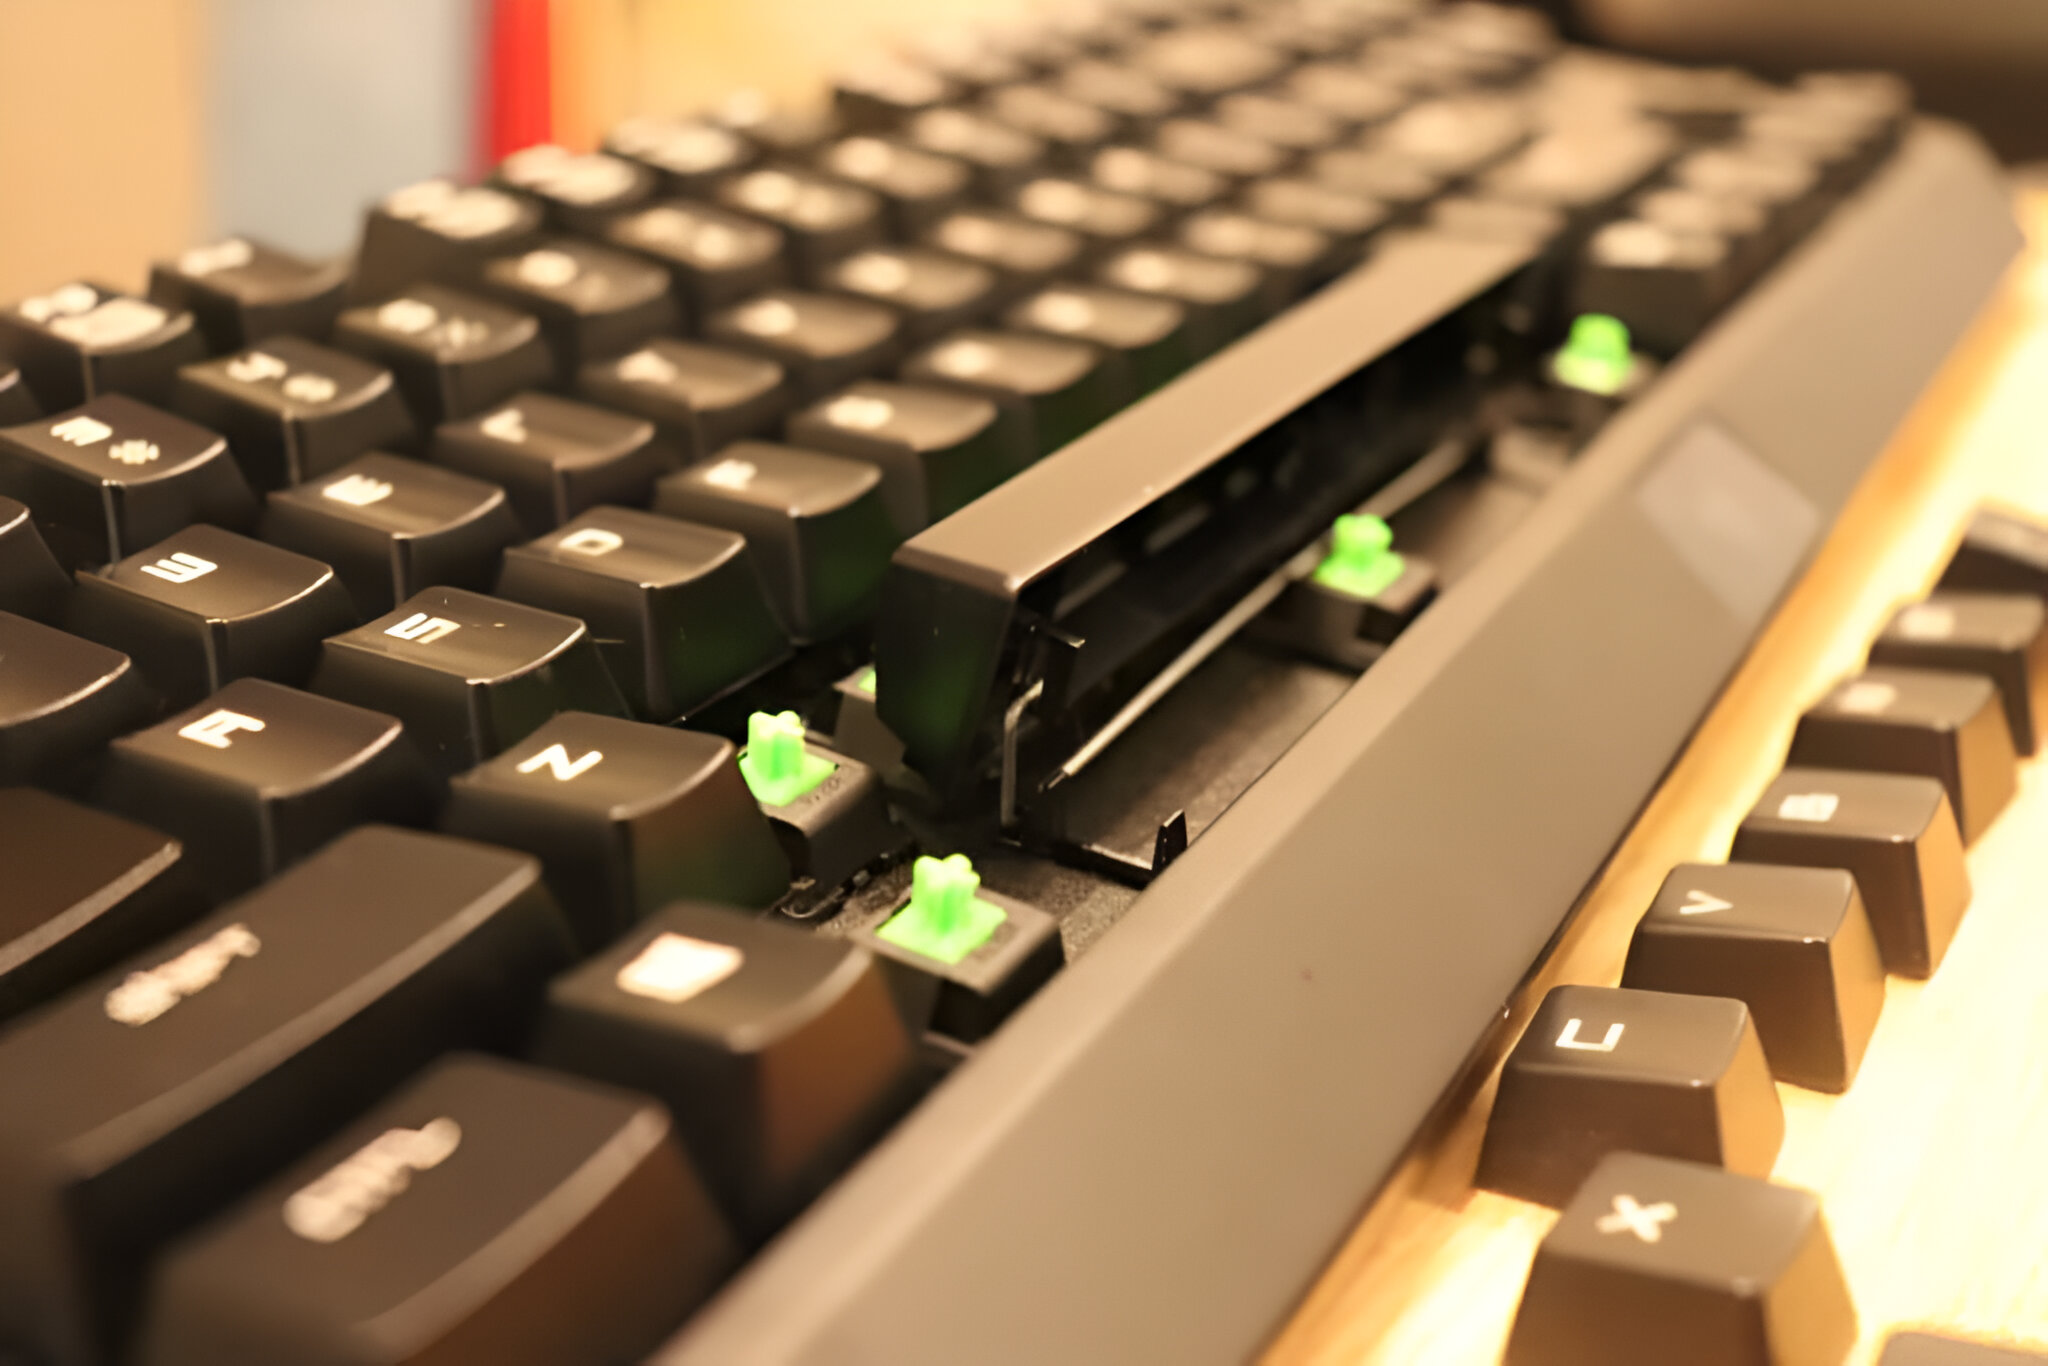
Replace the Key Switch
When all other troubleshooting methods have been exhausted and a mechanical keyboard key remains unresponsive, it may be necessary to replace the key switch. This process involves physically removing the malfunctioning switch and installing a new one to restore the key’s functionality. Here’s a step-by-step guide to replacing the key switch:
- Identify the Keyboard’s Switch Type: Determine the specific type of switch used in your mechanical keyboard (e.g., Cherry MX, Gateron, Kailh) to ensure compatibility when purchasing a replacement switch.
- Acquire Replacement Switches: Purchase a set of replacement switches that match the type and specifications of the existing switches in your keyboard. They are typically available for individual purchase or in bulk from various retailers.
- Prepare for Disassembly: Power off or disconnect the keyboard from your computer and prepare a clean, well-lit workspace for the disassembly process.
- Remove the Keycap and Switch: Using a keycap puller and a suitable switch removal tool, carefully extract the keycap and the malfunctioning switch from the keyboard. Take note of the switch’s orientation for proper reinstallation.
- Install the Replacement Switch: Carefully insert the replacement switch into the vacant switch socket, ensuring that it is properly aligned and seated securely in place.
- Reassemble the Keyboard: Once the replacement switch is installed, reattach the keycap and ensure that it is securely in place. Reconnect the keyboard to your computer and test the replaced key for functionality.
By replacing the key switch with a new, compatible component, you can effectively address persistent issues with non-responsive keys on a mechanical keyboard. If the replacement process is executed correctly and the new switch is functioning as intended, the keyboard will regain its full functionality, allowing you to continue enjoying its tactile feedback and responsive performance.
Conclusion
Resolving a non-responsive key on a mechanical keyboard can be a straightforward process with the right troubleshooting techniques. By systematically checking for physical obstructions, cleaning the key switch, rebinding the key, updating keyboard drivers, and, if necessary, replacing the key switch, users can often restore the functionality of their keyboards without the need for a complete replacement.
It’s important to approach the troubleshooting process with patience and attention to detail, as each step plays a crucial role in identifying and addressing the underlying cause of the issue. Whether it’s a stubborn piece of debris causing a key to malfunction or a software-related driver issue, the solutions outlined in this guide provide a comprehensive toolkit for diagnosing and rectifying non-responsive keys on mechanical keyboards.
By following these troubleshooting steps, users can not only save on the expense of purchasing a new keyboard but also gain a deeper understanding of the inner workings of their mechanical keyboards. Additionally, the ability to troubleshoot and resolve common issues empowers users to maintain and prolong the lifespan of their beloved mechanical keyboards, ensuring continued satisfaction with their tactile typing experience.
Remember, if at any point the troubleshooting process becomes challenging or if the issue persists despite your efforts, seeking assistance from the keyboard manufacturer’s support resources or a professional technician can provide further guidance and expertise in resolving the issue.
With a methodical approach and the insights provided in this guide, you can confidently tackle non-responsive keys on your mechanical keyboard, restoring its full functionality and enjoying uninterrupted typing experiences for years to come.