Introduction
Are you experiencing issues with your mechanical keyboard's spacebar, such as unresponsiveness or sticking keys? Fret not, as this guide will walk you through the process of fixing a problematic spacebar on your mechanical keyboard. Mechanical keyboards are renowned for their durability and tactile feedback, but over time, debris and dust can accumulate, leading to performance issues, particularly with the spacebar key. By following the steps outlined in this article, you can restore the functionality of your spacebar and ensure a smooth typing experience.
A malfunctioning spacebar can be a major inconvenience, affecting your productivity and overall enjoyment of using your keyboard. Whether you're an avid gamer, a programmer, or simply someone who spends a significant amount of time typing, a faulty spacebar can be a significant hindrance. However, with the right tools and a bit of know-how, you can address this issue without having to replace the entire keyboard.
In the following sections, we will delve into the step-by-step process of fixing a mechanical keyboard spacebar. From removing the keycap to cleaning the stabilizer and switches, each stage is crucial in ensuring that your spacebar functions optimally. By the end of this guide, you will have the knowledge and confidence to troubleshoot and resolve spacebar issues on your mechanical keyboard.
Let's dive into the process of reviving your mechanical keyboard's spacebar, allowing you to type, game, and work without the frustration of a malfunctioning key. With the right approach and a bit of patience, you can breathe new life into your keyboard and enjoy a seamless typing experience once more.
Tools and Materials Needed
Before embarking on the journey to fix your mechanical keyboard’s spacebar, it’s essential to gather the necessary tools and materials. Having the right equipment at your disposal will streamline the process and ensure that you can address the issue effectively. Here’s a list of the items you’ll need:
- Keycap Puller: This tool is essential for safely removing the keycap without causing damage to the keyboard.
- Compressed Air: To dislodge and remove any dust or debris that may be affecting the spacebar’s functionality.
- Brush or Cotton Swabs: For detailed cleaning of the stabilizer and switches, ensuring that no residue is left behind.
- Isopropyl Alcohol: Ideal for cleaning the components of the spacebar, as it effectively dissolves grime and residue.
- Tweezers: Useful for handling small components and reaching tight spaces within the keyboard.
- Lubricant (Optional): If the spacebar’s stabilizer or switches require lubrication, a suitable lubricant can help restore smooth operation.
These tools and materials are readily available and are essential for the maintenance and repair of mechanical keyboards. By ensuring that you have everything on hand before starting the process, you can avoid interruptions and complete the task efficiently.
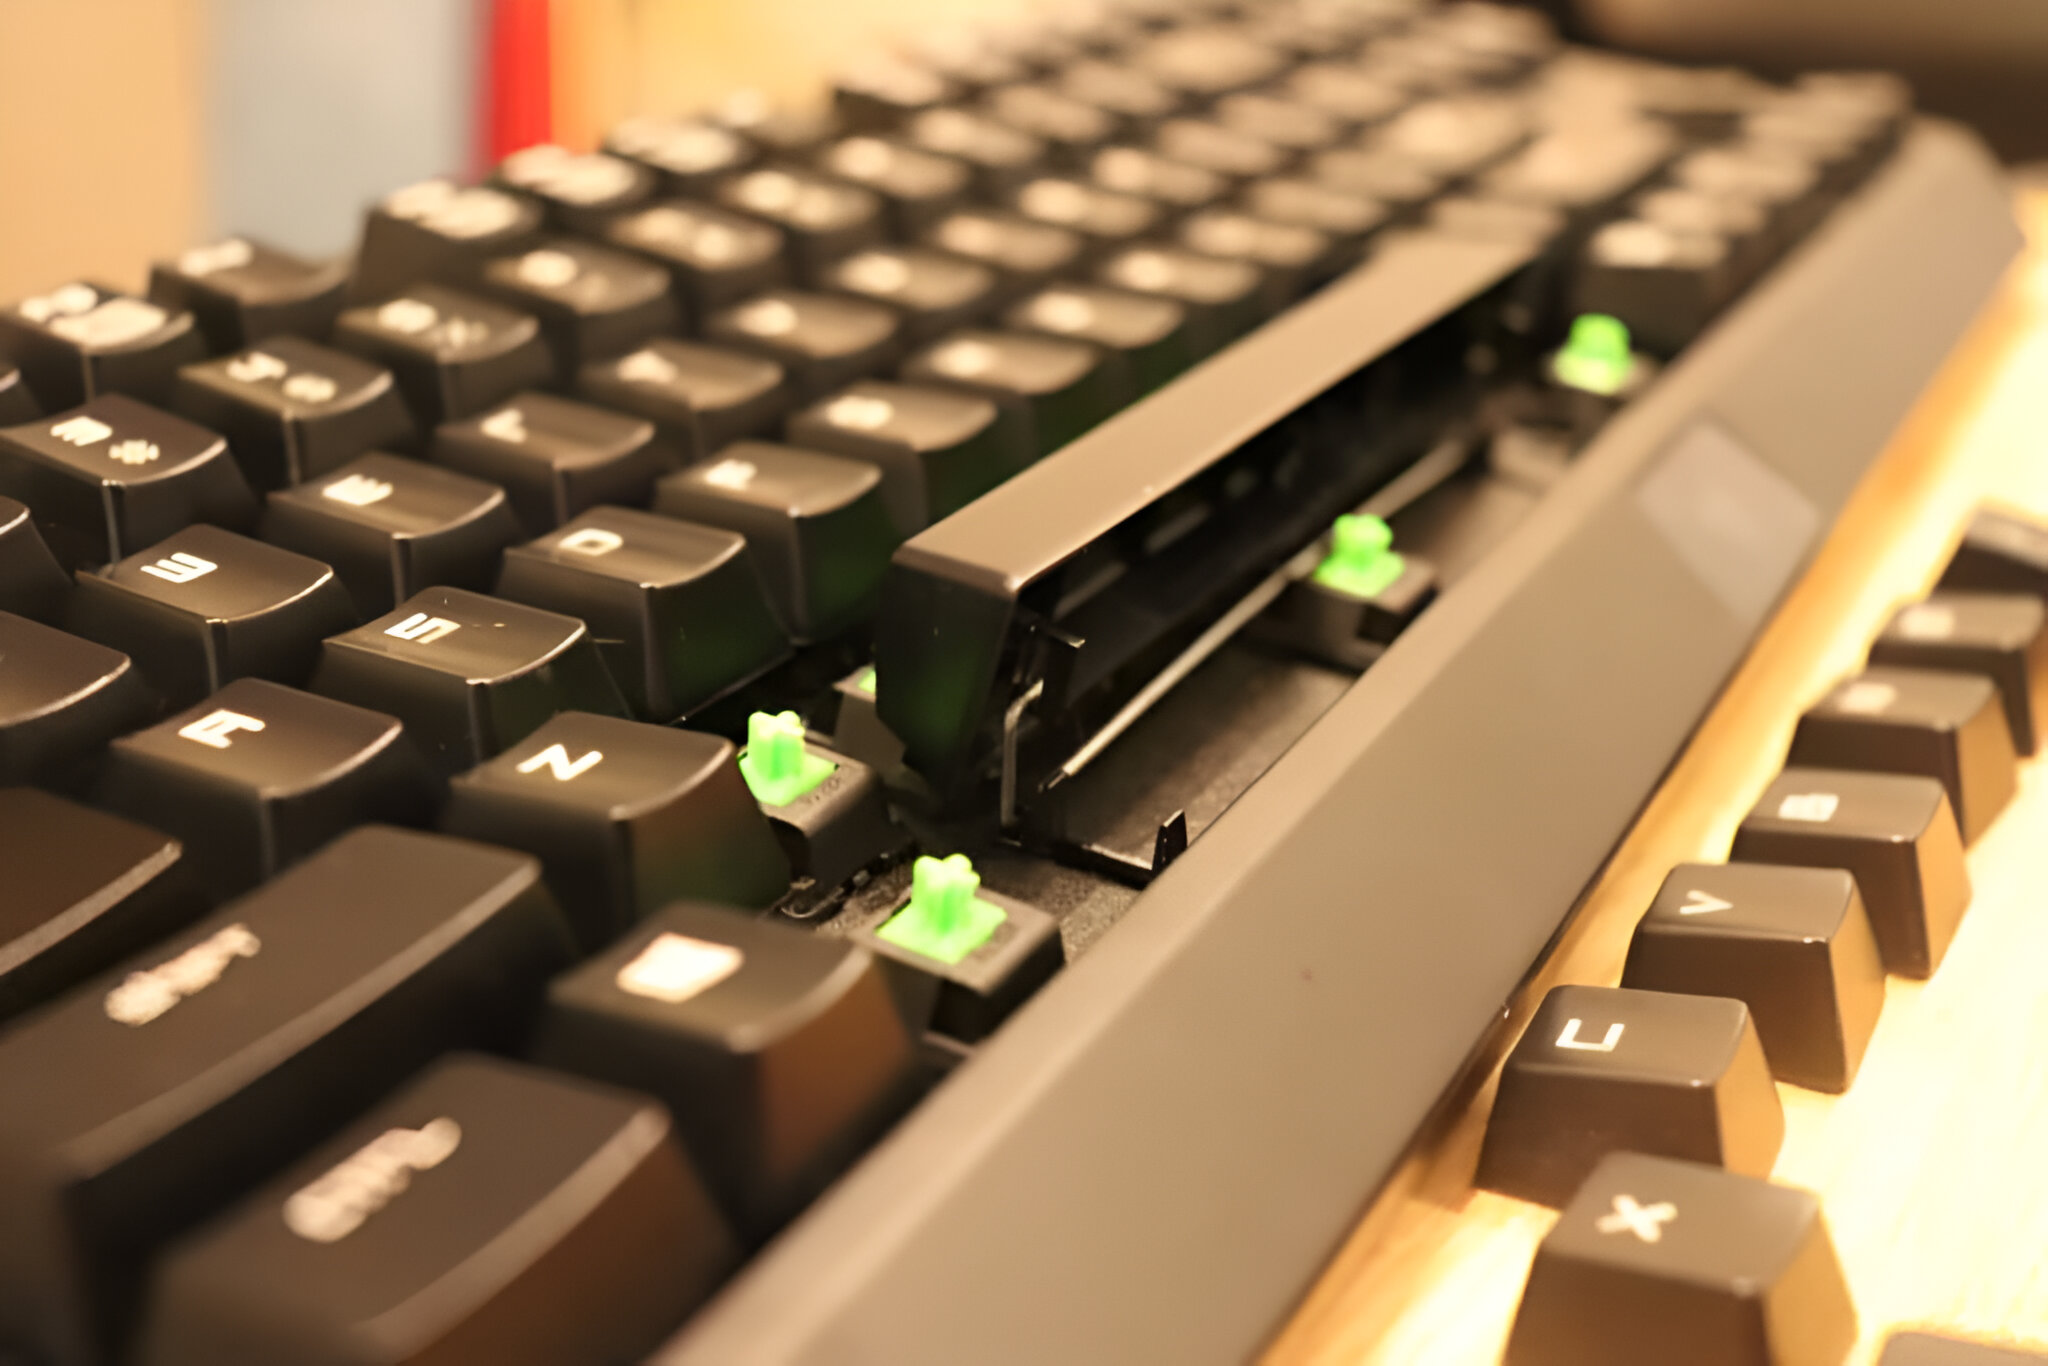
Removing the Spacebar Keycap
Before delving into the internal components of the spacebar, the first step is to remove the keycap itself. This process requires precision and care to avoid damaging the keycap or the keyboard. Here’s a step-by-step guide on how to remove the spacebar keycap:
- Prepare Your Workspace: Find a well-lit and spacious area to work on your keyboard. Ensure that the surface is clean and free from any potential hazards that could damage the keyboard or its components.
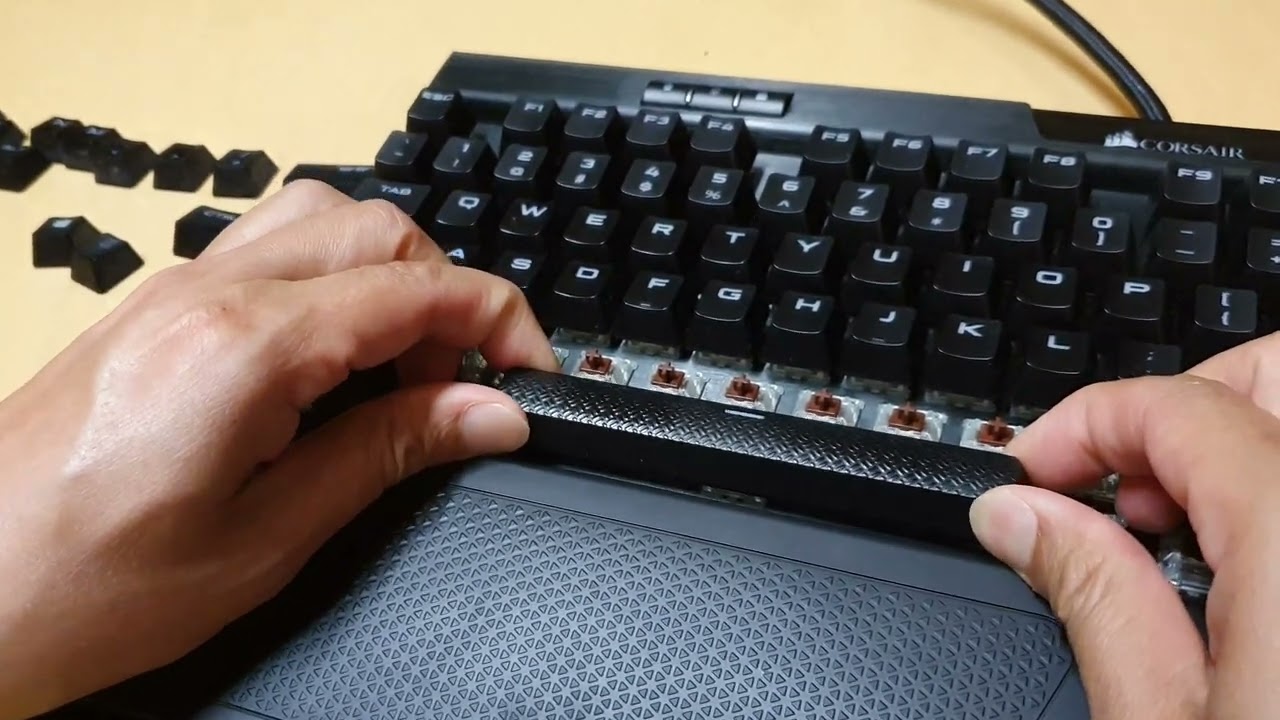
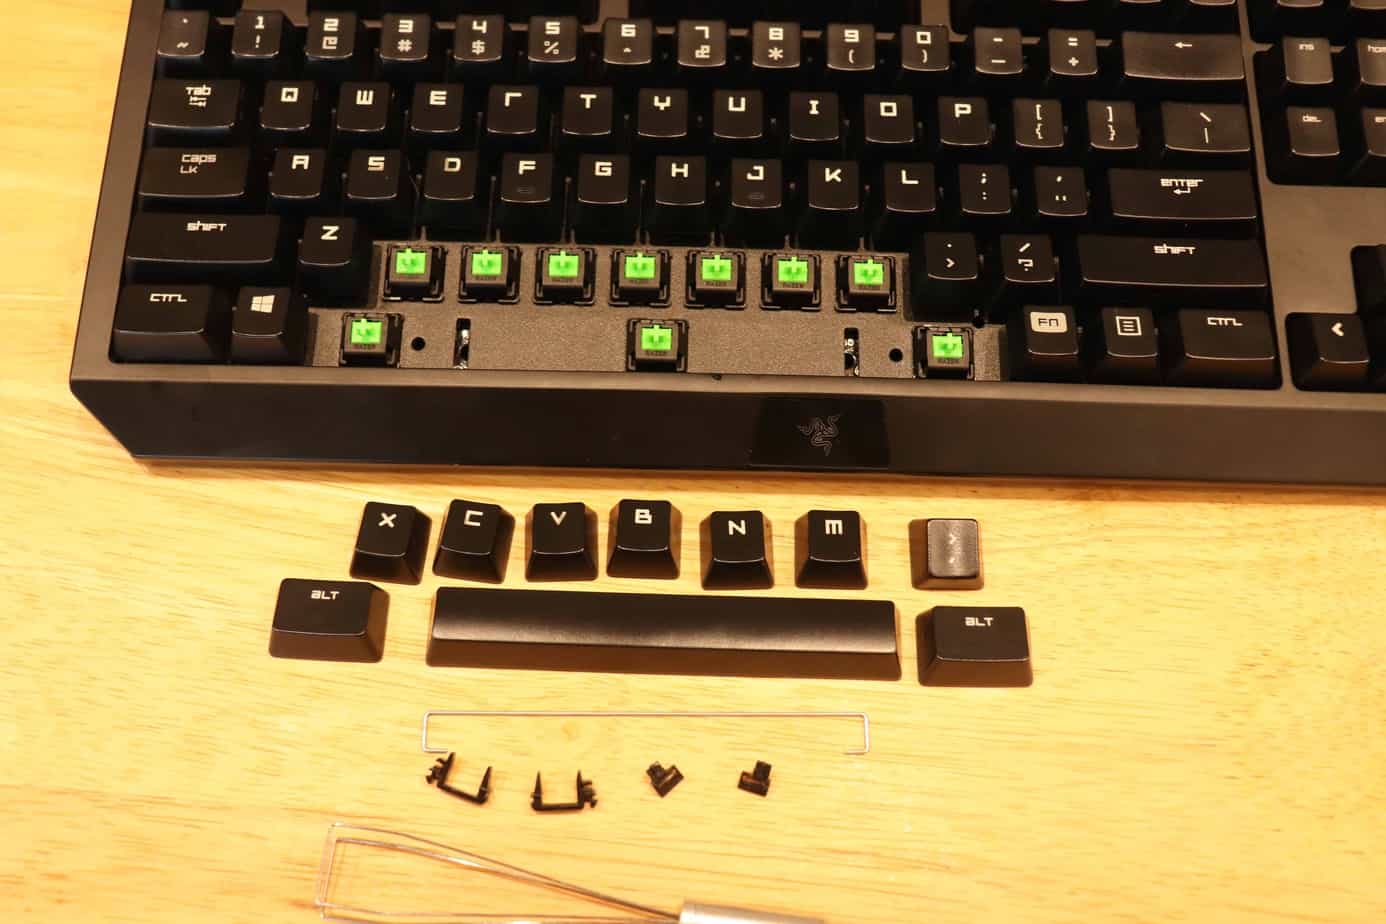
- Use a Keycap Puller: A keycap puller is a specialized tool designed to safely remove keycaps without exerting excessive force on the switches. Insert the keycap puller’s wires around the base of the spacebar keycap, ensuring a firm but gentle grip.
- Apply Even Pressure: With the keycap puller in place, exert even pressure on the tool to lift the spacebar keycap from its switch housing. Avoid applying excessive force, as this could damage the switch or the keycap itself. With steady pressure, the keycap should pop off smoothly.
- Set Aside the Keycap: Once the keycap is removed, set it aside in a safe place. Take note of its orientation to ensure proper reassembly later on.
By following these steps, you can safely remove the spacebar keycap without causing any damage to the keyboard or its internal components. With the keycap out of the way, you can proceed to the next phase of the repair process, focusing on cleaning and maintaining the spacebar’s stabilizer and switches.
Cleaning the Stabilizer and Switches
Once the spacebar keycap has been successfully removed, the next crucial step in the repair process involves cleaning the stabilizer and switches. Over time, dust, debris, and residue can accumulate within these components, leading to a decline in performance and responsiveness. Here’s a comprehensive guide on how to clean the stabilizer and switches of your mechanical keyboard’s spacebar:
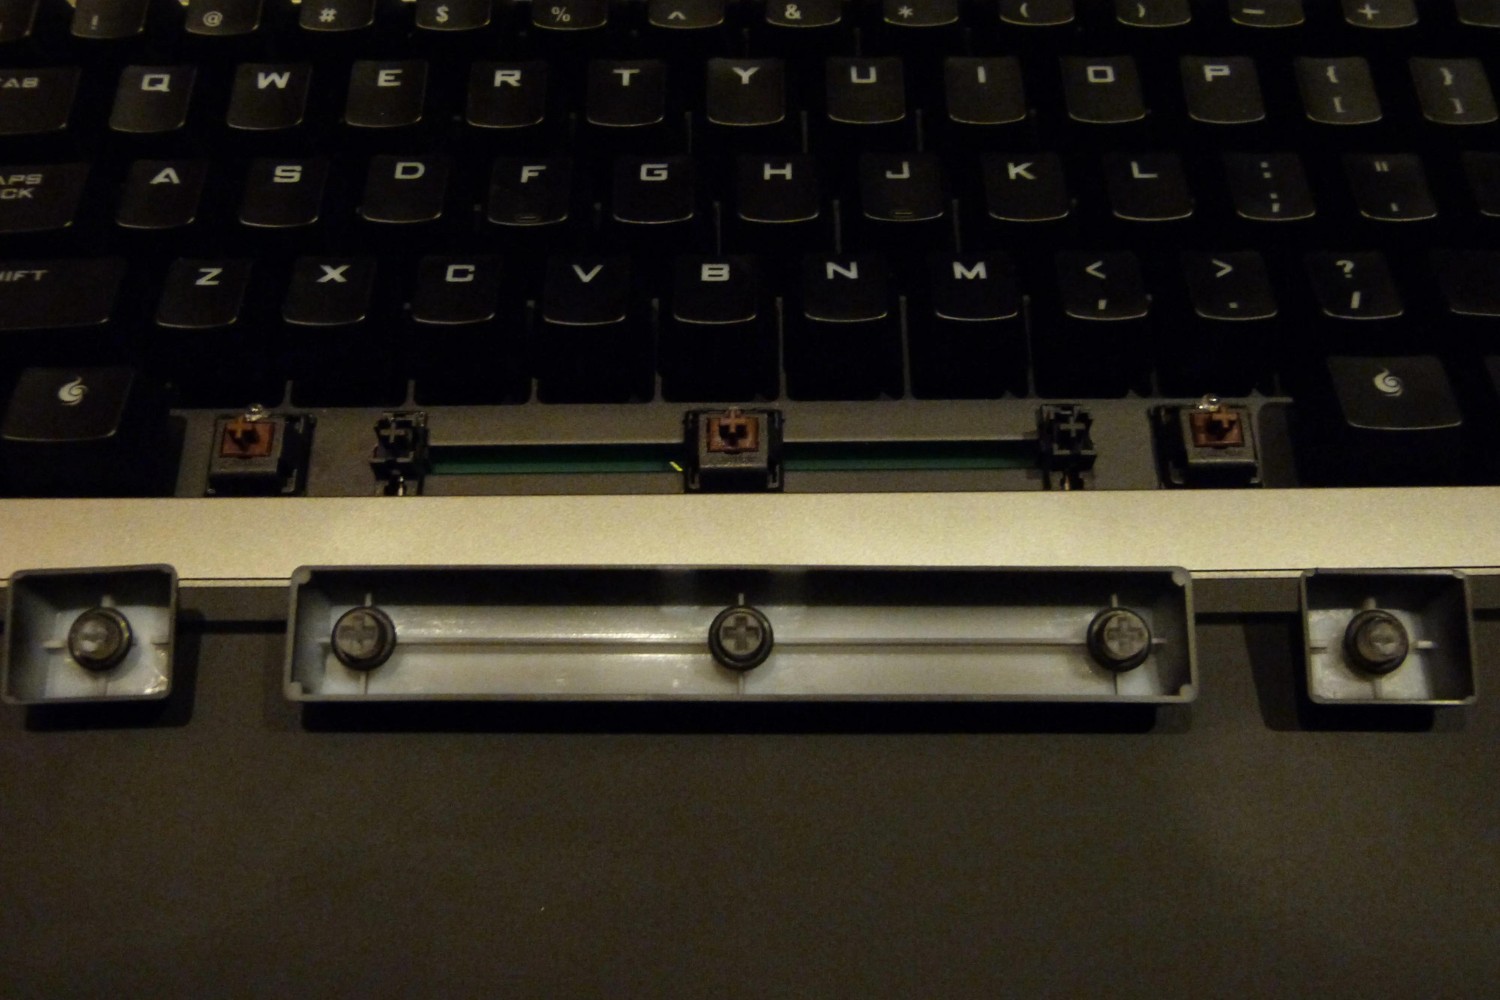
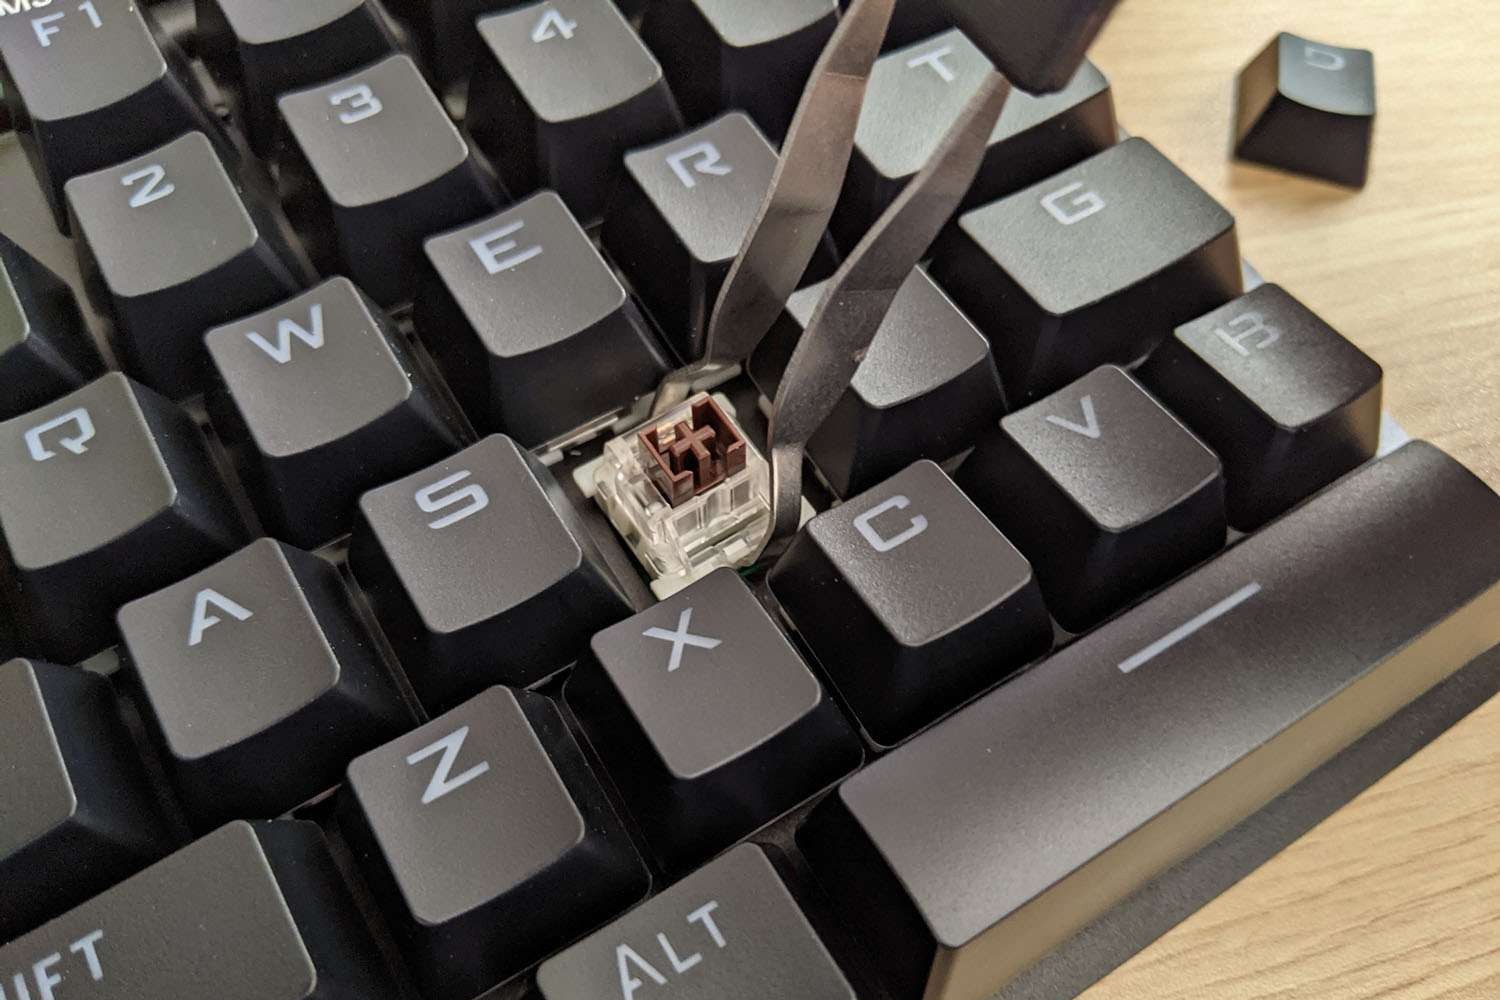
- Inspect for Debris: Take a close look at the stabilizer and switches to identify any visible debris or buildup. Using a flashlight or a well-lit area can aid in spotting any accumulated residue.
- Use Compressed Air: With the help of a can of compressed air, carefully blow away any loose debris or dust from the stabilizer and switches. Ensure that the nozzle of the compressed air can is directed away from the keyboard to prevent dislodged particles from settling elsewhere.
- Detail Cleaning: For more stubborn residue or debris, utilize a small brush or cotton swab dipped in isopropyl alcohol to meticulously clean the stabilizer and switches. Gently maneuver the brush or swab to dislodge and remove any buildup, taking care not to apply excessive pressure.
- Addressing Sticking Switches: If any of the switches beneath the spacebar appear to be sticking, carefully inspect them for residue or misalignment. Use the brush and isopropyl alcohol to clean and realign the switches, ensuring that they move freely without obstruction.
- Lubrication (Optional): If the stabilizer or switches exhibit signs of friction or rough movement, a small amount of specialized lubricant can be applied to restore smooth operation. Exercise caution and apply the lubricant sparingly to avoid excess buildup.
By meticulously cleaning the stabilizer and switches, you can eliminate the factors contributing to the spacebar’s malfunction. This process aims to restore the components to their optimal condition, ensuring that the spacebar operates smoothly and responsively. With the cleaning phase complete, you are now ready to reassemble the spacebar keycap and test its functionality.
Reassembling the Spacebar Keycap
After thoroughly cleaning the stabilizer and switches, the next step in the process of fixing a mechanical keyboard’s spacebar involves reassembling the keycap. This phase requires attention to detail and precision to ensure that the keycap is securely and correctly placed back onto the keyboard. Follow these steps to reassemble the spacebar keycap:
- Position the Keycap Correctly: Take note of the orientation of the keycap and the switch beneath it. Align the keycap properly to ensure it sits flush and level on the switch housing.
- Gently Press the Keycap: With the keycap aligned, gently press down on all sides to secure it onto the switch housing. Apply even pressure to ensure that the keycap snaps into place without any wobbling or misalignment.
- Verify Stability: Once the keycap is in position, perform a visual inspection to confirm that it is securely attached. Gently wiggle the keycap to check for any looseness or instability.
By following these steps, you can effectively reassemble the spacebar keycap, ensuring that it is firmly secured and aligned with the switch beneath it. The proper reassembly of the keycap is essential in maintaining the overall functionality and aesthetics of the keyboard. With the keycap securely in place, the final phase involves testing the spacebar to confirm that it operates smoothly and responsively.
Testing the Spacebar
With the spacebar keycap successfully reassembled, the final step in the process of fixing a mechanical keyboard’s spacebar involves testing its functionality. This phase allows you to verify that the spacebar operates smoothly and responsively, ensuring that the repair process has been effective. Follow these steps to test the spacebar:
- Perform Typing Tests: Open a text document or use an online typing test to gauge the responsiveness of the spacebar. Type sentences and phrases that involve frequent use of the spacebar to assess its performance.
- Observe Key Registration: Pay attention to whether the spacebar consistently registers key presses without sticking or requiring excessive force. Verify that it returns to its original position after each press.
- Test During Gaming or Typing Activities: Engage in your regular gaming sessions or typing tasks to evaluate the spacebar’s performance in real-world usage scenarios. Note any issues that arise during extended use.
By conducting these tests, you can ensure that the spacebar functions optimally and enhances your overall typing or gaming experience. The thorough cleaning and reassembly of the spacebar, coupled with rigorous testing, aim to address any underlying issues and restore the spacebar to its peak performance.
Conclusion
Reviving a malfunctioning spacebar on a mechanical keyboard is a rewarding endeavor that can significantly enhance your typing and gaming experience. By following the step-by-step process outlined in this guide, you have gained the knowledge and skills to address spacebar issues effectively. From removing the keycap and cleaning the stabilizer and switches to reassembling the keycap and testing its functionality, each stage is crucial in ensuring the optimal performance of the spacebar.
By employing the right tools and techniques, you have successfully navigated the repair process, breathing new life into your mechanical keyboard. The meticulous cleaning and reassembly of the spacebar keycap aim to eliminate the factors contributing to its malfunction, allowing you to enjoy a smooth and responsive typing or gaming experience.
Remember that regular maintenance and cleaning can prevent future issues with your mechanical keyboard’s spacebar. By incorporating these practices into your keyboard care routine, you can prolong its lifespan and maintain peak performance.
With your newly acquired knowledge, you are well-equipped to troubleshoot and address spacebar issues, ensuring that your mechanical keyboard continues to deliver a satisfying and reliable typing and gaming experience. Embrace the satisfaction of overcoming keyboard challenges and revel in the seamless operation of your revitalized spacebar.