Introduction
Are you frustrated by the unresponsiveness of your mechanical keyboard? Dust, debris, and worn-out components can often cause these issues, but fear not! With a few simple tools and a little know-how, you can breathe new life into your beloved keyboard. This guide will walk you through the step-by-step process of fixing a mechanical keyboard, ensuring that you can enjoy a smooth and satisfying typing experience once again.
A mechanical keyboard is a marvel of engineering, comprising individual switches for each key. Over time, these switches can accumulate dust and grime, leading to sticky or unresponsive keys. Additionally, the stabilizers and keycaps may require maintenance to ensure consistent and reliable performance. By following the steps outlined in this guide, you can restore your keyboard to its former glory without the need for professional assistance.
Whether you're an avid gamer, a coding enthusiast, or a prolific writer, a well-maintained keyboard is essential for optimal productivity and enjoyment. By taking the time to clean and maintain your mechanical keyboard, you can prolong its lifespan and preserve its tactile responsiveness. So, roll up your sleeves, gather your tools, and let's embark on this rewarding journey to revitalize your mechanical keyboard!
Tools and Materials Needed
Before delving into the process of fixing your mechanical keyboard, it’s essential to gather the necessary tools and materials. Here’s what you’ll need:
- Keycap Puller: This handy tool is essential for safely removing keycaps without damaging the switches.
- Brush or Compressed Air: To dislodge and remove dust and debris from the switches and the keyboard’s interior.
- Switch Opener or Small Flathead Screwdriver: For accessing and cleaning individual switches.
- Lubricant: A specialized keyboard lubricant to ensure smooth and consistent stabilizer performance.
- Replacement Switches: In case any switches are damaged or non-responsive, having replacements on hand can expedite the repair process.
- Tweezers: Useful for handling small components and applying lubricant precisely.
- Isopropyl Alcohol: For cleaning keycaps and switches.
- Cotton Swabs: To apply lubricant and clean hard-to-reach areas.
- Small Container: For soaking keycaps in cleaning solution.
- Microfiber Cloth: For wiping down the keyboard and removing any remaining residue.
With these tools and materials at your disposal, you’ll be well-equipped to tackle the maintenance and repair tasks required to restore your mechanical keyboard to optimal functionality. Now that you’re prepared, let’s move on to the step-by-step process of rejuvenating your keyboard.
Step 1: Removing Keycaps
Before diving into the intricacies of the keyboard’s internal components, the first step in the maintenance process involves removing the keycaps. This allows access to the switches and ensures thorough cleaning of the entire keyboard. Here’s a systematic approach to safely remove the keycaps:
- Prepare Your Workspace: Find a well-lit and spacious area to work on your keyboard. Lay down a clean, soft cloth to protect the keyboard’s surface and prevent the loss of small components.
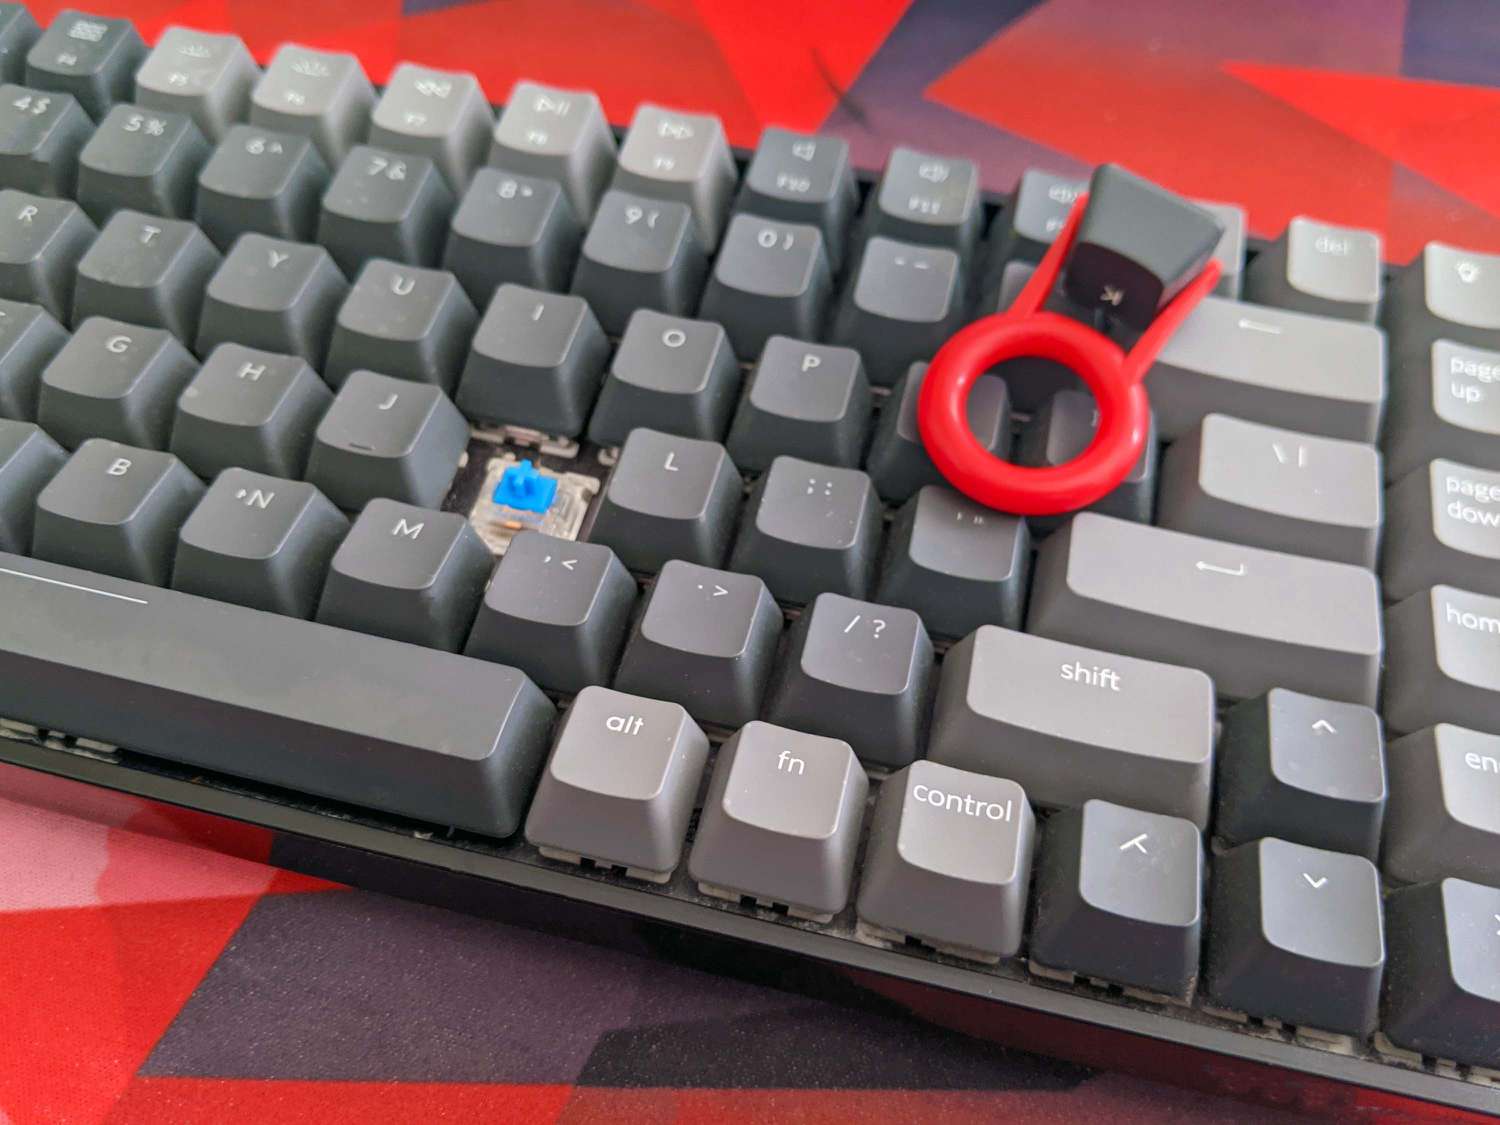
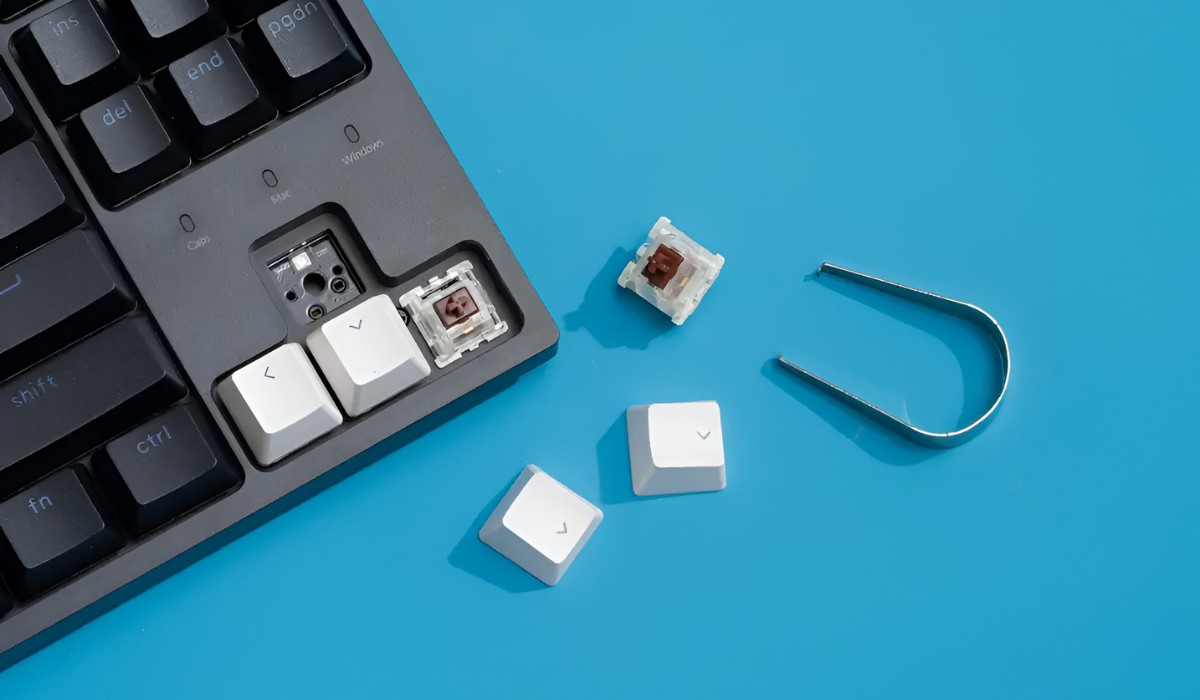
- Use a Keycap Puller: Gently position the keycap puller around the edges of a keycap, ensuring that it securely grasps the keycap. Apply even pressure and pull upwards to remove the keycap. Repeat this process for all the keycaps, taking care not to exert excessive force to avoid damaging the switches.
- Organize the Keycaps: As you remove the keycaps, arrange them in a pattern that corresponds to their original layout on the keyboard. This will simplify the reassembly process and prevent confusion later on.
- Inspect for Debris: With the keycaps removed, take a moment to inspect the exposed switches and the keyboard’s surface for any accumulated dust or debris. Use a brush or compressed air to gently dislodge and remove any foreign particles.
By following these steps, you can successfully remove the keycaps from your mechanical keyboard, setting the stage for the subsequent cleaning and maintenance procedures. With the keycaps out of the way, you can now focus on rejuvenating the switches and stabilizers to ensure optimal performance.
Step 2: Cleaning the Switches
Once the keycaps have been removed, it’s time to address the cleanliness and functionality of the switches. Over time, switches can accumulate dust and grime, leading to a decline in performance. Follow these steps to effectively clean the switches of your mechanical keyboard:
- Accessing the Switches: With the keycaps removed, you’ll have clear access to the individual switches. Take note of any switches that exhibit signs of excessive debris or stickiness, as these will require focused attention.
- Using Compressed Air: Carefully direct bursts of compressed air onto the switches to dislodge and remove any loose debris. Ensure that the keyboard is positioned in a way that allows the dislodged particles to fall away from the switches and not deeper into the keyboard.
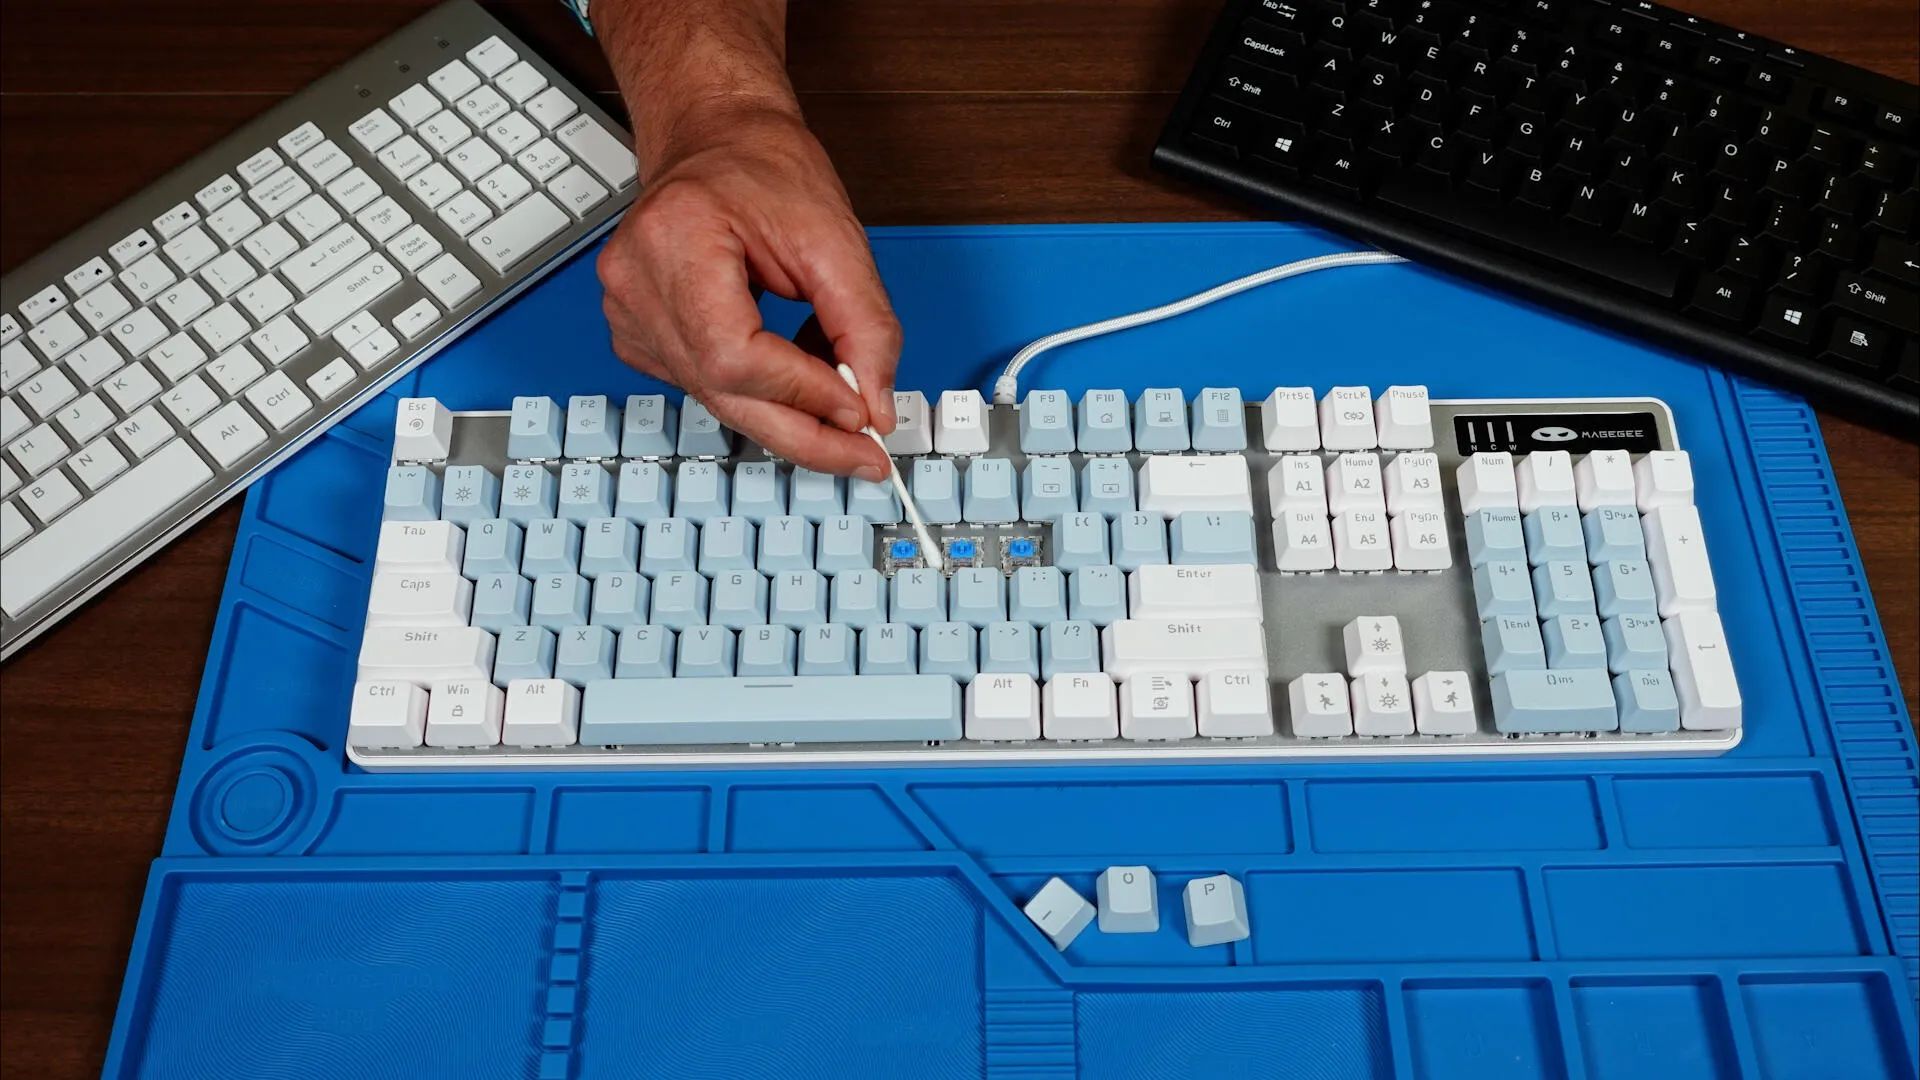
- Applying Isopropyl Alcohol: Dampen a cotton swab with isopropyl alcohol and gently swab the exposed switches to remove any stubborn residue. Exercise caution to prevent excess liquid from seeping into the switches.
- Allowing for Drying Time: After cleaning the switches, allow them to air dry completely before proceeding to the next step. This ensures that no moisture is trapped within the switches, which could impede their performance.
By meticulously cleaning the switches, you can eliminate the impediments that hinder their responsiveness, thereby restoring the tactile feedback and reliability of your keyboard. With the switches now refreshed, it’s time to focus on another crucial component: the stabilizers.
Step 3: Lubricating the Stabilizers
Ensuring that the stabilizers of your mechanical keyboard are properly lubricated is essential for consistent and smooth keypresses. Over time, stabilizers can become noisy or exhibit uneven movement, indicating the need for lubrication. Follow these steps to effectively lubricate the stabilizers:
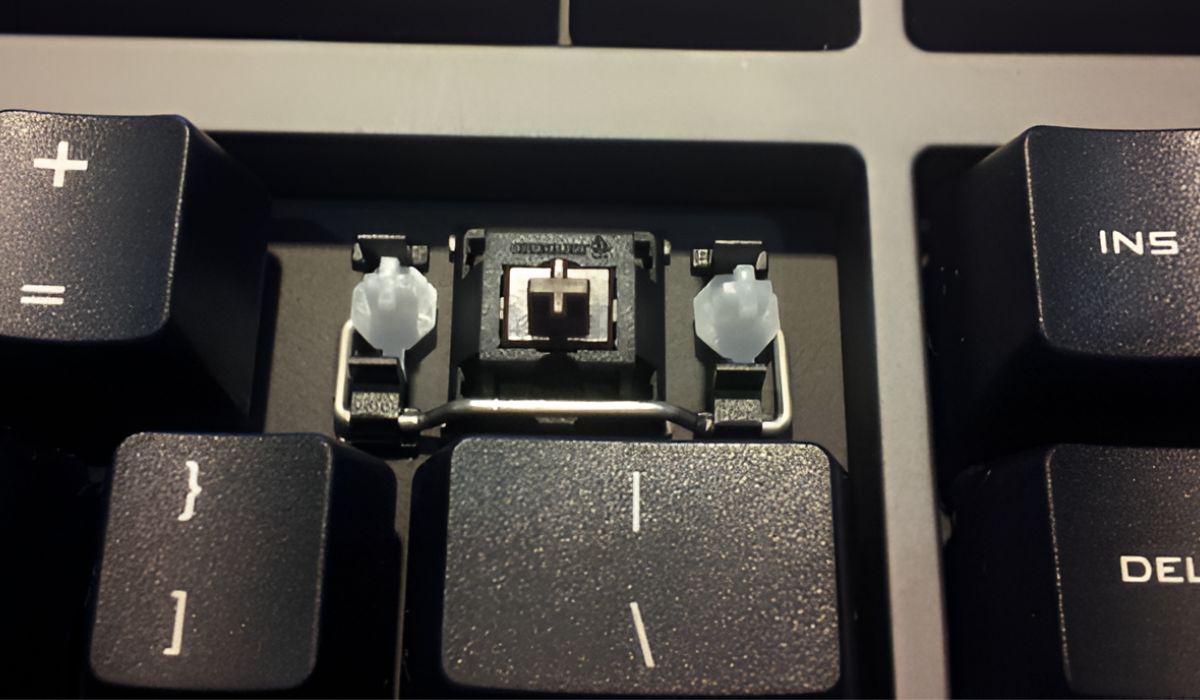
- Identifying Stabilizer Locations: Take note of the stabilizers, which are often found beneath the larger keys such as the spacebar, shift, and enter keys. These components play a critical role in maintaining the balance and uniformity of key movement.
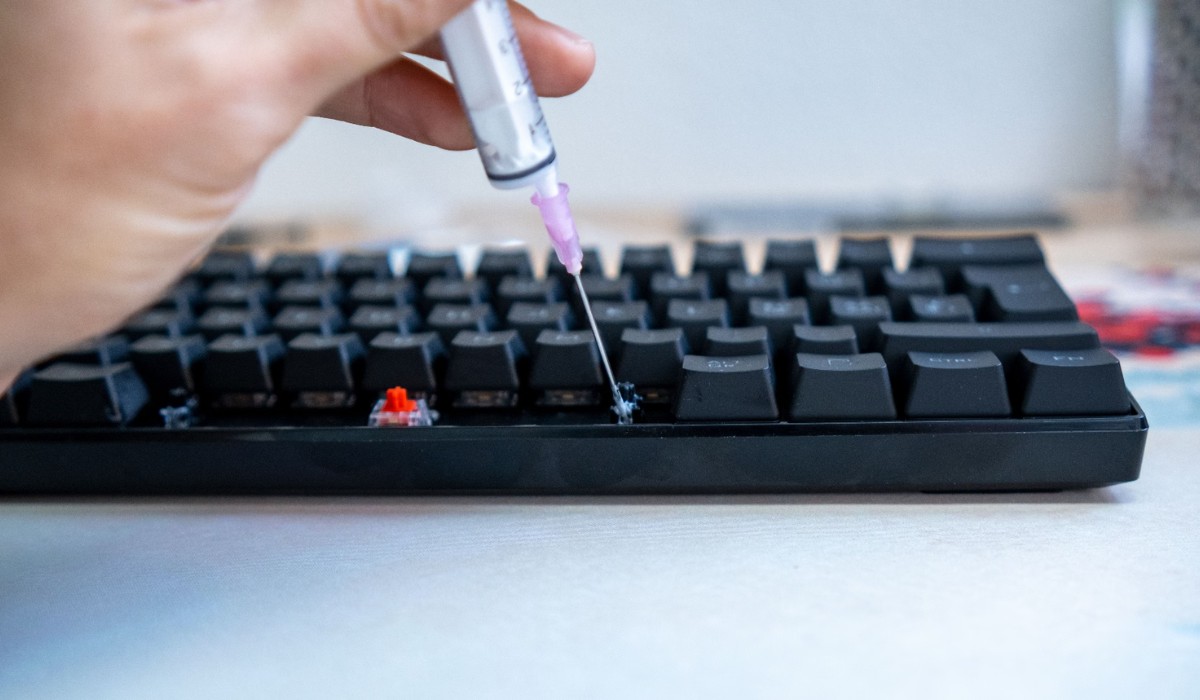
- Applying Lubricant: Using a specialized keyboard lubricant, apply a small amount to the pivot points and the wire of each stabilizer. Ensure that the lubricant is evenly distributed to facilitate smooth and consistent movement.
- Exercising the Stabilizers: After lubrication, gently press the stabilized keys multiple times to allow the lubricant to spread and settle within the components. This action helps distribute the lubricant evenly and ensures optimal performance.
- Wiping Excess Lubricant: Use a clean, dry cloth or a cotton swab to carefully remove any excess lubricant that may have accumulated around the stabilizers. It’s important to maintain a clean and tidy workspace to prevent any residual lubricant from interfering with the keyboard’s operation.
By properly lubricating the stabilizers, you can significantly enhance the typing experience, reduce noise, and promote the longevity of your mechanical keyboard. With the stabilizers now revitalized, it’s time to address any malfunctioning or non-responsive switches that may require replacement.
Step 4: Replacing Broken Switches
When dealing with a malfunctioning or non-responsive switch, the most effective solution is to replace the faulty component. This step-by-step process will guide you through the replacement of broken switches in your mechanical keyboard:
- Identifying the Faulty Switch: Test each switch to determine which one is malfunctioning. This can be done by gently pressing each key and observing its responsiveness. If a switch fails to register or feels inconsistent, it may need to be replaced.
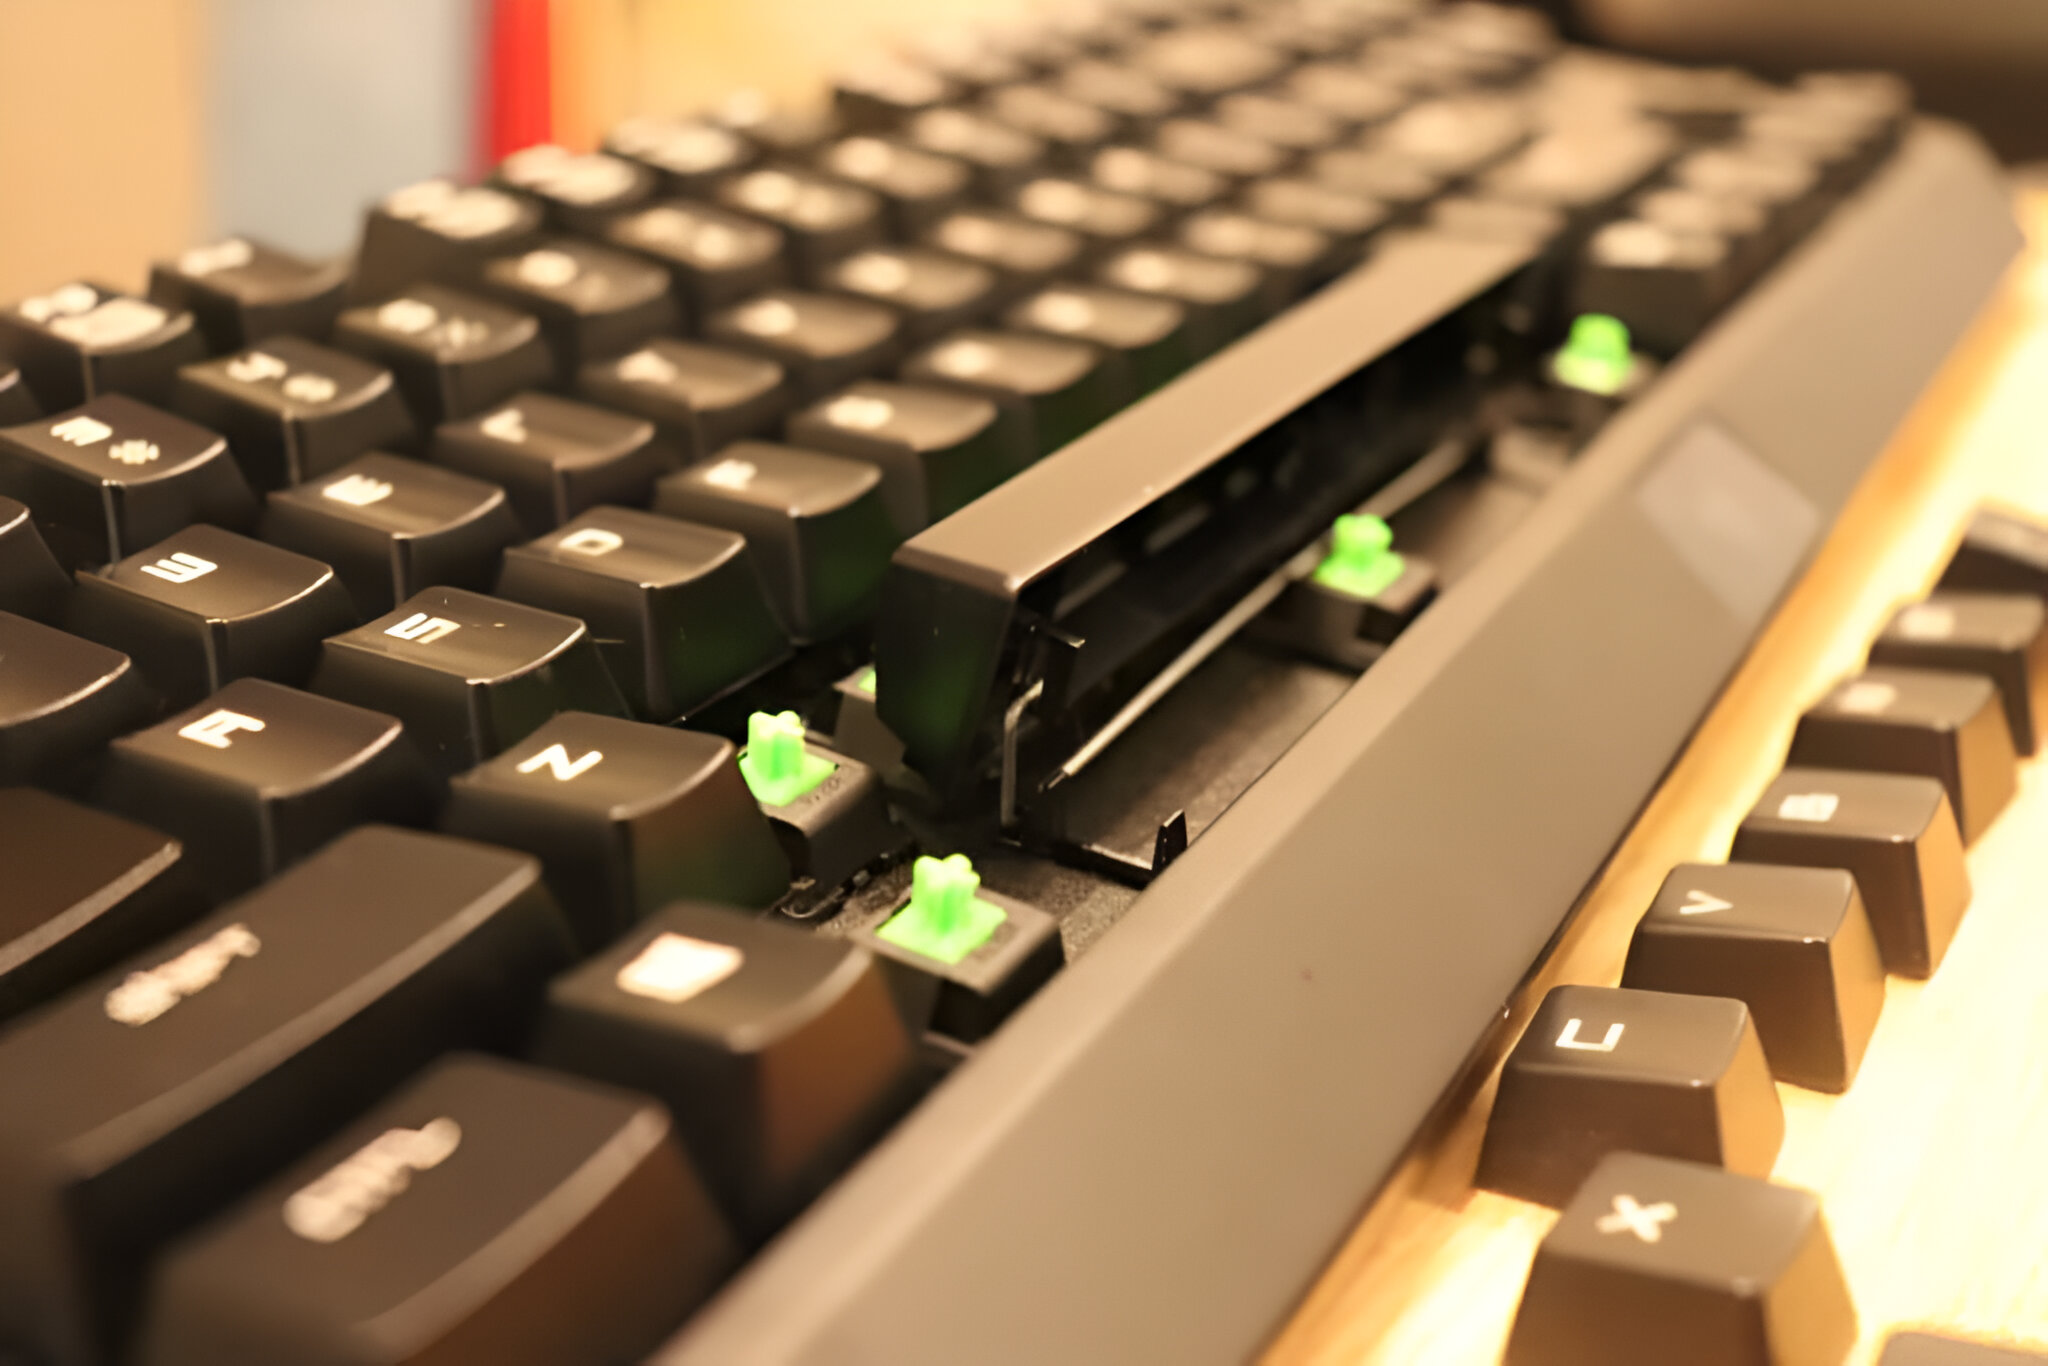
- Removing the Faulty Switch: Utilize a switch puller or a small flathead screwdriver to carefully extract the malfunctioning switch from the keyboard. Exercise caution to avoid damaging the surrounding components during this process.
- Installing the Replacement Switch: Insert the new switch into the vacant slot, ensuring that it is aligned correctly and firmly seated in place. Apply gentle pressure to secure the switch without forcing it into position.
- Testing the Replacement: After installing the new switch, test its functionality by pressing the key multiple times to verify its responsiveness and consistency. This ensures that the replacement switch is functioning as intended.
By replacing broken switches, you can effectively address unresponsive or erratic keys, restoring the full functionality of your mechanical keyboard. With the faulty switches replaced, the final step involves reassembling the keyboard to complete the maintenance process.
Step 5: Reassembling the Keyboard
As the maintenance and repair procedures for your mechanical keyboard near completion, reassembling the keyboard is the final step in the process. Follow these steps to ensure a seamless and successful reassembly:
- Organizing the Keycaps: Retrieve the keycaps that were carefully removed earlier and arrange them in the correct layout according to your keyboard’s configuration. This step is crucial for ensuring that each keycap is returned to its designated position.
- Attaching the Keycaps: With the layout in mind, gently press each keycap back onto its respective switch. Apply even pressure to ensure that the keycap is securely seated without damaging the switches.
- Testing the Keys: After reattaching all the keycaps, test each key to confirm that they register properly and exhibit consistent responsiveness. This comprehensive testing phase ensures that the keyboard functions as intended.
- Wiping Down the Keyboard: Use a microfiber cloth to wipe down the entire keyboard, removing any remaining residue and ensuring a clean and polished appearance.
By following these steps, you can successfully reassemble your mechanical keyboard, culminating in a fully functional and revitalized typing experience. With the keyboard reassembled, take a moment to appreciate the renewed responsiveness and tactile satisfaction that your keyboard now offers.
Conclusion
Congratulations! By following the step-by-step process outlined in this guide, you have successfully revitalized your mechanical keyboard, restoring its tactile responsiveness and ensuring a satisfying typing experience. The meticulous maintenance and repair procedures have not only addressed issues such as unresponsive keys and inconsistent stabilizers but have also extended the lifespan of your beloved keyboard.
It’s important to recognize the value of regular keyboard maintenance in preserving its performance and longevity. By investing time and effort into cleaning, lubricating, and replacing components as needed, you have safeguarded your keyboard against the detrimental effects of dust, debris, and wear. This proactive approach will continue to reward you with a reliable and enjoyable typing interface for years to come.
Remember that the skills and knowledge you’ve gained in maintaining your mechanical keyboard can be applied to future upkeep, ensuring that your keyboard remains in optimal condition. Additionally, the satisfaction of successfully rejuvenating your keyboard serves as a testament to your dedication and resourcefulness in tackling technical challenges.
As you return to using your freshly maintained mechanical keyboard, take pride in knowing that you’ve not only revived a piece of essential hardware but also honed your skills in keyboard maintenance. Embrace the renewed typing experience and revel in the seamless performance of your revitalized mechanical keyboard!