Introduction
Having a stuck key on your keyboard can be frustrating and hinder your productivity. Whether it’s a result of accumulated debris, stickiness from food or beverages, or a faulty key mechanism, it’s important to address the issue to ensure smooth and efficient typing.
In this article, we will explore common causes of stuck keys and provide you with step-by-step methods to fix them. So, if you find yourself struggling with a pesky stuck key, read on to discover the tools required and the various techniques you can employ to resolve the problem.
Remember, a keyboard is an essential tool for many tasks, from writing emails to gaming, and a malfunctioning key can disrupt your workflow. But fear not, as we’re here to guide you through the process of fixing stuck keys, allowing you to get back to using your keyboard without any hiccups.
We will cover everything from basic cleaning methods to more in-depth key removal and replacement techniques. No matter the severity of the stuck key, there should be a solution for you. So, let’s dive in and get those keys unstuck!
Common Causes of Stuck Keys
Stuck keys on a keyboard can occur due to various reasons. Understanding the common causes can help you troubleshoot and resolve the issue more effectively. Here are some of the most frequent culprits behind stuck keys:
- Dust and Debris: Over time, dust, crumbs, and other debris can accumulate between the keys, causing them to stick. This is especially common if you eat or drink near your keyboard.
- Liquid Spills: Accidental spills of liquids, such as coffee, tea, or soda, can be detrimental to the functionality of a keyboard. The liquid can seep into the keys and create stickiness or damage the key mechanisms.
- Worn-out Keys: Frequent use of certain keys can result in wear and tear, making them more prone to sticking. This is common with keys like the spacebar, enter key, or shift key.
- Lack of Maintenance: Keyboards require regular maintenance to prevent issues like stuck keys. If you neglect cleaning your keyboard or fail to address minor problems promptly, they can escalate and cause keys to get stuck.
- Mechanical Issues: In some cases, stuck keys can be due to a mechanical problem rather than external factors. This may involve faulty key switches or a dislodged keycap.
Identifying the cause of the stuck key is crucial because it allows you to choose the appropriate method to fix it. A thorough examination of your keyboard will help determine the best course of action.
Now that we’ve explored the common causes of stuck keys, let’s move on to the tools you’ll need to resolve the issue.
Tools Required for Fixing Stuck Keys
Before you begin the process of fixing stuck keys on your keyboard, it is important to gather the necessary tools. These tools will help you effectively clean and restore the functionality of the keys. Here are the essential tools you’ll need:
- Soft Cloth: A lint-free or microfiber cloth is essential for cleaning the surface of the keys and removing any visible dirt or debris.
- Compressed Air Canister: A canister of compressed air is ideal for blowing away dust and debris that may be trapped under the keys. Make sure to choose a canister specifically designed for electronic devices.
- Isopropyl Alcohol: Isopropyl alcohol is useful for cleaning sticky keys and removing any residue left behind by spills or stickiness. Opt for a high-purity solution, such as 90% or higher, for effective cleaning.
- Keycap Puller: If you need to remove the keycaps for a more thorough cleaning, a keycap puller will make the process much easier and prevent damage to the keycap or the key switch.
- Small Flathead Screwdriver or Plastic Pry Tool: In some cases, you may need a small flathead screwdriver or a plastic pry tool to gently lift and remove stubborn keycaps.
These tools are readily available and affordable, making them accessible for anyone attempting to fix stuck keys. By having these tools on hand, you’ll be well-equipped to tackle the different methods we’ll discuss in the following sections.
Now that you have your tools ready, let’s get started with the first method: cleaning underneath the keys.
Method 1: Cleaning Underneath the Keys
If you notice that your keys are sticking due to dust, debris, or crumbs, one of the simplest solutions is to clean underneath the keys. Here’s a step-by-step guide on how to clean your keyboard:
- Start by turning off your computer or disconnecting your keyboard from the device to prevent any accidental input while cleaning.
- Hold your keyboard upside down over a trash bin or a clean surface and gently shake it. This will help dislodge any loose debris that may be caught between the keys.
- If shaking alone doesn’t remove all the debris, use a canister of compressed air to blow air between the keys. Hold the canister upright and use short bursts of air to avoid applying too much pressure.
- Next, take a soft cloth and dampen it slightly with water or a gentle cleaning solution. Wring out any excess moisture to avoid damaging the keyboard.
- Gently wipe the surface of the keys using the damp cloth, taking care not to apply excessive pressure. This will help remove any remaining dirt or grime.
- If you encounter stubborn debris that is difficult to remove, you can use a small flathead screwdriver or a plastic pry tool to carefully lift the keycap. Be sure to exert gentle pressure to avoid damaging the key or the keyboard.
- Once you’ve cleaned underneath the keys, allow them to air dry completely before reconnecting your keyboard or turning your computer back on.
By following these steps, you can effectively remove dust, debris, and crumbs that may be causing your keys to stick. This simple cleaning method can often resolve the issue and restore your keyboard’s functionality.
If cleaning underneath the keys doesn’t solve the problem, don’t worry. In the next section, we’ll explore another method that involves using compressed air to remove debris.
Method 2: Using Compressed Air to Remove Debris
If you’ve tried cleaning underneath the keys and are still experiencing stuck keys, using compressed air can be an effective method for removing debris that may be causing the issue. Follow these steps to use compressed air to clean your keyboard:
- Ensure that your computer is turned off or your keyboard is disconnected before proceeding.
- Hold the canister of compressed air upright and at a safe distance from the keyboard.
- Locate the nozzle attachment that comes with the canister and attach it securely.
- Using short bursts, direct the air between the keys, focusing on the areas where the keys are sticking. The force of the air will dislodge any debris that may be causing the keys to stick.
- Move the canister across the keyboard, covering all the keys and areas that need cleaning.
- Repeat the process as necessary until you are satisfied that all the debris has been removed.
- Allow the keyboard to air dry completely before reconnecting or turning your computer back on.
Using compressed air is a quick and efficient way to remove dust, dirt, and debris from your keyboard. The high-pressure air stream helps dislodge particles that may be affecting the key’s movement, restoring its functionality.
If you find that the keys are still sticking after using compressed air, don’t worry. In the next section, we will explore another method that involves removing and cleaning sticky keys.
Method 3: Removing and Cleaning Sticky Keys
If your keys are sticking due to stickiness caused by spills or residue buildup, removing and cleaning the sticky keys can help resolve the issue. Follow these steps to remove and clean sticky keys:
- Start by turning off your computer or disconnecting your keyboard.
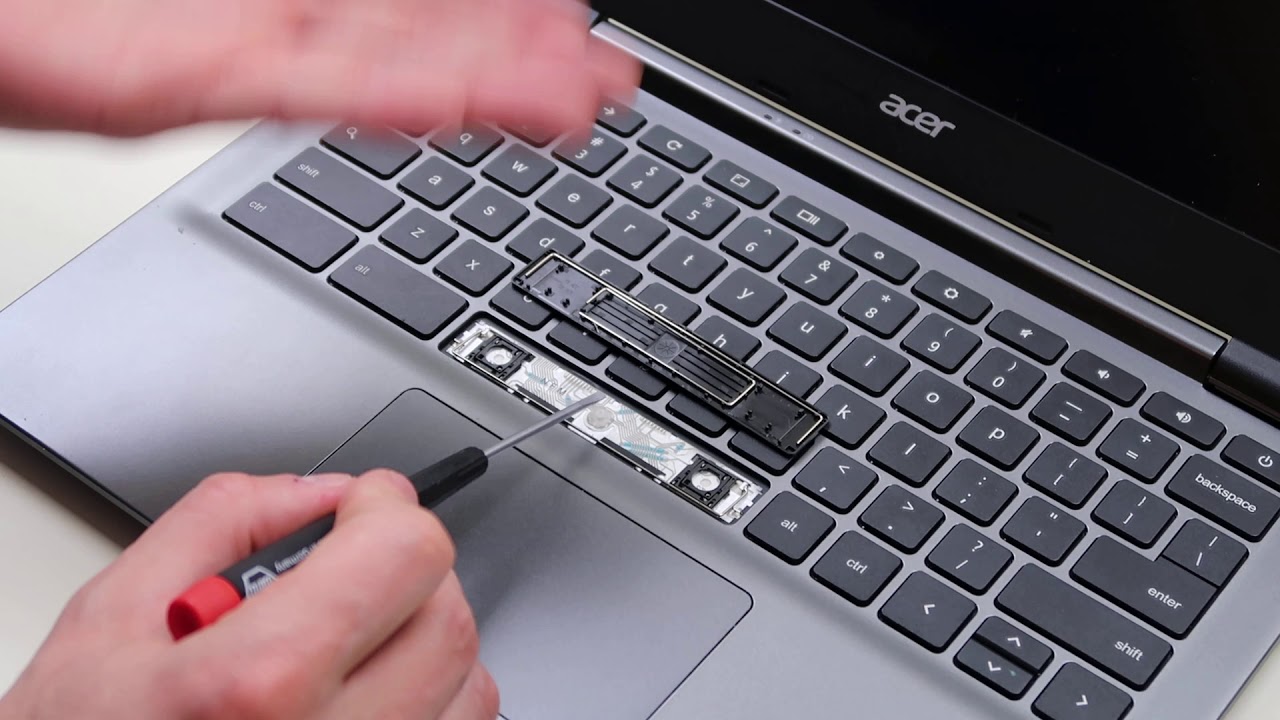
- Gently pry up the sticky key using a small flathead screwdriver or a plastic pry tool. Apply gentle pressure to avoid damaging the key or the keyboard.
- Once the key is removed, use a soft cloth or cotton swab dipped in isopropyl alcohol to clean both the sticky key and the area underneath it.
- Gently scrub the key and the surrounding area to remove any residue or stickiness. Ensure that the alcohol doesn’t drip into the keyboard or key mechanism.
- If the keycap is particularly dirty, you can let it soak in isopropyl alcohol for a few minutes to loosen any stubborn residue before cleaning it.
- After cleaning, allow the key and the area underneath it to air dry completely.
- Once dry, reattach the keycap by aligning it with the key switch and pressing it down until it clicks into place.
- Repeat this process for any other sticky keys.
- Finally, reconnect your keyboard or turn your computer back on and test the keys to ensure they no longer stick.
By removing and cleaning sticky keys, you can eliminate any residue or stickiness that may be impeding the key’s movement. This method is particularly effective for keys that have been affected by liquid spills or buildup over time.
If the keys continue to stick after cleaning them, don’t worry. In the next section, we’ll explore a method that involves using isopropyl alcohol to clean the keys and their mechanisms.
Method 4: Using Isopropyl Alcohol to Clean Keys
If your keys are still sticking after attempting the previous methods, using isopropyl alcohol can be an effective solution to clean the keys and their mechanisms. Follow these steps to clean your keys with isopropyl alcohol:
- Turn off your computer or disconnect your keyboard to avoid any accidental input during the cleaning process.
- Dampen a soft cloth or cotton swab with isopropyl alcohol. Ensure that it is not dripping wet, as excess liquid can cause damage to the keyboard.
- Gently rub the cloth or swab on the surface of the sticky keys, applying slight pressure to remove any dirt, grime, or residue. Pay attention to the edges and crevices of the keys.
- If the keys are particularly sticky, you can remove them following the steps mentioned in Method 3 and soak them in isopropyl alcohol for a few minutes to loosen any stubborn debris.
- While cleaning, avoid getting isopropyl alcohol on the key switches or other electronic components of the keyboard.
- Once you have cleaned all the sticky keys, allow them to air dry completely before reattaching them.
- Align each keycap with its respective switch and firmly press it down until it clicks into place.
- Reconnect your keyboard or turn on your computer to test the keys and ensure they are no longer sticking.
Using isopropyl alcohol helps dissolve the stickiness and remove any residue on the surface of the keys. This method is particularly effective for keys that have encountered spills or have become sticky due to extended use without cleaning.
If the keys continue to stick even after cleaning them with isopropyl alcohol, it may be necessary to consider replacing the keys, as discussed in the next method.
Method 5: Replacing the Keys
If none of the previous methods have been successful in fixing the stuck keys on your keyboard, it may be necessary to replace the keys. Here’s how you can go about replacing the keys:
- Identify the specific keys that are causing the issue and need to be replaced.
- Search online or check with the manufacturer to find compatible replacement keycaps for your keyboard model.
- Once you have the replacement keycaps, turn off your computer or disconnect your keyboard.
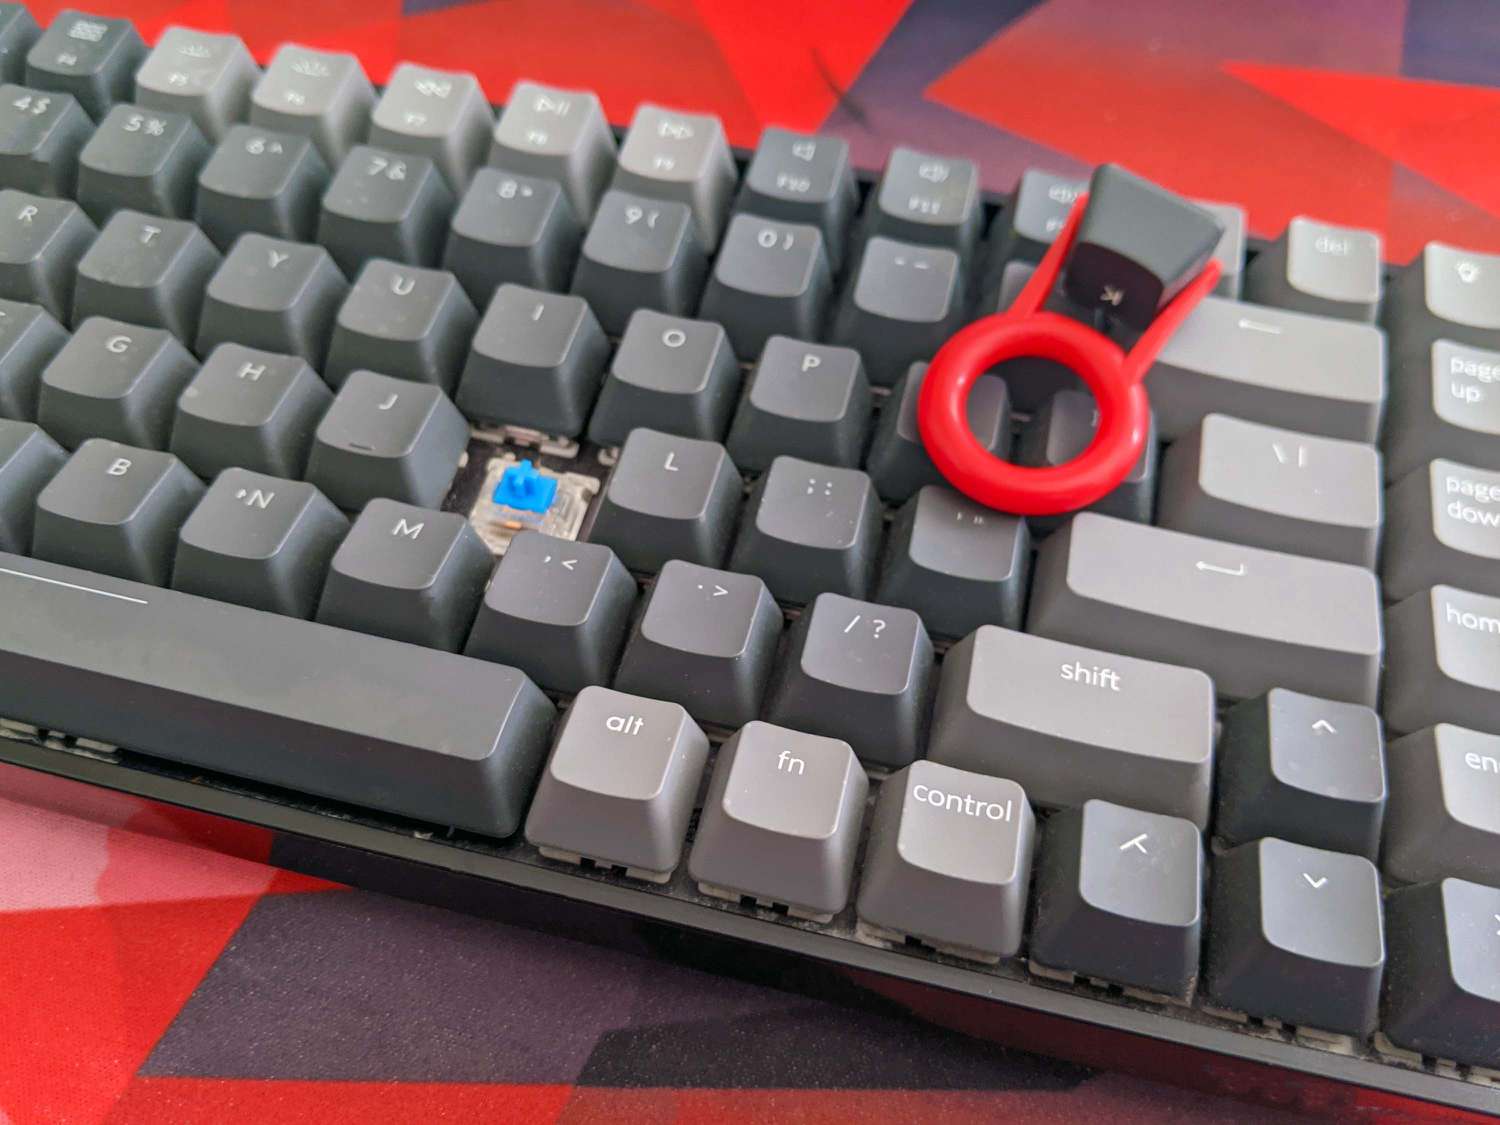
- Use a keycap puller or gently pry up the faulty keycap using a small flathead screwdriver or a plastic pry tool.
- Attach the new keycap by aligning it with the key switch and pressing it down firmly until it clicks into place.
- Repeat this process for any other keys that need to be replaced.
- Reconnect your keyboard or turn on your computer to test the newly replaced keys for smooth operation.
Replacing the keys is a more advanced solution and may require additional time and effort. However, it can be a practical option for resolving persistent issues with sticking keys. By replacing the keycaps, you ensure that the key mechanisms are functioning properly and eliminate any underlying problems that may have been causing the stickiness.
If you are uncomfortable with replacing the keys on your own or if your keyboard is still under warranty, it’s advisable to contact the manufacturer or a professional technician for assistance.
By following these methods, you can troubleshoot and resolve the issue of stuck keys on your keyboard. Remember to exercise caution while performing any cleaning or replacement procedures to avoid causing any damage to your keyboard or computer.
Conclusion
Dealing with stuck keys on your keyboard can be frustrating, but with the right methods and tools, you can easily resolve the issue. By understanding the common causes of stuck keys, such as dust, debris, spills, wear and tear, and mechanical issues, you can identify the appropriate method to fix the problem.
We discussed several methods to address stuck keys, starting with cleaning underneath the keys and using compressed air to remove debris. If the keys are still sticking, removing and cleaning sticky keys with isopropyl alcohol can be effective. In more stubborn cases, replacing the keys with compatible replacements might be necessary.
Remember to gather the necessary tools, such as a soft cloth, compressed air canister, isopropyl alcohol, keycap puller, and small flathead screwdriver or plastic pry tool, to perform the cleaning or replacement procedures with ease.
Regular maintenance of your keyboard, including cleaning and prompt addressing of minor issues, can prevent stuck keys in the first place. Additionally, it’s essential to avoid eating or drinking near your keyboard to minimize the risk of spills and debris buildup.
Should you encounter persistent issues with stuck keys or if you’re uncomfortable with performing the procedures yourself, consider seeking assistance from the manufacturer or a professional technician, especially if your keyboard is still under warranty.
By following the steps outlined in this article, you can keep your keyboard in optimal condition and restore its functionality. Say goodbye to stuck keys and enjoy smooth typing once again!