Introduction
Chromebooks are popular devices known for their simplicity, efficiency, and affordability. They have gained a considerable user base due to their seamless integration with the Google ecosystem and their ability to handle various tasks effectively. However, like any electronic device, Chromebooks can sometimes encounter issues, and one common problem users face is with their keyboards.
The keyboard is an essential component of a Chromebook, as it allows users to type, navigate, and interact with the device. When the keyboard malfunctions or stops working altogether, it can be frustrating and significantly impact productivity. Fortunately, there are several troubleshooting steps you can take to fix keyboard issues on your Chromebook.
In this article, we will explore common problems users face with their Chromebook keyboards and provide step-by-step instructions to help you resolve them. Whether your keyboard is unresponsive or certain keys are not working, we’ve got you covered. By following the troubleshooting steps outlined in this guide, you’ll be able to get your keyboard back in working order and resume your tasks without any further interruption.
Common Issues with Keyboard on Chromebook
Before diving into the troubleshooting steps, it’s important to understand the common issues that users may encounter with their Chromebook keyboards. By identifying the specific problem you’re facing, you’ll be better equipped to find the appropriate solution.
1. Unresponsive Keyboard: This is perhaps the most frustrating issue users experience. The keyboard may not register any keystrokes, making it impossible to type or enter commands.
2. Certain Keys Not Working: In some cases, specific keys on the keyboard may stop functioning properly. This can include letters, numbers, or even essential keys like the spacebar or enter key.
3. Sticky or Stuck Keys: If you notice that some keys are sticking or feel spongy when pressed, it can affect your typing experience and lead to missed keystrokes.
4. Accidental Caps Lock: You might find that the Caps Lock key is unintentionally activated, causing all your typed characters to appear in uppercase.
5. Delayed Response: Another common issue is when there is a noticeable delay between pressing a key and the character appearing on the screen. This can disrupt your typing flow and slow down your productivity.
6. Disabled Keyboard Shortcuts: Chromebooks have various keyboard shortcuts that enhance functionality and efficiency. If these shortcuts are disabled or not working correctly, it can hinder your navigation and multitasking capabilities.
These are just a few of the common issues users face with their Chromebook keyboards. By understanding the specific problem you’re encountering, you can now proceed to the troubleshooting steps that will help you resolve these issues and get your keyboard functioning properly again.
Basic Troubleshooting Steps
When faced with keyboard issues on your Chromebook, it’s crucial to start with basic troubleshooting steps. These simple solutions can often resolve common problems and get your keyboard back to normal. Let’s explore some of the basic troubleshooting steps you can try:
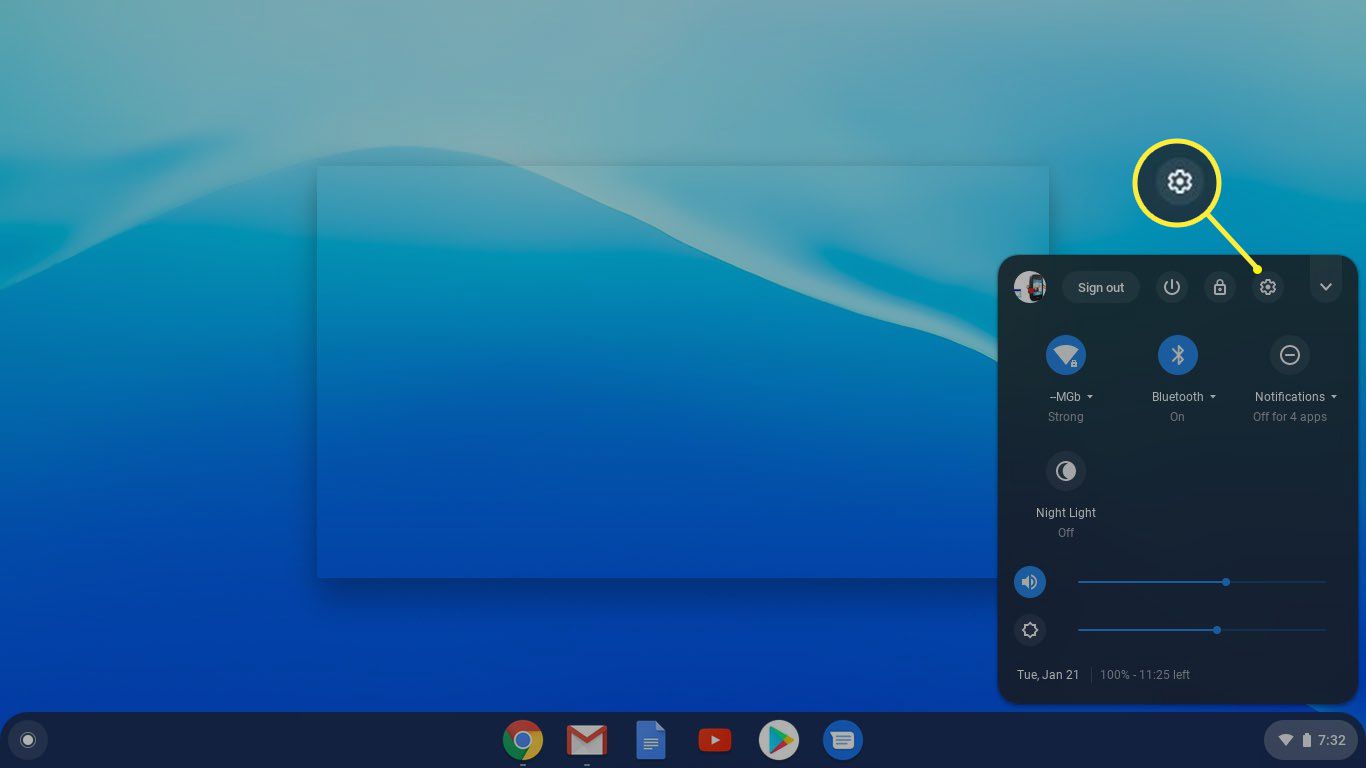
- Restart Your Chromebook: Sometimes a simple restart can fix minor glitches and restore functionality to your keyboard. Click on the system tray, select the Power icon, and choose the Restart option. Allow your Chromebook to reboot and check if the keyboard is working again.
- Update Your Chromebook: Outdated software can sometimes cause conflicts and issues with hardware components such as the keyboard. Ensure your Chromebook is running the latest version of Chrome OS by clicking on the system tray, selecting the Settings icon, and navigating to the “About Chrome OS” section. Click on “Check for Updates” and follow the prompts to update your device.
- Check Keyboard Settings: It’s possible that the keyboard settings on your Chromebook have been altered or disabled. Go to the system tray, click on the Settings icon, and select “Keyboard.” Ensure that the “Enable on-screen keyboard” option is unchecked, and check if the keyboard is functioning properly.
- Clean Your Keyboard: Dust, crumbs, or debris can occasionally cause keys to become unresponsive or sticky. Gently clean your keyboard using compressed air or a soft cloth to remove any dirt or particles that may be affecting its performance.
- Toggle Caps Lock: Accidental Caps Lock activation can lead to uppercase characters appearing regardless of whether the key is pressed or not. Press the Caps Lock key to toggle the feature on and off, and observe if the keyboard starts responding correctly.
- Check for Stuck Keys: Physical obstructions can also cause keys to stop working. Carefully inspect your keyboard for any keys that may be stuck or not popping up correctly. Gently press and release these keys to ensure they’re functioning as intended.
- Reset Keyboard Settings: If none of the above steps resolve the issue, you can try resetting the keyboard settings on your Chromebook. Go to the system tray, click on the Settings icon, select “Keyboard,” and click on the “Reset to default settings” button.
- Disable Accessibility Features: Some accessibility features like Sticky Keys or Filter Keys may interfere with the normal functioning of your keyboard. To disable these features, go to the Settings menu, select “Accessibility,” and ensure that all accessibility options are turned off.
- Test Keyboard in Guest Mode: Switching to Guest Mode can help determine if the keyboard issue is specific to your user profile or a system-wide problem. Click on the system tray, select the profile picture, and choose “Browse as Guest.” Test the keyboard in Guest Mode to see if it works properly.
By following these basic troubleshooting steps, you can often resolve keyboard issues on your Chromebook. If the problem persists, or if you’re experiencing more complex issues, there are additional troubleshooting steps you can try to further troubleshoot and fix the problem. We’ll explore those in the next section.
Restart Your Chromebook
When encountering keyboard issues on your Chromebook, one of the simplest and most effective troubleshooting steps to try is to restart your device. Restarting can help resolve minor glitches that may be causing the keyboard problem. Here’s how you can restart your Chromebook:
- Click on the system tray located in the bottom-right corner of the screen.
- Select the Power icon, usually represented by a circle with a vertical line in the center.
- From the Power menu, choose the Restart option.
Your Chromebook will now begin the restart process. Once the restart is complete, check if the keyboard is functioning properly again.
If your keyboard was unresponsive or certain keys were not working, restarting the Chromebook can often solve these issues by resetting the system and clearing any temporary conflicts. It’s a simple yet powerful troubleshooting step that’s worth trying before moving on to more complex solutions.
If your keyboard still doesn’t work after restarting, we will explore additional troubleshooting steps to help resolve the issue.
Update Your Chromebook
Keeping your Chromebook up to date is essential not only for security and performance reasons but also for resolving potential compatibility issues that may affect your keyboard functionality. If your keyboard is experiencing problems, it’s important to ensure that your Chromebook is running the latest version of Chrome OS. Here’s how you can check for updates and update your Chromebook:
- Click on the system tray in the bottom-right corner of the screen.
- Select the Settings icon, typically represented by a gear or a set of vertical dots.
- In the Settings menu, scroll down and click on “About Chrome OS.”
- On the “About Chrome OS” page, click on the “Check for Updates” button.
Your Chromebook will now check for available updates. If any updates are found, they will be automatically downloaded and installed. Ensure that you have a stable internet connection during this process.
Once the update is complete, restart your Chromebook if prompted to do so. After the restart, check if the keyboard is working properly. In many cases, updating your Chromebook’s software can resolve keyboard issues by fixing any software-related bugs or conflicts that may have been causing the problem.
If updating your Chromebook doesn’t fix the keyboard problem, proceed to the next troubleshooting step to further troubleshoot and resolve the issue.
Check Keyboard Settings
If you’re experiencing keyboard issues on your Chromebook, it’s important to ensure that the keyboard settings are properly configured. Sometimes, accidental changes or adjustments can cause the keyboard to behave unexpectedly. Here’s how you can check and adjust the keyboard settings on your Chromebook:
- Click on the system tray located in the bottom-right corner of the screen.
- Select the Settings icon, usually represented by a gear or a set of vertical dots.
- In the Settings menu, scroll down and click on “Keyboard.”
Within the Keyboard settings, you’ll find various options that can impact the behavior of your keyboard. Here are a few things to check:
- Enable on-screen keyboard: Ensure that the “Enable on-screen keyboard” option is unchecked. This option enables the on-screen virtual keyboard, which may interfere with the physical keyboard’s functionality.
- Accessibility features: Check if any accessibility features, such as Sticky Keys or Filter Keys, are enabled. Disable these features if they are turned on, as they may affect the keyboard’s normal functioning.
- Keyboard shortcuts: Make sure that the keyboard shortcuts you rely on are not disabled. If you have customized any shortcuts or accidentally disabled them, re-enable them to restore their functionality.
After checking and adjusting the relevant settings, test your keyboard to see if the issue is resolved. If the keyboard is still not functioning correctly, proceed to the next troubleshooting step for further troubleshooting and resolution.
Clean Your Keyboard
If you notice that your Chromebook keyboard is unresponsive or certain keys are sticking, it’s possible that dust, crumbs, or debris have accumulated and are affecting the key’s functionality. Cleaning your keyboard can often resolve these types of issues. Here’s how you can clean your Chromebook keyboard:
- Turn off your Chromebook and unplug any external power source.
- Hold your Chromebook upside down or at a slight angle to prevent any loose debris from falling deeper into the keyboard.
- Gently tap the back of the Chromebook to dislodge any loose debris or particles that may be stuck between the keys.
- Use compressed air to blow away any remaining debris. Hold the canister upright and use short bursts of air to avoid excessive force that could damage the keyboard.
- If there are visible stains or sticky residue on the keys, use a clean, lint-free cloth slightly dampened with water or mild cleaning solution. Gently wipe the keys in a circular motion to remove any dirt or grime.
- Avoid using excessive moisture or harsh chemicals that could damage the keyboard or enter the device through the keys.
- Allow the keyboard to dry completely before turning on your Chromebook.
After cleaning your keyboard, restart your Chromebook and test if the keys are functioning properly. Cleaning the keyboard can help restore tactile feedback and ensure that the keys register your keystrokes correctly.
If the keyboard issue persists even after cleaning, proceed to the next troubleshooting step for further investigation and resolution.
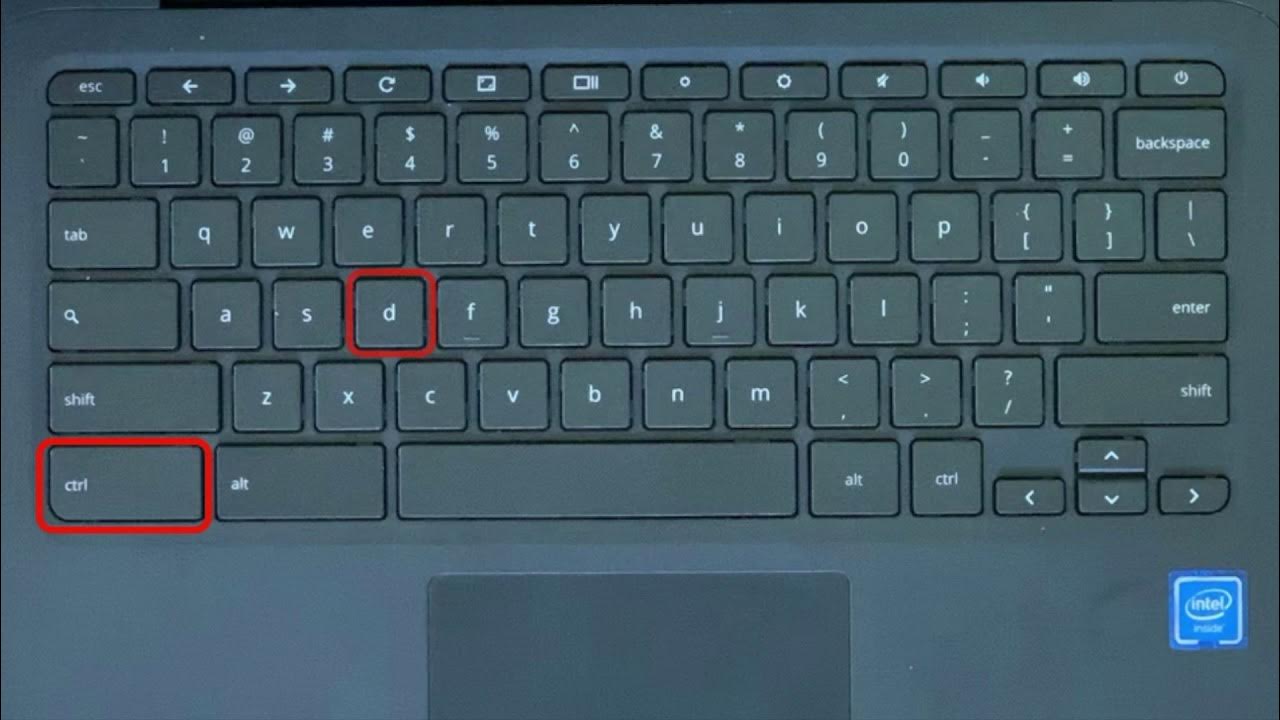
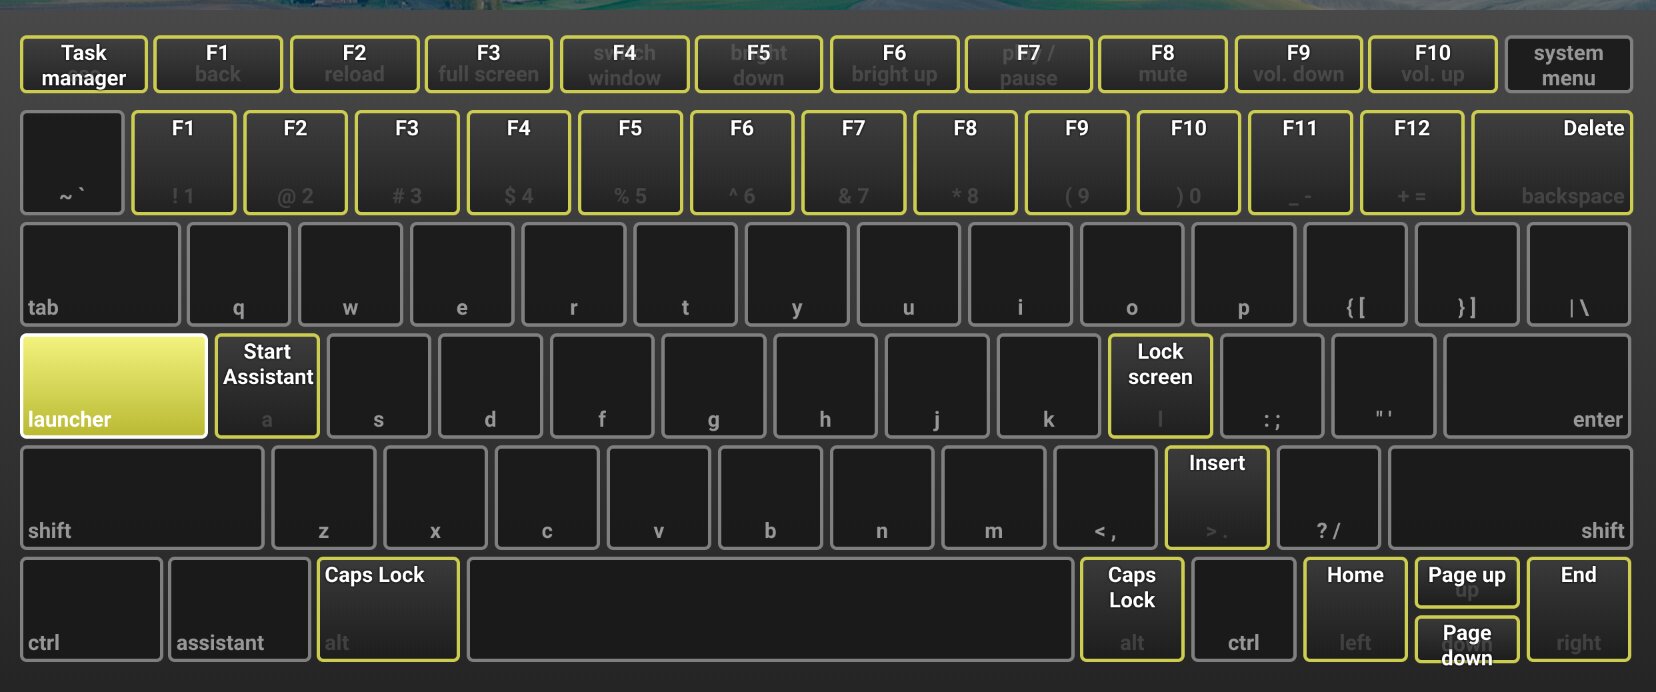
Toggle Caps Lock
If you find that all your typed characters are appearing in uppercase, even when you don’t have the Caps Lock key pressed, it’s possible that the Caps Lock feature is inadvertently activated. Toggling the Caps Lock key can help resolve this issue. Here’s how you can do it:
- Locate the Caps Lock key on your Chromebook keyboard. It is typically labeled with an upwards arrow and the letters “Caps Lock” or an icon representing a lock.
- Press the Caps Lock key once to turn off the Caps Lock feature if it is currently active. Look for the LED indicator, if available, to verify the status.
- Try typing on your keyboard and check if the characters are appearing in the correct case.
If the Caps Lock key was accidentally activated, toggling it off should restore the normal keyboard behavior. Ensure that you’re not inadvertently pressing the Caps Lock key while typing to avoid further issues.
If the keyboard problem persists even after toggling the Caps Lock key, proceed to the next troubleshooting step for further investigation and resolution.
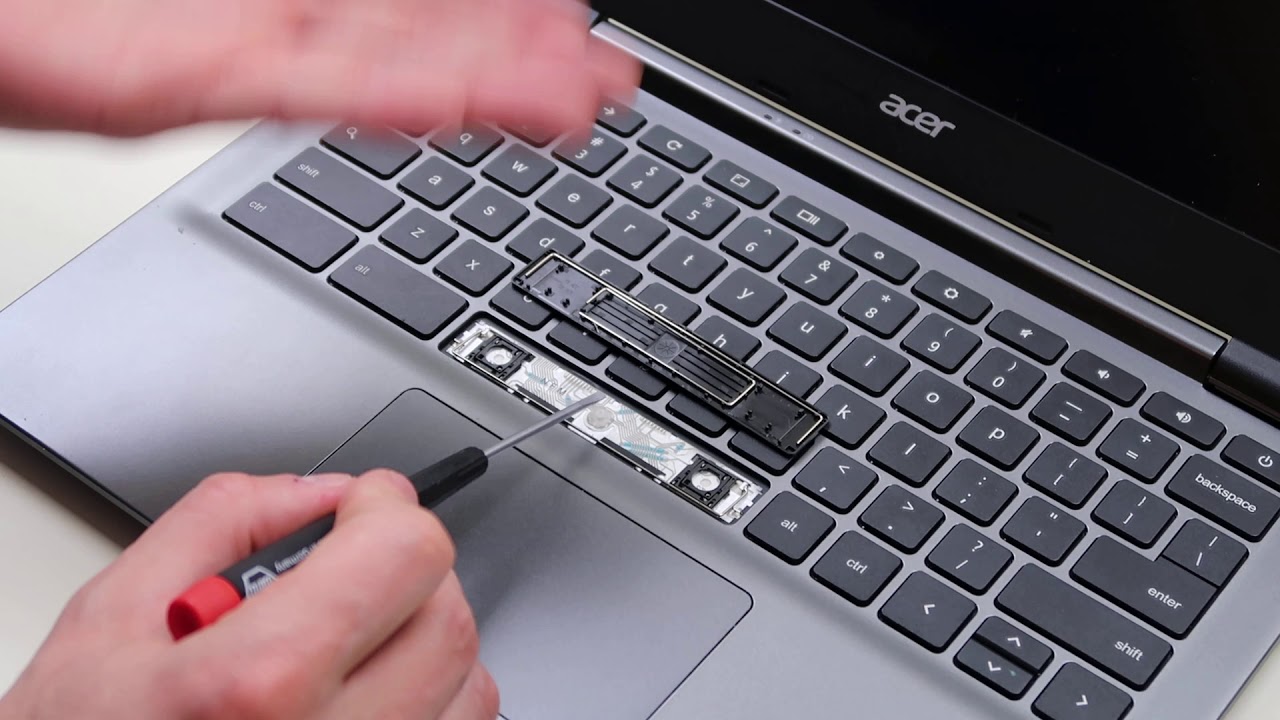
Check for Stuck Keys
If certain keys on your Chromebook keyboard are not working or feel sticky when pressed, it’s possible that they are physically stuck or obstructed. Checking for stuck keys and ensuring they are properly functioning can help resolve this issue. Here’s what you can do:
- Inspect your keyboard for any keys that appear to be lower or stuck compared to others. These keys may be physically obstructed and preventing them from registering your keystrokes.
- Gently press and release each stuck key multiple times to see if it pops back up into its original position. Be careful not to apply excessive force that could damage the key or the keyboard.
- While pressing each key, pay attention to any strange resistance or changes in the key’s behavior. If a key continues to stick or feels spongy, it may require further cleaning or professional assistance.
- If the key does not pop back up or continues to stick, you can try cleaning it using compressed air. Position the canister nozzle near the stuck key and use short bursts of air to dislodge any debris.
- After cleaning, test the affected key to check if it is now functioning properly. If the key continues to be unresponsive or sticky, it may require professional repair or replacement.
By checking for and addressing stuck keys, you can restore the smooth functioning of your Chromebook keyboard. If the issue persists or affects multiple keys, proceed to the next troubleshooting step for further investigation and resolution.
Reset Keyboard Settings
If you have tried other troubleshooting steps and are still experiencing keyboard issues on your Chromebook, resetting the keyboard settings to their default values may help resolve the problem. Here’s how you can reset the keyboard settings:
- Click on the system tray located in the bottom-right corner of the screen.
- Select the Settings icon, typically represented by a gear or a set of vertical dots.
- In the Settings menu, scroll down and click on “Keyboard.”
- Within the Keyboard settings, click on the “Reset to default settings” button.
- A confirmation dialog box may appear, asking if you want to reset the keyboard settings. Click on “Reset” to proceed.
After resetting the keyboard settings, the keyboard will revert to its default configurations. Test the keyboard to see if the issue has been resolved.
Keep in mind that resetting the keyboard settings will remove any customizations or adjustments you have made, such as keyboard shortcuts or language preferences. You will need to reconfigure these settings after the reset if necessary.
If resetting the keyboard settings doesn’t resolve the problem, proceed to the next troubleshooting step for further investigation and resolution.
Disable Accessibility Features
Sometimes, certain accessibility features on your Chromebook, such as Sticky Keys or Filter Keys, can interfere with the normal functioning of your keyboard. Disabling these features may help resolve the keyboard issues you’re experiencing. Here’s how you can disable accessibility features:
- Click on the system tray located in the bottom-right corner of the screen.
- Select the Settings icon, usually represented by a gear or a set of vertical dots.
- In the Settings menu, scroll down and click on “Accessibility.”
- Within the Accessibility settings, review the enabled options and disable any that may affect the keyboard, such as Sticky Keys, Filter Keys, or Accessibility shortcuts.
- To disable an accessibility feature, simply click on the toggle switch next to its name.
Once you have disabled the relevant accessibility features, test your Chromebook keyboard to see if the issue has been resolved.
Disabling these accessibility features will ensure that they do not interfere with the normal functioning of your keyboard. If the keyboard problem persists, proceed to the next troubleshooting step for further investigation and resolution.
Test Keyboard in Guest Mode
If you’re still experiencing issues with your Chromebook keyboard, it’s worth testing it in Guest Mode. This will help determine if the problem is specific to your user profile or a system-wide issue. Here’s how you can test the keyboard in Guest Mode:
- Click on the system tray located in the bottom-right corner of the screen.
- Select the profile picture or avatar icon.
- From the dropdown menu, choose “Browse as Guest.”
Your Chromebook will now switch to Guest Mode, where you can test the keyboard to see if it functions properly.
While in Guest Mode, try typing in a text editor or an online document to check if the keyboard works without any issues. If the keyboard functions correctly in Guest Mode, it indicates that the problem might be related to your user profile.
If the keyboard continues to have issues even in Guest Mode, it may suggest a system-wide problem. You can proceed to contact technical support or explore additional troubleshooting steps for further diagnosis and resolution.
By testing the keyboard in Guest Mode, you can narrow down the scope of the issue and gain valuable insights into possible causes and solutions.
Additional Troubleshooting Steps
If you’ve tried the basic troubleshooting steps and the keyboard issues on your Chromebook persist, there are a few additional troubleshooting steps you can take to further diagnose and resolve the problem. Here are some options to consider:
- 10. Check for Malware: Malware or viruses can sometimes affect the performance of your Chromebook, including the keyboard. Run a thorough scan using reputable antivirus software to ensure there are no malicious programs causing keyboard issues.
- 11. Use an External Keyboard: If you have access to an external keyboard, try connecting it to your Chromebook and check if it works correctly. If the external keyboard functions properly, it may indicate a hardware issue with the built-in keyboard that would require professional repair.
These additional troubleshooting steps can help you gather more information and potentially identify the root cause of the keyboard problems you’re facing. If the issue persists or escalates, it may be advisable to seek technical support or contact the Chromebook manufacturer for further assistance.
Remember to provide specific details about the problem and the steps you have already taken when seeking help, as this will help support personnel diagnose and address the issue more effectively.
Check for Malware
Malware or viruses can have a negative impact on the overall performance of your Chromebook, and this can extend to the functionality of your keyboard as well. If you’ve tried other troubleshooting steps without success, it’s worth checking for malware to ensure it isn’t causing the keyboard issues. Here’s how you can check for malware on your Chromebook:
- Open the Chrome browser on your Chromebook.
- Type “chrome://settings” in the address bar and press Enter.
- In the Settings menu, scroll down and click on “Advanced” to expand the options.
- Under the “Reset and clean up” section, click on “Clean up computer.”
- Click on the “Find” button to initiate a scan for harmful software.
- Follow the prompts to remove any malware or unwanted applications that are detected.
During the malware scan, Chrome will search for and remove any malicious software or potentially unwanted applications that may be affecting the performance of your Chromebook, including the keyboard.
Once the scan is complete, restart your Chromebook and test the keyboard to see if the issue has been resolved. If the keyboard is functioning normally now, it indicates that malware was causing the problem.
Regularly updating and running scans with reputable antivirus software can help protect your Chromebook from malware and maintain its optimal performance. Additionally, it’s important to exercise caution when downloading files or visiting unfamiliar websites to minimize the risk of encountering malware.
If the keyboard issues persist even after checking for malware, proceed to the next troubleshooting step for further investigation and resolution.
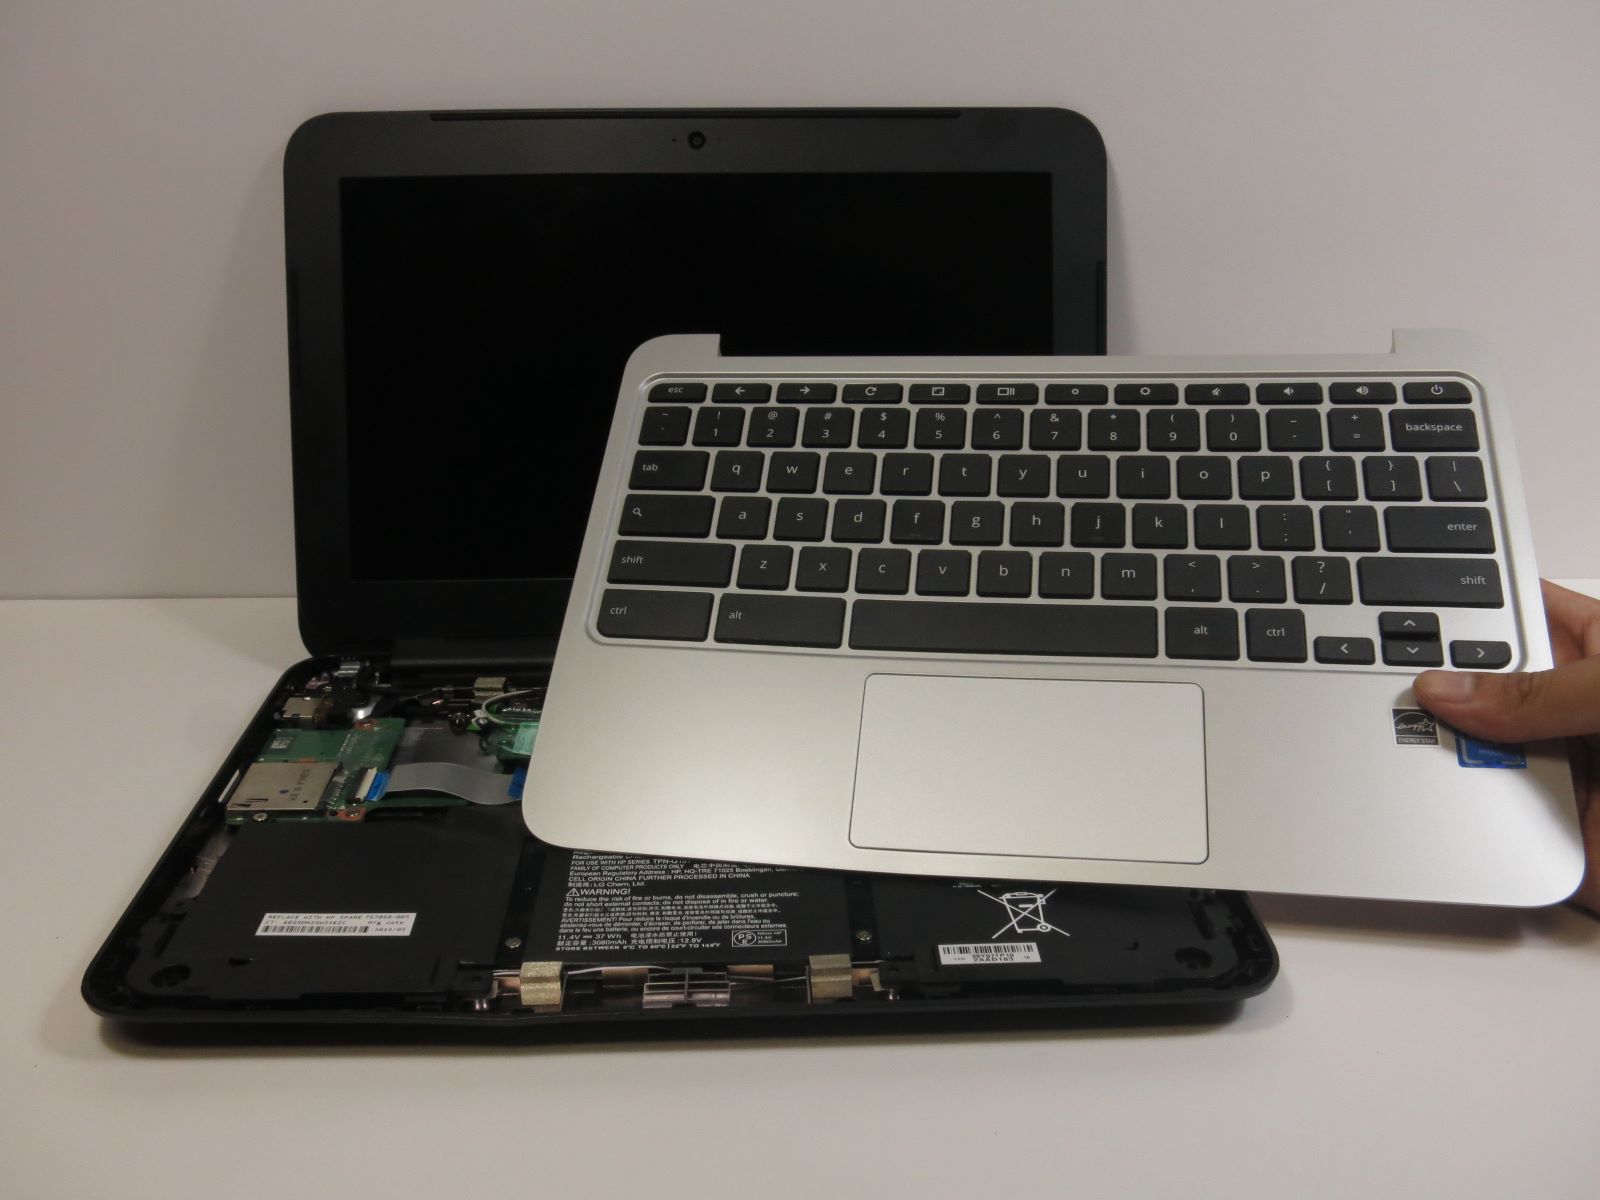
Use an External Keyboard
If you’ve exhausted all other troubleshooting steps and your Chromebook keyboard is still not functioning properly, you can try using an external keyboard to determine if the issue lies with the built-in keyboard or the system itself. Here’s how you can use an external keyboard with your Chromebook:
- Obtain a compatible external keyboard. This can be a USB keyboard or a Bluetooth keyboard.
- If using a USB keyboard, simply plug it into one of the available USB ports on your Chromebook. If using a Bluetooth keyboard, ensure that it is paired and connected with your Chromebook.
- Once connected, start typing on the external keyboard to test its functionality.
If the external keyboard works perfectly, it suggests that the issue lies with the built-in keyboard of your Chromebook. In this case, you may need to seek professional repair or replacement options for the internal keyboard.
Using an external keyboard can be a temporary workaround while you explore repair or replacement options. It allows you to continue using your Chromebook as usual, albeit with an external accessory.
However, if the external keyboard also experiences issues or isn’t functioning correctly, it indicates that the problem lies with the Chromebook system itself. In such cases, it may be necessary to contact technical support or the Chromebook manufacturer for further assistance and guidance.
By utilizing an external keyboard, you can identify whether the issue lies with your Chromebook’s built-in keyboard or if it is a broader system-related problem.
Conclusion
Dealing with keyboard issues on your Chromebook can be frustrating, but thankfully, there are several troubleshooting steps you can take to resolve them. In this guide, we’ve covered some of the most common keyboard problems encountered by Chromebook users and provided step-by-step instructions to help troubleshoot and fix them.
We started with basic troubleshooting steps, such as restarting your Chromebook, updating the system, and checking keyboard settings. These simple actions can often resolve minor glitches and restore functionality to your keyboard. We then discussed more specific troubleshooting steps, including cleaning the keyboard, toggling Caps Lock, checking for stuck keys, resetting keyboard settings, and disabling accessibility features when basic steps don’t solve the problem.
Additionally, we explored further troubleshooting steps, such as checking for malware and using an external keyboard to determine whether the issue lies with the built-in keyboard or the system itself. If all else fails, it may be necessary to seek professional repair or contact technical support for assistance.
Remember that keyboard issues can vary in complexity, and the appropriate solution may depend on the specific problem you’re facing. It’s also essential to keep your Chromebook’s operating system up to date and practice good internet security habits to minimize the chances of encountering keyboard problems caused by malware or malicious software.
By following the troubleshooting steps outlined in this guide, you can increase the chances of resolving keyboard issues on your Chromebook and ensure that your device remains functional and enjoyable to use.