Introduction
Welcome to our guide on how to reset a laptop keyboard. If you’re experiencing issues with your laptop keyboard such as unresponsive keys, repeated keystrokes, or incorrect character input, resetting the keyboard can often resolve these problems. Resetting the keyboard refers to troubleshooting steps that can help recalibrate or reinstall the keyboard software, fix driver issues, or resolve any other software-related issues that may be causing the problem.
A malfunctioning keyboard can be frustrating and hinder your productivity, so it’s important to know how to troubleshoot and reset your laptop keyboard. In this article, we’ll outline various methods that you can use to reset your laptop keyboard and get it back in working order.
Before we dive into the troubleshooting steps, it’s essential to understand that software-related issues are typically the cause of keyboard problems. Physical damage, such as spilling liquids on the keyboard or keys that are stuck, may require professional repair or replacement. However, in many cases, a software reset can resolve the issue and save you time and money.
It’s worth noting that the steps to reset a laptop keyboard may vary slightly depending on the operating system and keyboard configuration. In this guide, we’ll primarily focus on Windows laptops, but some of the methods may also apply to other operating systems.
Now, let’s explore the different methods you can use to reset your laptop keyboard and regain its functionality.
Reasons for Resetting a Laptop Keyboard
There can be several reasons why you might need to reset your laptop keyboard. Understanding these reasons can help you identify the root cause of the problem and determine the appropriate method for resetting your keyboard. Here are a few common reasons:
- Unresponsive or stuck keys: One of the most common reasons for keyboard reset is when keys become unresponsive or get stuck. This can happen due to dust, debris, or foreign objects that may have accumulated beneath the keys, causing them to jam or stop working altogether.
- Incorrect character input: Another frustrating issue that may require a keyboard reset is when the keys on your laptop keyboard start inputting incorrect characters. This can be caused by a misconfigured keyboard layout or an issue with the driver settings.
- Repeated keystrokes: If you find that a single keystroke results in multiple characters appearing on the screen, you may be experiencing a problem known as “key chattering.” This issue can make typing difficult and lead to errors in your text.
- Software conflicts: Sometimes, conflicts between different software applications installed on your laptop can affect the performance of the keyboard. This can lead to laggy or unresponsive keys, requiring a keyboard reset to resolve the conflict.
- Driver issues: Outdated or corrupted keyboard drivers can also cause problems with your laptop keyboard. Resetting the keyboard can help reinstall or update the drivers to ensure optimal functionality.
It’s important to note that these are just a few common reasons for keyboard issues, and there could be other underlying causes specific to your laptop or operating system. By resetting your laptop keyboard, you can troubleshoot and resolve many of these issues without needing to replace the entire keyboard.
Now that you have a better understanding of the reasons for resetting a laptop keyboard, let’s explore the different methods you can use to reset your keyboard and get it back to working condition.
What Happens When You Reset the Keyboard?
Resetting the laptop keyboard involves troubleshooting steps that aim to fix any software-related issues causing problems with the keyboard’s functionality. When you reset the keyboard, several things might happen:
- Recalibration: One possible outcome of resetting the keyboard is recalibration. This process involves reconfiguring the keyboard software to ensure each key registers correctly when pressed and releases accurately. Recalibration can resolve issues such as unresponsive or stuck keys.
- Reinstallation of drivers: Resetting the keyboard may involve reinstalling or updating the keyboard drivers. Drivers are software components that enable communication between the keyboard and the operating system. If the drivers are outdated, corrupted, or conflicting with other software, resetting the keyboard can help reinstall or update the drivers for better compatibility and performance.
- Clearing the keyboard cache: Sometimes, the keyboard cache can become corrupted, leading to erratic or incorrect character input. Resetting the keyboard can involve clearing the keyboard cache, which removes any temporary data or settings that may be causing the issue. Clearing the cache can help restore the keyboard to its default configuration.
- Resolving software conflicts: Resetting the keyboard can also help resolve software conflicts that may be impacting the keyboard’s performance. In some cases, other applications or software on your laptop may interfere with the keyboard’s operation. By resetting the keyboard, you can potentially resolve these conflicts and restore the functionality of your laptop keyboard.
It’s important to note that resetting the keyboard primarily focuses on addressing software-related issues. If your laptop keyboard is experiencing physical damage, such as water spills or keys that are physically stuck, a simple reset might not be sufficient. In such cases, professional repair or keyboard replacement may be necessary.
Now that we understand what happens when you reset the keyboard, let’s explore the various methods that you can use to effectively reset your laptop keyboard.
Method 1: Restarting Your Laptop
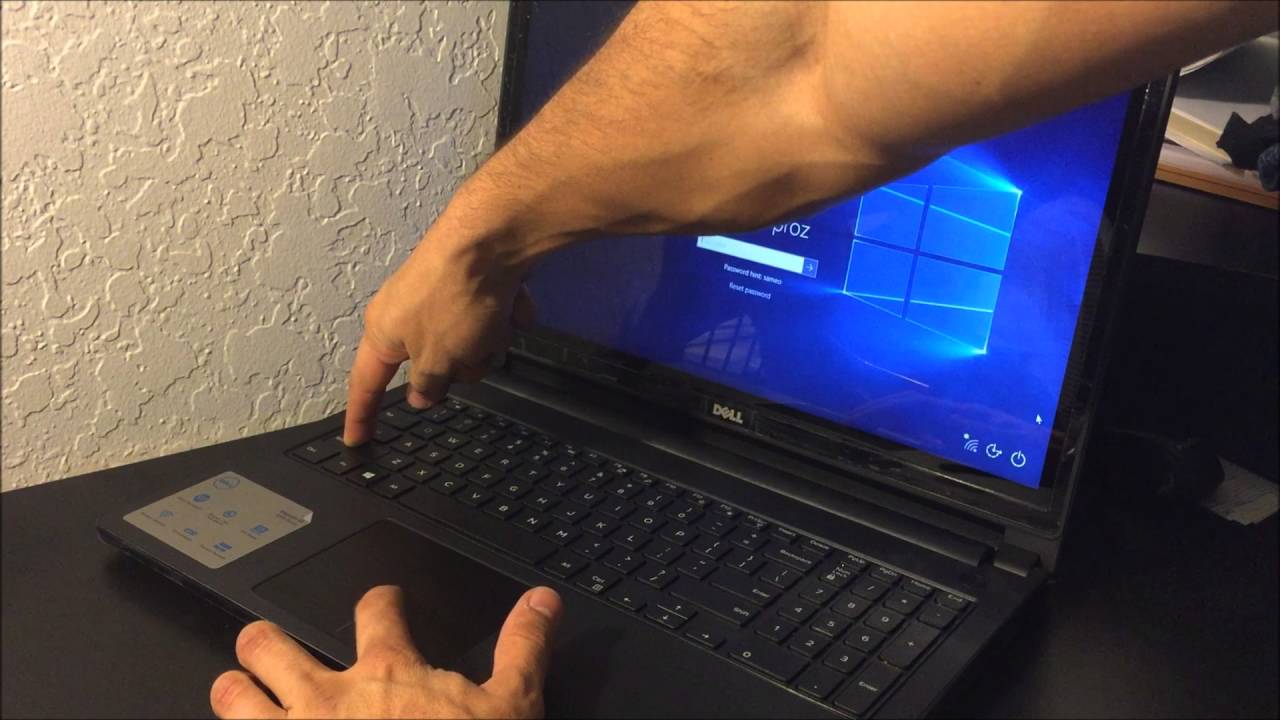
One of the simplest and most effective methods to reset your laptop keyboard is by restarting your laptop. Restarting your laptop can help resolve temporary software glitches or conflicts that may be affecting the keyboard’s functionality. Here’s how you can do it:
- Save any ongoing work and close all open applications.
- Click on the “Start” menu located at the bottom left corner of your screen.
- Select the “Restart” option from the power menu.
- Wait for your laptop to shut down and restart.
- Once your laptop has booted up, test the keyboard to see if the issue has been resolved.
Restarting your laptop refreshes the system and reloads all the software components, including the keyboard drivers. It allows the operating system to recalibrate the keyboard settings and clear any temporary glitches that may have been hindering its performance.
If restarting your laptop doesn’t resolve the keyboard issue, you can proceed to try other methods outlined in this guide. Keep in mind that restarting your laptop should be the first step in troubleshooting keyboard problems, as it’s a quick and simple solution that often resolves minor software-related issues.
Now that we’ve covered the first method of resetting your laptop keyboard, let’s move on to exploring the next method: clearing the keyboard cache.
Method 2: Clearing the Keyboard Cache
If restarting your laptop didn’t resolve the keyboard issue, you can try clearing the keyboard cache. The keyboard cache stores temporary data and settings related to the keyboard, and clearing it can help eliminate any corrupted or conflicting data that may be affecting keyboard functionality. Here’s how you can clear the keyboard cache:
- Go to the “Start” menu and type “Control Panel” in the search bar.
- Open the Control Panel and navigate to “Hardware and Sound” or “Devices and Printers,” depending on your Windows version.
- Click on “Device Manager” or “Device and Driver” to open the device management window.
- Expand the “Keyboards” category to display the list of keyboards connected to your laptop.
- Right-click on your laptop keyboard and select “Uninstall” from the drop-down menu.
- Follow the on-screen prompts to complete the uninstallation process.
- Once the uninstallation is complete, restart your laptop.
- After your laptop restarts, it will automatically reinstall the keyboard drivers.
- Test the keyboard to see if the issue has been resolved.
Clearing the keyboard cache essentially removes any temporary data or settings that may have been causing issues with your laptop keyboard. By uninstalling and reinstalling the keyboard drivers, you allow the operating system to establish a fresh connection with the keyboard and eliminate any conflicting or corrupted data.
If clearing the keyboard cache doesn’t resolve the problem, continue reading to explore the next method: updating your keyboard driver.
Method 3: Updating Your Keyboard Driver
If clearing the keyboard cache didn’t solve the issue, another method to try is updating your keyboard driver. Outdated or incompatible keyboard drivers can cause keyboard problems, and updating them can often resolve these issues. Here’s how you can update your keyboard driver:
- Open the “Device Manager” by right-clicking on the “Start” button and selecting “Device Manager” from the menu.
- Expand the “Keyboards” category to view the list of keyboards connected to your laptop.
- Right-click on your laptop keyboard and select “Update Driver” from the drop-down menu.
- Choose the option to automatically search for updated driver software.
- Follow the on-screen instructions and let Windows search and install any available updates for your keyboard driver.
- Restart your laptop after the driver installation is complete.
- Test the keyboard to check if the issue has been resolved.
Updating the keyboard driver ensures that you have the latest version of the driver software, which often includes bug fixes and improvements. By updating the driver, you can address compatibility issues and enhance the overall performance of your laptop keyboard.
If updating your keyboard driver doesn’t fix the problem, continue reading to explore the next method: using the Windows troubleshooter.
Method 4: Using the Windows Troubleshooter
If the previous methods didn’t solve the issue with your laptop keyboard, you can try using the Windows troubleshooter. The troubleshooter is a built-in tool in Windows that can automatically detect and fix common problems with hardware devices, including keyboards. Here’s how you can use the Windows troubleshooter:
- Open the “Settings” on your laptop by clicking on the “Start” menu and selecting the gear icon.
- Click on the “Update & Security” option.
- In the left sidebar, select “Troubleshoot”.
- Under the “Find and fix other problems” section, click on “Keyboard” to expand the troubleshooter option.
- Click on the “Run the troubleshooter” button.
- Follow the on-screen prompts and let the troubleshooter scan for any issues with your keyboard.
- If any issues are detected, follow the recommended steps to fix them.
- Restart your laptop and test the keyboard to see if the problem has been resolved.
The Windows troubleshooter can identify and fix common keyboard-related issues, such as driver problems or incorrect settings. It automates the troubleshooting process and provides step-by-step guidance on resolving the problem. Using the troubleshooter is a convenient and efficient method to troubleshoot keyboard issues without needing to manually diagnose the problem.
If the Windows troubleshooter doesn’t resolve the keyboard problem, continue reading to explore the next method: resetting the keyboard settings.
Method 5: Resetting the Keyboard Settings
If the previous methods haven’t resolved the issue with your laptop keyboard, you can try resetting the keyboard settings. This method involves restoring the keyboard settings to their default configuration, which can help eliminate any misconfigurations that may be causing the problem. Here’s how you can reset the keyboard settings:
- Open the “Control Panel” by searching for it in the “Start” menu.
- Click on “Hardware and Sound” or “Devices and Printers,” depending on your Windows version.
- Under the “Devices and Printers” section, locate your laptop’s keyboard and right-click on it.
- Select the “Keyboard settings” or “Keyboard Properties” option.
- Navigate to the “Hardware” or “Driver” tab, depending on your Windows version.
- Click on the “Reset” or “Restore Defaults” button.
- Confirm the action and wait for the settings to be reset.
- Restart your laptop and test the keyboard to see if the issue has been resolved.
Resetting the keyboard settings restores them to their original state, eliminating any customized settings or misconfigurations that may have been causing the problem. By resetting the settings to default, you give the keyboard a fresh start and allow it to function according to its intended specifications.
If resetting the keyboard settings doesn’t resolve the issue, continue reading to explore the final method: checking for physical damage.
Method 6: Checking for Physical Damage
If none of the previous methods have successfully resolved the issue with your laptop keyboard, it’s important to consider the possibility of physical damage. Physical damage can cause various keyboard problems, such as unresponsive keys or keys that are stuck. Here’s how you can check for physical damage:
- Inspect the keyboard for any visible signs of damage, such as spilled liquids or keys that are physically stuck.
- Clean the keyboard using compressed air or a soft brush to remove any dust, debris, or foreign objects that may be obstructing the keys.
- Test the keyboard to see if the issue persists after cleaning.
- If the problem persists, try connecting an external keyboard to your laptop and see if it works properly.
- If the external keyboard functions correctly, it indicates that the issue is with the laptop’s keyboard itself.
- If the external keyboard also encounters problems, it suggests that the issue may lie with the laptop’s keyboard port or a deeper hardware-related issue.
If physical damage is detected, such as liquid spills or keys that are physically stuck, it’s advisable to seek professional assistance or consider replacing the keyboard if it’s a removable component. Repairing physical damage requires professional expertise and should not be attempted unless you have experience in laptop hardware repairs.
By checking for physical damage, you can identify any issues that cannot be resolved through software methods alone. This step ensures that all potential causes of the keyboard problem have been thoroughly examined.
Now that we’ve covered all six methods for resetting and troubleshooting your laptop keyboard, you should have a better understanding of how to address the issues you may be encountering.
Conclusion
Resetting a laptop keyboard can often resolve issues such as unresponsive keys, incorrect character input, repeated keystrokes, and software conflicts. By following the methods outlined in this guide, you can troubleshoot and resolve many keyboard-related problems without the need for professional repair or replacement.
We started by understanding the reasons why you may need to reset your laptop keyboard, including unresponsive keys, incorrect character input, repeated keystrokes, software conflicts, and driver issues. These insights can help you identify the root cause of the problem and determine the appropriate method for resetting your keyboard.
We then explored six different methods to reset and troubleshoot your laptop keyboard. We discussed restarting the laptop to resolve temporary software glitches, clearing the keyboard cache to eliminate corrupted data, updating the keyboard driver to address compatibility issues, using the Windows troubleshooter to automate the troubleshooting process, resetting the keyboard settings to default configuration, and checking for physical damage that may require professional repair or replacement.
It’s important to note that physical damage, such as liquid spills or keys that are physically stuck, may require professional assistance or the replacement of the keyboard. In such cases, attempting to reset the keyboard through software methods alone may not fully resolve the problem.
Remember to always save your work and close any open applications before attempting to reset your laptop keyboard. Additionally, it’s a good idea to back up important data regularly to prevent any accidental loss of information during the troubleshooting process.
We hope this guide has been helpful in troubleshooting and resetting your laptop keyboard. By following these methods, you can often regain the functionality of your keyboard and continue to use your laptop efficiently. If the problem persists despite attempting these methods, consulting a professional technician or contacting the laptop manufacturer’s support may be the next best step to find a solution.