Introduction
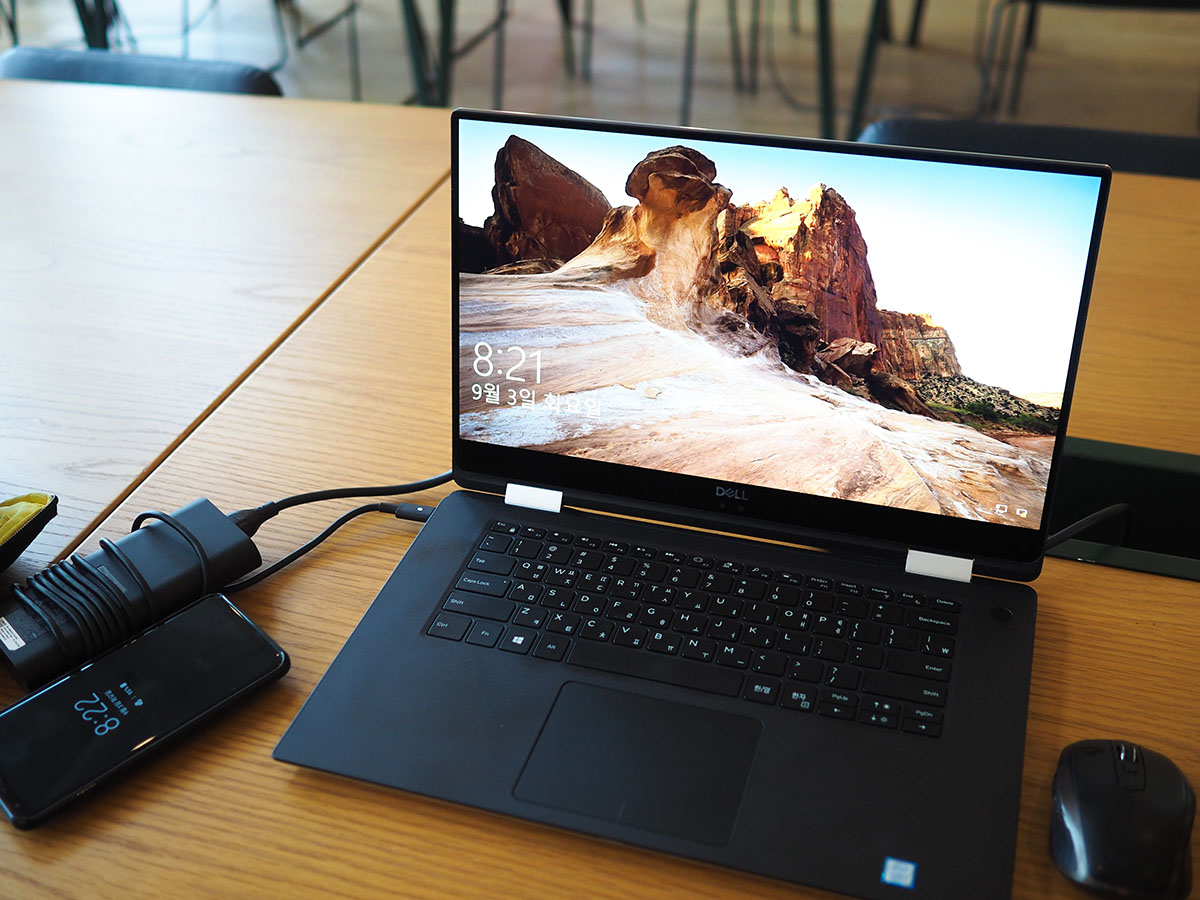
Welcome to this guide on how to unlock the keyboard on your Dell laptop. Whether you’re experiencing a locked or unresponsive keyboard, we understand how frustrating it can be. However, there’s no need to worry as we’ll walk you through several methods to resolve this issue and regain full functionality of your Dell laptop keyboard.
Dell laptops are known for their reliability, performance, and user-friendly features. However, just like any other electronic device, keyboards can sometimes encounter problems that prevent them from functioning properly. This can include issues like accidental lockout, software glitches, or driver malfunctions.
In this comprehensive guide, we’ll explore various troubleshooting methods to help you unlock your Dell laptop keyboard and address these common issues. You don’t need to be an IT expert to follow these steps, as they are designed to be user-friendly and accessible to all levels of technical expertise.
So, if you’re ready to dive in and get your keyboard back in working order, let’s begin with the first method: performing a restart.
Common Reasons for a Locked Keyboard
Before we jump into the methods to unlock your Dell laptop keyboard, it’s important to understand the common reasons why your keyboard may be locked in the first place. Identifying the root cause can help you troubleshoot more effectively and select the appropriate solution.
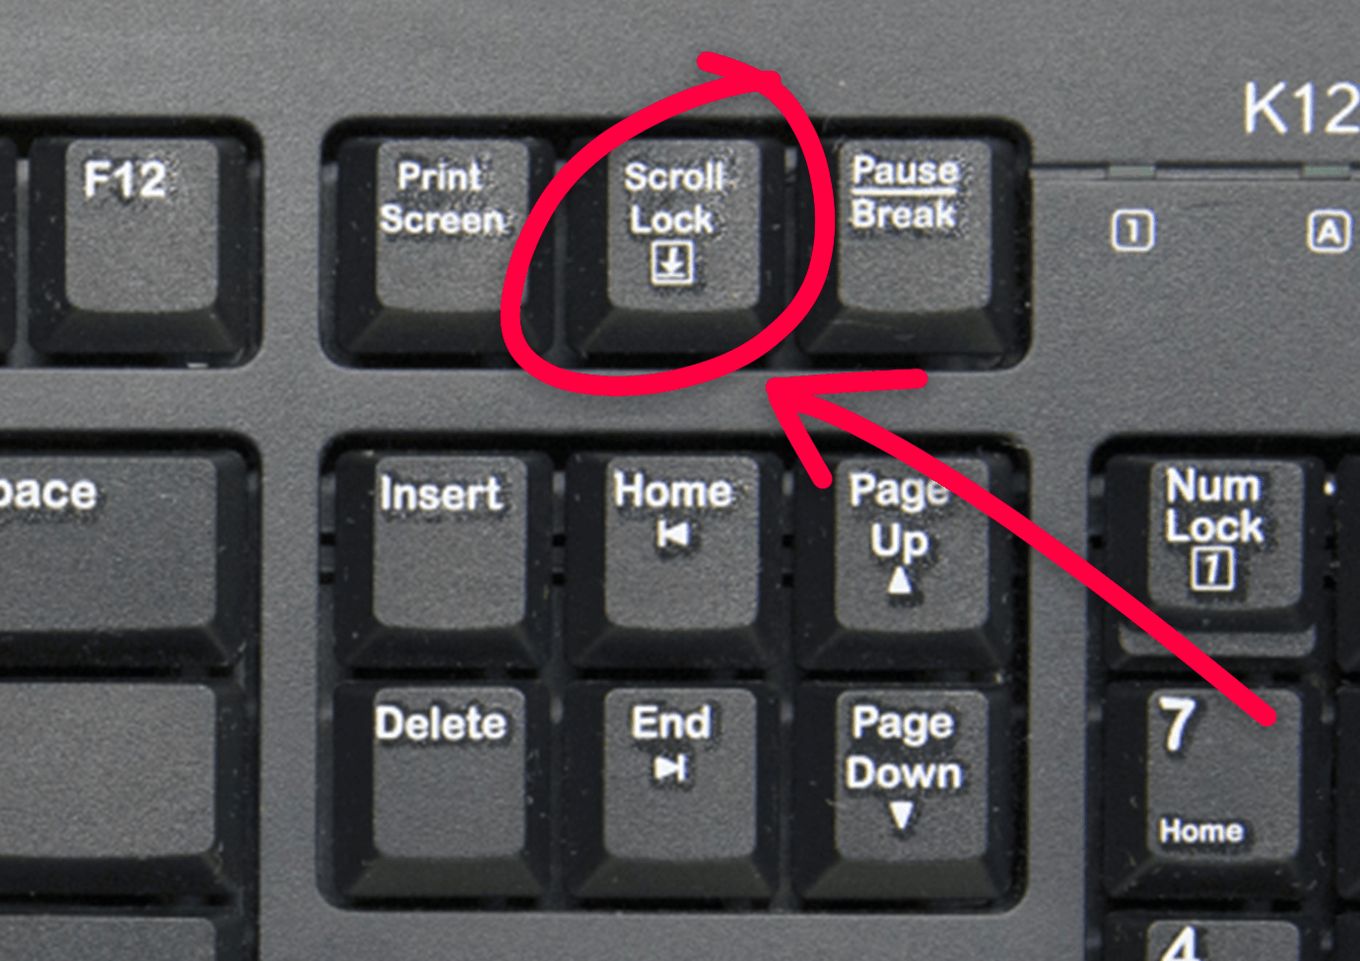
1. Accidental key combination: Sometimes, you may unknowingly press certain key combinations that trigger the keyboard lock feature. This can occur while typing quickly or if you accidentally hit a combination of keys.
2. Software or driver issues: Outdated or corrupt keyboard drivers can cause the keyboard to become unresponsive or locked. Similarly, software conflicts or glitches can also lead to keyboard locking.
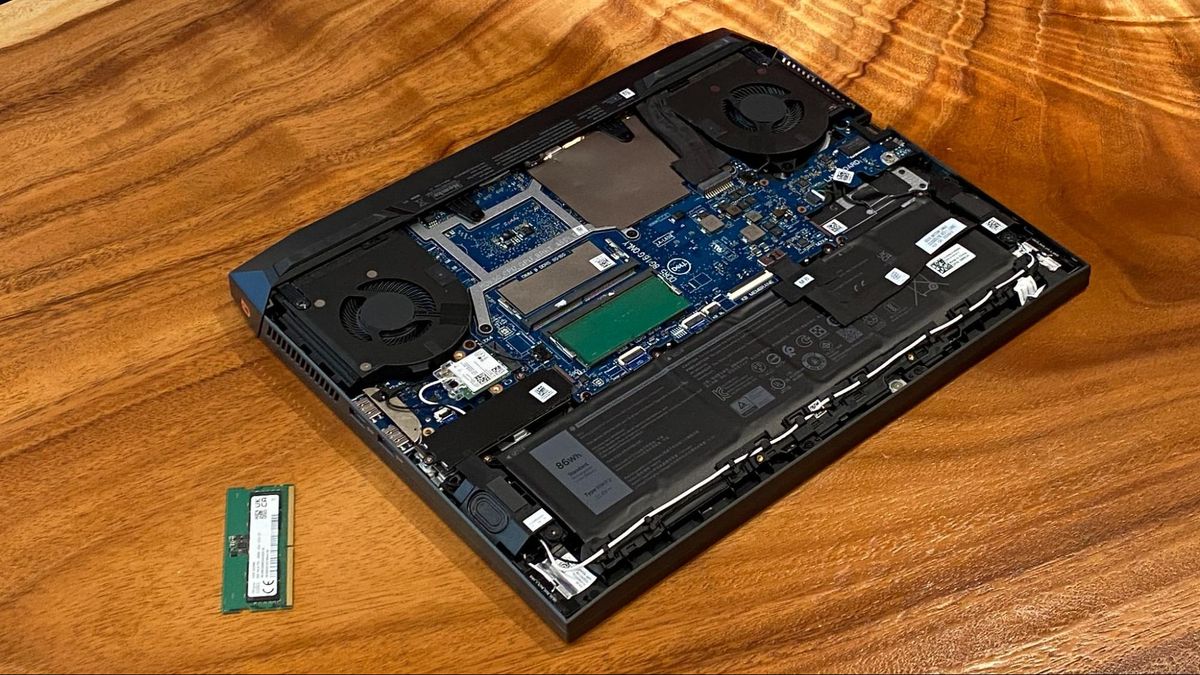
3. Physical damage: Physical damage to the keyboard, such as spills or knocks, can result in a locked keyboard. Water damage can cause keys to stick, while impact can dislodge internal connections.
4. Enabled accessibility features: Certain accessibility features, such as Filter Keys, can unintentionally lock the keyboard. These features are designed to assist users with disabilities but can cause issues if enabled by accident.
5. BIOS settings: In some cases, changes to the BIOS settings can inadvertently lock the keyboard. This can occur if you’ve recently made changes to your BIOS configuration or if there was a power surge or interruption during a BIOS update.
By understanding these common causes, you can narrow down the possibilities and approach the troubleshooting process more effectively. Now that we’ve covered the potential reasons for a locked keyboard, let’s move on to the methods to unlock it.
Method 1: Performing a Restart
Restarting your Dell laptop is often the first step in troubleshooting many software-related issues, including a locked keyboard. Restarting can help reset any temporary software glitches or conflicts that may be causing the problem. Here’s how to perform a restart on your Dell laptop:
- Save your work and close any open applications.
- Click on the “Start” menu or press the Windows key to open the Start menu.
- Select the power icon, usually located in the lower left corner of the Start menu.
- Choose the “Restart” option from the power menu.
- Wait for your Dell laptop to shut down and restart.
Once your laptop has restarted, check if the keyboard is now unlocked and functioning properly. Test different keys to ensure they are responsive. If the keyboard is still locked, proceed to the next method to troubleshoot further.
Performing a restart is a simple yet effective way to resolve minor software issues that may be causing the keyboard lock. It’s always recommended to start with this method before moving on to more advanced troubleshooting steps.
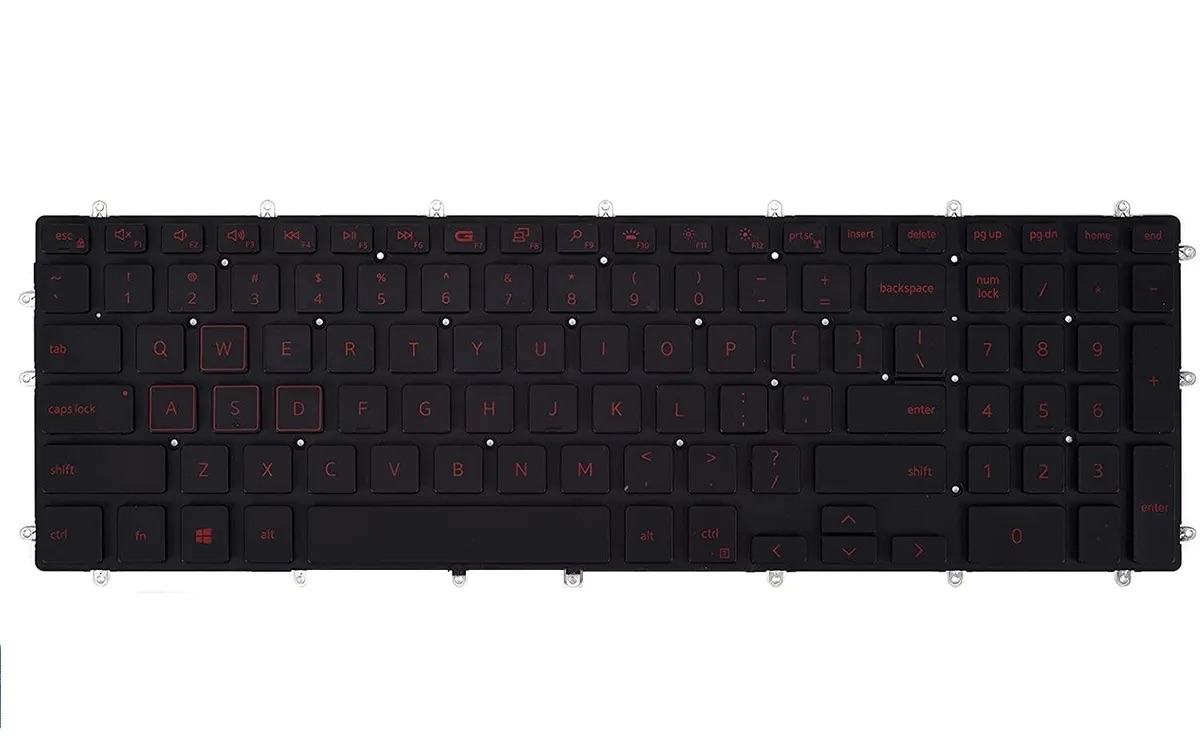
Method 2: Checking for the F1-F12 Key Functionality
In some cases, the function (F1-F12) keys on your Dell laptop keyboard may be locked or disabled, which can result in the keyboard appearing locked or unresponsive. To check and restore the functionality of these keys, follow the steps below:
- Press the “Fn” key and look for the “F Lock” or “F Mode” key on your Dell laptop keyboard. The specific key may vary depending on your laptop model.
- Press the “F Lock” or “F Mode” key while holding down the “Fn” key to toggle the function key functionality.
- Observe if the keyboard is now responsive and the F1-F12 keys are functioning as intended. Test different keys to ensure their functionality.
If the keyboard is still locked or unresponsive after checking and toggling the function key functionality, move on to the next method for further troubleshooting.
Verifying and restoring the functionality of the F1-F12 keys is crucial, as these keys often have secondary functions that can be essential for unlocking or controlling various features on your Dell laptop. By ensuring the correct mode is enabled, you can eliminate this as a potential cause of the keyboard lock issue.
Method 3: Using the On-Screen Keyboard
If your Dell laptop keyboard is locked or unresponsive, one workaround is to use the built-in On-Screen Keyboard. This virtual keyboard can be accessed through your computer’s accessibility settings and can help you regain typing functionality. Here’s how to use the On-Screen Keyboard:
- Click on the “Start” menu or press the Windows key to open the Start menu.
- Go to “Settings” and select “Ease of Access”.
- Click on “Keyboard” in the left-hand navigation menu.
- Toggle the “On-Screen Keyboard” switch to the “On” position.
- A virtual keyboard will appear on your screen. You can now use your mouse or touchpad to click on the keys and type.
Test the On-Screen Keyboard to ensure that all keys are functioning properly. If you have a touchscreen device, you can also use your finger to tap on the virtual keys. While using the On-Screen Keyboard can be a temporary solution, it is recommended to resolve the underlying issue for long-term keyboard functionality.
If the On-Screen Keyboard is also unresponsive or not working as expected, continue to the next method for further troubleshooting steps.
The On-Screen Keyboard is a helpful tool that can assist users with locked or unresponsive physical keyboards. By using this feature, you can continue to use your Dell laptop until the keyboard issue is resolved.
Method 4: Unlocking the Keyboard through Control Panel
If your Dell laptop keyboard remains locked or unresponsive, you can try unlocking it using the Control Panel settings. This method involves accessing the Keyboard settings and ensuring that no locks or restrictions are applied. Follow the steps below to unlock your keyboard through the Control Panel:
- Click on the “Start” menu or press the Windows key to open the Start menu.
- Go to “Settings” and select “Devices”.
- Click on “Typing” in the left-hand navigation menu.
- Under the “Keyboard” section, ensure that the “Lock the keyboard when I use a docking station” option is unchecked.
- Ensure that the “Turn on Filter Keys” option is also unchecked.
- Close the Control Panel settings.
After making these changes, test your Dell laptop keyboard to see if it is unlocked and functioning correctly. Try typing on different keys to ensure their responsiveness.
If the keyboard remains locked or unresponsive, proceed to the next method for further troubleshooting.
By adjusting the keyboard settings through the Control Panel, you can ensure that no specific configurations are preventing the keyboard from functioning properly. These settings can sometimes get enabled accidentally or due to specific software interactions, so it’s essential to verify and adjust them accordingly.
Method 5: Disabling the Filter Keys Option
Filter Keys is an accessibility feature in Windows that helps prevent accidental keystrokes by ignoring brief or repeated keystrokes. However, this feature can sometimes cause the keyboard to appear locked or unresponsive. Disabling Filter Keys can help resolve this issue. Follow these steps to disable the Filter Keys option:
- Click on the “Start” menu or press the Windows key to open the Start menu.
- Go to “Settings” and select “Ease of Access”.
- Click on “Keyboard” in the left-hand navigation menu.
- Under the “Filter Keys” section, toggle the “Ignore brief or repeated keystrokes” switch to the “Off” position.
- Close the settings.
After disabling Filter Keys, test your Dell laptop keyboard to see if it is now unlocked and functioning properly. Try typing on different keys to ensure their responsiveness.
If the keyboard is still locked or unresponsive, proceed to the next method for further troubleshooting.
Disabling the Filter Keys option can help resolve issues related to keyboard responsiveness. By turning off this accessibility feature, you can eliminate it as a potential cause of the keyboard lock problem, allowing the keyboard to function as expected.
Method 6: Uninstalling and Reinstalling the Keyboard Driver
If your Dell laptop keyboard is still locked or unresponsive, it may be due to a faulty keyboard driver. Uninstalling and reinstalling the keyboard driver can help resolve this issue. Follow these steps to uninstall and reinstall the keyboard driver:
- Click on the “Start” menu or press the Windows key to open the Start menu.
- Go to “Device Manager” by typing “Device Manager” in the search bar and selecting it from the search results.
- In the Device Manager window, expand the “Keyboards” category.
- Right-click on your keyboard driver and select “Uninstall device”.
- Follow the prompts to uninstall the driver. Make sure to restart your Dell laptop after the driver is uninstalled.
- After restarting, your computer will automatically reinstall the keyboard driver. If it doesn’t, go back to the Device Manager, right-click on the “Keyboards” category, and select “Scan for hardware changes”.
- Once the keyboard driver is reinstalled, test your Dell laptop keyboard to see if it is now unlocked and functioning properly.
If the keyboard problem persists, move on to the next method for further troubleshooting.
Uninstalling and reinstalling the keyboard driver can help resolve issues related to driver malfunctions. By performing this step, you ensure that you have the latest and correctly installed driver for your Dell laptop keyboard, potentially resolving any lock or unresponsiveness problems.
Method 7: Resetting BIOS Settings
If you have tried all the previous methods and your Dell laptop keyboard is still locked or unresponsive, it may be worth resetting the BIOS settings. Resetting the BIOS can help resolve issues related to incorrect configurations or settings that are causing the keyboard problem. Here’s how you can reset the BIOS settings:
- Shut down your Dell laptop completely. Ensure that it is turned off and not in sleep or hibernation mode.
- Press the power button to turn on your laptop.
- While the Dell logo appears on the screen, press the specific key, such as F2 or Del, to enter the BIOS settings.
- Navigate to the “Load Defaults” or “Reset to Default” option, usually located in the BIOS settings menu.
- Select the “Load Defaults” or “Reset to Default” option and confirm your selection.
- Save the changes and exit the BIOS settings.
- Allow your Dell laptop to restart and boot up normally.
After resetting the BIOS settings, test your Dell laptop keyboard to see if it is now unlocked and functioning properly.
If the keyboard remains locked or unresponsive even after resetting the BIOS settings, it is recommended to contact Dell support or a professional technician for further assistance. There may be underlying hardware issues that require professional diagnosis and repair.
Resetting the BIOS settings can sometimes resolve keyboard lock issues that are caused by misconfigured settings. By restoring the default settings, you eliminate any potential configuration-related problems and allow the keyboard to function optimally.
Conclusion
Dealing with a locked or unresponsive keyboard on your Dell laptop can be frustrating, but with the methods outlined in this guide, you should be able to resolve the issue and regain full functionality. From performing a simple restart to resetting the BIOS settings, we’ve covered various troubleshooting methods to unlock your keyboard.
It’s important to remember that keyboard issues can have different causes, ranging from software glitches to physical damage. By understanding the common reasons for a locked keyboard, you can better approach the troubleshooting process and select the appropriate method.
We recommend starting with the simple solutions, such as performing a restart or checking the F1-F12 key functionality. If these methods don’t resolve the problem, proceed with the more advanced techniques like using the On-Screen Keyboard, adjusting Control Panel settings, reinstalling the keyboard driver, or resetting the BIOS settings.
It’s always a good idea to test your Dell laptop keyboard after each method to see if it is unlocked and functioning properly. If the issue persists, it may be necessary to seek support from Dell or a professional technician who can diagnose and repair any underlying hardware problems.
We hope that this guide has been helpful in unlocking your Dell laptop keyboard. Remember to refer back to this resource whenever you encounter similar keyboard issues in the future. With the right troubleshooting steps, you can quickly resolve the problem and get back to using your Dell laptop efficiently.