Introduction
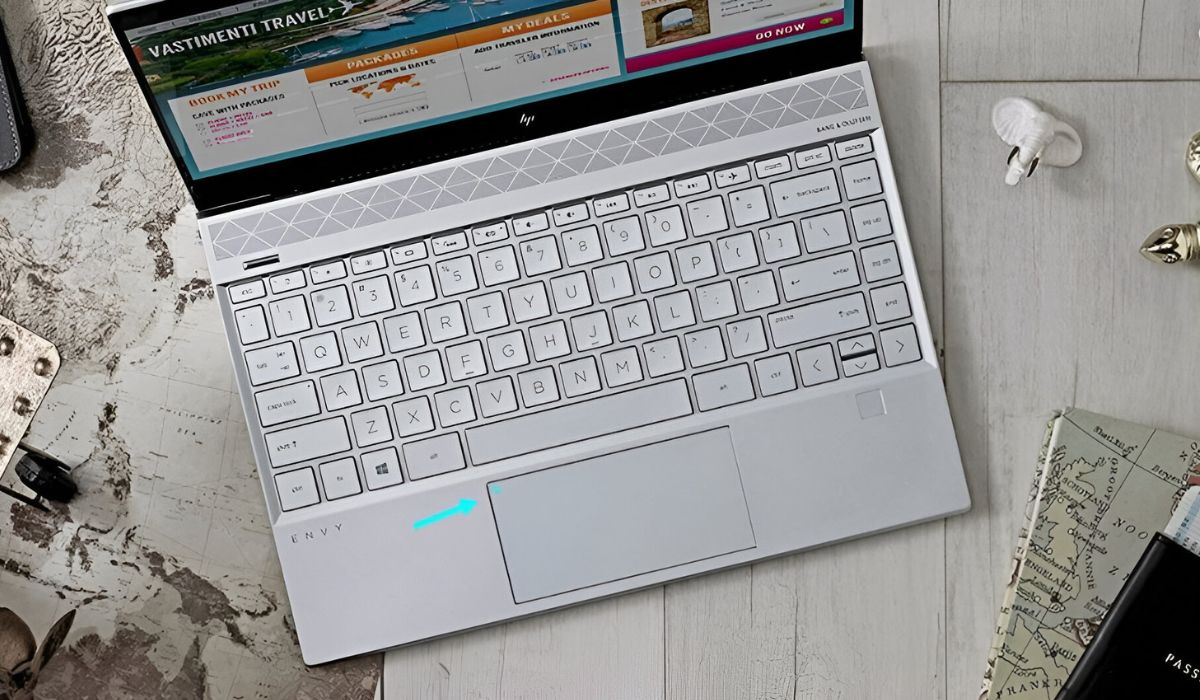
Are you encountering issues with the mouse pad on your HP laptop? Fret not, as this guide is tailored to assist you in addressing and resolving these concerns. The mouse pad, also known as a touchpad, is an essential component of a laptop, facilitating seamless navigation and interaction with the device. When it malfunctions or becomes unresponsive, it can disrupt your workflow and cause frustration. Fortunately, there are several troubleshooting steps you can take to rectify these issues and restore the functionality of your HP laptop's mouse pad.
In the following sections, we will delve into various methods to diagnose and resolve mouse pad issues on your HP laptop. From checking the settings to updating the driver and performing a hard reset, we will explore step-by-step solutions to help you regain control and efficiency in using your laptop's mouse pad. By following these guidelines, you can potentially avoid the inconvenience of seeking professional assistance or resorting to costly repairs.
Whether you're experiencing erratic cursor movements, unresponsiveness, or complete failure of the mouse pad, this comprehensive guide aims to equip you with the knowledge and tools necessary to troubleshoot and resolve these issues independently. By understanding the underlying causes and implementing the recommended solutions, you can effectively troubleshoot your HP laptop's mouse pad and restore it to optimal functionality.
Let's embark on this troubleshooting journey to address the mouse pad concerns on your HP laptop and regain seamless navigation and control over your device. Whether you're a seasoned tech enthusiast or a novice user, the following steps are designed to be accessible and actionable, empowering you to resolve the mouse pad issues with confidence and ease.
Checking the Mouse Pad Settings
Before delving into more complex troubleshooting methods, it’s essential to start with the basics. Checking the mouse pad settings on your HP laptop can provide valuable insights into the root cause of any issues you may be experiencing. To access the mouse pad settings, begin by navigating to the Control Panel or Settings menu, depending on your operating system version.
- Accessing Control Panel: For Windows users, you can access the Control Panel by clicking on the Start menu and typing “Control Panel” in the search bar. Once in the Control Panel, locate the “Mouse” or “Mouse and Touchpad” settings to review and adjust the mouse pad configurations.
- Navigating to Settings: If you’re using Windows 10 or later, accessing the Settings menu is another way to review the mouse pad settings. Click on the Start menu, followed by the gear-shaped Settings icon. Within the Settings menu, locate the “Devices” or “Touchpad” section to access the mouse pad settings.
Upon accessing the mouse pad settings, pay close attention to options related to sensitivity, scrolling behavior, gestures, and additional features specific to your HP laptop’s touchpad. Ensure that the settings align with your preferences and usage patterns. Additionally, look for any toggles or checkboxes that may have inadvertently been disabled, impacting the functionality of the mouse pad.
By thoroughly reviewing and adjusting the mouse pad settings, you may be able to address minor issues related to sensitivity, responsiveness, or specific gestures. However, if the settings appear to be configured correctly and the issues persist, it may be necessary to explore additional troubleshooting methods to pinpoint and resolve the underlying cause of the mouse pad malfunction.
Updating the Mouse Pad Driver
Outdated or corrupted mouse pad drivers can contribute to erratic behavior and malfunctions. Updating the driver for your HP laptop’s mouse pad is a crucial step in troubleshooting and resolving potential software-related issues. To update the mouse pad driver, you can follow these straightforward steps:
- Accessing Device Manager: On Windows, you can access the Device Manager by right-clicking on the Start menu and selecting “Device Manager” from the context menu. Within the Device Manager, locate the category labeled “Mice and other pointing devices.”
- Updating the Driver: Right-click on the mouse pad or touchpad device listed under “Mice and other pointing devices,” and select the “Update driver” option. You will be prompted to choose between automatically searching for updated driver software online or browsing your computer for driver software.
- Automatic Update: Opting for the automatic search will prompt Windows to scan for the latest driver software for your mouse pad online. If an updated driver is found, follow the on-screen instructions to install it.
- Manual Update: If you have previously downloaded the updated driver software or have it stored on your computer, you can choose the manual update option and browse your computer to locate and install the updated driver.
By updating the mouse pad driver to the latest version, you can potentially resolve compatibility issues, improve performance, and address any software-related anomalies affecting the functionality of the touchpad. It’s important to ensure that the driver is sourced from an official and reputable provider, such as the HP support website or the official website of the touchpad’s manufacturer, to avoid installing potentially harmful or incompatible software.
After updating the mouse pad driver, restart your HP laptop to allow the changes to take effect. Once the laptop reboots, test the mouse pad to determine if the issues have been alleviated. If the problems persist, further troubleshooting steps may be necessary to identify and address any underlying hardware or software-related concerns impacting the mouse pad’s performance.
Performing a Hard Reset
When encountering persistent issues with the mouse pad on your HP laptop, performing a hard reset can serve as a potential remedy. A hard reset can help clear temporary hardware and software glitches that may be affecting the functionality of the mouse pad. To perform a hard reset on your HP laptop, follow these steps:
- Power Off the Laptop: Ensure that your laptop is powered off completely before proceeding with the hard reset. If the laptop is unresponsive, you may need to hold down the power button for several seconds to force a shutdown.
- Disconnect External Devices: If there are any external devices or peripherals connected to the laptop, such as USB drives or external mice, disconnect them to isolate the laptop’s internal components.
- Remove the Power Source: If your laptop has a removable battery, carefully remove it after disconnecting the power adapter. For laptops with non-removable batteries, disconnect the power adapter and proceed to the next step.
- Press and Hold the Power Button: With the power source removed, press and hold the power button on your laptop for approximately 15-20 seconds. This action helps discharge any residual power and clears the laptop’s temporary memory.
- Reconnect and Power On: After performing the hard reset, reinsert the battery (if applicable) or reconnect the power adapter. Power on your laptop and allow it to boot up as usual.
Following the hard reset, test the functionality of the mouse pad to determine if the issues have been resolved. In some cases, a hard reset can effectively address unresponsive or erratic behavior exhibited by the mouse pad, allowing you to regain seamless control and navigation on your HP laptop.
If the mouse pad continues to exhibit issues after the hard reset, it may be necessary to explore additional troubleshooting methods or seek professional assistance to diagnose and address any underlying hardware or software-related concerns affecting the mouse pad’s performance.
Enabling the Mouse Pad
If your HP laptop’s mouse pad is unresponsive or disabled, it’s essential to ensure that the touchpad is enabled to restore its functionality. In some cases, the mouse pad may be inadvertently disabled, leading to the perception of a malfunction. To enable the mouse pad on your HP laptop, consider the following steps:
- Using Keyboard Shortcuts: Many HP laptops feature keyboard shortcuts that allow you to toggle the touchpad on and off. Look for the touchpad icon on your keyboard, often located on one of the function keys (e.g., F5, F6, or F7). Press the designated key while holding down the “Fn” (function) key to enable the touchpad. This action varies depending on the specific keyboard layout of your HP laptop.
- Accessing Settings: If the keyboard shortcut does not re-enable the touchpad, navigate to the Control Panel or Settings menu on your laptop. Locate the “Mouse” or “Mouse and Touchpad” settings and review the options related to touchpad enablement. Ensure that the touchpad is not disabled within the settings menu.
- Using External Mouse: If the touchpad remains unresponsive, consider connecting an external mouse to your laptop. With the external mouse connected, navigate to the mouse settings and review the touchpad options. Enabling the touchpad through the settings menu with the assistance of an external mouse can help restore its functionality.
After enabling the mouse pad through the aforementioned methods, test its responsiveness and functionality to ensure that it has been successfully reactivated. If the touchpad remains unresponsive or exhibits erratic behavior, further troubleshooting steps may be necessary to diagnose and address any underlying issues affecting its performance.
By proactively ensuring that the mouse pad is enabled and configured correctly, you can potentially mitigate issues related to unresponsiveness and regain seamless control over the navigation and interaction with your HP laptop.
Conclusion
Resolving mouse pad issues on your HP laptop can be a manageable endeavor with the right troubleshooting strategies at your disposal. By following the steps outlined in this guide, you have gained valuable insights into diagnosing and addressing potential concerns related to the functionality of the touchpad. From reviewing the mouse pad settings to updating the driver, performing a hard reset, and ensuring the touchpad is enabled, you have equipped yourself with actionable solutions to overcome common mouse pad challenges.
It’s important to approach troubleshooting with patience and attentiveness, as these steps can effectively restore the seamless functionality of the mouse pad on your HP laptop. By systematically addressing potential software and hardware-related issues, you can potentially avoid the inconvenience of seeking professional assistance and regain control over your device’s navigation and interaction capabilities.
Remember that each troubleshooting method serves as a valuable tool in your arsenal, and the combination of these approaches can lead to a comprehensive resolution of mouse pad issues. Additionally, staying informed about the specific features and settings of your HP laptop’s touchpad can empower you to proactively address and prevent potential concerns in the future.
As you navigate through the troubleshooting process, it’s essential to remain attentive to any changes in the touchpad’s behavior and responsiveness. If the issues persist despite your efforts, consider reaching out to HP support or consulting with a qualified technician to address any underlying hardware concerns.
By leveraging the knowledge and strategies presented in this guide, you are well-equipped to navigate through mouse pad issues on your HP laptop with confidence and proficiency. With a proactive and systematic approach, you can effectively troubleshoot and resolve touchpad concerns, ensuring that your HP laptop continues to serve as a reliable and efficient tool for your daily computing needs.