Introduction
Mechanical keyboards are beloved for their tactile feedback, durability, and customizable features. Wiring a mechanical keyboard allows enthusiasts to create a personalized typing experience tailored to their preferences. Whether you're a seasoned DIY enthusiast or a newcomer to the world of custom keyboards, understanding the process of wiring a mechanical keyboard is essential for creating a functional and satisfying end product.
In this comprehensive guide, we will walk through the step-by-step process of wiring a mechanical keyboard, from understanding the keyboard layout to testing the final product. By following these instructions and using the right tools and materials, you can embark on a rewarding journey of building a custom mechanical keyboard that suits your unique typing style and aesthetic preferences.
Throughout this guide, we will cover the essential tools and materials needed, the intricacies of keyboard layout, the process of preparing the keyboard for wiring, soldering the switches, installing stabilizers, wiring the keyboard, and finally, testing the keyboard to ensure its functionality. Each step is crucial in creating a fully functional and reliable mechanical keyboard that will provide a satisfying typing experience for years to come.
Whether you're drawn to the satisfying click of mechanical switches or the prospect of customizing your keyboard to match your unique style, wiring a mechanical keyboard is a fulfilling endeavor that allows you to unleash your creativity and technical skills. So, let's dive into the world of mechanical keyboards and embark on the journey of creating a personalized typing experience that reflects your individuality and preferences.
Tools and Materials Needed
Before embarking on the process of wiring a mechanical keyboard, it’s essential to gather the necessary tools and materials to ensure a smooth and efficient assembly process. Here’s a comprehensive list of the items you’ll need:
- Keyboard Kit: Begin with a mechanical keyboard kit, which typically includes a keyboard PCB (printed circuit board), a keyboard case, and stabilizers. Choose a kit that aligns with your preferences in terms of layout, size, and design.
- Mechanical Switches: Select the switches that best suit your typing preferences, whether it’s the tactile feedback of Cherry MX switches, the smooth actuation of Gateron switches, or the unique characteristics of other switch types.
- Soldering Iron and Solder: A reliable soldering iron and high-quality solder are essential for securing the switches to the PCB. Look for a soldering iron with adjustable temperature settings for precision soldering.
- Wire Strippers and Cutters: These tools are necessary for preparing the wires that will connect the switches to the keyboard PCB. Quality wire strippers and cutters ensure clean and precise wire preparation.
- Keycaps: Choose keycaps that complement the aesthetics of your keyboard and provide a comfortable typing experience. Keycaps come in various materials, profiles, and color options to suit individual preferences.
- Diodes: Depending on the keyboard PCB, you may need diodes for each switch to ensure proper electrical functionality. Check the specifications of your PCB to determine the diode requirements.
- Tweezers and Screwdrivers: These tools are essential for handling small components, such as diodes and stabilizers, and for assembling the keyboard case.
- Desoldering Pump or Wick (if reworking an existing keyboard): If you’re modifying an existing keyboard or salvaging switches, a desoldering pump or wick will be necessary for removing existing solder.
- Multimeter: A multimeter is useful for testing the continuity and functionality of the keyboard’s electrical connections, ensuring that the wiring is properly executed.
- Safety Equipment: Prioritize safety by using heat-resistant gloves, safety goggles, and working in a well-ventilated area when soldering to protect against potential hazards.
By gathering these essential tools and materials, you’ll be well-equipped to begin the process of wiring your mechanical keyboard with confidence and precision. With the right components at your disposal, you can approach each step of the assembly process with ease, knowing that you have everything you need to create a fully functional and personalized mechanical keyboard.
Understanding the Keyboard Layout
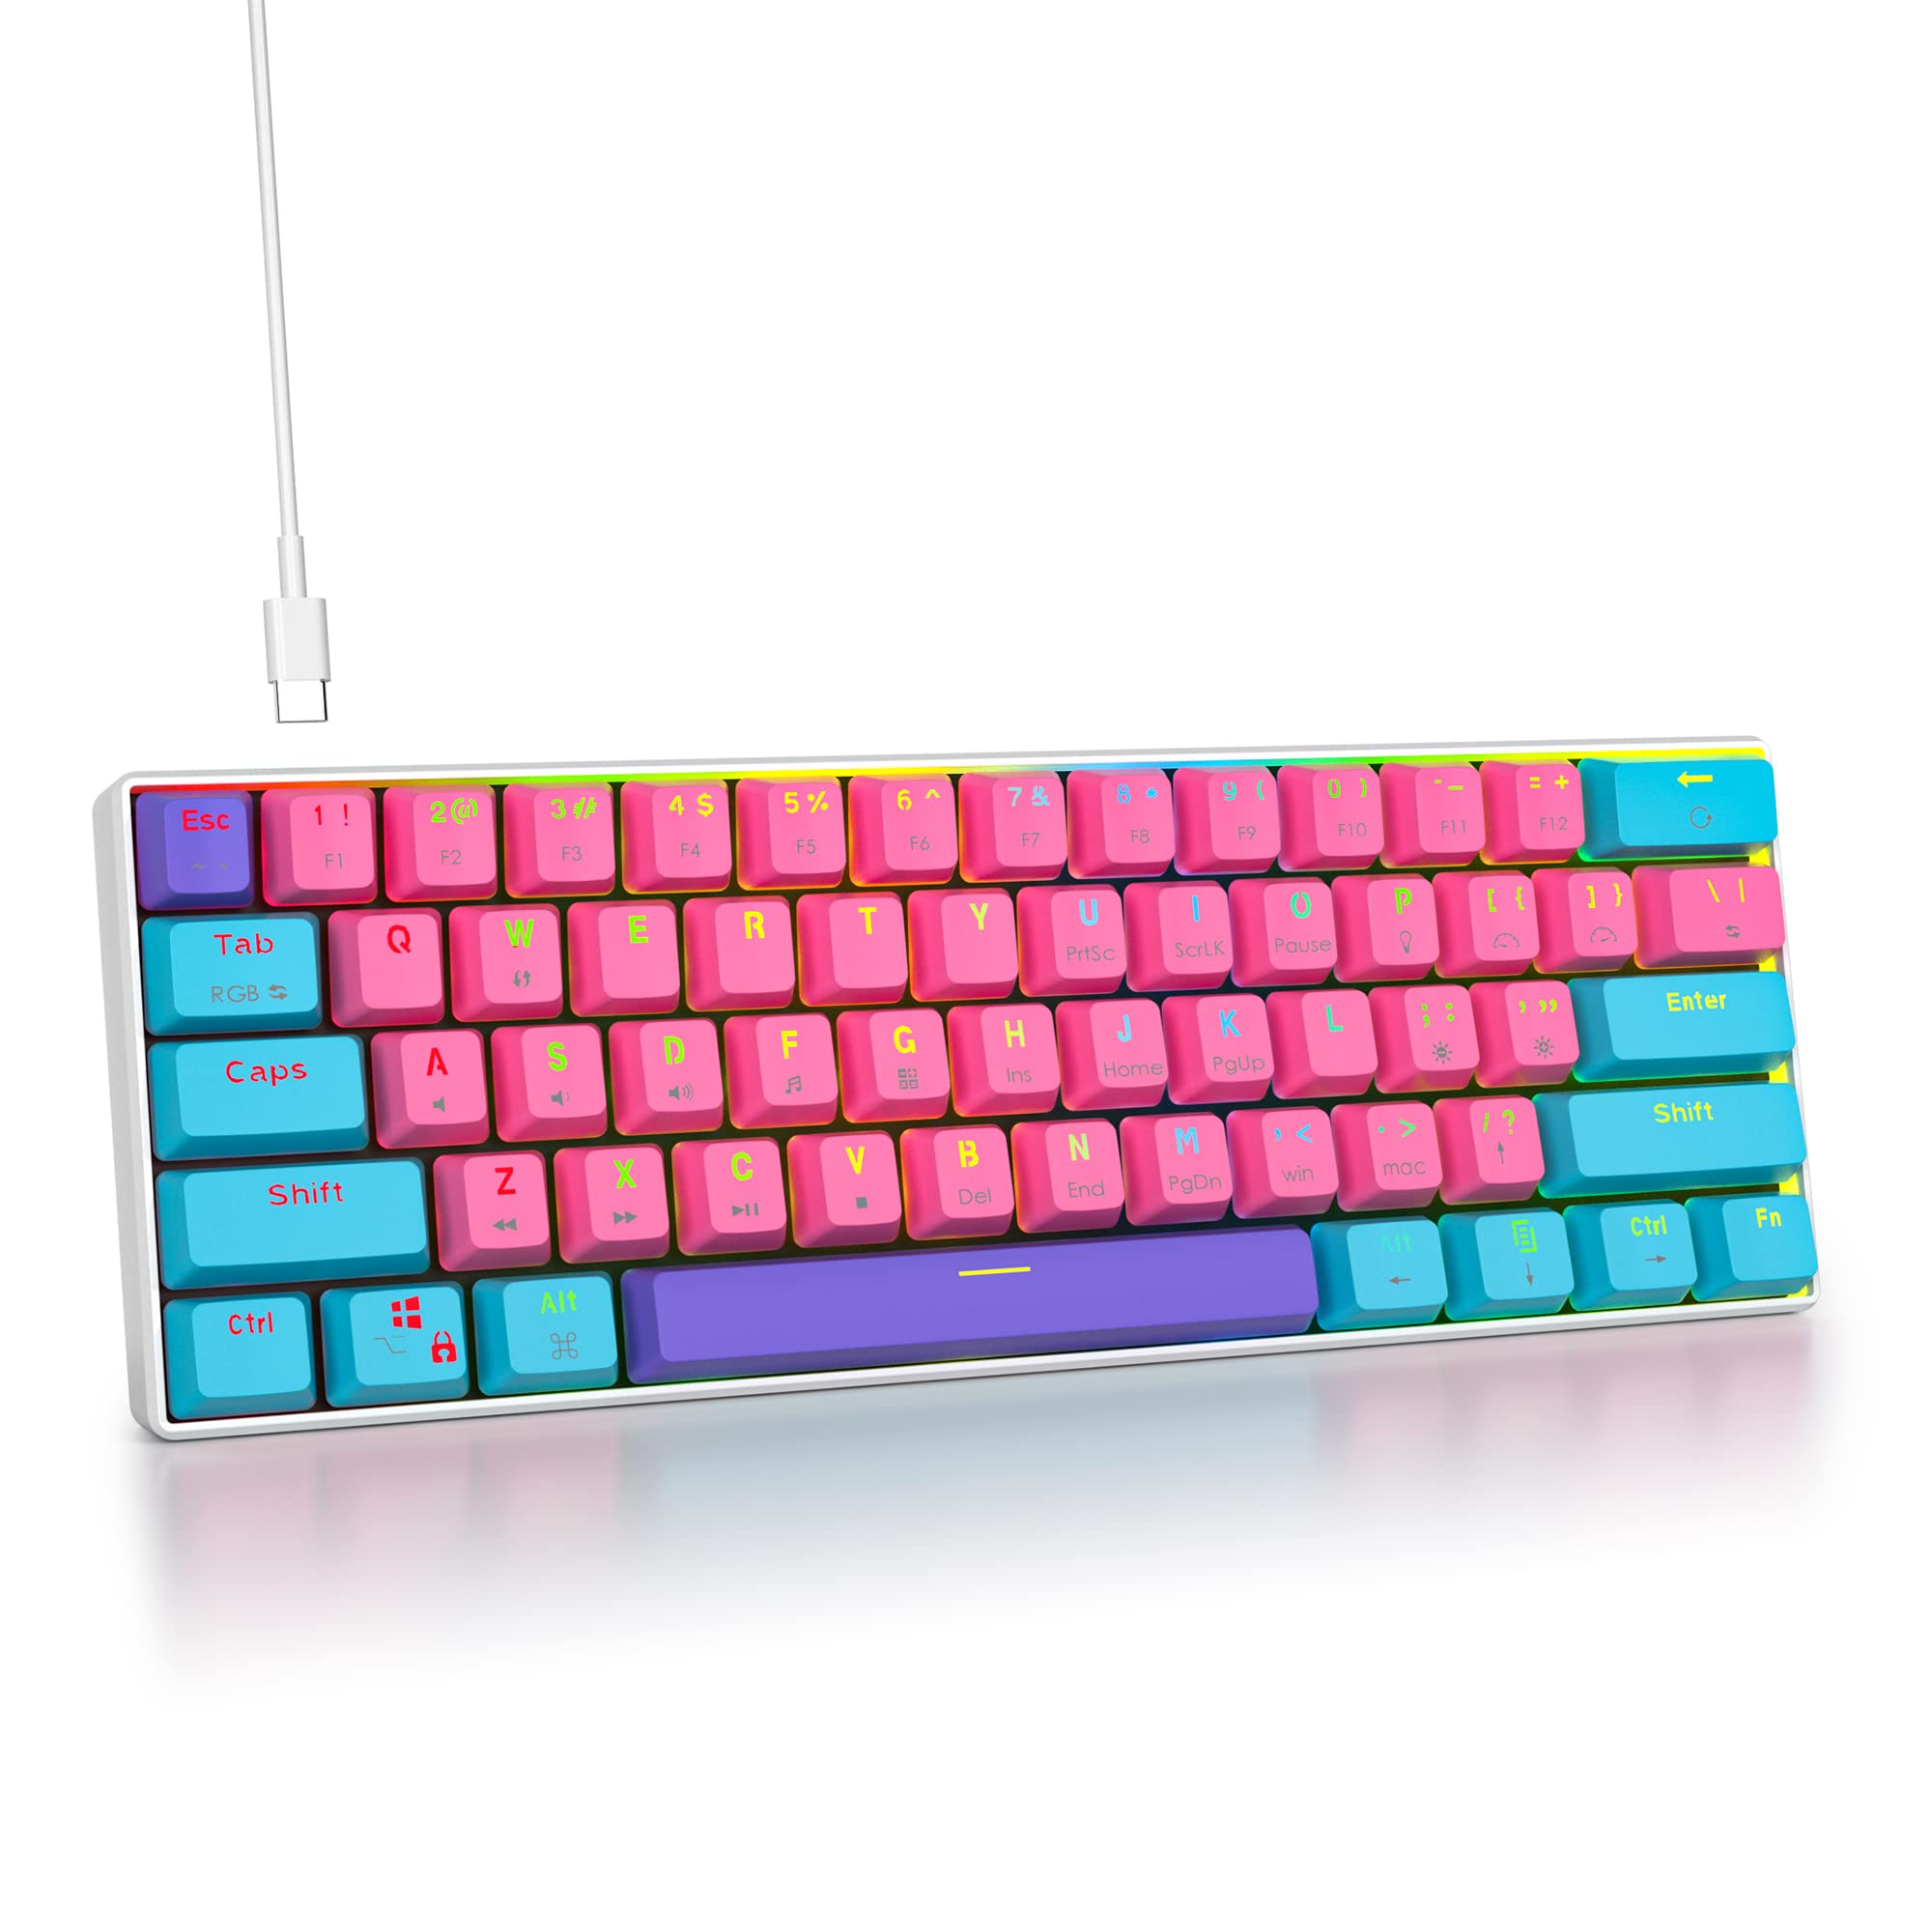
Before delving into the intricate process of wiring a mechanical keyboard, it’s crucial to grasp the fundamental aspects of the keyboard layout. Mechanical keyboards come in various layouts, each catering to different user preferences and typing habits. Understanding the layout of the keyboard will not only aid in the assembly process but also allow for customization that aligns with your specific needs.
One of the key considerations in understanding the keyboard layout is the physical arrangement of the keys, including the alphanumeric keys, function keys, modifier keys, and the overall spacing and sizing of the keys. Different keyboard layouts, such as ANSI, ISO, and various ergonomic designs, may impact the placement and sizing of keys, influencing the overall typing experience.
Furthermore, familiarizing yourself with the layout will provide insights into the positioning of stabilizers, which are crucial for maintaining keycap stability and consistent key feel. Stabilizers are particularly important for larger keys, such as the spacebar, shift keys, and enter key, and understanding their placement within the keyboard layout is essential for proper installation and wiring.
In addition to the physical layout, understanding the electrical layout of the keyboard is vital for successful wiring. This includes comprehending the matrix arrangement of the switches, the role of diodes in preventing ghosting and ensuring accurate input, and the connection points on the keyboard PCB for soldering the switches and establishing electrical continuity.
Moreover, if your mechanical keyboard kit includes programmable features or RGB lighting, understanding the electrical layout becomes even more critical. This entails familiarizing yourself with the controller, LED placements, and the necessary connections for integrating these customizable features into your keyboard.
By gaining a comprehensive understanding of the keyboard layout, both in its physical and electrical aspects, you’ll be better equipped to approach the subsequent steps of preparing, soldering, and wiring the keyboard with confidence and precision. This foundational knowledge will serve as the cornerstone for creating a customized and functional mechanical keyboard that aligns with your unique typing preferences and aesthetic sensibilities.
Preparing the Keyboard
Before diving into the intricate process of wiring a mechanical keyboard, it’s essential to prepare the keyboard components for assembly. This phase involves several crucial steps that set the foundation for a successful and functional end product. Here’s a detailed overview of the key tasks involved in preparing the keyboard:
- Inspecting the PCB: Begin by carefully inspecting the keyboard PCB for any visual defects, such as soldering residue, damaged traces, or foreign debris. Ensuring the PCB is free from any abnormalities will help prevent potential issues during the assembly process.
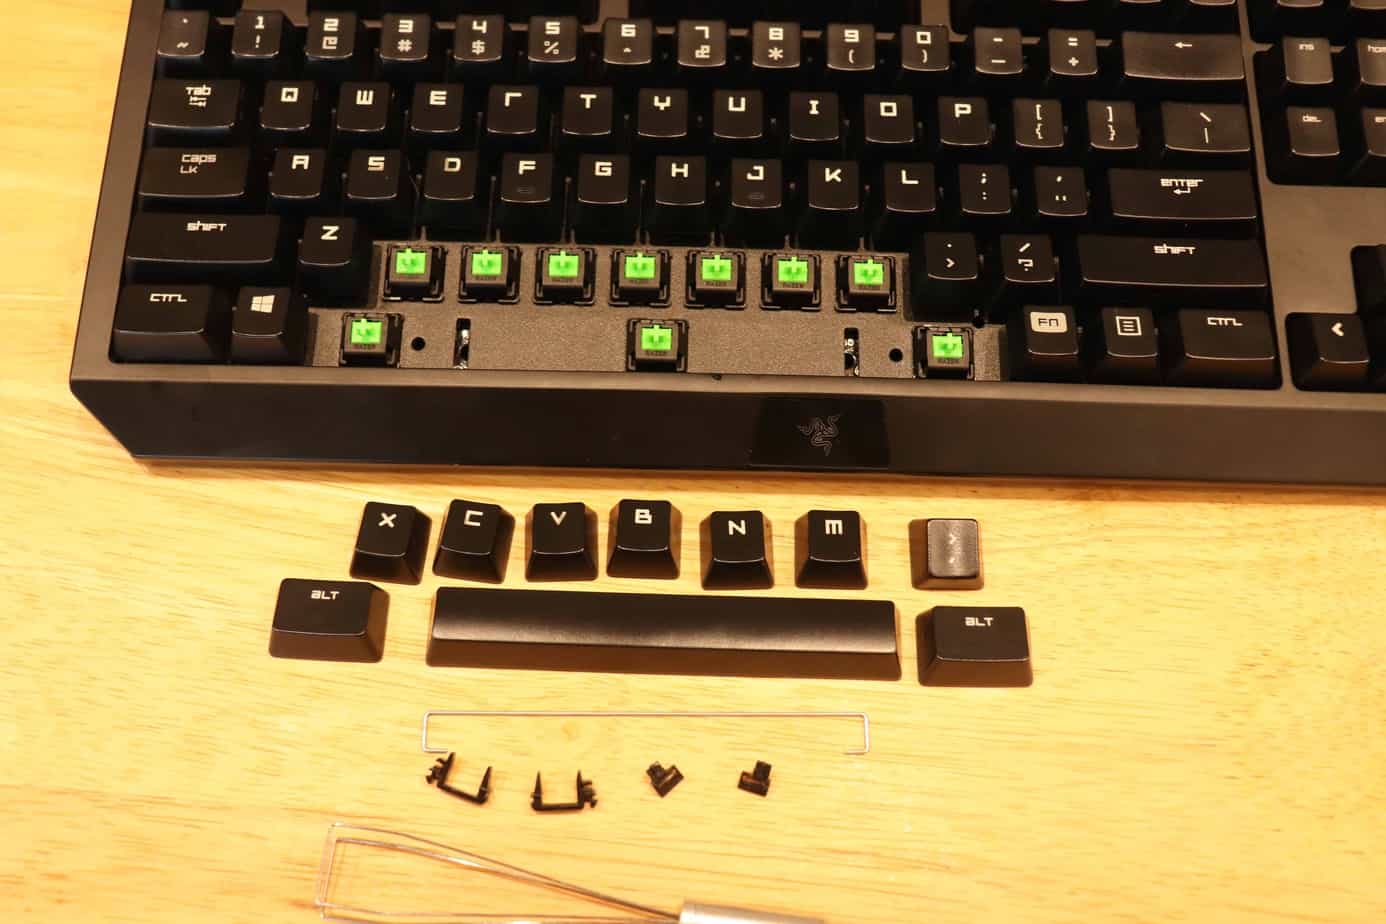
- Mounting Stabilizers: If your keyboard kit includes stabilizers, it’s essential to mount them onto the designated positions on the PCB. Stabilizers are crucial for maintaining keycap stability and consistent key feel, especially for larger keys like the spacebar and shift keys.
- Testing Switch Fit: Before proceeding with soldering, test the fit of the switches on the PCB to ensure they align properly with the switch cutouts and establish secure contact. This step helps identify any potential fitment issues early in the process.
- Preparing Switches: If the switches require any additional modifications, such as lubing or spring swapping, it’s best to address these tasks before proceeding with the soldering process. This ensures that the switches are optimized for the desired typing feel.
- Organizing Components: Take inventory of all the components, including switches, stabilizers, keycaps, and other small parts, and organize them in a clean and well-lit workspace. Having a systematic approach to component organization minimizes the risk of misplacing or overlooking essential parts during assembly.
- Cleaning the Work Area: Clear the workspace of any debris, dust, or potential hazards that could compromise the assembly process. A clean and organized work area promotes precision and reduces the risk of contaminants affecting the functionality of the keyboard components.
By meticulously preparing the keyboard components and establishing a conducive work environment, you set the stage for a streamlined and efficient assembly process. Attention to detail during the preparation phase ensures that the subsequent steps of soldering, wiring, and testing proceed smoothly, culminating in a fully functional and customized mechanical keyboard that reflects your unique preferences and craftsmanship.
Soldering the Switches
Soldering the switches onto the keyboard PCB is a critical step in the assembly process, requiring precision and attention to detail to ensure a reliable electrical connection and mechanical stability. Here’s a comprehensive guide to the process of soldering the switches onto the PCB:
- Secure Work Area: Begin by setting up a well-lit and properly ventilated work area, ensuring that the soldering iron is positioned on a stable surface and away from flammable materials. Safety should always be a priority when working with soldering equipment.
- Preheating the Soldering Iron: Allow the soldering iron to reach the appropriate operating temperature, typically between 350°C to 400°C (660°F to 750°F) for lead-based solder, and slightly higher for lead-free solder. A properly heated soldering iron promotes efficient solder flow and joint formation.
- Tinning the Soldering Iron: Apply a small amount of solder to the tip of the soldering iron to ensure good thermal conductivity and facilitate the transfer of heat to the solder joints. This process, known as tinning, helps maintain the cleanliness and effectiveness of the soldering iron tip.
- Applying Flux: Flux promotes solder flow and improves the wetting of the solder on the metal surfaces, enhancing the quality of the solder joint. Apply a minimal amount of flux to the contact pads on the PCB before soldering to facilitate the soldering process.
- Positioning the Switches: Carefully position the switches on the designated locations on the PCB, ensuring that the switch contacts align with the corresponding pads on the PCB. Secure the switches in place to prevent movement during the soldering process.
- Soldering Technique: With the soldering iron in one hand and solder in the other, gently touch the tip of the soldering iron to the contact pad and the switch lead simultaneously. Allow the joint to heat up before applying a small amount of solder to form a clean and concave solder fillet.
- Inspecting Solder Joints: After soldering each switch, visually inspect the solder joints to ensure they are smooth, shiny, and free from solder bridges or cold joints. Properly formed solder joints provide a reliable electrical connection and mechanical stability.
- Cleaning Residue: Once all switches are soldered, use a small brush or compressed air to remove any flux residue from the PCB. Cleanliness is essential for the long-term reliability and functionality of the keyboard assembly.
By following these meticulous steps and exercising care during the soldering process, you can ensure that the switches are securely and reliably attached to the keyboard PCB, laying the groundwork for a fully functional and durable mechanical keyboard. The precision and craftsmanship applied during the soldering phase contribute to the overall quality and performance of the custom keyboard assembly.
Installing the Stabilizers
Proper installation of stabilizers is essential for achieving consistent key feel and minimizing keycap wobble on larger keys, such as the spacebar, shift keys, and enter key. This step is crucial in ensuring a satisfying and stable typing experience on the completed mechanical keyboard. Here’s a detailed guide to installing stabilizers:
- Identifying Stabilizer Positions: Begin by identifying the designated positions for installing stabilizers on the keyboard PCB. Stabilizer positions are typically marked and correspond to the larger keys on the keyboard layout.
- Attaching Stabilizer Housings: Insert the stabilizer housings into the designated positions on the PCB, ensuring that they securely snap into place. The stabilizer housings provide the pivot point for the stabilizer wires and are essential for stabilizing the larger keys.
- Securing Stabilizer Wires: Insert the stabilizer wires into the stabilizer housings, ensuring that they are properly seated and engage with the housing mechanisms. The stabilizer wires play a critical role in maintaining keycap stability and uniform key press feel.
- Installing Stabilizer Inserts: If your stabilizers include inserts, carefully position and secure them onto the stabilizer wires. The inserts contribute to minimizing keycap wobble and play a role in maintaining consistent key feel across the keyboard.
- Testing Keycap Fitment: Before proceeding, test the fitment of keycaps on the stabilized keys to ensure that the stabilizers are properly installed and do not impede the keycap placement. Smooth and consistent keycap fitment indicates successful stabilizer installation.
- Adjusting Stabilizer Tension (Optional): Some stabilizers allow for tension adjustment to customize the key feel. If desired, adjust the stabilizer tension to achieve the desired key press experience, whether it’s a softer or firmer feel for the stabilized keys.
- Ensuring Stabilizer Alignment: Verify that the stabilizer wires and inserts, if applicable, are aligned and symmetrically positioned to ensure uniform keycap stability and prevent binding during key presses.
By meticulously following these steps and ensuring the precise installation of stabilizers, you can guarantee a consistent and stable typing experience across all keys, particularly the larger keys that rely on stabilizers for maintaining keycap uniformity. Attention to detail during the stabilizer installation phase contributes to the overall functionality and satisfaction derived from the custom mechanical keyboard.
Wiring the Keyboard
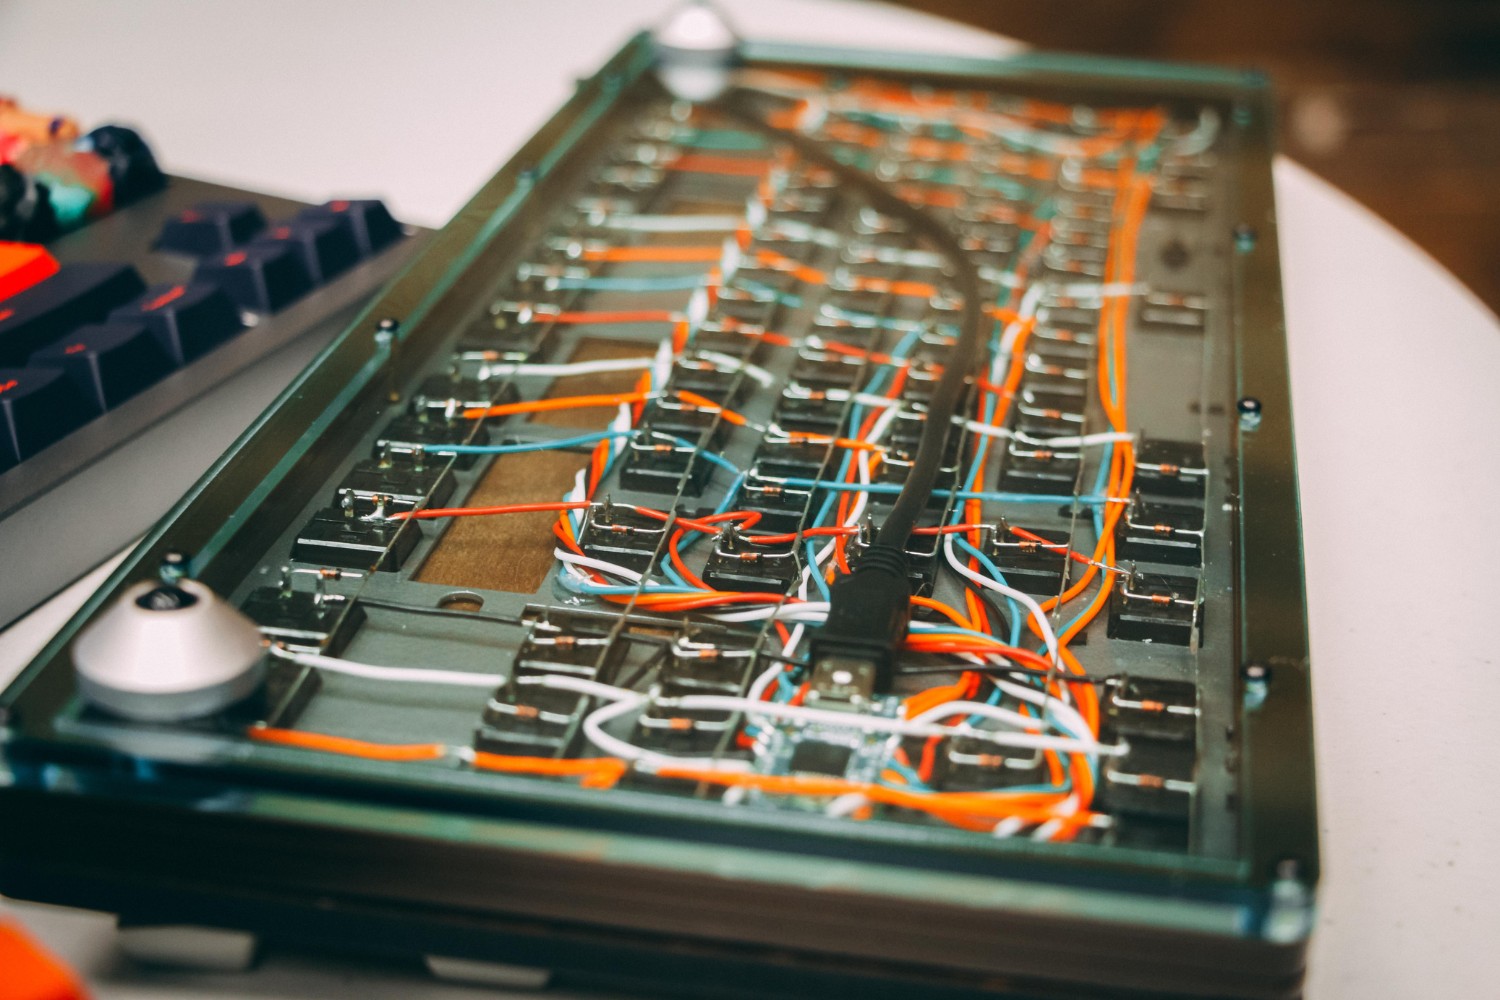
Wiring the keyboard involves establishing the electrical connections between the switches and the keyboard PCB to enable accurate input and functionality. This phase is crucial for ensuring that each key press registers effectively and contributes to the overall performance of the mechanical keyboard. Here’s a comprehensive guide to the process of wiring the keyboard:
- Preparing the Wires: Begin by preparing the wires that will connect the switches to the designated contact points on the keyboard PCB. Use wire strippers to carefully remove insulation from the wire ends, exposing the conductive metal for soldering.
- Planning the Wiring Layout: Consider the most efficient and organized routing of the wires to minimize interference and ensure a clean and professional appearance. Planning the wiring layout in advance contributes to a streamlined assembly process.
- Soldering the Wires: Securely solder the prepared wires to the switch contact points on the keyboard PCB, ensuring a reliable electrical connection and mechanical stability. Exercise precision and care to avoid solder bridges and ensure proper insulation of the soldered connections.
- Routing the Wires: Route the soldered wires according to the predetermined layout, ensuring that they are neatly organized and do not obstruct the movement of the switches or interfere with other components within the keyboard assembly.
- Securing the Wires: Use adhesive-backed cable clips or routing channels within the keyboard case to secure the wired connections and prevent strain or movement that could compromise the integrity of the electrical connections.
- Testing Continuity: Use a multimeter to test the continuity of the wired connections, ensuring that each switch is properly connected to the keyboard PCB and that there are no electrical faults or interruptions. Address any continuity issues promptly to maintain the functionality of the keyboard.
- Organizing Excess Wire Length: If applicable, carefully manage and organize any excess wire length to prevent tangling, interference, or strain on the wired connections. Maintaining a tidy and organized wiring layout contributes to the overall aesthetics and functionality of the keyboard assembly.
By meticulously following these steps and exercising precision during the wiring process, you can establish reliable electrical connections that contribute to the accurate input and consistent performance of the custom mechanical keyboard. Attention to detail and organization during the wiring phase are essential for creating a fully functional and visually appealing keyboard assembly.
Testing the Keyboard
Testing the keyboard is a crucial step in the assembly process, ensuring that each key press registers accurately and that the overall functionality meets the desired specifications. By conducting thorough testing, you can identify and address any potential issues, resulting in a fully functional and reliable custom mechanical keyboard. Here’s a comprehensive guide to testing the keyboard:
- Visual Inspection: Begin by visually inspecting the keyboard assembly, ensuring that all components are securely in place, wires are neatly routed, and there are no visible defects or abnormalities that could affect functionality.
- Key Press Testing: systematically test each key on the keyboard to verify that it registers accurately and consistently. This process involves pressing each key multiple times to ensure that there are no missed or double key presses, indicating proper switch and wiring functionality.
- Modifier Key Testing: Pay special attention to modifier keys, such as Shift, Control, Alt, and the spacebar, to ensure that they register effectively and consistently, as they play a critical role in various keyboard shortcuts and typing tasks.
- Stabilizer Testing: Test the stabilized keys, such as the spacebar and enter key, to ensure that the stabilizers effectively minimize keycap wobble and maintain consistent key feel across the keyboard.
- Function Key and Programmable Feature Testing: If applicable, test any function keys or programmable features to ensure that they perform as intended, providing additional functionality and customization options for the keyboard.
- LED and RGB Testing (if applicable): If the keyboard includes LED backlighting or RGB lighting, verify that the lighting effects function properly and that individual LEDs illuminate as expected, enhancing the visual appeal of the keyboard.
- Continuity Testing: Use a multimeter to conduct continuity testing on the wired connections, ensuring that each switch is correctly connected to the keyboard PCB and that there are no electrical faults or interruptions that could affect functionality.
- Typing Experience Evaluation: After verifying the technical functionality, spend time typing on the keyboard to evaluate the overall typing experience, including key feel, actuation force, and any customizations made to the switches or keycaps.
By methodically conducting these tests and evaluations, you can identify and address any potential issues, ensuring that the custom mechanical keyboard meets the desired standards of functionality, reliability, and user experience. Thorough testing contributes to the creation of a fully functional and personalized keyboard that reflects your unique preferences and craftsmanship.
Conclusion
Embarking on the journey of wiring a mechanical keyboard is a rewarding endeavor that allows enthusiasts to create a personalized typing experience tailored to their preferences. From understanding the intricacies of the keyboard layout to meticulously soldering switches, installing stabilizers, wiring the keyboard, and conducting thorough testing, each step contributes to the creation of a fully functional and customized mechanical keyboard.
Throughout this comprehensive guide, we’ve explored the essential tools and materials needed, the intricacies of the keyboard layout, and the step-by-step process of preparing, soldering, wiring, and testing the keyboard. By following these instructions and using the right tools and materials, enthusiasts can immerse themselves in the fulfilling process of building a custom mechanical keyboard that suits their unique typing style and aesthetic preferences.
Attention to detail, precision, and organization are paramount in ensuring the successful assembly of a custom mechanical keyboard. Whether it’s the careful soldering of switches, the meticulous installation of stabilizers, or the thorough testing of each key, every aspect contributes to the overall functionality and user experience of the keyboard.
As you embark on your journey of wiring a mechanical keyboard, remember that patience and attention to detail are key. Each step, from the initial preparation to the final testing, plays a crucial role in creating a fully functional and personalized mechanical keyboard that reflects your individuality and craftsmanship.
By embracing the process with enthusiasm and a commitment to quality, you can create a custom mechanical keyboard that not only meets your functional needs but also stands as a testament to your creativity and technical skills. Whether you’re drawn to the tactile feedback of mechanical switches, the allure of custom keycap designs, or the satisfaction of building a functional device from scratch, wiring a mechanical keyboard is a journey that offers both technical challenges and creative fulfillment.