Introduction
Building a custom mechanical keyboard is an exhilarating journey that allows enthusiasts to craft a personalized typing experience tailored to their unique preferences. From choosing the layout and switches to selecting keycaps and assembling the components, every step of the process presents an opportunity for creativity and customization. Whether you're a seasoned keyboard connoisseur or a newcomer to the mechanical keyboard scene, embarking on this DIY adventure promises a deep sense of satisfaction and a keyboard that truly reflects your individuality.
The world of custom mechanical keyboards is a vibrant and diverse community, brimming with passionate individuals who revel in the art of crafting their ideal typing instrument. With a plethora of options available, the process of building a custom mechanical keyboard offers a level of flexibility and personalization that is unparalleled in the realm of computer peripherals. From the satisfying click of the switches to the aesthetic appeal of the keycaps, every aspect of a custom mechanical keyboard can be tailored to meet the specific desires of its creator.
In this comprehensive guide, we will delve into the intricacies of building a custom mechanical keyboard, exploring each step of the process in detail. Whether you are seeking a tactile typing experience, a visually stunning keyboard, or a combination of both, this guide will equip you with the knowledge and insights needed to embark on this rewarding endeavor.
So, roll up your sleeves, unleash your creativity, and get ready to embark on an exciting journey into the world of custom mechanical keyboards. Let's dive into the first step: choosing your keyboard layout.
Step 1: Choose Your Keyboard Layout
The keyboard layout serves as the foundation of your custom mechanical keyboard, dictating the arrangement of keys and overall form factor. When selecting a layout, consider your typing habits, space constraints, and aesthetic preferences to determine the most suitable option for your needs.
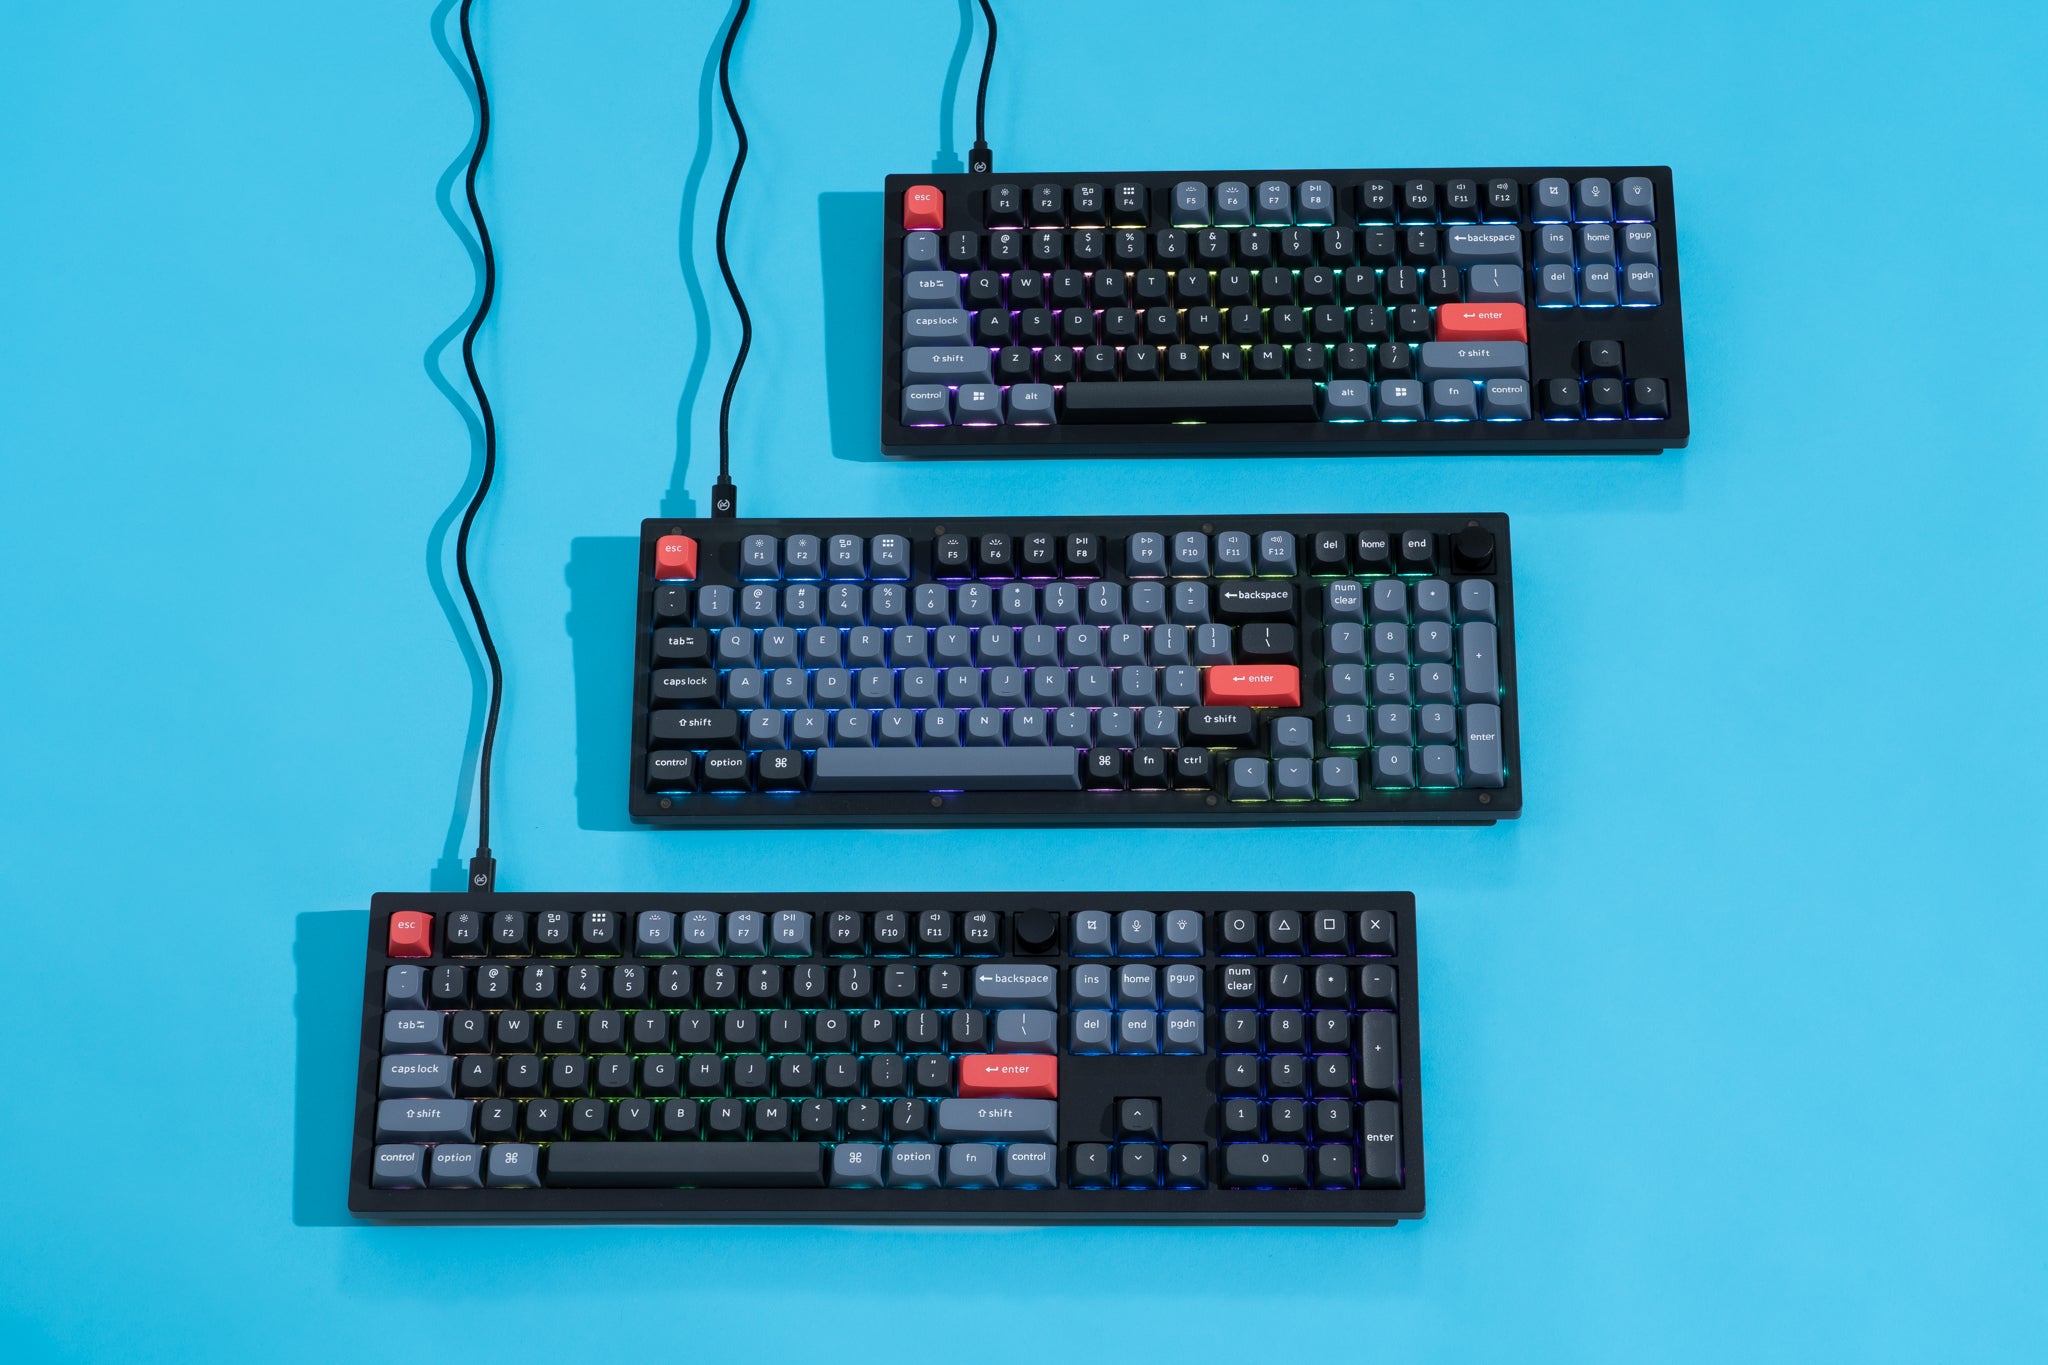
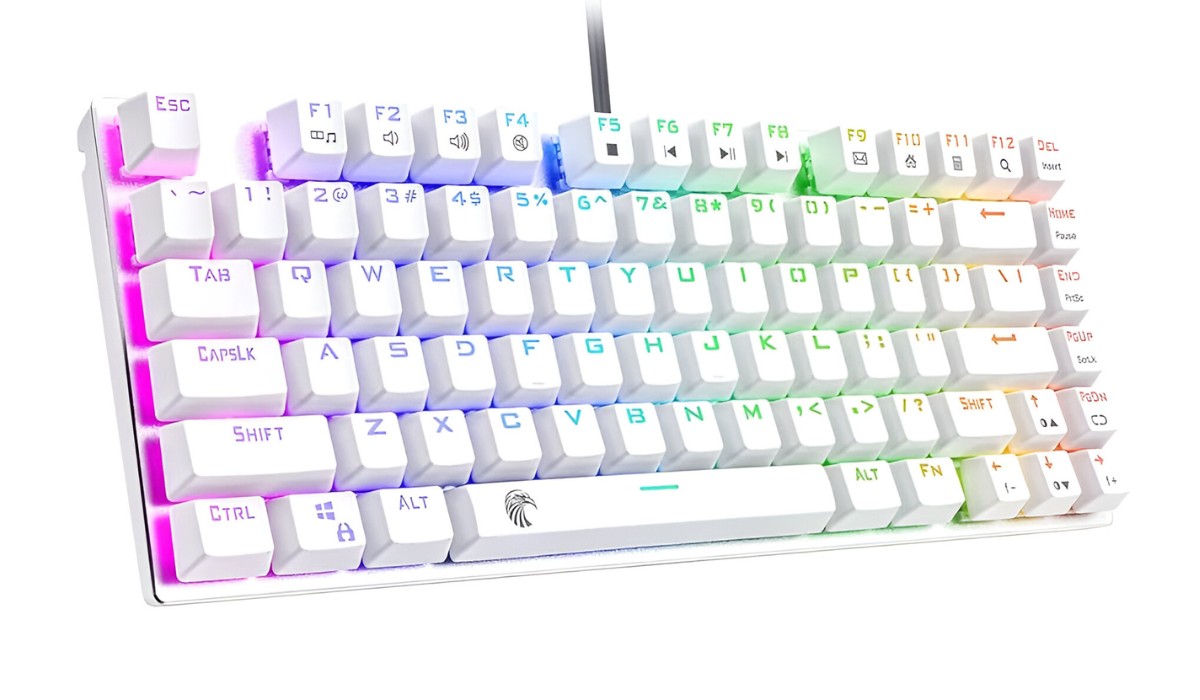
One of the most popular layouts is the tenkeyless (TKL) design, which omits the number pad to offer a more compact and streamlined keyboard. This layout is favored by users who prioritize desk space efficiency and a minimalist aesthetic. On the other hand, the full-size layout includes the number pad and is ideal for individuals who frequently work with numerical data or require dedicated navigation keys.
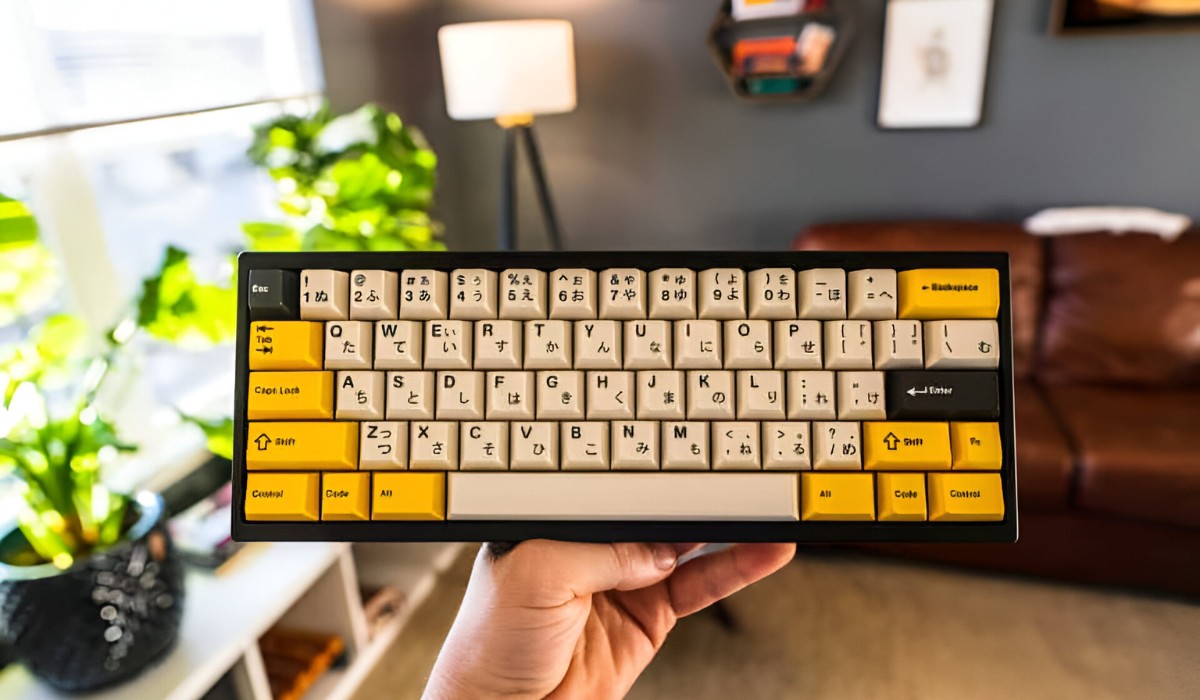
For those seeking a balance between compactness and functionality, the 75% and 65% layouts provide a compelling middle ground, retaining essential keys while reducing the overall footprint of the keyboard. These layouts are well-suited for both productivity and gaming, offering a versatile typing experience in a compact form factor.
If you prefer a more unconventional approach, consider exploring ergonomic layouts such as split keyboards or ortholinear designs. Split keyboards, which separate the left and right-hand key clusters, promote a more natural hand positioning, potentially reducing strain during extended typing sessions. Meanwhile, ortholinear keyboards arrange keys in a grid-like pattern, challenging traditional typing conventions and offering a unique tactile experience.
Ultimately, the keyboard layout you choose will significantly impact your typing comfort and efficiency. Take the time to explore the various options available, considering your specific needs and preferences to select a layout that aligns with your ergonomic and aesthetic goals.
Step 2: Select Your Switches
Choosing the right switches is a pivotal decision that profoundly influences the typing experience and tactile feedback of your custom mechanical keyboard. With a wide array of switches available, each offering unique characteristics, it’s essential to consider factors such as actuation force, tactile feedback, and noise level to find the perfect fit for your typing style.
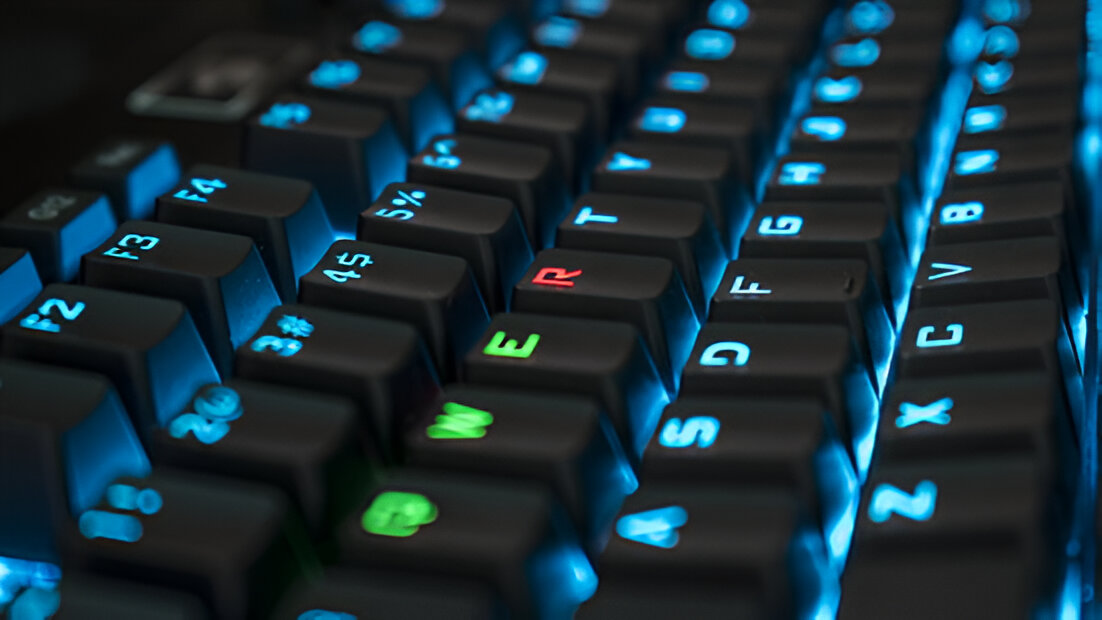
One of the most popular switch types is the Cherry MX series, renowned for its durability and versatile options. The Cherry MX Red switches, featuring a linear actuation and minimal resistance, cater to users who prefer a smooth and uninterrupted keystroke, making them well-suited for gaming and rapid typing. Conversely, the Cherry MX Blue switches boast a tactile bump and audible click, providing a satisfying typing experience favored by enthusiasts who appreciate pronounced feedback.
For those seeking a balance between the characteristics of linear and tactile switches, options such as the Cherry MX Brown switches offer a middle ground, combining a tactile bump with a quieter operation. Furthermore, enthusiasts of ultra-smooth keystrokes may gravitate towards switches like the Gateron or ZealPC lineups, which offer an extensive range of actuation forces and tactile feedback options to cater to diverse preferences.
Additionally, if you prioritize a silent typing environment, switches with dampened characteristics, such as Cherry MX Silent Red or Silent Black, can significantly reduce the noise generated during keystrokes, making them an ideal choice for shared workspaces or quiet environments.
When selecting switches for your custom mechanical keyboard, consider testing a variety of options to discern the tactile and auditory attributes that resonate with your typing style. Whether you prioritize swift actuation, tactile feedback, or silent operation, the perfect switches will elevate your typing experience and imbue your custom keyboard with a distinct personality.
Step 3: Choose Your Keycaps
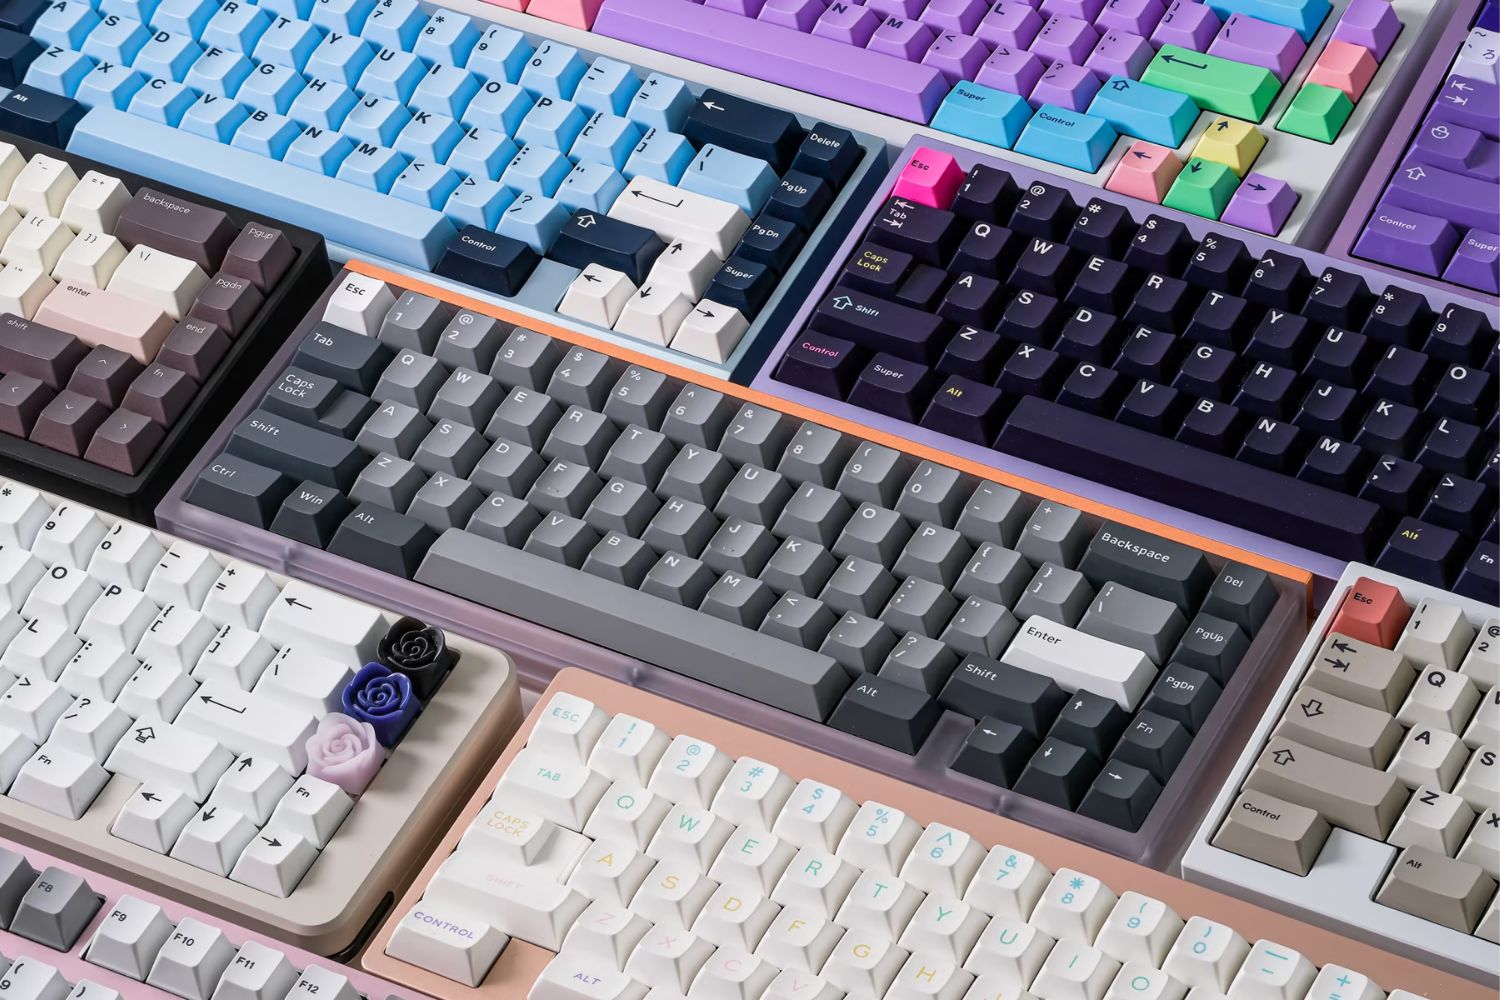
Keycaps play a pivotal role in the aesthetic appeal and tactile experience of a custom mechanical keyboard, offering a canvas for personalization and customization. When selecting keycaps, consider factors such as material, profile, and legends to curate a keyboard that aligns with your visual and tactile preferences.
One of the primary considerations when choosing keycaps is the material from which they are crafted. ABS (Acrylonitrile Butadiene Styrene) and PBT (Polybutylene Terephthalate) are the two predominant options, each with distinct characteristics. ABS keycaps are known for their smooth texture and ability to retain vibrant colors, making them a popular choice for custom keycap sets. Conversely, PBT keycaps offer a textured surface and enhanced durability, resisting shine and maintaining their aesthetic appeal over extended use.
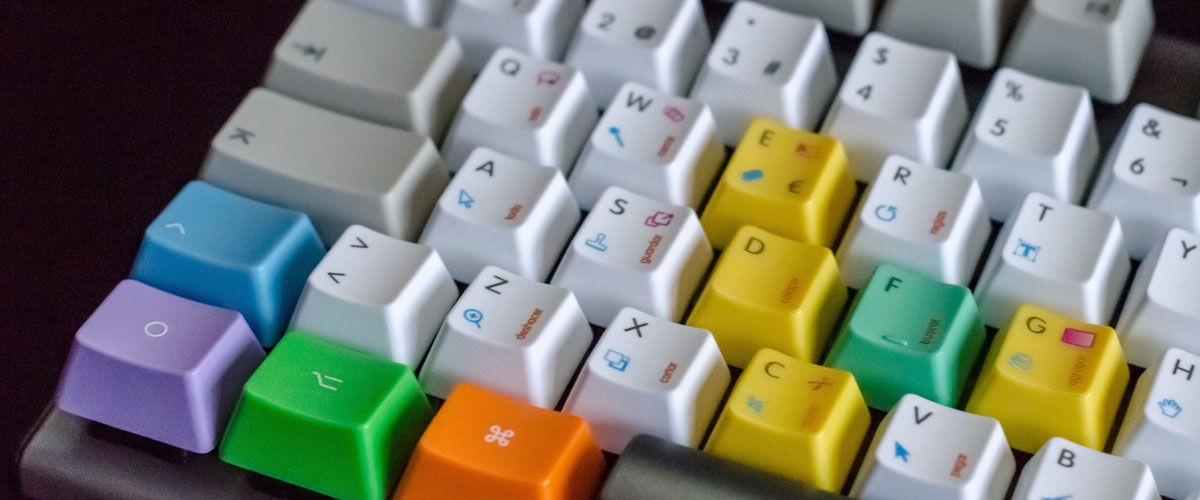
Furthermore, keycap profiles, such as OEM, Cherry, SA, and DSA, contribute to the overall typing experience and visual aesthetics of the keyboard. Each profile offers a unique sculpting and height, impacting the ergonomics and tactile feel of the keycaps. Whether you prefer a sculpted profile that cradles your fingers or a uniform, low-profile design, the keycap profile will significantly influence the typing experience and overall aesthetics of your custom keyboard.
Legends, or the characters printed on the keycaps, also play a vital role in the visual appeal and functionality of the keyboard. From classic, subtly-labeled legends to vibrant and intricate designs, the choice of legends allows enthusiasts to infuse their keyboard with a touch of personal flair and style. Additionally, for those seeking a minimalist aesthetic, blank keycaps offer a sleek and understated look, allowing the keyboard’s design and lighting to take center stage.
Ultimately, the selection of keycaps for your custom mechanical keyboard presents an opportunity to express your individuality and refine the tactile and visual aspects of your typing instrument. Whether you opt for a vibrant, eye-catching keycap set or a subdued, elegant design, the keycaps will serve as a defining element of your custom keyboard, reflecting your unique style and preferences.
Step 4: Pick Your Stabilizers
Stabilizers are essential components of a custom mechanical keyboard, ensuring consistent and smooth keycap movement while minimizing wobble and noise. When selecting stabilizers, factors such as keycap compatibility, sound dampening, and overall typing feel should be taken into consideration to achieve a satisfying and stable typing experience.
One of the primary considerations when choosing stabilizers is the type of keycap layout you plan to use. Different stabilizer configurations, such as plate-mounted and PCB-mounted stabilizers, cater to specific keyboard designs and layouts. Plate-mounted stabilizers are secured to the keyboard’s metal plate, offering stability and compatibility with a wide range of keycap sets. On the other hand, PCB-mounted stabilizers are directly attached to the keyboard’s circuit board, providing a more secure and consistent key feel, especially for larger keys such as the spacebar and shift keys.
Furthermore, enthusiasts seeking a quieter typing experience may opt for stabilizers equipped with sound-dampening features, such as silicone or lubricated stabilizers. These dampening mechanisms reduce the impact of keycap bottoming out and stabilize the key’s movement, resulting in a more subdued and refined typing sound.
Additionally, the choice between screw-in and snap-in stabilizers can significantly impact the installation process and overall stability of the keys. Screw-in stabilizers offer a secure and customizable fit, minimizing keycap wobble and ensuring consistent key movement. Conversely, snap-in stabilizers provide a convenient and straightforward installation process, making them an accessible option for keyboard enthusiasts of all skill levels.
Ultimately, the selection of stabilizers for your custom mechanical keyboard is instrumental in achieving a satisfying and stable typing experience. By considering factors such as keycap compatibility, sound dampening, and installation convenience, you can tailor the stabilizers to complement the overall design and functionality of your custom keyboard, ensuring a seamless and enjoyable typing experience.
Step 5: Decide on a PCB
The printed circuit board (PCB) serves as the backbone of a custom mechanical keyboard, providing the electrical connections and functionality that enable key input and customization. When deciding on a PCB for your custom keyboard, factors such as layout compatibility, programmability, and lighting options should be carefully considered to create a personalized and functional typing instrument.
One of the primary considerations when choosing a PCB is its compatibility with your desired keyboard layout. Whether you prefer a compact 60% layout or a more expansive full-size design, ensuring that the PCB supports your chosen layout is crucial for a seamless and hassle-free assembly process. Additionally, some PCBs offer hot-swappable key switches, allowing for effortless switch replacement and customization without the need for soldering, providing a convenient and versatile option for keyboard enthusiasts.
Furthermore, the programmability of the PCB plays a significant role in customizing the keyboard’s functionality and key mappings. Programmable PCBs, often compatible with QMK or VIA firmware, empower users to remap keys, create custom macros, and adjust lighting effects, offering a high degree of customization and personalization. This programmability enables users to tailor the keyboard to their specific workflow and preferences, enhancing the overall typing experience.
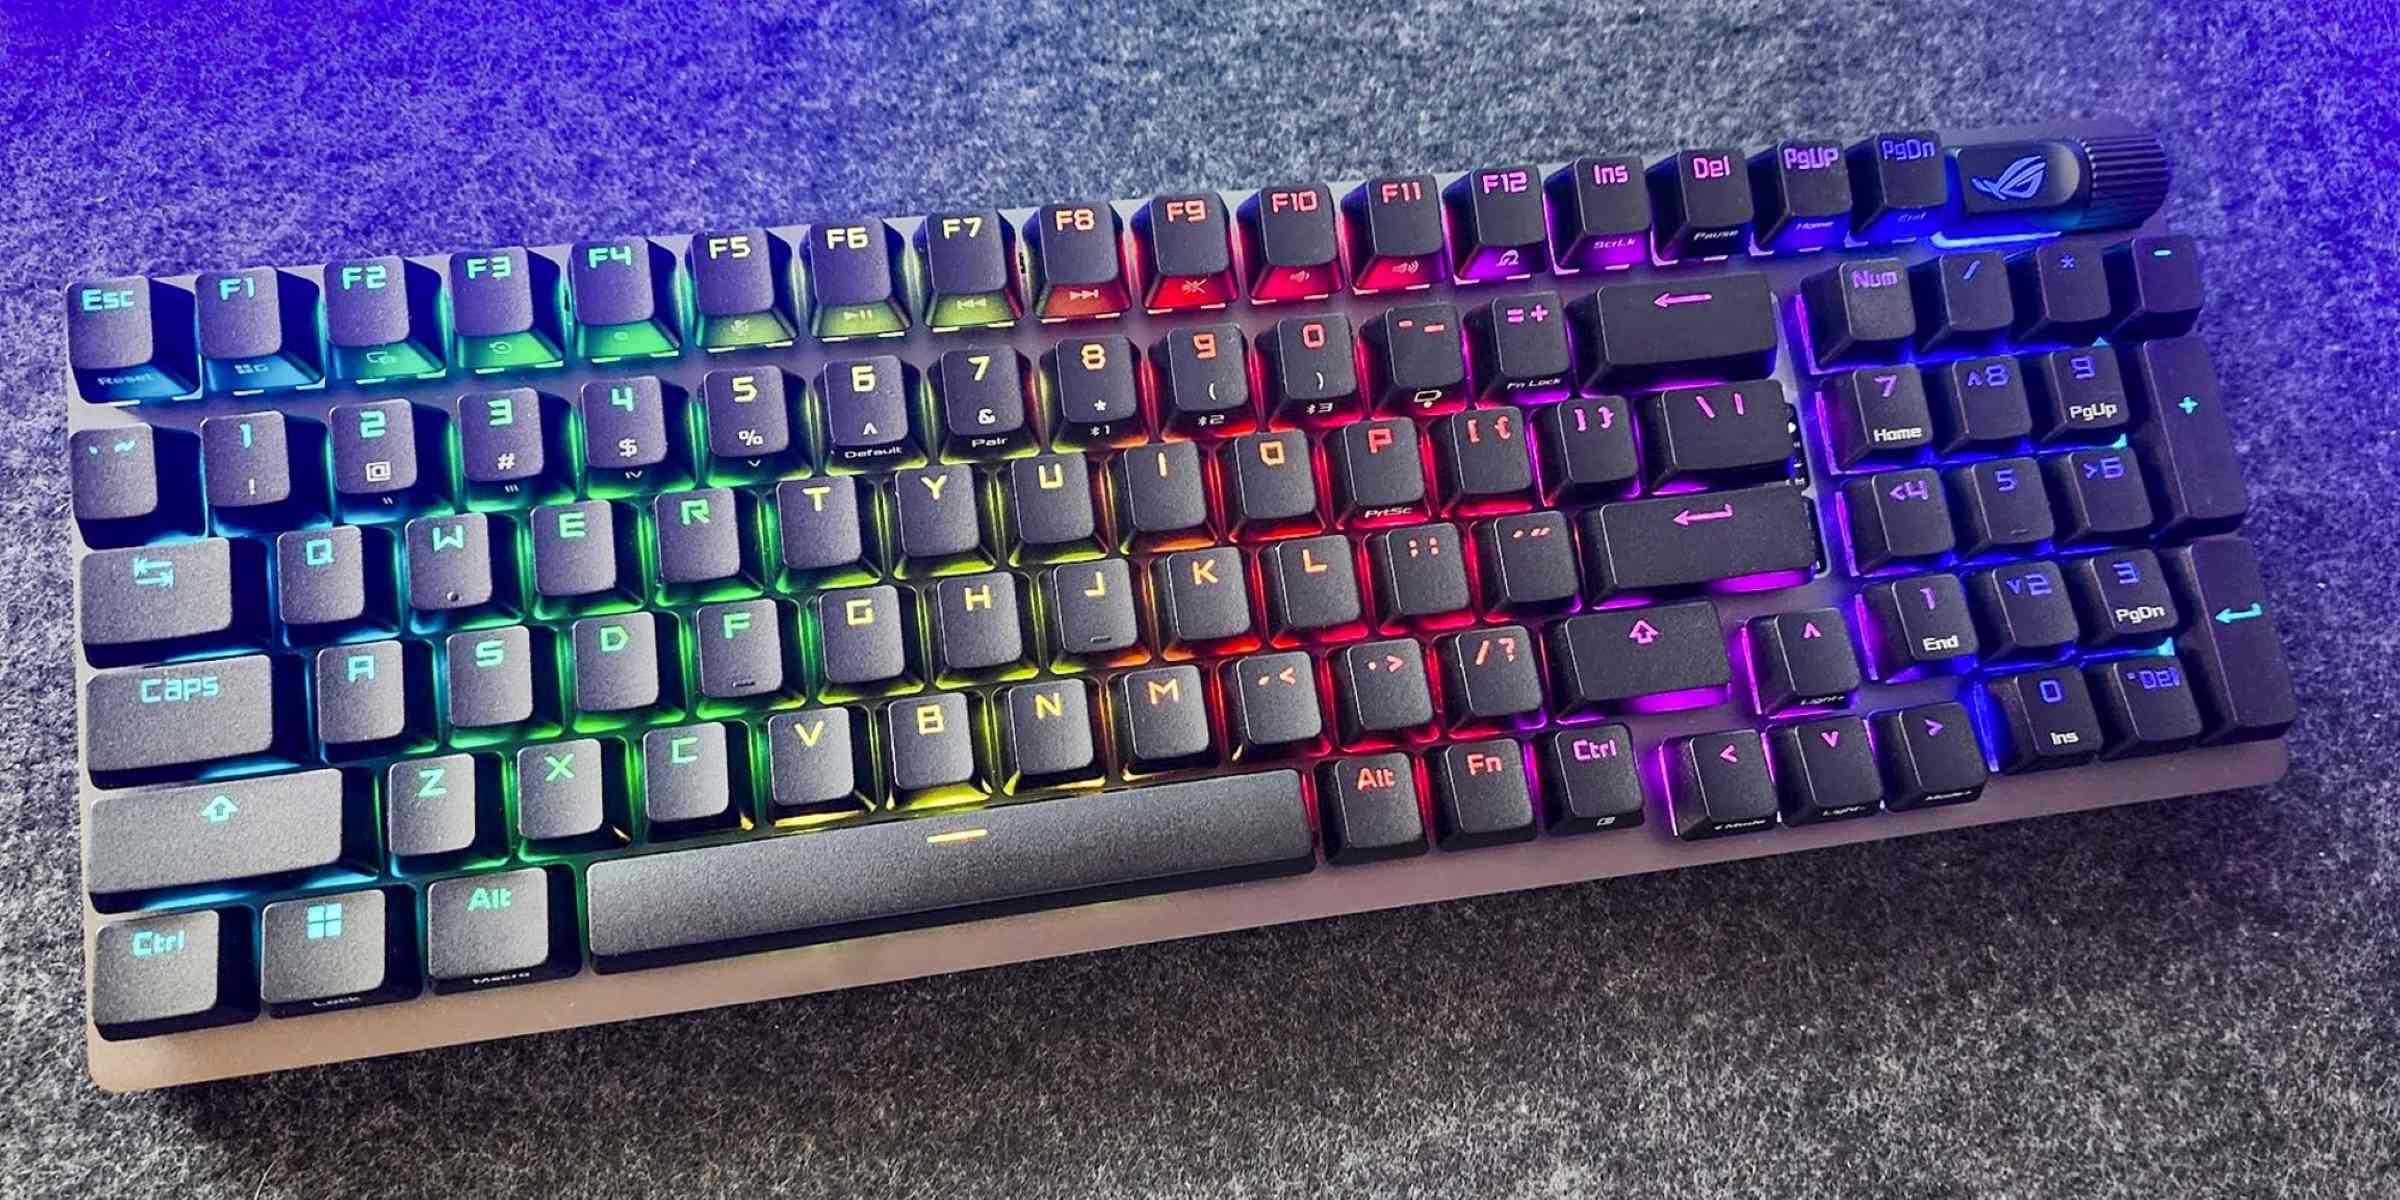
Lighting options, such as RGB backlighting or underglow, are additional features offered by some PCBs, allowing enthusiasts to imbue their custom keyboard with vibrant and customizable lighting effects. Whether you seek a subtle, single-color backlight or a dynamic, multicolor RGB display, the lighting options provided by the PCB can elevate the visual appeal of the keyboard and create a captivating typing experience.
Ultimately, the selection of a PCB for your custom mechanical keyboard is pivotal in shaping the keyboard’s functionality, compatibility, and customization capabilities. By considering factors such as layout compatibility, programmability, and lighting options, you can choose a PCB that aligns with your preferences and empowers you to create a personalized and functional typing instrument that reflects your unique style and workflow.
Step 6: Select a Case
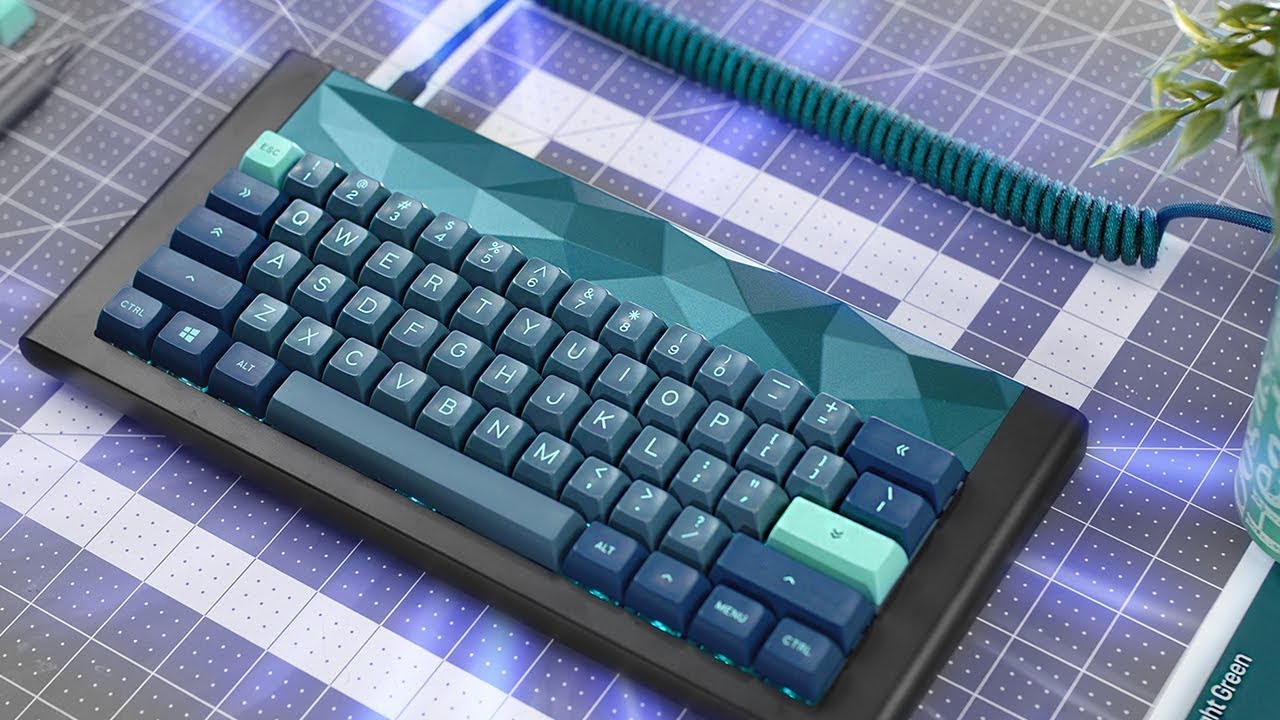
The case of a custom mechanical keyboard not only provides structural support and protection for its components but also contributes significantly to its aesthetic appeal and overall feel. When selecting a case for your custom keyboard, factors such as material, design, and compatibility should be carefully considered to create a visually striking and functional keyboard enclosure.
One of the primary considerations when choosing a case is the material from which it is constructed. Aluminum cases are favored for their durability, sleek appearance, and excellent vibration dampening properties, providing a premium feel and robust build quality. Alternatively, polycarbonate cases offer a lightweight and translucent design, allowing for vibrant underglow lighting effects and a unique visual aesthetic. Steel cases provide a rugged and substantial feel, appealing to users seeking a solid and weighty keyboard enclosure.
Furthermore, the design of the case, including its form factor and aesthetic elements, plays a crucial role in shaping the overall look and feel of the custom keyboard. From minimalist, low-profile designs to bold and angular aesthetics, the case design allows enthusiasts to express their individual style and preferences, creating a keyboard that resonates with their unique aesthetic sensibilities.
Compatibility with the chosen PCB and layout is another essential factor to consider when selecting a case. Ensuring that the case accommodates the selected PCB and layout, including provisions for stabilizers and switch configurations, is crucial for a seamless and secure assembly process. Additionally, some cases offer integrated features such as adjustable typing angles and built-in wrist rests, enhancing ergonomics and user comfort during extended typing sessions.
Ultimately, the selection of a case for your custom mechanical keyboard is instrumental in shaping the keyboard’s visual appeal, durability, and overall feel. By considering factors such as material, design, and compatibility, you can choose a case that complements the aesthetic and functional aspects of your custom keyboard, resulting in a visually striking, durable, and ergonomic typing instrument that reflects your unique style and preferences.
Step 7: Assemble Your Custom Mechanical Keyboard
Assembling a custom mechanical keyboard is the culmination of the meticulous selection process for each component, and it marks the transition from individual parts to a cohesive and personalized typing instrument. The assembly phase presents an opportunity to bring your vision to life, combining chosen components with care and precision to create a keyboard that embodies your unique preferences and style.
The assembly process typically begins with the installation of stabilizers onto the PCB, ensuring that each stabilizer is securely and evenly positioned to provide consistent key movement and minimize wobble. Next, mounting the selected switches onto the PCB follows, requiring attention to alignment and stability to guarantee a uniform and reliable typing experience across all keys.
Once the switches are in place, attaching the chosen keycaps to the switches completes the visual and tactile customization of the keyboard. Carefully pressing each keycap onto its corresponding switch ensures a snug and secure fit, culminating in a personalized and visually striking arrangement of keys that reflects your chosen material, profile, and legends.
Following the keycap installation, placing the assembled PCB and keycap arrangement into the selected case marks the final stage of the assembly process. Ensuring that the PCB aligns with the case’s mounting points and that the keycap arrangement sits flush within the case is essential for a seamless and secure fit, resulting in a cohesive and visually captivating custom mechanical keyboard.
Throughout the assembly process, attention to detail, patience, and precision are paramount, ensuring that each component is integrated harmoniously to create a keyboard that embodies your unique preferences and style. As you embark on the assembly journey, savor the opportunity to bring your vision to fruition, and revel in the satisfaction of crafting a personalized and functional typing instrument that reflects your individuality.