Introduction
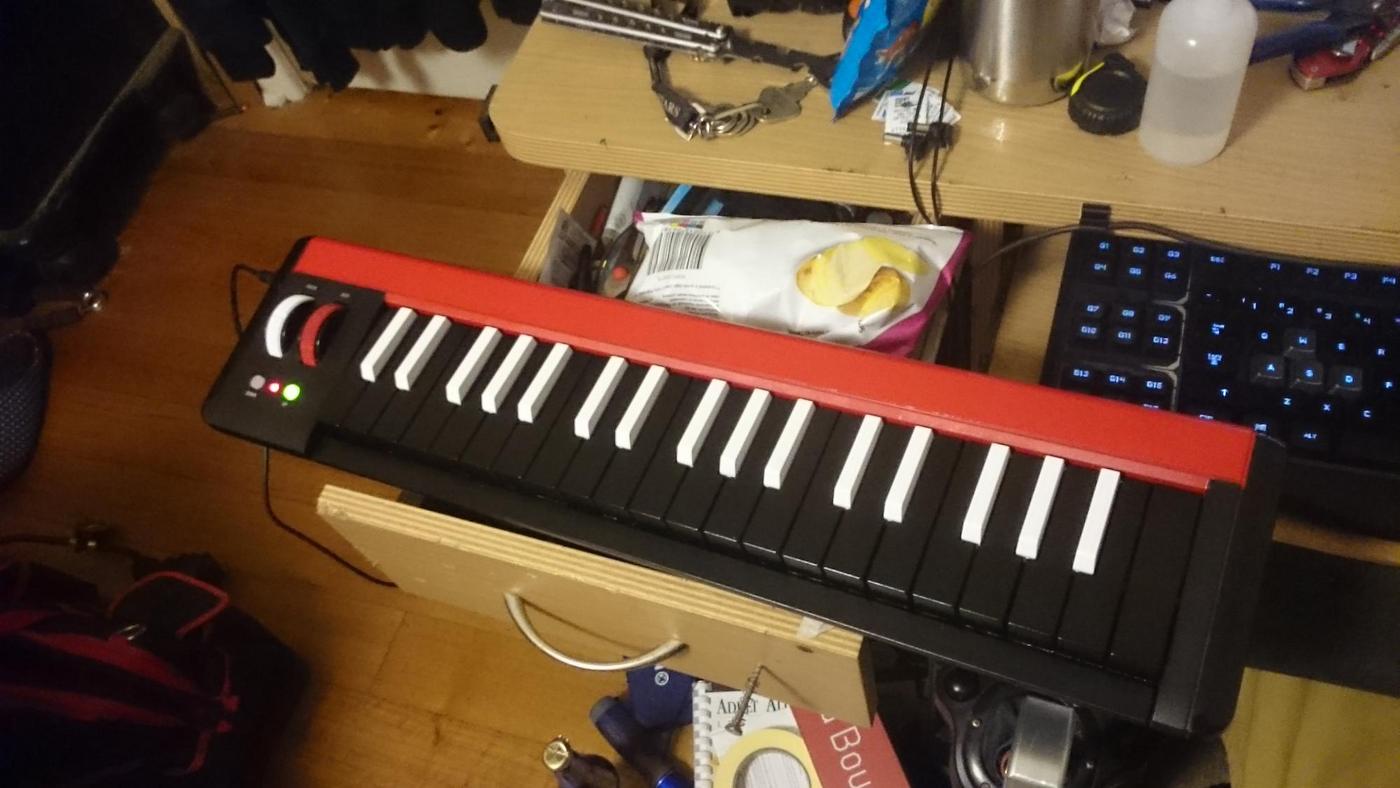
Are you looking to add a personalized touch to your mechanical keyboard? Perhaps you want to revamp its appearance to match your unique style or give it a fresh, eye-catching look. One of the most effective ways to achieve this is by spray painting your keyboard. Whether you're aiming for a sleek, matte finish or a vibrant, glossy appearance, spray painting offers a versatile and cost-effective solution to transform the look of your keyboard.
Spray painting a mechanical keyboard can breathe new life into an old or worn-out device, allowing you to express your creativity and individuality. With a wide range of color options available, you can tailor the keyboard's appearance to suit your preferences, making it a standout feature of your workspace or gaming setup.
In this guide, we will explore the step-by-step process of spray painting a mechanical keyboard, from selecting the right spray paint to applying the finishing touches. By following these instructions, you can achieve a professional and durable finish that not only enhances the aesthetic appeal of your keyboard but also protects it from wear and tear.
Whether you're a seasoned DIY enthusiast or a newcomer to the world of keyboard customization, this guide will equip you with the knowledge and confidence to embark on this exciting and rewarding project. So, let's dive in and discover how to elevate the appearance of your mechanical keyboard through the art of spray painting.
Choosing the Right Spray Paint
Before embarking on your keyboard spray painting project, it’s essential to select the appropriate spray paint that will adhere well to the keyboard’s surface and provide a durable, long-lasting finish. Here are some key considerations to keep in mind when choosing the right spray paint:
- Compatibility: Opt for spray paint specifically designed for use on plastic or metal surfaces, as these are the primary materials of most mechanical keyboards. Look for paint that offers excellent adhesion and is formulated to withstand frequent handling without chipping or peeling.
- Finish: Consider the desired finish of your keyboard. Matte, satin, and glossy finishes are popular options, each offering a distinct visual appeal. Matte finishes provide a non-reflective, understated look, while glossy finishes deliver a lustrous, reflective surface. Satin finishes fall between the two, offering a subtle sheen.
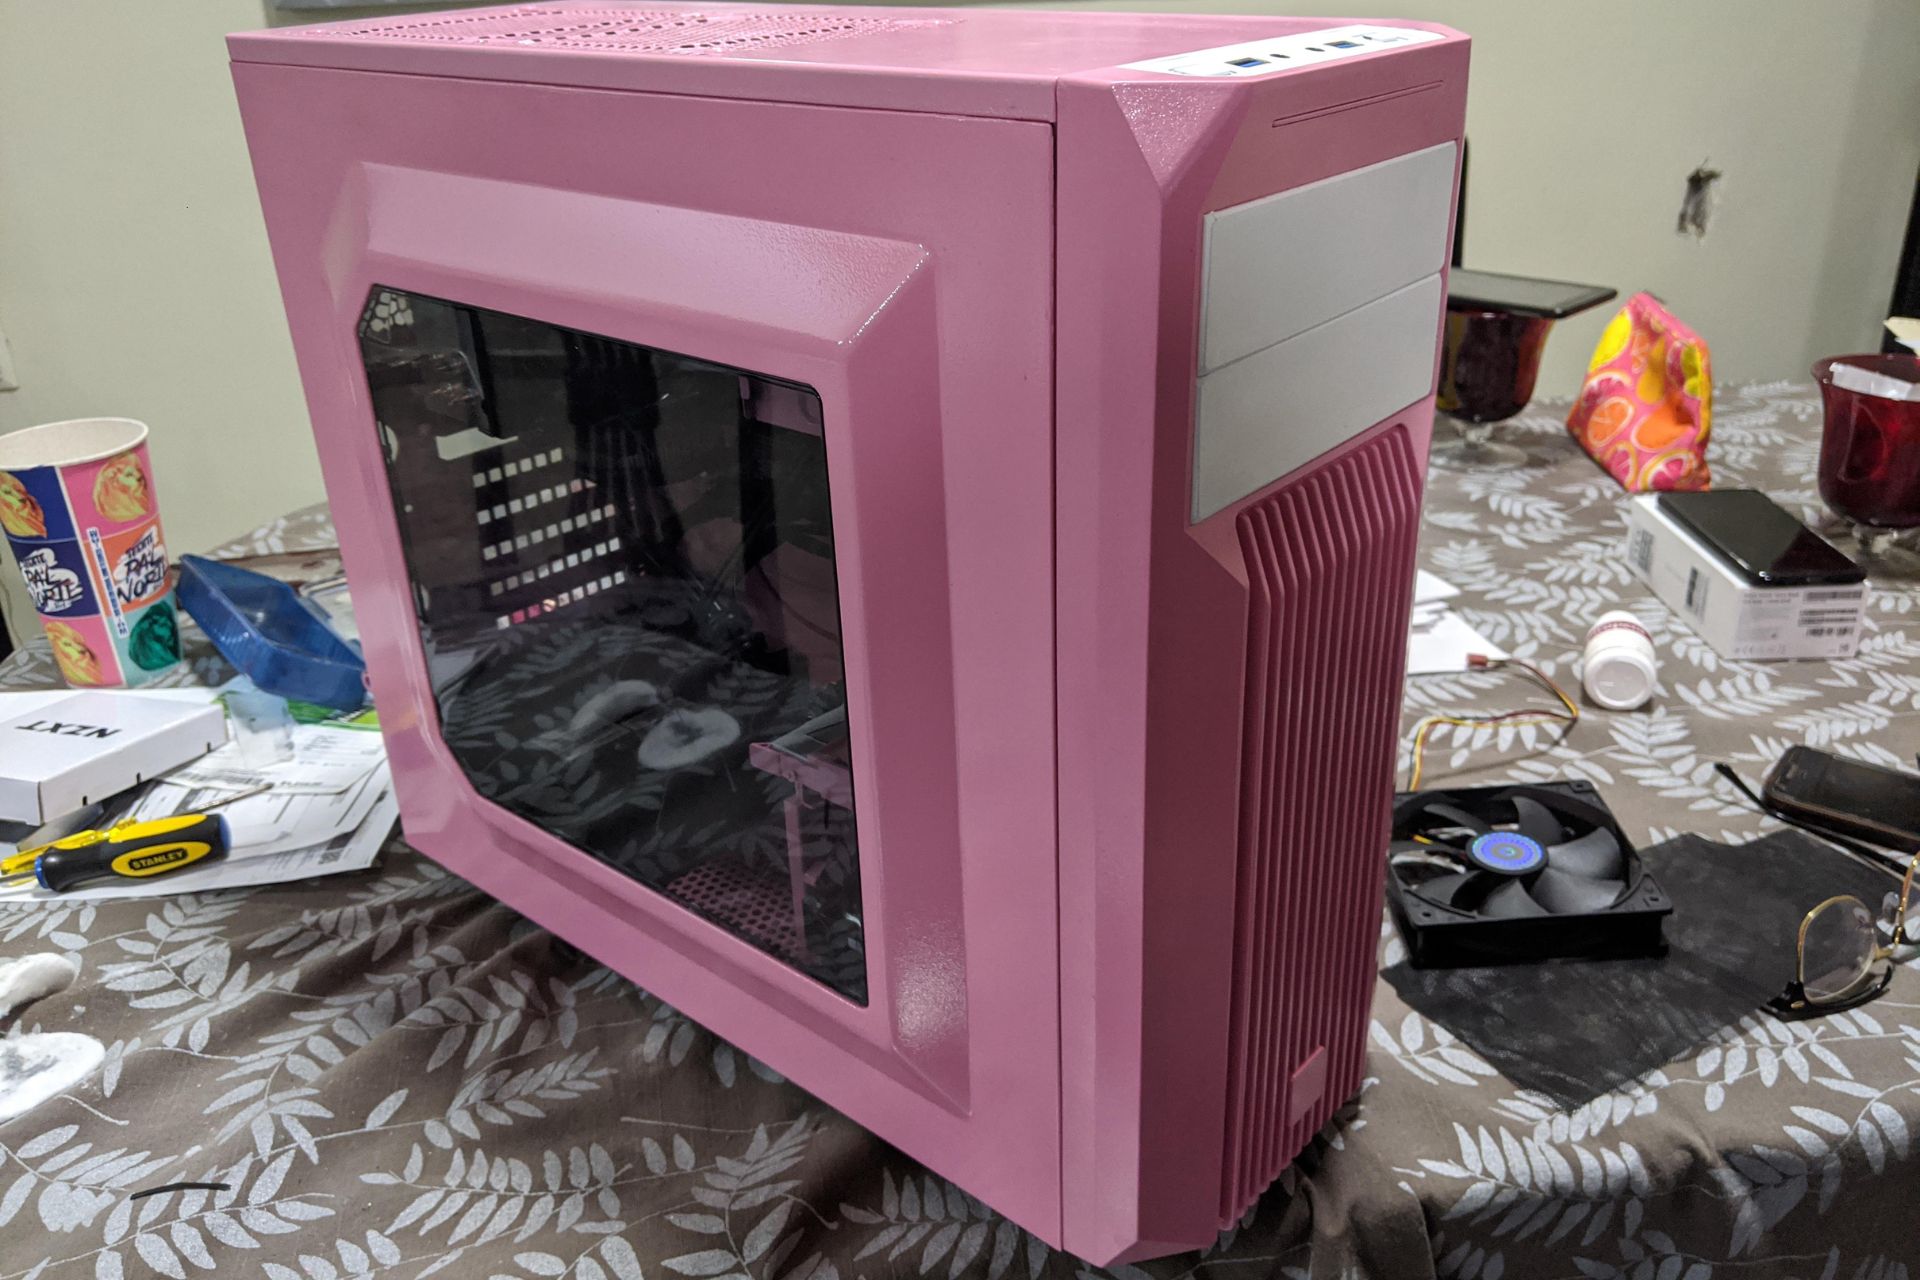
- Color Options: Explore a wide range of color options to find the perfect shade that complements your style and existing setup. Whether you prefer bold, vibrant colors or classic, understated tones, the right color choice can make a significant impact on the overall appearance of your keyboard.
- Durability: Look for spray paint that offers durability and resistance to scratches, abrasions, and fading. A durable finish will ensure that your keyboard maintains its freshly painted look for an extended period, even with regular use.
- Brand and Reviews: Research reputable brands of spray paint and read reviews from other DIY enthusiasts to gauge the quality and performance of the products. Reliable brands often offer superior coverage, color accuracy, and durability, resulting in a professional-looking finish.
By carefully considering these factors, you can make an informed decision when selecting the right spray paint for your keyboard. Remember that the quality of the spray paint plays a pivotal role in the overall outcome of your project, so invest in a high-quality product that aligns with your aesthetic vision and durability expectations.
Preparing the Keyboard
Proper preparation is crucial to ensure that the spray paint adheres effectively to the keyboard’s surface and yields a professional, flawless finish. Follow these essential steps to prepare your keyboard for the spray painting process:
- Disassembly: Begin by carefully disassembling the keyboard, removing the keycaps and any other detachable components. This step allows for thorough and uniform coverage during the painting process and prevents paint from accumulating in crevices or obstructing the functionality of the keys.
- Cleaning: Thoroughly clean the keyboard’s surface to remove dust, grime, and oils that may hinder paint adhesion. Use a gentle, non-abrasive cleaner or isopropyl alcohol and a lint-free cloth to ensure a pristine painting surface. Pay special attention to areas around the keys and edges where dirt and debris may accumulate.
- Sanding (Optional): If the keyboard’s surface has a glossy finish or if you’re looking to enhance paint adhesion, consider lightly sanding the surface with fine-grit sandpaper. This step creates a slightly rough texture, promoting better paint adherence. After sanding, thoroughly remove any sanding residue before proceeding to the next step.
- Masking: Use painter’s tape to carefully mask any areas of the keyboard that you do not wish to paint, such as LED indicators, logos, or specific design elements. Precision masking ensures that the paint is applied only to the intended areas, maintaining the keyboard’s functionality and aesthetic appeal.
- Priming (Optional): Applying a plastic or metal primer designed for spray painting can further enhance paint adhesion and durability. Priming is especially beneficial when painting over smooth or non-porous surfaces, providing a stable base for the paint to bond with and improving the overall longevity of the finish.
By meticulously preparing the keyboard for the spray painting process, you can lay the foundation for a successful and visually stunning transformation. Taking the time to execute these preparatory steps with precision will contribute to a professional-quality outcome that surpasses your expectations.
Applying the Spray Paint
Once the keyboard is meticulously prepared, it’s time to apply the spray paint to achieve a flawless and durable finish. Follow these guidelines to ensure a smooth and professional painting process:
- Location: Choose a well-ventilated and dust-free area for painting. Ideally, use a designated spray painting space or set up a protected outdoor area to minimize the risk of dust or debris settling on the wet paint.
- Even Coats: Shake the spray paint can vigorously for the recommended duration to ensure proper mixing of the paint. Begin by applying light, even coats of paint to the keyboard, holding the can approximately 6 to 8 inches away from the surface. Avoid spraying too heavily, as this can lead to drips, uneven coverage, or a textured finish.
- Multiple Layers: Apply multiple thin layers of paint, allowing each coat to dry completely before applying the next. Building up the paint in thin layers prevents runs, drips, and uneven patches, resulting in a smooth and professional-looking finish. Be patient during this process to achieve the desired color depth and coverage.
- Uniform Coverage: Maintain a consistent spraying distance and motion to ensure uniform coverage across the entire keyboard. Pay attention to angles and edges to avoid overspraying or missing areas. Rotate the keyboard as needed to access all surfaces and angles for comprehensive paint application.
- Drying Time: Allow the keyboard to dry thoroughly between each coat as per the manufacturer’s instructions. Adequate drying time is essential to prevent smudges, fingerprints, or imperfections in the finish. Additionally, ensure that the painted surface is completely dry before handling or reassembling the keyboard.
By following these steps and exercising patience and precision, you can achieve a professional-quality paint job that enhances the appearance and durability of your mechanical keyboard. The application process, when executed with care and attention to detail, will yield a visually striking and long-lasting finish that reflects your personal style and creativity.
Drying and Finishing Touches
After completing the spray painting process, it’s crucial to allow the keyboard to dry thoroughly and perform the necessary finishing touches to ensure a polished and resilient outcome. Follow these essential steps to achieve a professional finish and protect the newly painted surface:
- Drying Time: Allow the keyboard to dry in a well-ventilated area for the duration specified by the spray paint manufacturer. It’s essential to exercise patience and refrain from handling the keyboard until the paint is completely dry to the touch. Rushing the drying process can result in smudges, fingerprints, or damage to the finish.
- Protective Clear Coat (Optional): Consider applying a clear protective topcoat designed for spray painting to enhance the durability and resistance of the painted surface. The clear coat provides an additional layer of protection against scratches, abrasions, and UV damage, ensuring that the paint maintains its pristine appearance over time.
- Reassembly: Once the paint is fully dry and any optional clear coat has been applied and allowed to cure, carefully reassemble the keyboard, ensuring that all components are securely in place. Exercise caution to avoid scratching or damaging the freshly painted surface during reassembly.
- Curing Time: Allow the keyboard to cure for the recommended duration before subjecting it to regular use. Curing time allows the paint and clear coat to fully harden and adhere, maximizing their durability and longevity. Adhering to the curing time guidelines will help maintain the integrity of the finish.
- Maintenance: Once the keyboard is reassembled and cured, practice regular maintenance to preserve the appearance of the painted surface. Use a gentle, non-abrasive cleaner to remove dust and smudges, and avoid harsh chemicals or abrasive materials that may compromise the integrity of the finish.
By allowing the keyboard to dry thoroughly, applying optional protective measures, and exercising care during reassembly and maintenance, you can ensure that the freshly painted keyboard maintains its pristine appearance and durability over time. These finishing touches are essential for safeguarding your creative investment and enjoying a personalized, visually appealing keyboard for an extended period.