Introduction
Are you tired of your old, worn-out mouse pad and looking for a cost-effective way to revamp it? Look no further! In this comprehensive guide, we will walk you through the step-by-step process of transforming your mouse pad with a fresh coat of spray paint. Whether you want to add a pop of color, a touch of personal flair, or simply refresh its appearance, spray painting your mouse pad can breathe new life into an otherwise mundane accessory.
Spray painting a mouse pad is a fun and creative DIY project that allows you to unleash your artistic side while giving your workspace a personalized touch. With just a few materials and a splash of creativity, you can achieve a custom look that complements your style and enhances the aesthetic of your desk setup.
By following the techniques outlined in this guide, you can elevate your mouse pad from functional to fabulous in no time. So, roll up your sleeves, gather your supplies, and let's dive into the exciting world of transforming your mouse pad with a fresh coat of spray paint!
Materials Needed
Before embarking on your mouse pad spray painting adventure, it’s essential to gather the necessary materials to ensure a smooth and successful transformation. Here’s what you’ll need:
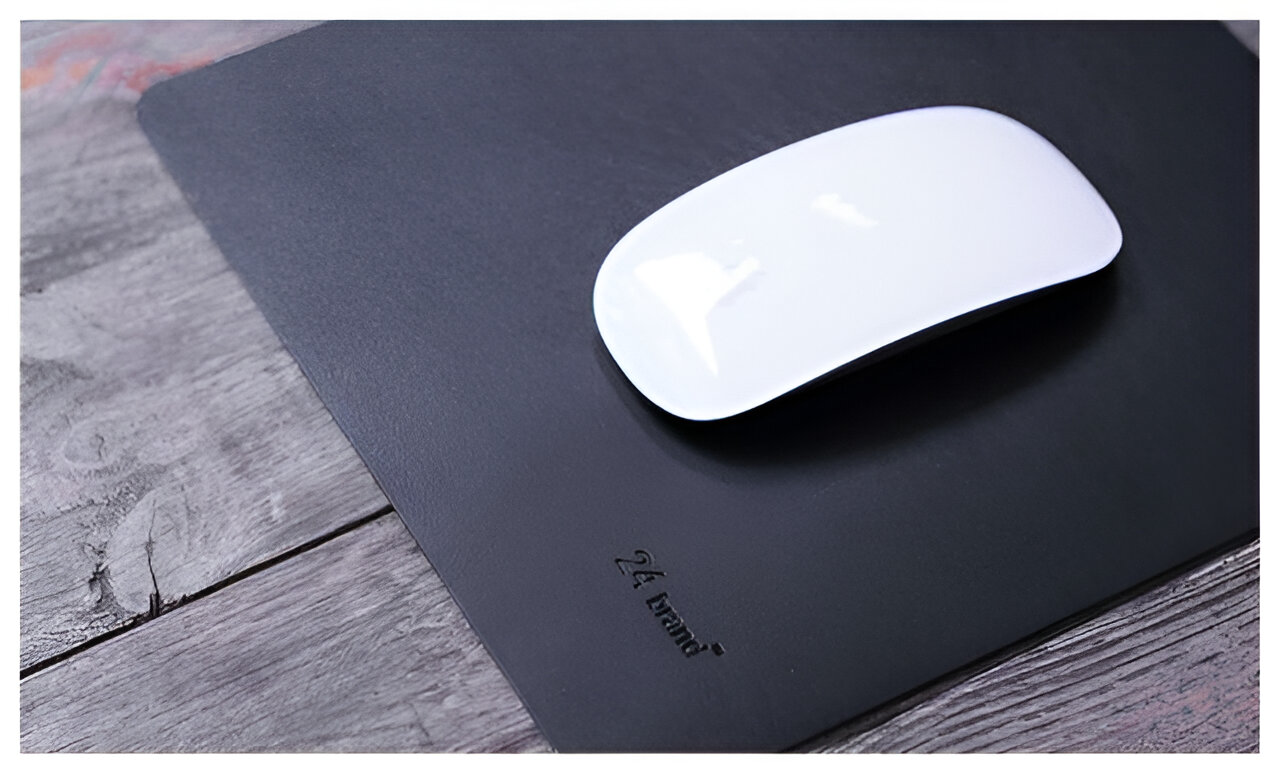
- A mouse pad: Choose a mouse pad with a smooth fabric or rubber surface for optimal paint adhesion.
- Masking tape: Use masking tape to cover any areas of the mouse pad that you want to keep unpainted, such as the edges or certain design elements.
- Spray paint: Select high-quality spray paint suitable for fabric or rubber surfaces. Consider the color and finish you desire for your mouse pad.
- Newspaper or a drop cloth: Protect your work surface from overspray by laying down newspaper or a drop cloth.
- Cardboard or poster board: Place the mouse pad on cardboard or poster board to provide a stable surface for painting and prevent the paint from seeping through.
- Protective gloves: Wear gloves to keep your hands clean and protected during the painting process.
- Respirator or mask: For safety, use a respirator or mask to prevent inhalation of paint fumes.
- Well-ventilated area: Choose a well-ventilated space, preferably outdoors, to spray paint the mouse pad and minimize exposure to fumes.
- Clean cloth and mild detergent: Ensure the mouse pad is clean and free of any dirt or debris before painting.
By having these materials on hand, you’ll be well-prepared to embark on your mouse pad spray painting project and achieve professional-looking results.
Preparing the Mouse Pad
Before diving into the spray painting process, it’s crucial to properly prepare the mouse pad to ensure optimal paint adhesion and a flawless finish. Follow these steps to prepare the mouse pad for its stunning makeover:
- Clean the Surface: Begin by thoroughly cleaning the mouse pad’s surface using a mild detergent and a clean cloth. Remove any dirt, dust, or oil buildup that could hinder the paint from adhering effectively.
- Dry Completely: After cleaning, allow the mouse pad to dry completely. Ensure that no moisture or residue remains on the surface before proceeding to the next steps.
- Masking: If there are any areas of the mouse pad that you wish to keep unpainted, such as the edges or specific design elements, use masking tape to cover and protect those areas. This step will help create clean, defined borders and prevent paint from spreading to unwanted areas.
- Secure on a Stable Surface: Place the mouse pad on a flat, stable surface, such as a piece of cardboard or poster board. This will provide a solid base for painting and prevent the paint from seeping through to other surfaces.
- Ensure Adequate Ventilation: Work in a well-ventilated area, preferably outdoors, to minimize exposure to paint fumes. Adequate ventilation is essential for your comfort and safety during the painting process.
By meticulously preparing the mouse pad, you’ll create the ideal foundation for the spray paint application, leading to a professional-looking and long-lasting finish. With these preparatory steps completed, your mouse pad is primed and ready for its vibrant transformation!
Choosing the Right Spray Paint
When it comes to spray painting your mouse pad, selecting the appropriate spray paint is crucial for achieving the desired results. Consider the following factors to ensure you choose the right spray paint for your project:
- Surface Compatibility: Opt for spray paint specifically designed for fabric or rubber surfaces. Ensure that the paint is formulated to adhere to these materials, providing a durable and flexible finish that won’t crack or peel over time.
- Color and Finish: Decide on the color and finish that best complement your style and workspace aesthetic. Whether you prefer vibrant, bold hues or subtle, matte tones, choose a spray paint that aligns with your vision for the mouse pad’s transformation.
- Quality and Durability: Invest in high-quality spray paint to ensure long-lasting results. Quality paint not only delivers superior coverage and color retention but also withstands the rigors of everyday use, including friction from the mouse and regular cleaning.
- Eco-Friendly Options: For environmentally conscious individuals, consider eco-friendly or low-VOC (volatile organic compounds) spray paint options. These paints minimize environmental impact and reduce exposure to harmful chemicals during the painting process.
- Brand Reputation: Research reputable paint brands known for their quality and reliability. Reading customer reviews and seeking recommendations can help you identify trusted brands that consistently deliver excellent results.
By carefully considering these factors, you can confidently select the right spray paint that aligns with your preferences and ensures a stunning transformation for your mouse pad. With the perfect spray paint in hand, you’re one step closer to infusing your workspace with a personalized and visually captivating mouse pad!
Applying the Spray Paint
Now comes the exciting phase of applying the spray paint to your mouse pad. Follow these step-by-step guidelines to achieve a flawless and professional-looking finish:
- Shake the Spray Paint Can: Before starting, shake the spray paint can vigorously for at least a minute to ensure thorough mixing of the paint.
- Test on a Scrap Surface: Prior to painting the mouse pad, test the spray paint on a scrap piece of fabric or paper to familiarize yourself with the spray pattern and evaluate the color intensity.
- Apply Thin, Even Coats: Holding the spray paint can approximately 6-8 inches away from the mouse pad, apply thin, even coats of paint in a sweeping motion. Start spraying off the mouse pad, then move the can across the surface in a steady back-and-forth motion for uniform coverage.
- Allow Drying Time: After each coat, allow the paint to dry according to the manufacturer’s recommended time. Typically, this ranges from 10-30 minutes, depending on the paint type and environmental conditions.
- Apply Additional Coats if Needed: If necessary, apply additional coats of spray paint to achieve the desired color intensity and coverage. Avoid over-spraying to prevent drips or uneven buildup of paint.
- Remove Masking Tape: If you used masking tape to protect certain areas, carefully remove it once the final coat is applied and still wet to reveal clean, crisp edges.
By following these application techniques, you’ll ensure a smooth and professional finish that transforms your mouse pad into a stunning work of art. Patience and precision during the painting process will yield exceptional results, breathing new life into your mouse pad and elevating your workspace aesthetics.
Drying and Finishing Touches
After applying the spray paint, proper drying and finishing touches are essential to achieve a durable and visually appealing result. Follow these crucial steps to ensure the paint sets effectively and the mouse pad attains a professional finish:
- Allow Sufficient Drying Time: After the final coat of spray paint is applied, allow the mouse pad to dry completely according to the paint manufacturer’s instructions. This typically involves letting it dry undisturbed for at least 24 hours to ensure the paint fully cures.
- Inspect for Imperfections: Once the paint is dry to the touch, carefully inspect the mouse pad for any imperfections, such as uneven coverage or areas that may require touch-ups.
- Address Any Touch-Up Needs: If touch-ups are necessary, lightly sand the affected areas with fine-grit sandpaper and apply additional thin coats of spray paint to achieve seamless coverage.
- Apply Clear Sealant (Optional): For added protection and longevity, consider applying a clear sealant designed for fabric or rubber surfaces. This step can enhance durability and safeguard the painted finish from wear and tear.
- Reassemble and Enjoy: Once the paint and any sealant are fully dry, reassemble your workspace, place the mouse pad in its designated spot, and revel in the refreshed and personalized ambiance it brings to your desk area.
By allowing the paint to dry thoroughly and addressing any touch-up needs, you’ll ensure that your spray-painted mouse pad boasts a professional and enduring finish. Whether you opt for a glossy, matte, or satin finish, the final touches will elevate the appearance of your mouse pad and infuse your workspace with a touch of individuality.
Conclusion
Congratulations! You’ve successfully embarked on a creative journey to transform your mouse pad into a personalized and visually striking accessory through the art of spray painting. By following the meticulous steps outlined in this guide, you’ve harnessed the power of creativity and DIY ingenuity to breathe new life into a seemingly ordinary item.
Through careful preparation, thoughtful paint selection, and precise application techniques, you’ve elevated your mouse pad from a functional necessity to a captivating expression of your individuality. The vibrant colors, sleek finishes, and unique designs have not only refreshed your workspace but also reflected your personal style and creativity.
As you admire your newly spray-painted mouse pad, take pride in the craftsmanship and attention to detail that have resulted in a stunning and durable finish. Whether you’ve opted for a bold pop of color, a subtle ombre effect, or a custom design, your mouse pad now stands as a testament to your artistic flair and resourcefulness.
With your revitalized mouse pad in place, you’ve injected a touch of inspiration and personality into your work or gaming environment. The transformation extends beyond the mere act of spray painting; it signifies your ability to turn everyday items into unique works of art that brighten your surroundings and uplift your spirits.
As you revel in the satisfaction of a successful DIY project, consider the endless possibilities that await your creative touch. Whether it’s revamping other accessories, exploring new painting techniques, or embarking on entirely different DIY endeavors, your newfound skills and artistic vision are bound to enrich your surroundings and leave a lasting impression.
So, as you navigate your daily endeavors, let your spray-painted mouse pad serve as a reminder of the joy found in artistic expression and the transformative power of creativity. Embrace the endless potential for innovation and self-expression, and continue to infuse your surroundings with the magic of DIY artistry.