Introduction
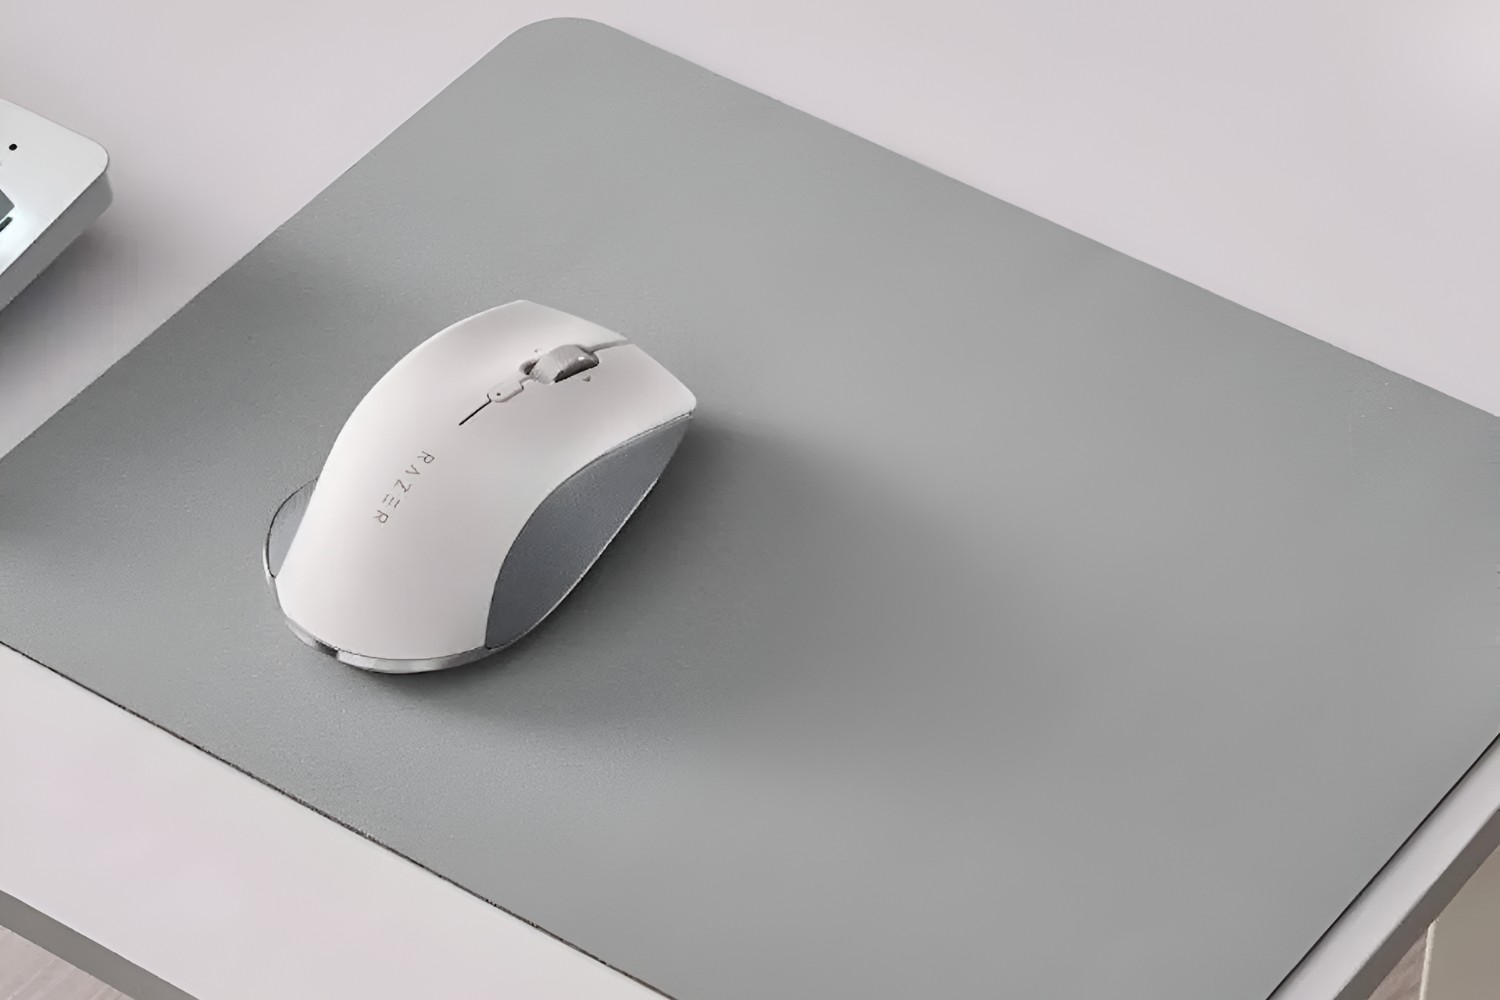
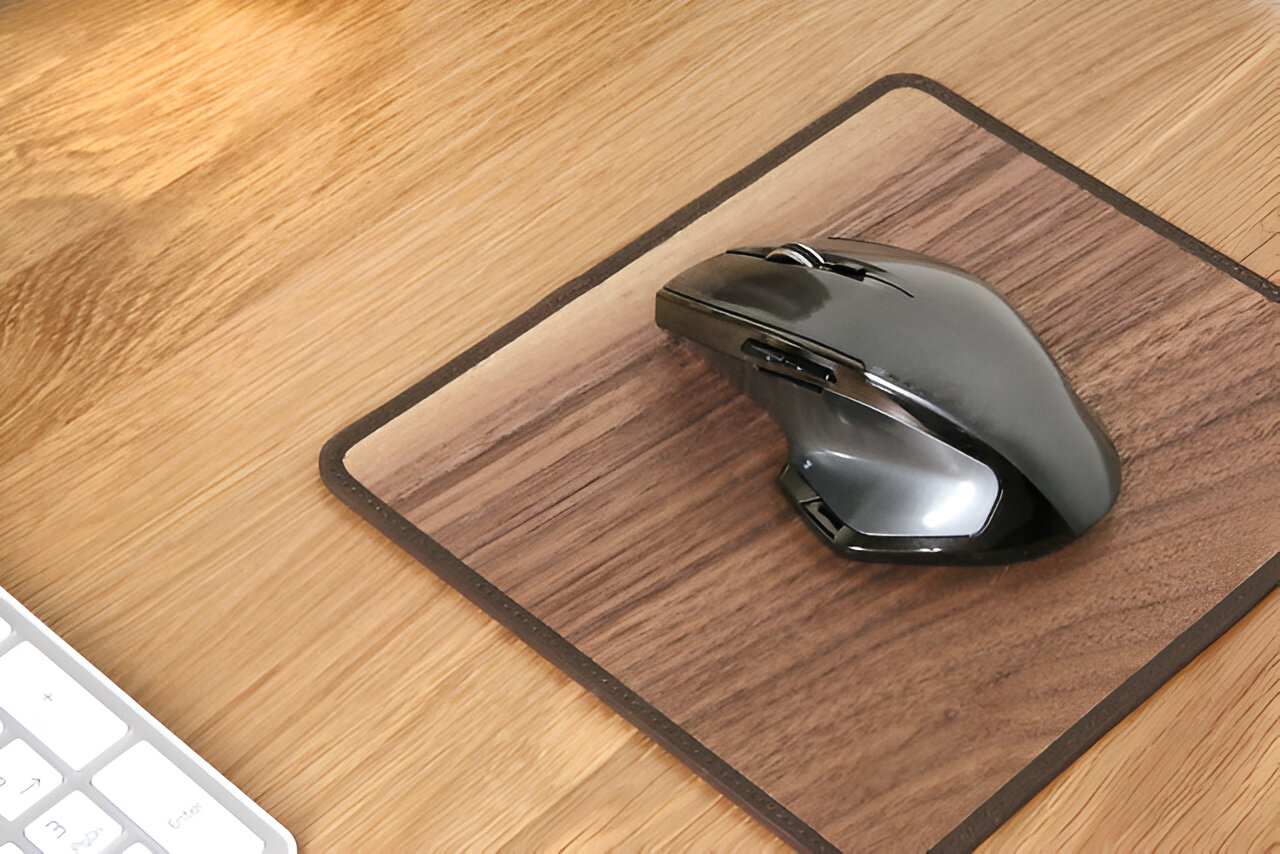
Creating your own optical mouse pad is a fun and practical DIY project that allows you to customize a functional accessory for your computer setup. A mouse pad not only provides a smooth and consistent surface for your mouse to glide on but also protects your desk from scratches and wear. By crafting your own mouse pad, you have the freedom to choose the design, size, and materials, ensuring that it perfectly complements your workspace.
Whether you are an avid gamer, a digital artist, or simply someone who spends a significant amount of time using a computer, having a personalized mouse pad can add a touch of personality to your desk while enhancing your overall user experience. This project also presents an opportunity to unleash your creativity and explore different textures and patterns to create a unique and functional accessory.
In this guide, we will walk through the step-by-step process of making your own optical mouse pad, from gathering the necessary materials to adding the final touches. By following these instructions, you can create a custom mouse pad that reflects your style and serves as a practical addition to your workspace. Let's dive into the exciting world of DIY mouse pad creation and unleash your creativity!
Materials Needed
Before embarking on the journey of creating your own optical mouse pad, it is essential to gather the necessary materials. The following items will be required for this DIY project:
- High-density foam rubber sheet: This will serve as the base of the mouse pad, providing a cushioned and stable surface for your mouse.
- Fabric of your choice: Select a fabric that suits your style and preferences. Consider the texture, pattern, and color that will complement your workspace.
- Double-sided tape or adhesive spray: This will be used to secure the fabric to the foam rubber sheet, ensuring a smooth and durable surface for your mouse to glide on.
- Scissors or rotary cutter: These tools will be necessary for cutting the foam rubber sheet and fabric to the desired size and shape.
- Ruler or measuring tape: Accurate measurements are crucial for creating a mouse pad that fits your desk and accommodates your mouse movements.
- Marker or fabric chalk: This will be used for marking the cutting lines on the foam rubber sheet and fabric, ensuring precision during the cutting process.
- Crafting glue (optional): If you prefer additional reinforcement, crafting glue can be used to secure the edges of the fabric to the underside of the foam rubber sheet.
These materials can be easily sourced from craft stores, fabric shops, or online retailers, allowing you to handpick the components that align with your creative vision. With these items in hand, you are ready to embark on the exciting process of designing and crafting your very own optical mouse pad.
Designing the Mouse Pad
Designing your custom mouse pad is where your creativity takes center stage. Consider the aesthetic of your workspace, your personal style, and any specific themes or patterns you would like to incorporate. Whether you prefer a minimalist look, vibrant colors, intricate designs, or even a personalized photo, the design possibilities are endless. Here are some steps to guide you through the design process:
- Choose the Fabric: Select a fabric that resonates with your style and complements your desk setup. Consider the texture, color, and pattern that will enhance the visual appeal of your workspace while providing a smooth surface for your mouse.
- Measure and Mark: Use a ruler and marker to measure and mark the dimensions of the mouse pad on the foam rubber sheet. Ensure that the size accommodates your mouse movements and fits comfortably on your desk.
- Plan the Design: If you have a specific pattern or image in mind, plan how it will be positioned on the mouse pad. Consider the placement and orientation to achieve the desired visual impact.
- Personalize (Optional): If you want to add a personal touch, consider incorporating elements such as your initials, a favorite quote, or a symbol that holds meaning for you. This customization can make your mouse pad truly unique.
By carefully considering these design elements, you can create a mouse pad that not only serves its functional purpose but also adds a touch of individuality to your workspace. The design phase sets the stage for the next steps in bringing your custom mouse pad to life.
Cutting the Mouse Pad
Once you have finalized the design and selected the fabric for your custom mouse pad, it’s time to proceed with the cutting process. Precision and attention to detail are crucial during this step to ensure that the mouse pad is crafted to your exact specifications. Follow these steps to cut the mouse pad with accuracy:
- Prepare the Materials: Lay the high-density foam rubber sheet on a flat surface, ensuring that it is free from wrinkles or creases. Place the selected fabric nearby, ready for the next steps.
- Measure and Mark: Using a ruler or measuring tape, carefully measure the dimensions of the mouse pad on the foam rubber sheet. Mark the cutting lines with a marker or fabric chalk, ensuring precision and accuracy.
- Cut the Foam Rubber Sheet: Using sharp scissors or a rotary cutter, carefully cut along the marked lines to create the base of the mouse pad. Maintain a steady hand to achieve clean and straight edges.
- Cut the Fabric: Lay the fabric flat and place the cut foam rubber sheet on top. Use the foam rubber sheet as a guide to cut the fabric to the same dimensions, allowing for a slight overlap to ensure complete coverage.
It is essential to exercise caution while cutting the materials to avoid any errors that could affect the final outcome of the mouse pad. Taking the time to cut the foam rubber sheet and fabric accurately will contribute to a professional-looking and well-crafted mouse pad that meets your design expectations.
Adding the Surface Material
With the foam rubber sheet and fabric cut to the desired dimensions, it’s time to bring the mouse pad to life by adding the surface material. This step involves securing the fabric to the foam rubber sheet to create a smooth and durable surface for your mouse to glide on. Follow these steps to complete this crucial phase of the DIY process:
- Prepare the Adhesive: If using double-sided tape, carefully apply it along the edges of the foam rubber sheet. Alternatively, if using adhesive spray, ensure that the work area is well-ventilated and follow the manufacturer’s instructions for application.
- Position the Fabric: Place the cut fabric over the foam rubber sheet, ensuring that it aligns perfectly with the edges. Smooth out any wrinkles or air bubbles to achieve a flat and taut surface.
- Secure the Fabric: Carefully press the fabric onto the adhesive, ensuring a strong bond between the fabric and the foam rubber sheet. Pay special attention to the corners and edges to ensure a secure and neat finish.
- Trim Excess Fabric (Optional): If there is excess fabric extending beyond the edges of the foam rubber sheet, carefully trim it to create a clean and uniform border for the mouse pad.
Attention to detail during this step is essential to ensure that the fabric is securely and evenly attached to the foam rubber sheet, creating a professional-looking and functional mouse pad. The surface material not only contributes to the visual appeal of the mouse pad but also directly impacts its performance during everyday use.
Final Touches
As you near the completion of your DIY optical mouse pad, the final touches play a crucial role in refining the appearance and functionality of the finished product. Attention to detail during this stage ensures that your custom mouse pad is not only visually appealing but also well-crafted and durable. Consider the following steps to add the final touches to your creation:
- Inspect and Refine: Carefully examine the mouse pad for any imperfections or areas that may require refinement. Smooth out any wrinkles or uneven areas on the fabric to achieve a flawless surface.
- Reinforce Edges (Optional): If desired, apply a thin, even layer of crafting glue along the edges of the fabric to provide additional reinforcement and prevent fraying over time.
- Personalize (Optional): If you have chosen to add a personal touch to your mouse pad, such as initials or a custom design, ensure that it is securely attached and visually aligned with your original concept.
- Allow for Drying (If Applicable): If adhesive spray or crafting glue has been used, allow the mouse pad to dry according to the product instructions before placing it on your desk.
These final touches contribute to the overall quality and longevity of your custom mouse pad. By taking the time to refine and personalize the mouse pad, you can ensure that it not only meets your functional needs but also reflects your unique style and attention to detail. With the final touches complete, your custom optical mouse pad is ready to enhance your workspace and elevate your computing experience.
Conclusion
Congratulations on successfully creating your own custom optical mouse pad! Through this DIY project, you have not only crafted a functional accessory for your workspace but also expressed your creativity and personalized your computing environment. The process of designing, cutting, and assembling the mouse pad has allowed you to tailor this essential accessory to your unique preferences and style.
By selecting the fabric, designing the layout, and adding the final touches, you have infused your mouse pad with a touch of individuality, making it a standout feature of your desk setup. The attention to detail and precision exercised during the crafting process have resulted in a high-quality mouse pad that not only enhances the functionality of your mouse but also adds a touch of personal flair to your workspace.
As you place your custom mouse pad on your desk, take a moment to appreciate the creativity and effort that have gone into its creation. Every click and movement of your mouse will now be supported by a surface that reflects your style and attention to detail, enhancing your overall computing experience.
Whether you chose a sleek and minimalist design, a vibrant and colorful pattern, or a personalized touch, your custom mouse pad stands as a testament to your creativity and resourcefulness. As you enjoy the seamless gliding of your mouse and the visual appeal of your workspace, remember the satisfaction of bringing your DIY vision to life.
Embrace the uniqueness of your custom optical mouse pad and let it inspire you in your daily tasks, whether you are working, gaming, or pursuing creative endeavors. Your personalized mouse pad is a testament to your ability to transform everyday accessories into personalized works of functional art.